Grasp of Avarice Guide – Complete Destiny 2 Dungeon Walkthrough


-
-
Bundle
- Powerful & pinnacle gear with 25% off
- Increase your power level easily
-
Hot


-
Sale 15%Ends in 10h 45m 30s
-
-

- Flawless GoA dungeon guaranteed
- Get unique cosmetics for your guardian
Introduction
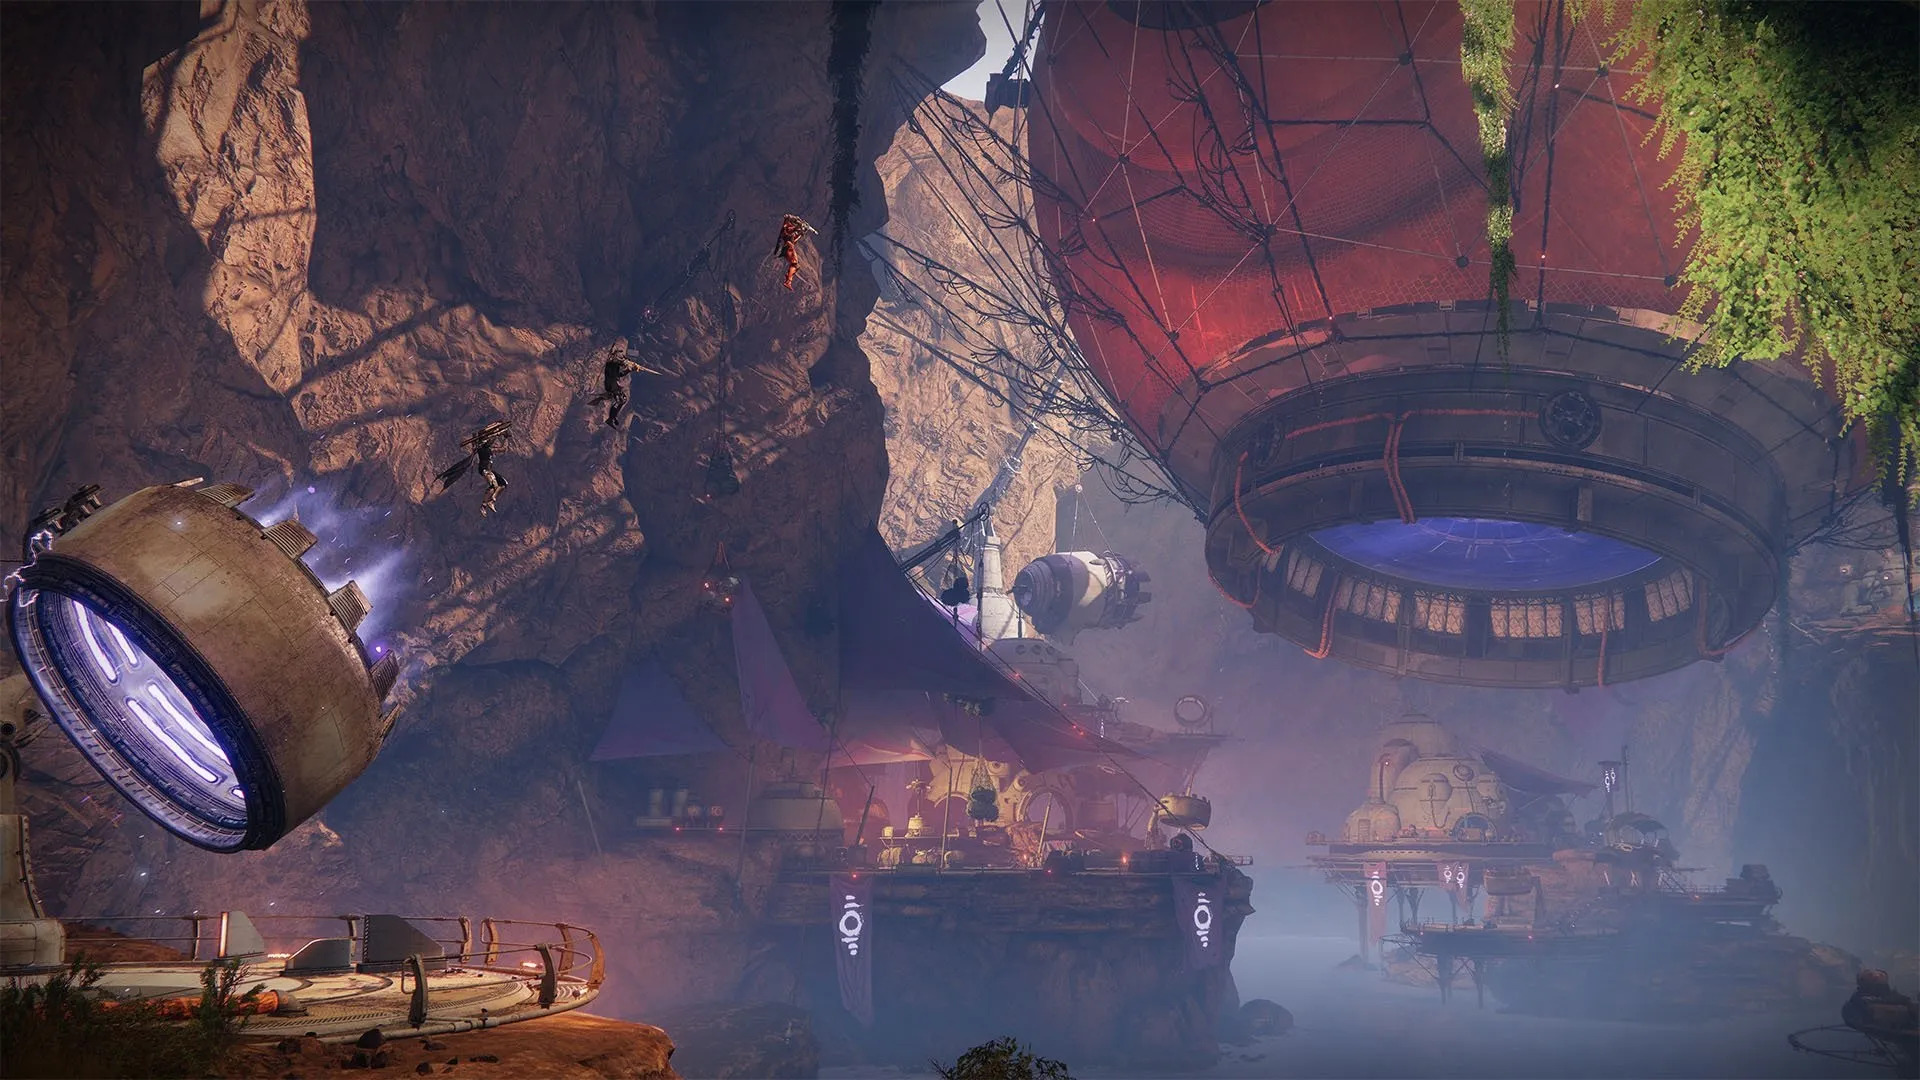
The Grasp of Avarice dungeon was released in Destiny 2 during the 30th Anniversary Pack. The guide will take you through every step needed to complete it, covering all mechanics, strategies, and loadouts.
Table of Contents
In this guide, we will cover the following subjects:
- Dungeon Preparation
- How to access the dungeon
- First Encounter
- Second Encounter
- Boss Encounter
- Loot Table
- Extras & Challenges
- FAQ
- Conclusion
How to access the dungeon
To access the Grasp of Avarice dungeon, you need to have the 30th Anniversary Pack on your account.
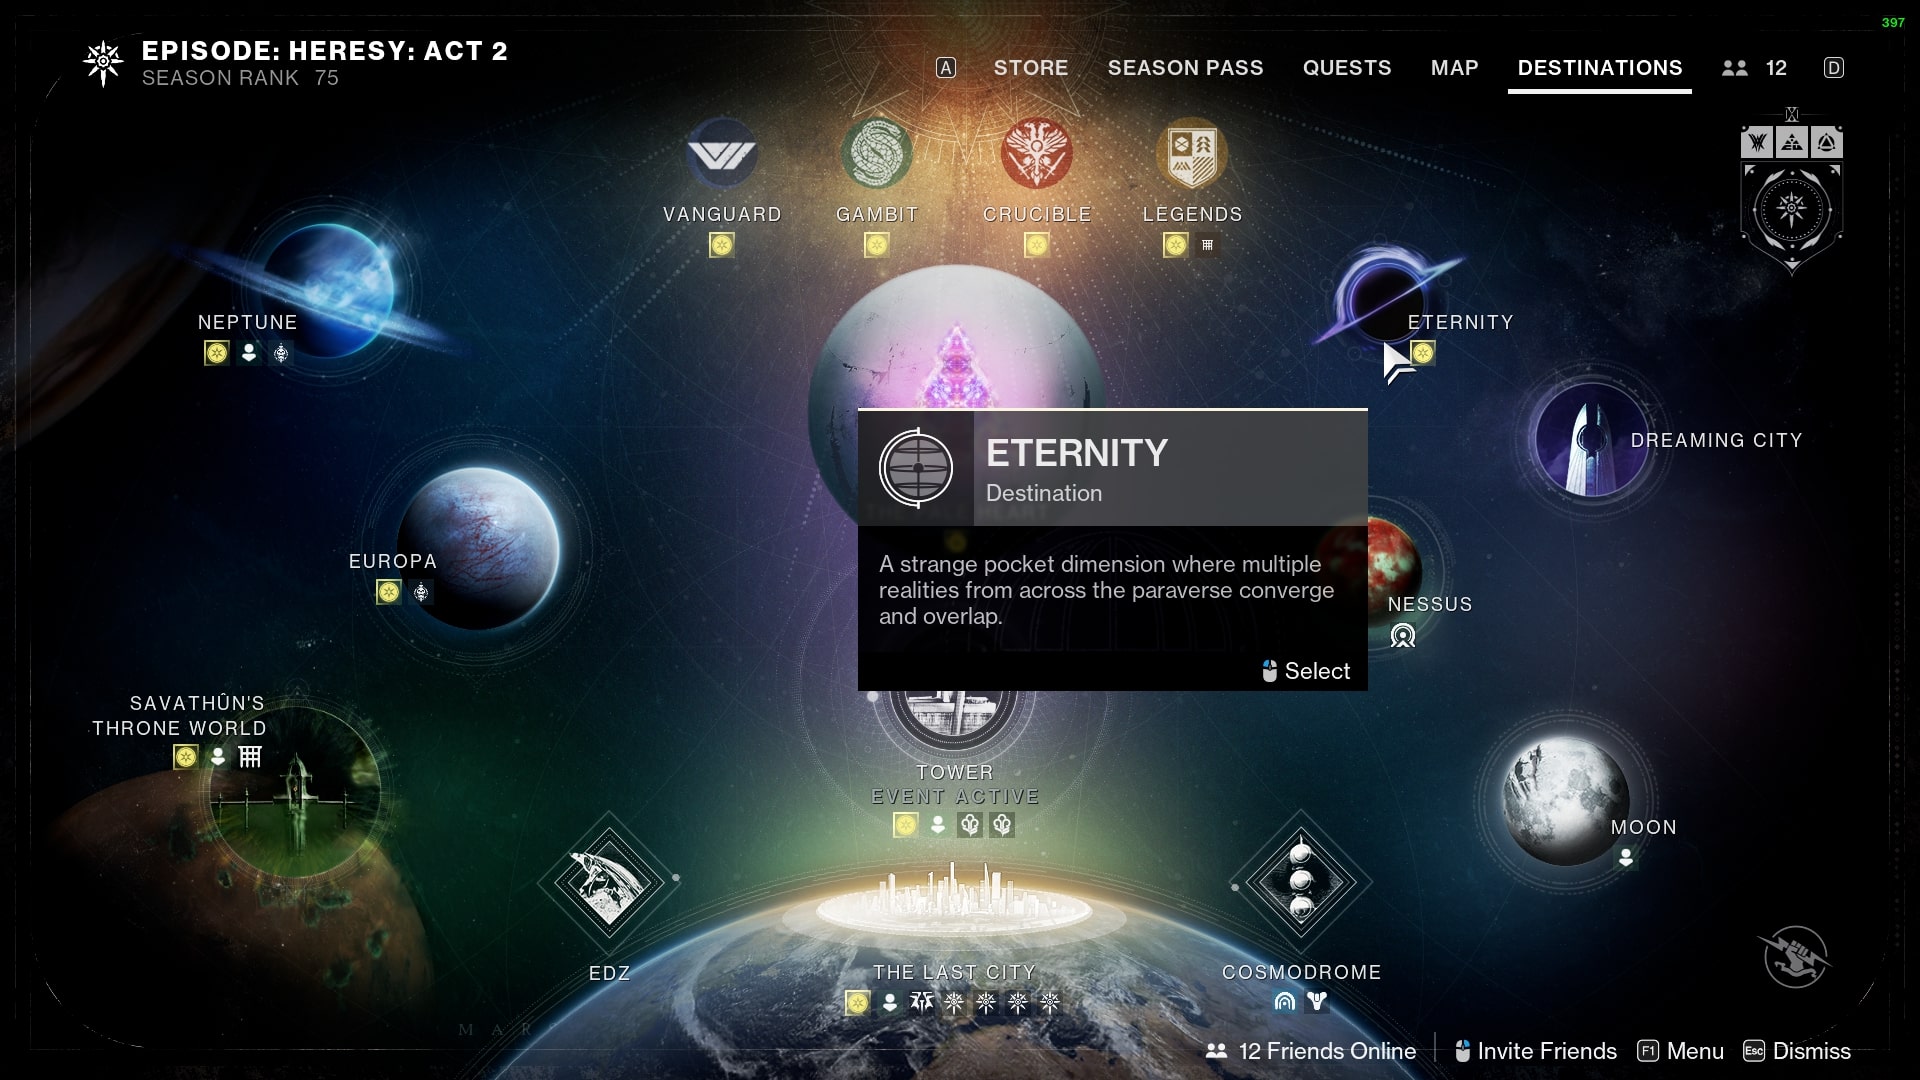
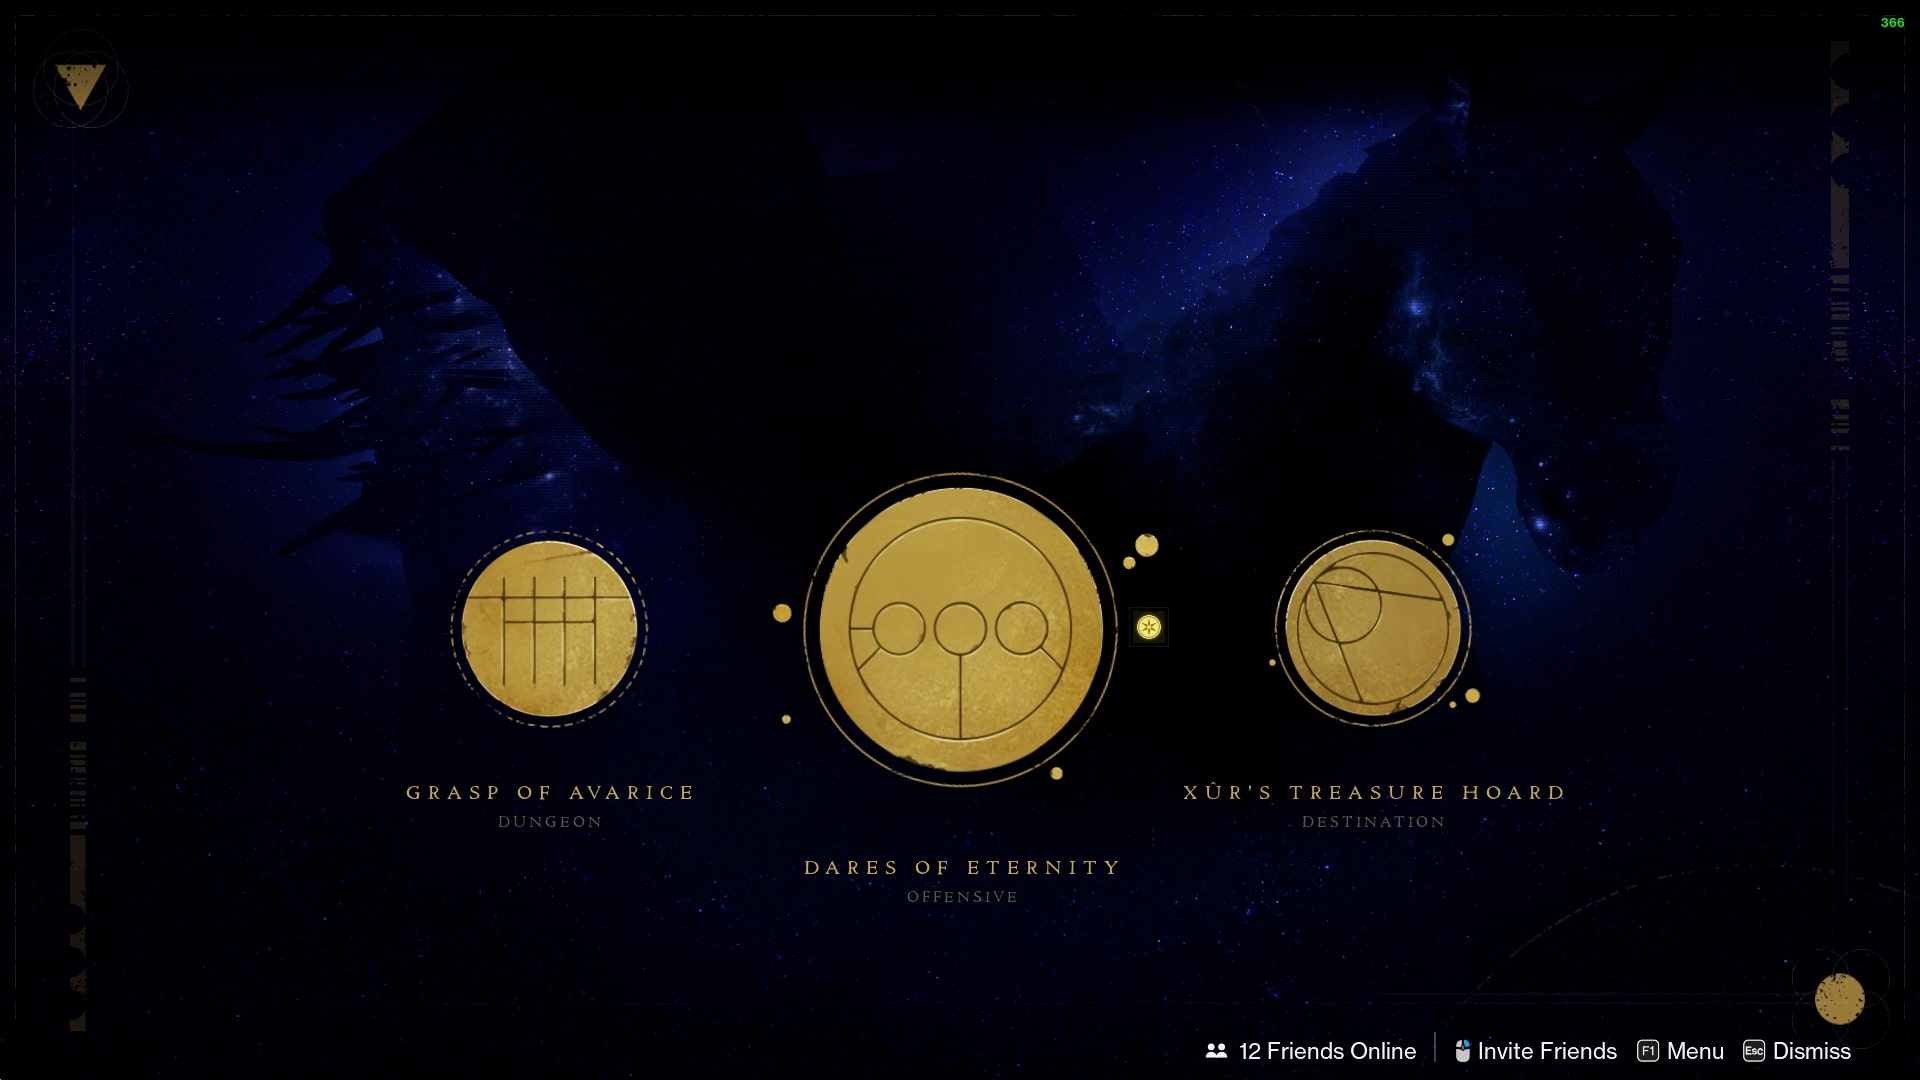
You must open the destination menu and find the activity icon in the Tower and visit Xur's Treasure Hoard.
Dungeon Preparation
Grasp of Avarice dungeon features unique mechanics, so being prepared with the best meta loadouts will help you out immensely during each encounter. I’ll be going over some of the best weapons & subclasses that you should be using to ensure your success.
Best subclasses & builds
SKIP THE GRIND! BOOST YOUR GUARDIAN NOW!
Getting started
Once you’ve obtained the "And Out Fly the Wolves" quest, navigate to the Tower and visit Xur's Treasure Hoard, located in the Eternity destination.
Best weapons loadouts
Here, I’ll be going over some of the best meta weapons to use in the Grasp of Avarice dungeon:
SKIP THE GRIND! BUY GRASP OF AVARICE DUNGEON!
Reaching the first encounter
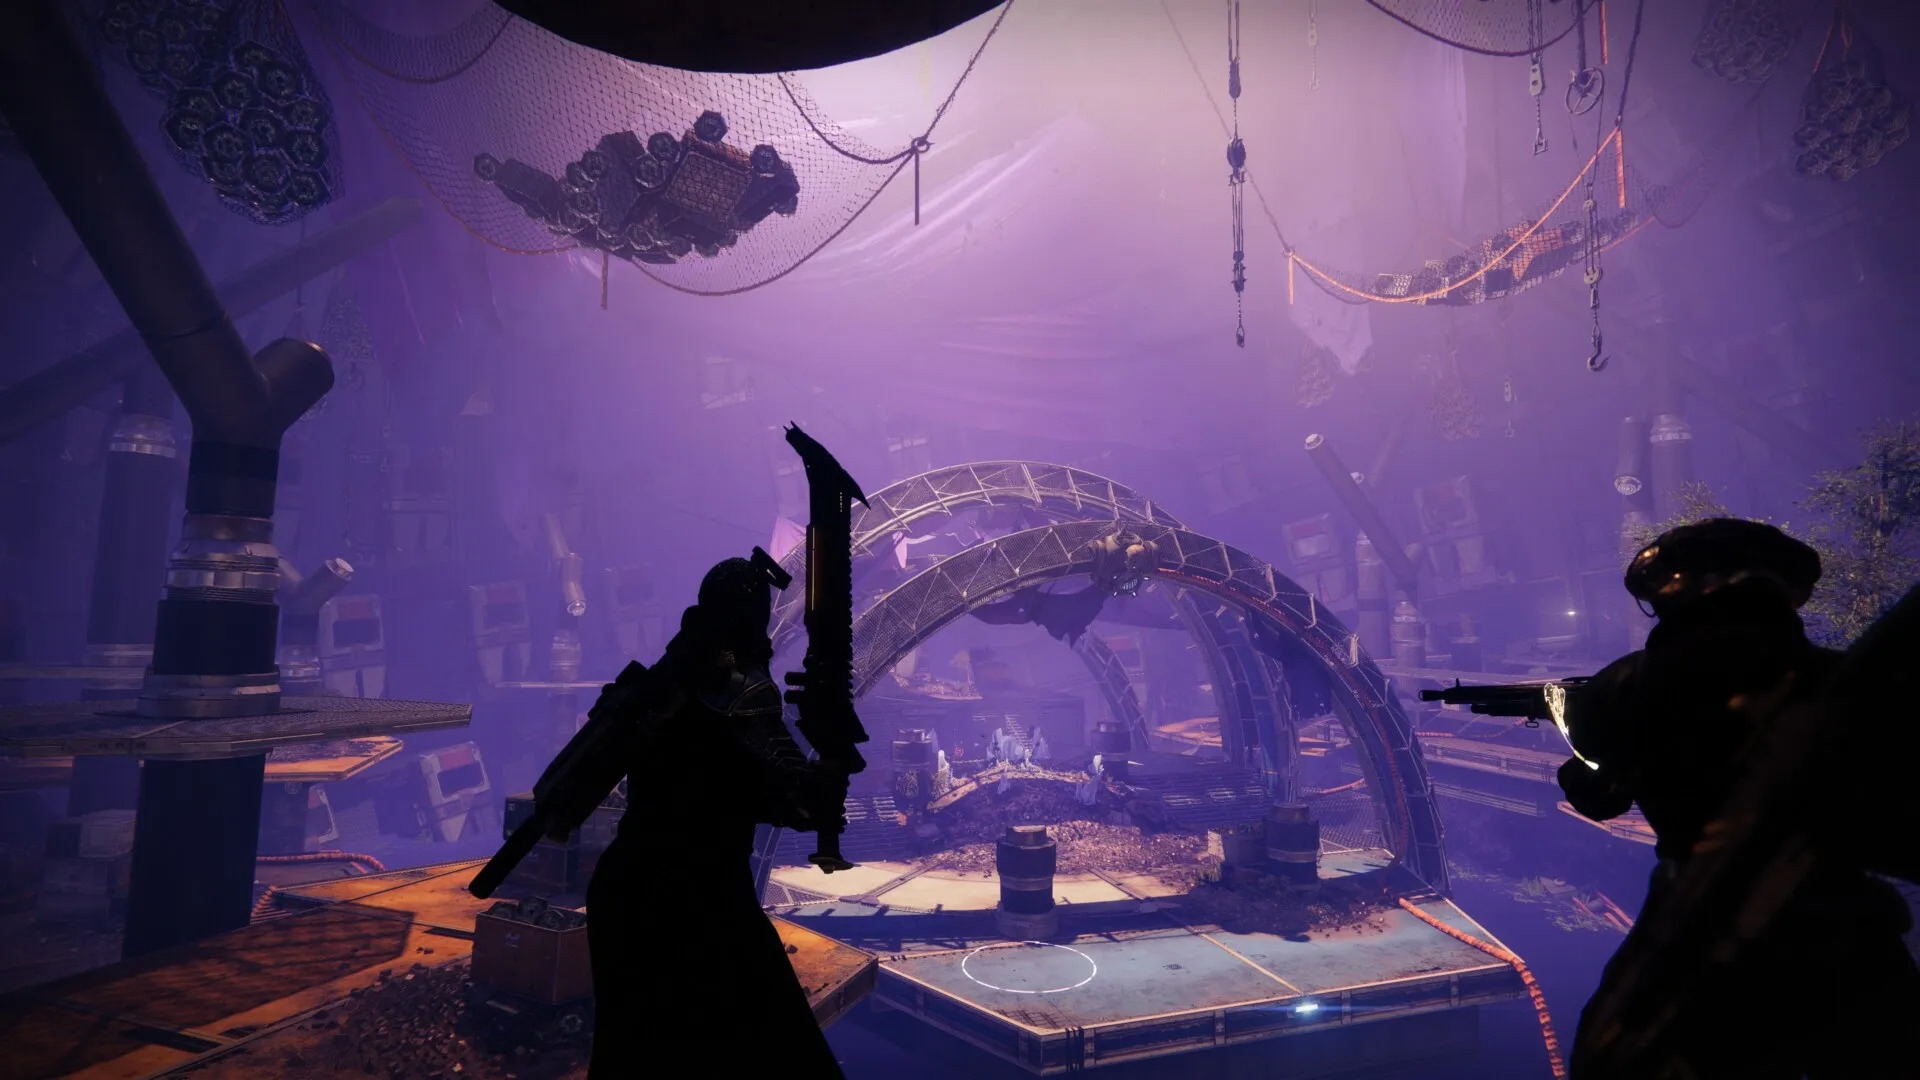
Grasp of Avarice is a tricky dungeon, having many traps that guardians can fall for and die.
Start in the Loot Cave, collect corrupted engrams, enter the cave and deposit the engrams in the crystal by standing near it. Then, navigate tunnels filled with traps following the instructions from below.
In the room with doors and sewers:
- Open the 2nd door on the right, jump over the plate, activate switch, go back in the main room.
- Enter the front sewer, jump on the middle plates (they collapse), activate hidden switch beneath the right plate.
- Return and climb up. The 3rd sewer tunnel on the left leads to the first encounter.
In the waterway section:
- Enter rooms, flip switches until the back door opens.
- Clear ads in the back room, activate the switch then, proceed through the front door and take the door to the right to reach the next section.
In the tower section:
- Jump across the platforms and activate the 4 switches.
- A Vandal spawns with a Scorch Cannon.
- Kill him, use the cannon on the door terminal (charge until 3 sound cues).
- Go upstairs and avoid the rolling trap by hiding in side alcoves.
First encounter

General Objective Overview
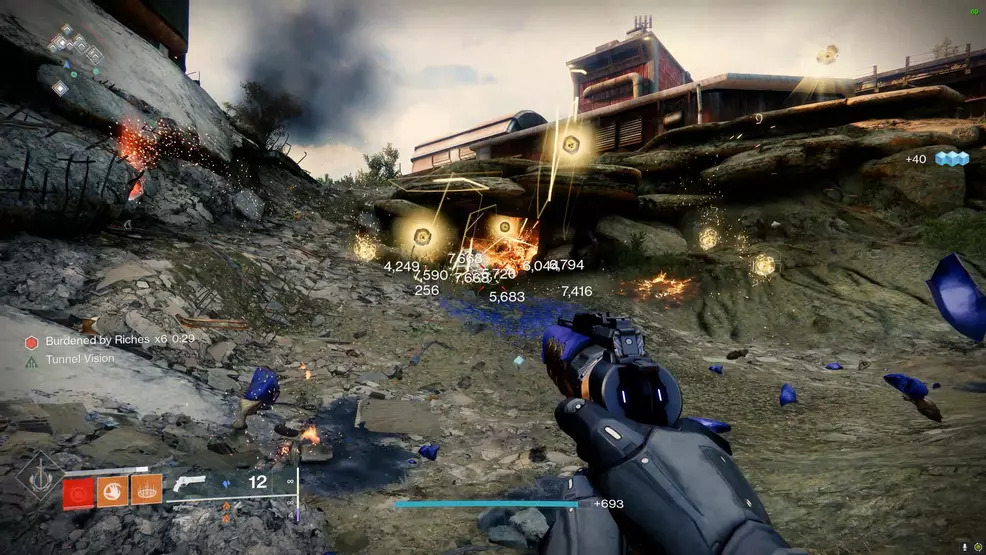
Collect Cursed Engrams dropped by defeated enemies and deposit them at the central crystal.
Each Cursed Engram applies a stacking “Burden of Riches” debuff, which has a timer. If the timer hits zero, you will die.
You need to deposit these engrams to start the DPS.
Arena & Layout
Square Room: The encounter area is a square, with the crystal in the south part of the map, with 2 rooms on the sides of the arena that require a scorch cannon to hit the terminal in order to open these rooms.
Enemy Spawn Points: Enemies spawn in multiple waves around the perimeter. Keep track of each wave so you don’t get overwhelmed.
Team Roles & Mechanics
- Door Opener: Always has a scorch cannon, and opens the doors to the mobs that drop the cursed engrams
- Engram Collectors: Focus on killing enemies that drop the Cursed Engrams. Pick them up quickly, but avoid letting the stack timer run out. Deposit cursed engrams into the crystal in order to start the DPS
- Add Control: Assign at least one player to focus on clearing the waves of enemies. This keeps the area safe for your collectors.
DPS Phase
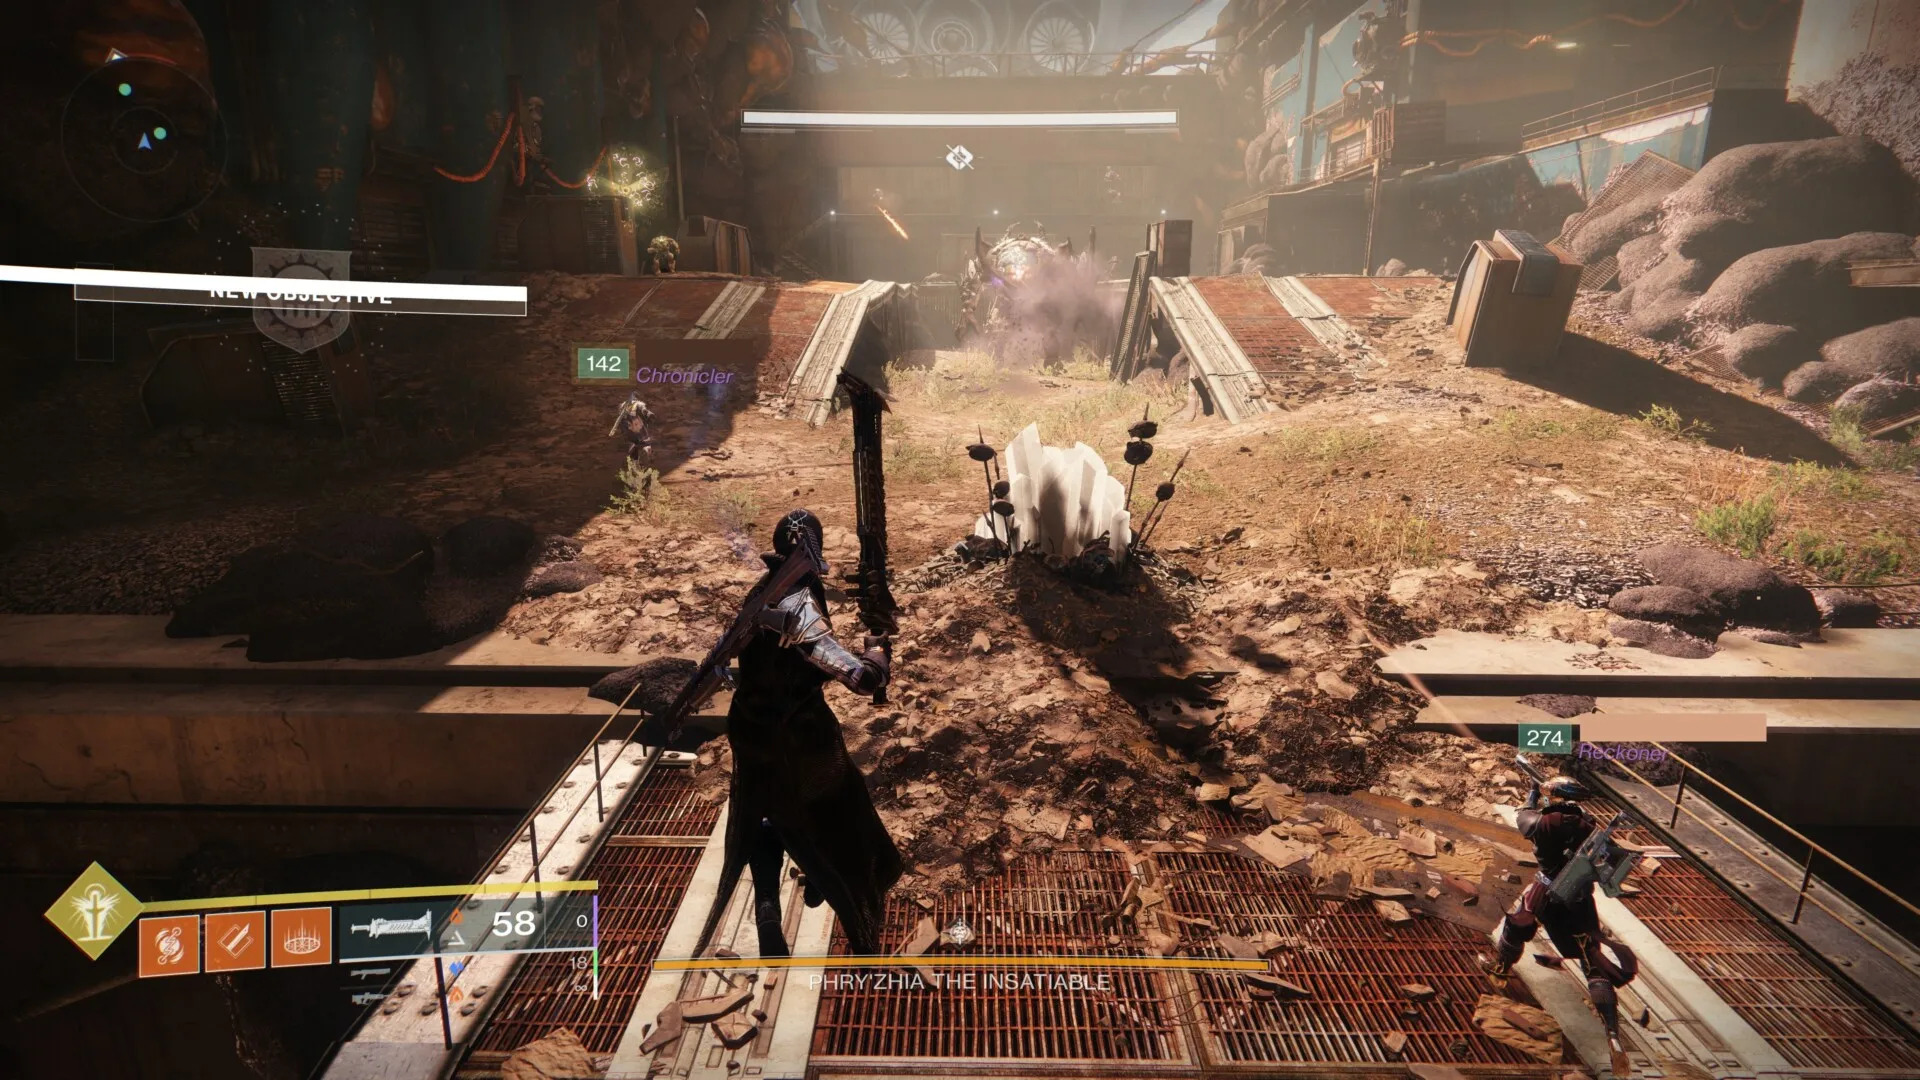
The DPS phase is simple, no mechanics, just one big ogre to take down, bring high damage weapons and kill the boss.
Tips & Mistakes to Avoid
✔️ To open up the side doors you need to hold the explosive until it charges up 3 times
✔️ Use the depositing crystal as cover from the boss attacks
❌ Do not open both doors at once, they will close after some time
Reaching the second encounter
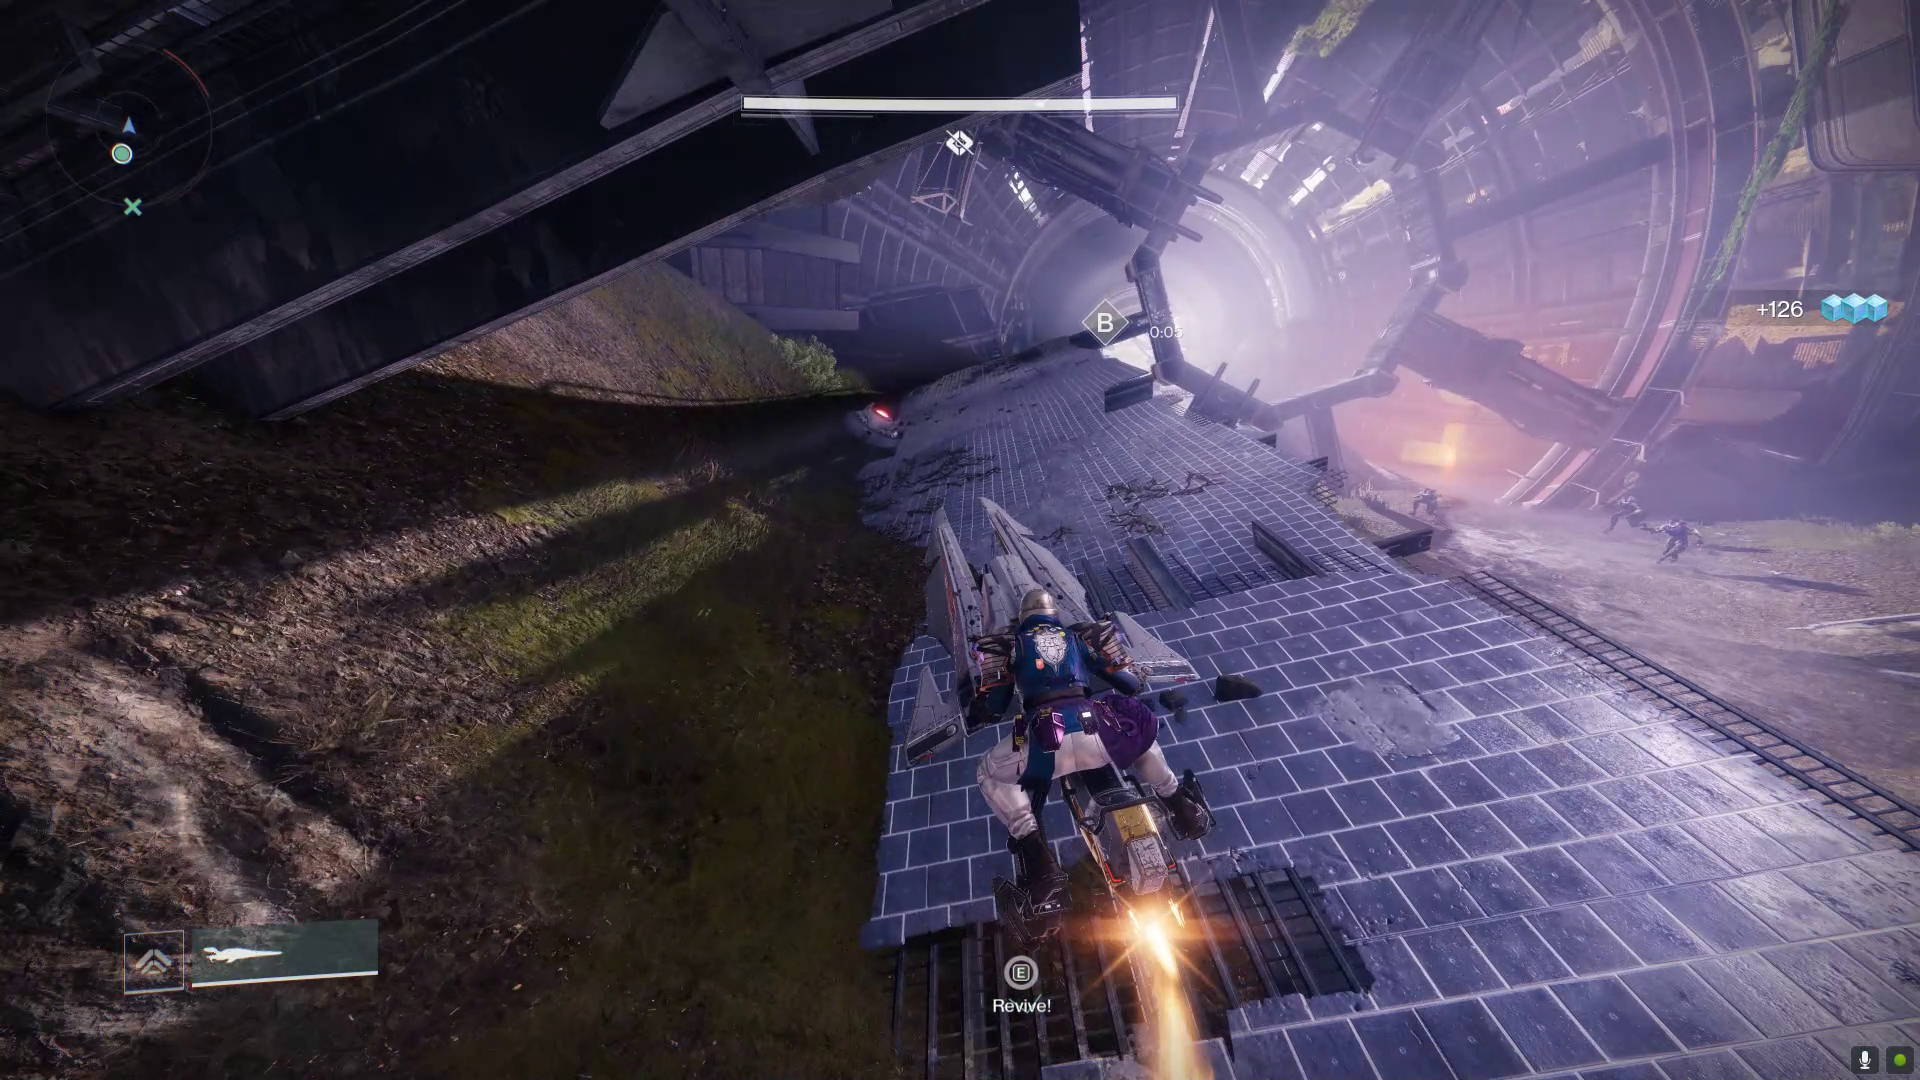
Reaching the second encounter involves a sparrow race to disarm bombs. There are 4 bombs, with a short fuse, which gets extended once you pass near a glowing terminal. Once you reached and defused bomb "D", go into the crystal tunnel and you will reach the second encounter.
Second Encounter
General Objective Overview
The Fallen Shiled is the second encounter. This encounter has a boss health bar, but the encounter does not feature a boss, just 5 batteries that need to be destoryed to go further.
Team Roles & Asignments
- Scorch Cannon Operator
- This player grabs the Scorch Cannon from Vandals and uses it to shoot the battery nodes.
- Key Tip: Fire charged shots to increase the amount of energy fed into each node.
- Engram Collectors
- Engage the ads in each shield segment and pick up the dropped Cursed Engrams.
- Keep a close eye on the Burden of Riches timer and deposit quickly at the crystal to take down the servitor shields.
Mechanics
Use Scorch Cannons to power up and activate Fallen terminal nodes.
Defeat enemies and collect Cursed Engrams to take down the Servitors shields.
Kill Servitors, and launch them into the Shield Batteries
Arena & Layout
The arena is massive, containing 6 islands
Each island has a fallen terminal and a cannon to help guardians travel and to launch servitors
Tips & Mistakes to Avoid
✔️ Keep track of the Burden by Riches timer.
✔️ Have good ad clear weapons.
❌ Don't let the servitor's corpse roll down into water, you will need to kill one more if it happens.
Reaching the boss encounter
Reaching the final encounter is very simple, just jump with the cannon that is in the middle island, in the building where the Fallen Shield was, and there is the boss.
Boss Encounter

SKIP THE GRIND BUY GRASP OF AVARICE BOSS KILLS!
General Objective Overview
Same mechanics as before, gather Cursed Engrams, deposit and damage the boss.
Arena & Layout
Team Roles & Asignments
- Scorch Cannon Operator: A designated player focuses on taking down Scorch Cannon Vandals and using the cannon to open Cursed Engram Caches.
- Engram Collectors: Once the caches are open, quickly gather the Cursed Engrams.
- Ad Clear: One player focuses completly on taking down the ads, and the 2 very resilient mini-bosses in the middle, a shank and a vandal.
Mechanics
- Kill the vandal and take the scorch cannon, open up Cursed Engrams caches by shooting the terminals, one on each side, pick up the engrams and deposit them into the crystal in the middle.
- Once enough Cursed Engrams have been deposited, the DPS phase will begin.
DPS Phase
DPS phase is simple, just go to the back of the arena behind the boss, and damage him. Bring strong DPS weapons like Grenade Launchers, Shotguns, Rocket Launchers and it will be an easy one phase.
Tips & Mistakes to Avoid
✔️ Kill the mini bosses fast, they drop additional Cursed Engrams and can disrupt a DMG phase if left alive.
❌ Do no touch the water even if a Cursed Engram is there, it will kill you instantly
Loot Table
Here we'll be showing you every piece of loot you can acquire from the dungeon. Grasp of Avarice features 4 legendary weapons, 1 exotic, 1 normal armour set & 1 artifice armour set. Below you will find a list with all the weapons & armour pieces:
SKIP THE GRIND BUY GRASP OF AVARICE WEAPONS!
| Phry'Zhia (1st Encounter) |
Fallen Shield (2nd Encounter) |
Avaraokk (Final Encounter) |
|
Matador 64 Shotgun 


|
Matador 64 Shotgun
|
Matador 64 Shotgun
|
|
Hero of Ages Sword 

|
Hero of Ages Sword
|
Hero of Ages Sword
|
|
Eyasluna Hand Cannon 
.jpg)
|
||
|
1000 Yard Stare Sniper Rifle 


|
||
|
Descending Echo Greaves 
|
Descending Echo Cage 
|
Descending Echo Helm 
|
|
Descending Echo Mark 
|
Descending Echo Gauntlets 
|
Descending Echo Gauntlets
|
|
Descending Echo Greaves
|
||
|
Descending Echo Mark
|
These are all the possible loot that can drop from each encounter in Grasp of Avarice dungeon.
SKIP THE GRIND BUY GRASP OF AVARICE EXOTIC!
Extras & Challenges
The Gjallarhorn exotic rocket launcher has a Catalyst available obtainable from the dungeon by opening 3 secret chests.
- First Chest:
- After dropping down in the cave, walk across the crystals in the cave until you see a metal grate above you. The chest is hanging off the side.
- Across the cavern on the right there will be a Vandal, damage him until he drops a Cursed Engram.
- Grab the Cursed Engram and go back to the chest and open it.
- Second Chest:
- After the rolling barrel trap, in the next room there will be the Vandal standing in your way.
- Get the engram from the Vandal then go forward since the chest is farther ahead.
- In the room with the first boss, before jumping to the boss, go right and follow the concrete wall.
- When you find an indent in the wall, jump in there to find the chest.
- Third Chest:
- In the Fallen Shield encounter after you disable the shield do not jump to the boss.
- The chest is on the structure in the middle island.
- The Vandal is on the island with multiple waterfalls.
- Get the engram from the Vandal, get it to the chest and you will be rewarded with the Gjallahorn Catalyst.
Grasp of Avarice also has solo & flawless triumph that awards a unique emblem & special badge on your dungeon report.
Solo & Flawless

Conquering Grasp of Avarice dungeon solo flawless is a true test of a guardian's skill. Solo flawless demands perfect preparation, from optimizing your build with the right subclass, exotic armor, and weapon loadout to mastering the dungeon's encounters.
Completing the dungeon solo flawless awards you with a unique emblem that you can use to show off to other guardians, while also giving you a special badge on your raid report that you’ve completed the dungeon solo flawlessly.
SKIP THE GRIND AQUIRE THE SOLO FLAWLESS EMBLEM
Master Difficulty
The Grasp of Avarice dungeon has normal & master difficulties to choose from. There are certain modifiers that makes the Master difficulty hard to complete:
FAQs
Grasp of Avarice is located in the legends tab next to the Crucible tab.
Yes, Grasp of Avarice is farmable as long as it is on the weekly rotation.
Yes, you can solo the dungeon and even solo flawless the dungeon, although it will be very challenging due to encounter mechanics and difficulty.
No, Grasp of Avarice requires the player to own the 30th Anniversary Pack.
Final Thoughts
I hope this guide will ease your experience with the Grasp of Avarice dungeon encounters and help you get one step further to success. We did all the research, and now it’s your turn to show your skill. Give it a try, Guardian!
About KBoosting
If you are struggling to find a fireteam or don't have enough time to play yourself, at KBoosting, besides articles & guides, we also provide Destiny 2 boosting services. All you need to do is check our Grasp of Avarice boosting services and let us handle everything for you, while you have some fun in the game!
