Last Wish Guide – Complete Destiny 2 Raid Walkthrough

-
-
Bundle
- Powerful & pinnacle gear with 25% off
- Increase your power level easily
-
Hot


-
-
-
-
-
-
-
-
Sale 15%Ends in 9h 44m 58s

-
Sale 15%Ends in 9h 44m 58s
-
Bundle
Introduction
The Last Wish raid was released in Destiny 2 with the Forsaken expansion. The guide will take you through every step needed to complete it, covering all mechanics, strategies, and loadouts.
Table of Contents
In this guide, we will cover the following subjects:
- Raid Preparation
- How to access the raid
- First Encounter
- Second Encounter
- Third Encounter
- Fourth Encounter
- Boss Encounter
- Loot Table
- Extras & Challenges
- FAQ
- Conclusion
How to access the raid
To access the Last Wish raid, you need to have the Forsaken expansion purchased on your account.
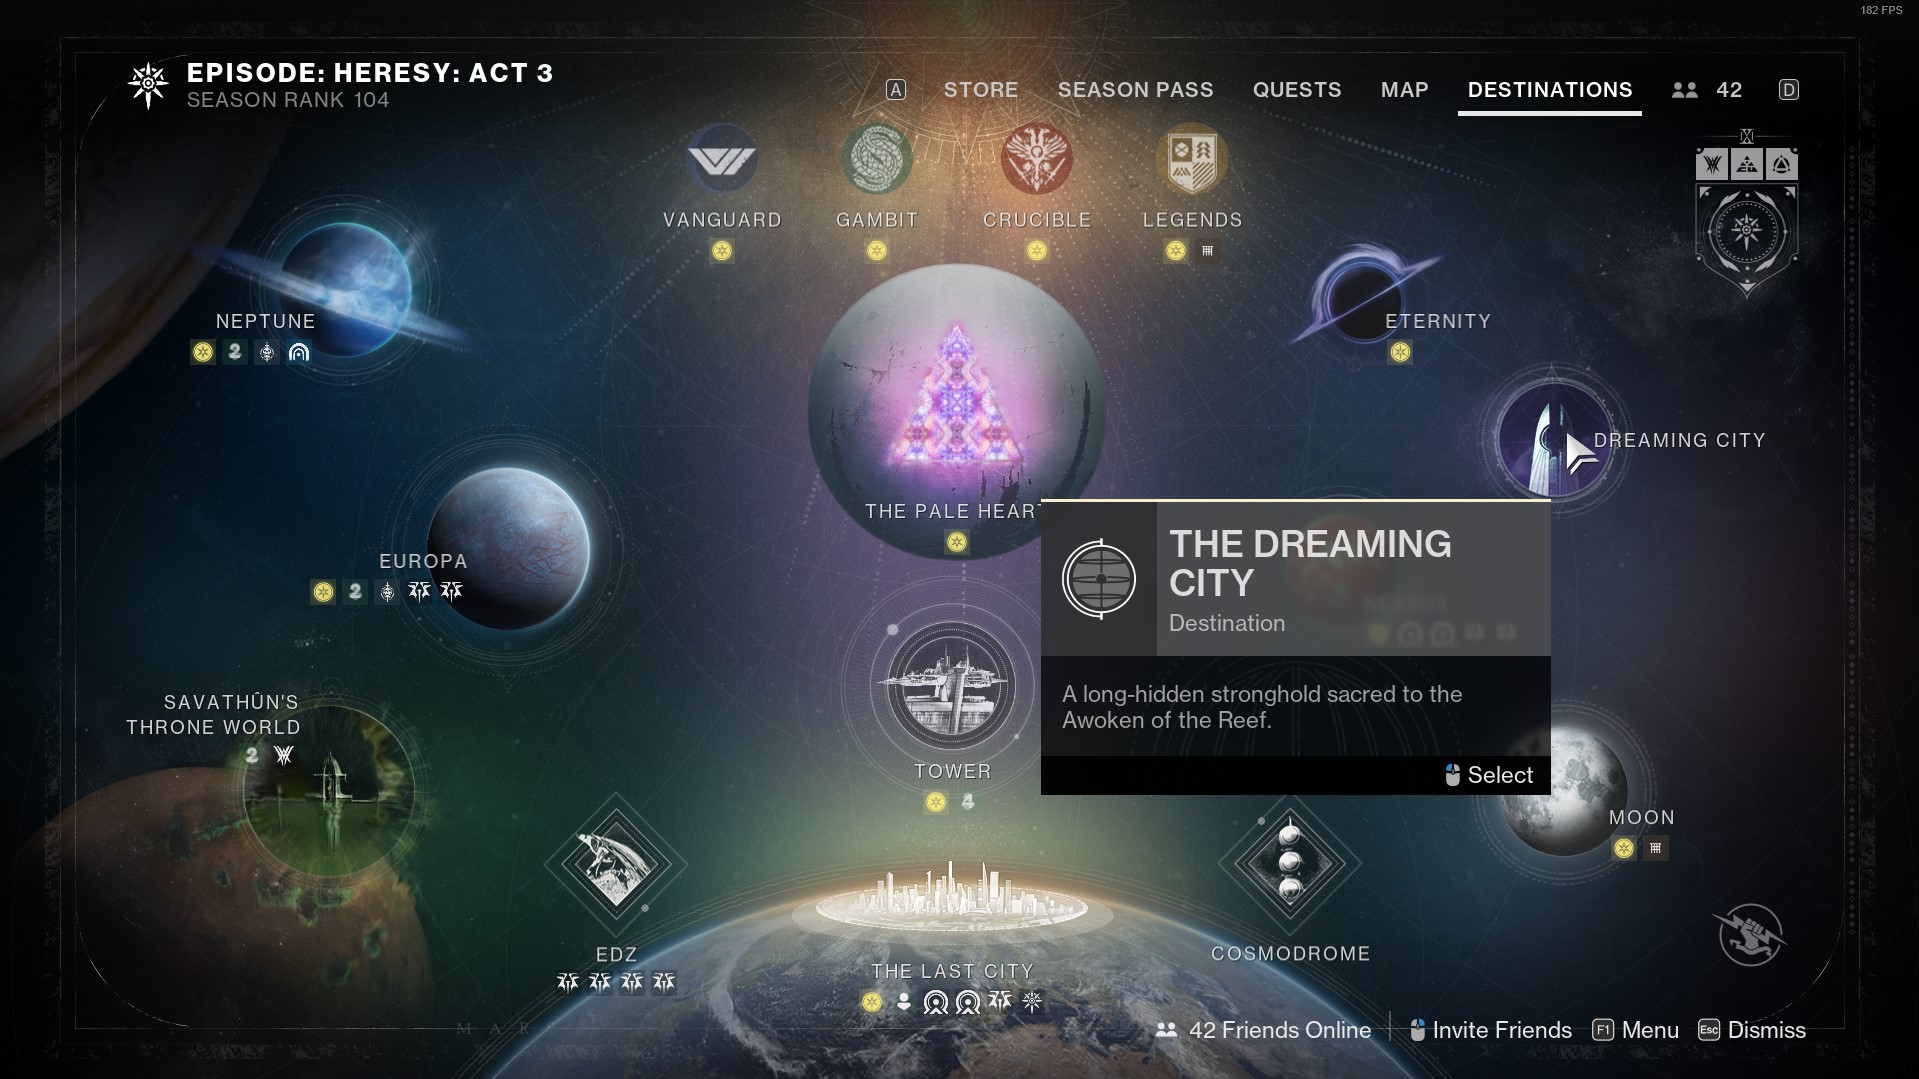
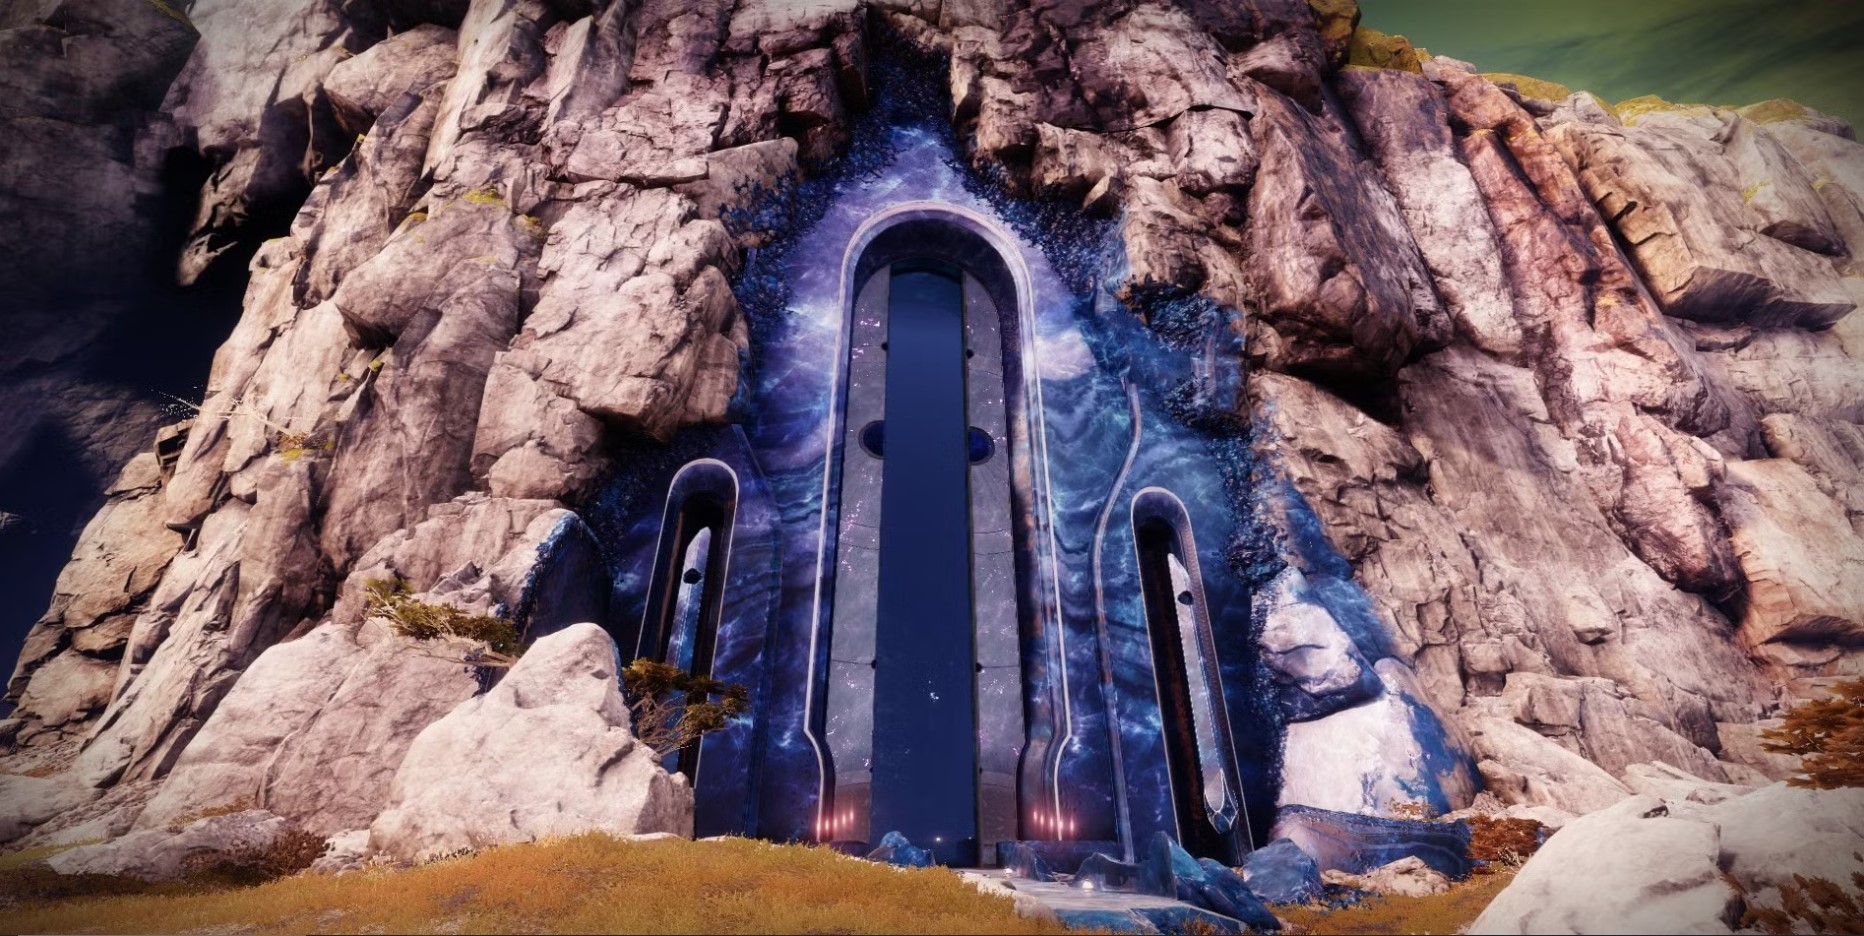
You must open the destination menu and find the activity icon in the Dreaming City destination.

Raid Preparation
Last Wish raid features unique mechanics, so being prepared with the best meta loadouts will help you out immensely during each encounter. I’ll be going over some of the best weapons & subclasses that you should be using to ensure your success.
SKIP THE GRIND! BOOST YOUR GUARDIAN NOW!
Best subclasses & builds
Getting started
Once you're ready, navigate to the Dreaming City and locate the raid marker in the top left section of the map.
Best weapons loadouts
Here, I’ll be going over some of the best meta weapons to use in the Last Wish raid:
SKIP THE GRIND BUY LAST WISH CARRIES!
Reaching the first encounter
Launch the Last Wish raid via the Dreaming City map node. Traverse through the Kalli's Keep area filled with Taken enemies. After a short platforming section and a few small skirmishes, you’ll enter a circular arena with large doors around the edges; this is where you’ll face Kalli.
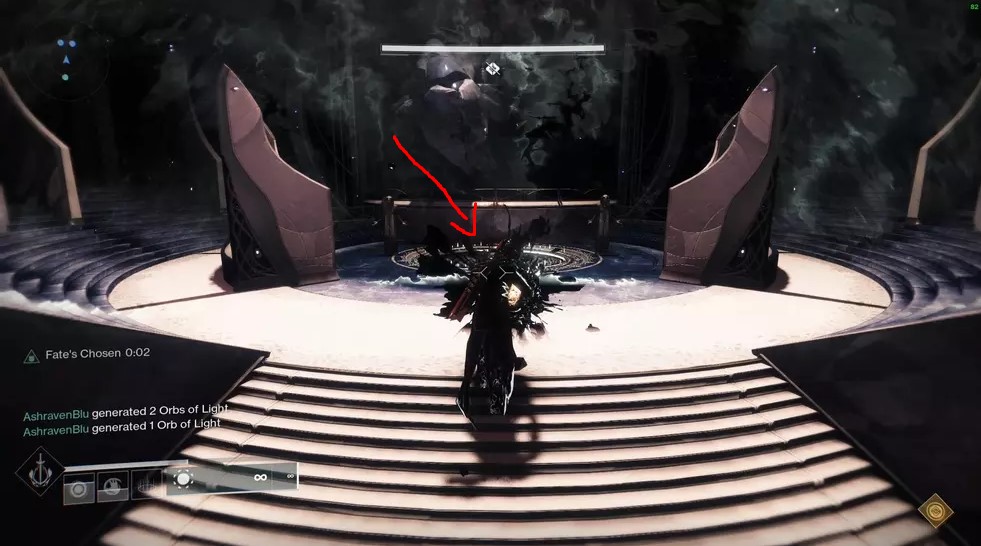
There is also a Wish Wall right at the start of the raid, where you can shoot symbols and make certain combinations, so here's a list with all 14 of them:
.jpg)
- Wish 1: Gives an Ethereal Key.
- Wish 2: Spawns a chest between Morgeth & Vault.
- Wish 3: Gives an Emblem.
- Wish 4: Teleport to Shuro Chi encounter.
- Wish 5: Teleport to Morgeth encounter.
- Wish 6: Teleport to the Vault encounter.
- Wish 7: Teleport to Riven encounter.
- Wish 8: Plays song: Hope for the Future.
- Wish 9: Failsafe easter egg dialogue.
- Wish 10: Drifter easter egg dialogue.
- Wish 11: Adds Grunt Party Effect to headshots.
- Wish 12: Adds effect around player's head.
- Wish 13: Adds the Extinguished effect on the fireteam.
- Wish 14: Spawns several Corrupted Eggs in the raid (needed for triumph).
Here is a link that shows you in detail all the Wish codes with pictures.
First encounter - Kalli
General Objective Overview
Your goal is to activate all six plates around the arena by standing on them in sync, killing the Taken Knights that spawn, and surviving Kalli’s wipe mechanic. Once all plates are done, you enter a damage phase. This process repeats until Kalli is defeated.
Arena & Layout
The arena is shaped like a circle with six outer rooms, each containing a plate with 3 unique symbols. There’s also a central platform where Kalli spawns. These plates are randomly assigned symbols each run.
Players must step on each plate and match the correct symbol to spawn and kill a Taken Knight. Once all Knights are dead, the damage phase begins.
Team Roles & Asignments
- Plate Teams (3 teams of 2): Each pair is responsible for two adjacent plates. One player stands on the plate while the other clears adds.
- Support Floater (optional): Can help with revives, extra add clear, or reinforce plate teams as needed.
Mechanics
Each plate has 3 symbols, but only one is safe. When a player steps on the correct one, a Taken Knight spawns. Kill it quickly. Once all 6 Knights are defeated, Kalli initiates a wipe mechanic, each team must retreat to a room with an open door to survive.
DPS Phase
Kalli will move to the middle and start rotating clockwise. Group at her spawn point and burst her using high-damage weapons. Aim to break her in one or two damage phases.
Tips & Mistakes to Avoid
✔️ - Assign players to plates and safe rooms before starting: This will avoid confusion.
✔️ - Use burst DPS weapons for DPS
❌ - Don’t step on plates before all teams are ready: This can result in a wipe.
❌ - Don’t guess safe rooms: Only one per team opens each phase, and the others will kill you.
Reaching the second encounter
Once Kalli is defeated, follow the linear path upward, but be careful during the jumping sections, as falling will send you back. Eventually, you'll reach a massive open room with crystal architecture and a long bridge-like structure. Cross the bridge and clear any Vex or Taken enemies along the way. After a short traversal section and an elevator lift, you’ll arrive at Shuro Chi’s encounter.
Second Encounter - Shuro Chi
General Objective Overview
This encounter is a timed phase fight where your fireteam must damage Shuro Chi in stages, solve symbol puzzles to progress, and manage waves of Taken enemies. You must repeat this process across 6 damage plates before the wipe timer expires.
Arena & Layout
The arena is shaped like a large circular tower divided into multiple levels. Each level contains 2 damage plates and a puzzle wall. You start on the ground level and ascend after each successful puzzle and damage phase. The fight spans 3 levels total, with a final DPS opportunity at the top.
Team Roles & Asignments
- DPS Team (entire fireteam): Groups up to burst Shuro Chi when the shield drops.
- Puzzle Solvers (2-3 players): Stand on the correct symbols to match the wall puzzle after each damage phase.
- Ad-Clear Support: All players help clear Thrall and Taken enemies during downtime between phases.
Mechanics

The fight begins with Shuro Chi’s shield active. Kill adds to spawn the Eye of Riven, 3 people pick up the orbs next to the plates and will use it to break her shield. When it's down, all players must immediately stand next to her to DPS. If you run out of time (displayed on the left), Shuro Chi wipes the team. You have 6 total damage opportunities to finish the fight.
DPS Phase
When her shield is dropped, the team has about 10 seconds to damage her. Use a Well, DPS Supers, and burst loadouts.
Tips & Mistakes to Avoid
✔️ - Use one Eye of Riven per phase: Don’t delay breaking the shield.
✔️ - Assign players to break the shield: Assign 3 players to break Shuro Chi's shield or rotate if needed.
❌ - Time your plate jumps accordingly: If all 3 players on not on the plates at once, they will start damaging and potentially killing you.
Reaching the third encounter
After defeating Shuro Chi, Follow the linear path through the Dreaming City structure, which includes a mix of narrow corridors and short jumping sections. There are no major puzzles or enemies to worry about here, just stay together and avoid falls.
You’ll eventually enter a large open area with massive roots and plant growth. Continue forward until you reach an open arena with a large chasm in the center and twisted tree-like structures.
Third Encounter - Morgeth
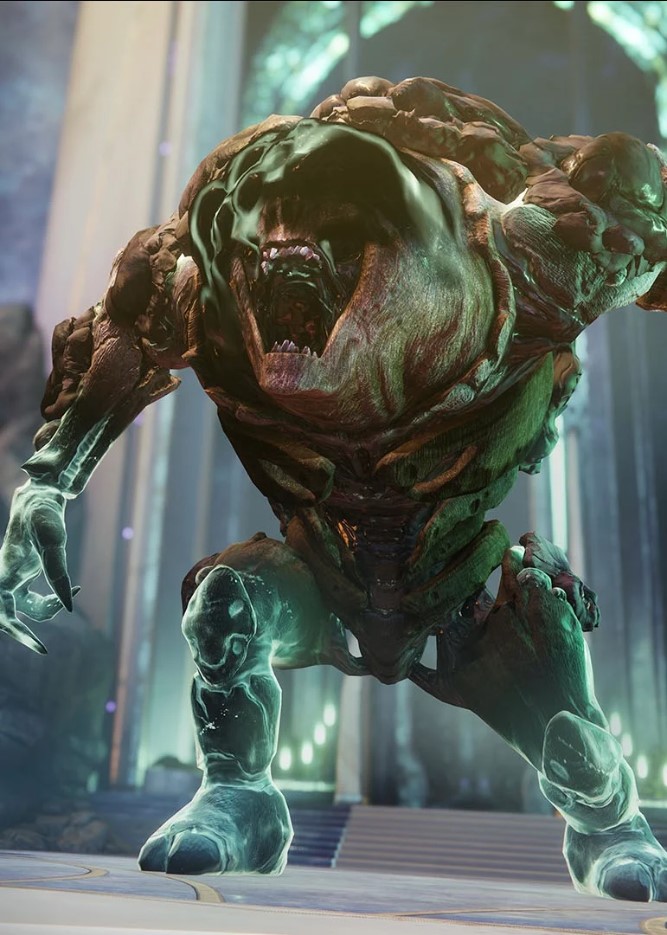
General Objective Overview
This encounter revolves around managing buffs and debuffs while collecting Taken Strength charges that drop from enemies. Your fireteam must coordinate pickups and cleanse debuffed players while avoiding a wipe. Once enough charges are collected, you enter a damage phase to defeat Morgeth.
Arena & Layout
The arena is a large open area with elevated platforms and a central pit where Morgeth stands. Taken enemies spawn around the perimeter. Blight orbs and Taken Strength charges drop throughout the area as you defeat specific enemies.
Team Roles & Asignments
- Taken Strength Collectors (2–3 players): Pick up dropped Taken Strengths one at a time and avoid stacking more than 2.
- Cleanser (1 player): Grabs the Eye of Riven from a miniboss and uses it to cleanse players affected by the Taken Strength x2 debuff, preventing death.
- Ad-clear Team (rest of fireteam): Focus on controlling waves of Taken Thrall, Phalanx, and Ogres. Support Collectors and Cleanser.
Mechanics

DPS Phase
When Morgeth becomes vulnerable, group up inside a Well and burst him down using good DPS setups, like Lord of Wolves. You want to hit his exposed back most of the time for critical shots.
Tips & Mistakes to Avoid
✔️ - Assign who collects Taken Strength and who handles cleansing ahead of time.
✔️ - Use burst loadouts and clear the arena of adds quickly to maintain control.
❌ - Don’t let Taken Strength sit on the ground: Morgeth will enrage and wipe the team.
❌ - Avoid picking up more than 2 stacks of Strength: This will instantly kill you.
Reaching the fourth encounter
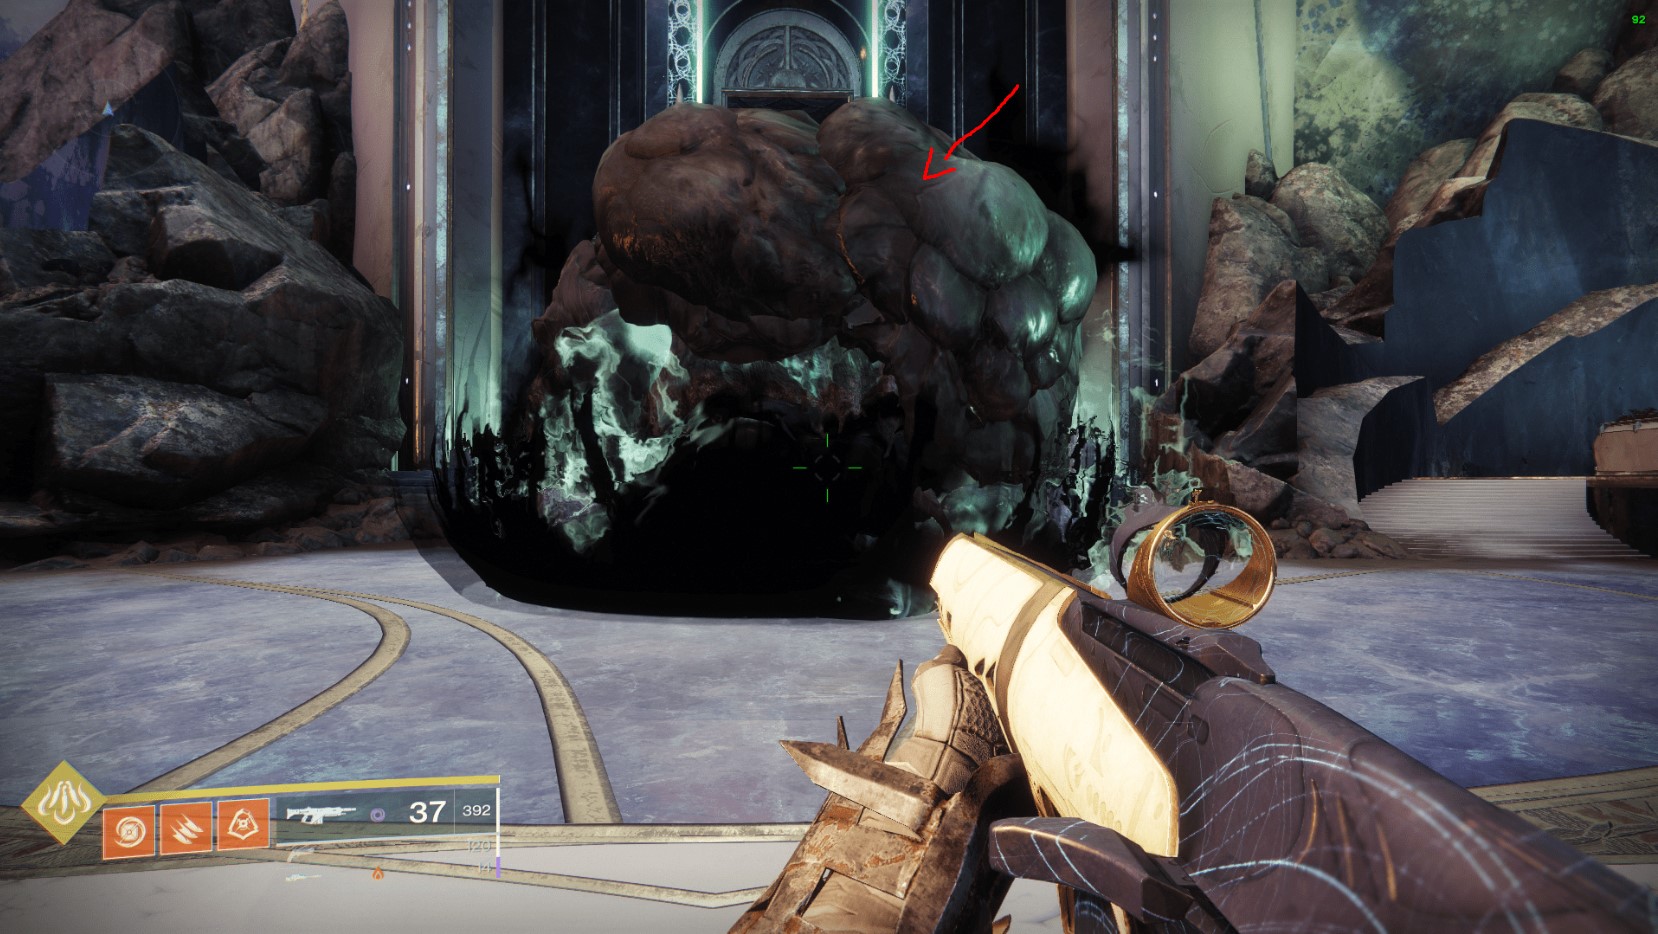
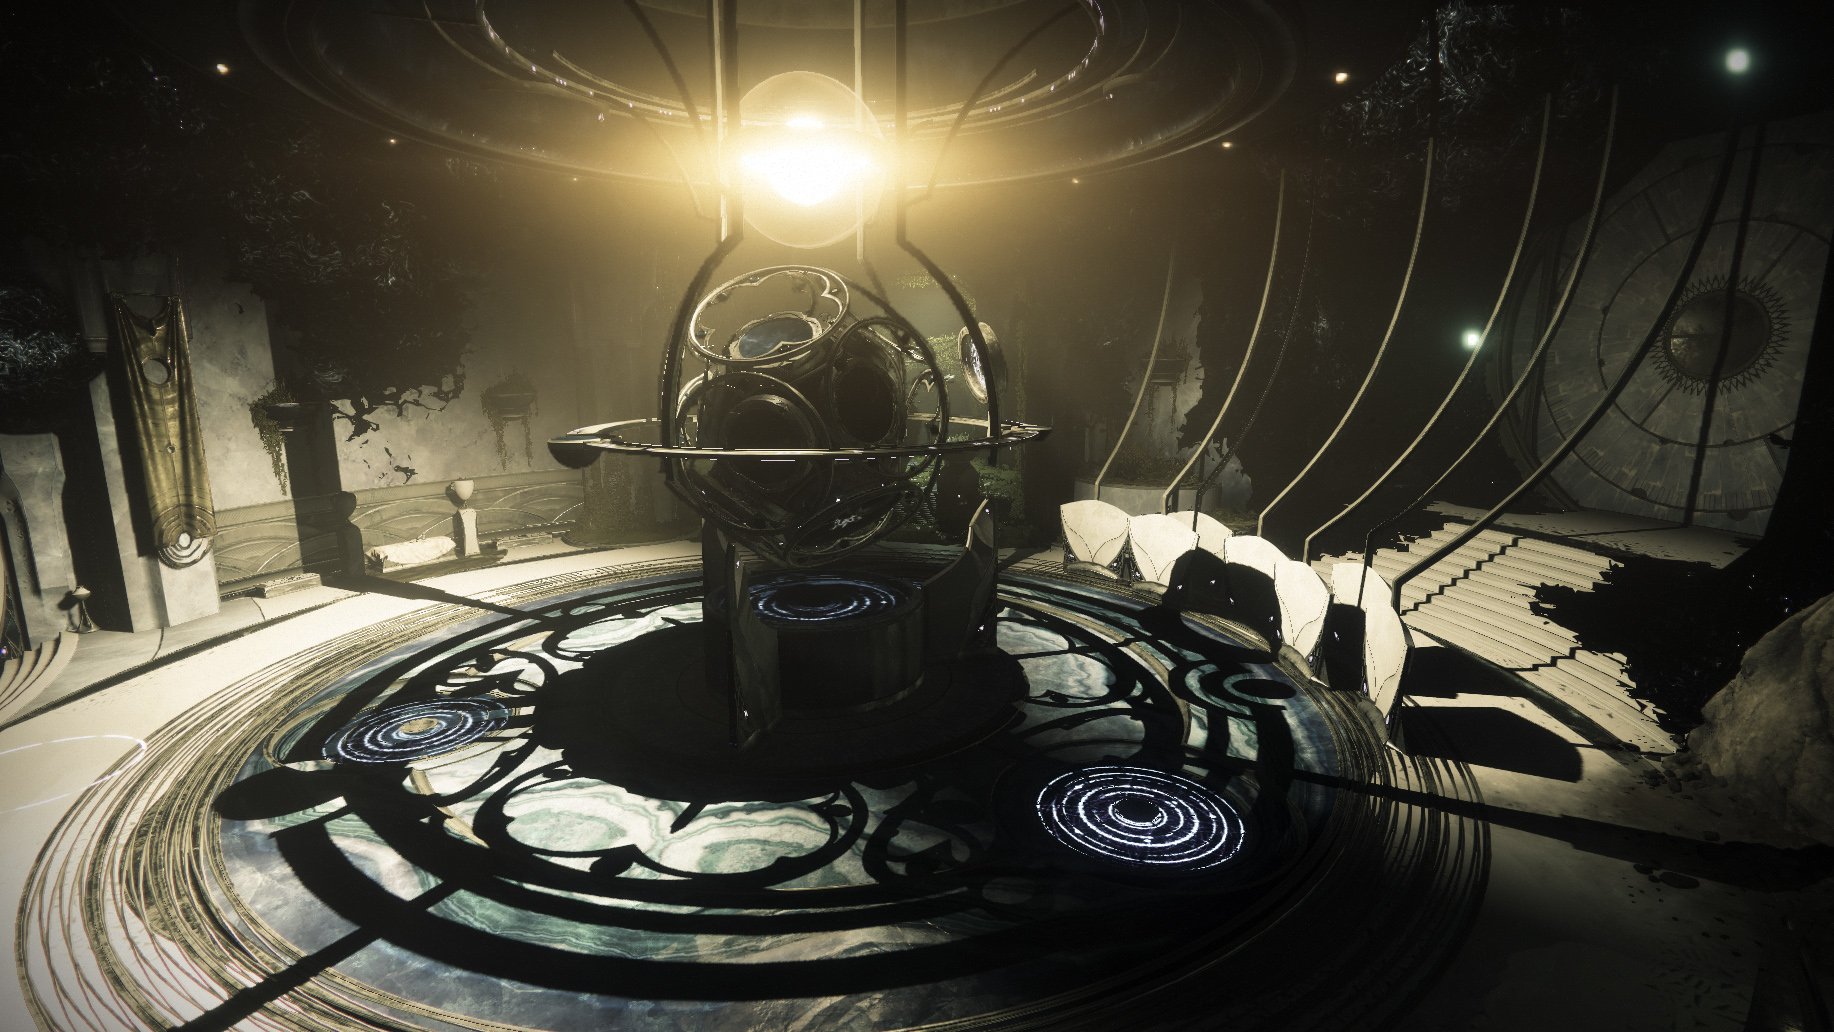
After defeating Morgeth, follow the path forward and upward through the sprawling, dark tunnels of the Dreaming City. Eventually, you’ll come across a large chamber with a glowing floor and three large circular plates in a triangular formation. This is the Vault encounter arena, where team coordination and symbol memorization become critical.
Fourth Encounter - The Vault
General Objective Overview
The Vault is a coordination-heavy encounter where your team must monitor 3 symbol totems, defend them from Taken enemies, and correctly identify and eliminate the Knight with the wrong symbol to prevent a wipe. This process is repeated in phases until all symbols are locked.
Arena & Layout
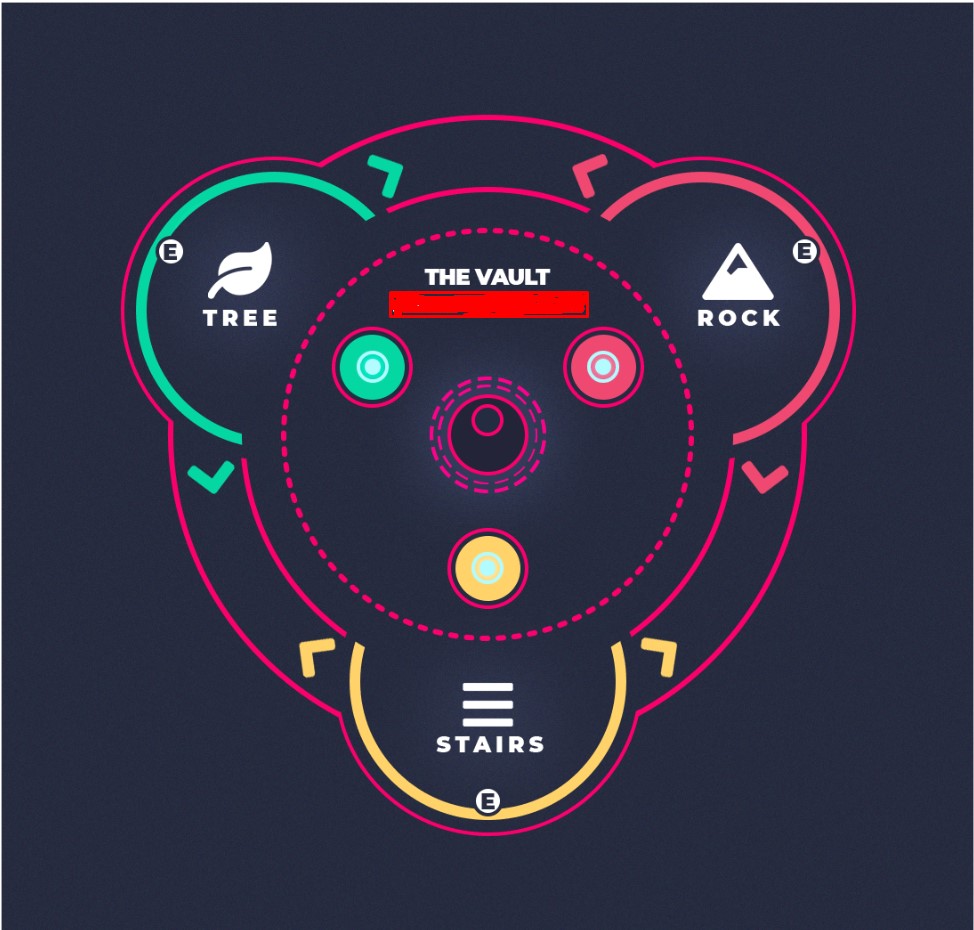
The arena is a large chamber with 3 fixed vaults or totems arranged in a triangle. Each totem displays 3 symbols, and Taken enemies will attempt to corrupt them by approaching and detonating.
Team Roles & Asignments
- Vault Defenders (3 players): One player per totem, responsible for defending it and calling out their symbol set.
- Floater (1 player): Rotates between totems to assist with add clear and support callouts.
- Knight Kill Team (2 players): Move as a pair to the correct totem and eliminate the wrong-symbol Knight each cycle.
Mechanics
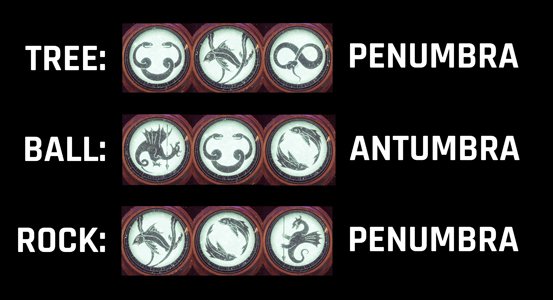
- Each vault shows 3 unique symbols. One of them is “wrong” and doesn’t appear on the other two totems.
- Players must communicate their symbols and determine which totem has the unique (invalid) symbol.
- A Knight will spawn at that totem, send the Knight Kill Team there quickly to eliminate it. If the wrong Knight is killed or if it detonates, the team wipes.
- After killing the correct Knight, a Vault Lock is applied. Repeat the process multiple times (typically 6 locks) to complete the encounter.
DPS Phase
There is no DPS phase for this encounter.
Tips & Mistakes to Avoid
✔️ - Establish a quick and consistent callout system for symbols (e.g., tree, fish, bird).
✔️ - Assign two confident players to quickly rotate and kill the correct Knight together.
❌ - Don’t kill the wrong Knight: It causes an instant wipe.
❌ - Kill all the Taken enemies: This ensures no one dies while doing the mechanics.
Reaching the boss encounter
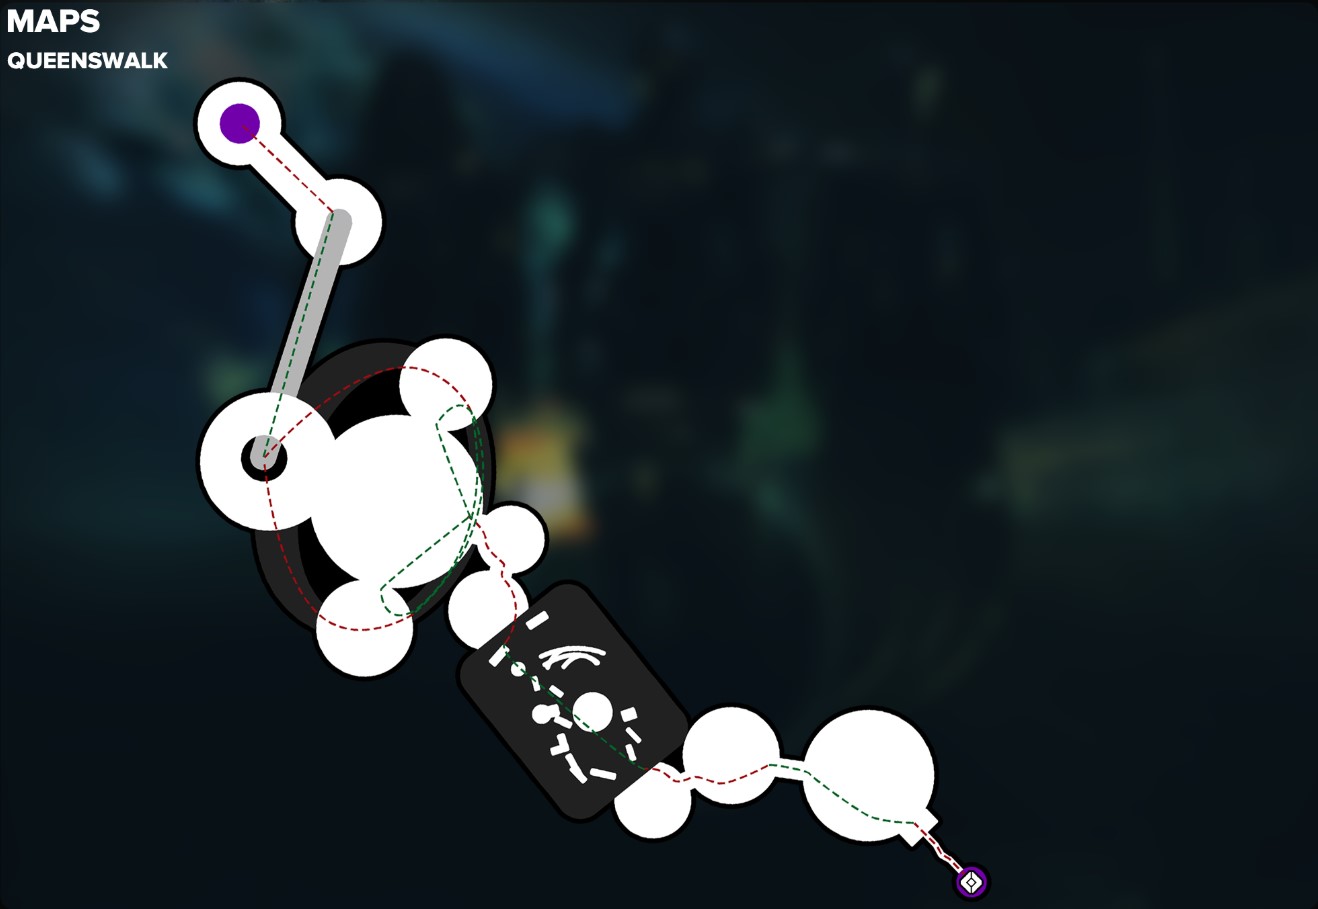
After successfully locking all symbols in The Vault, a door opens at the far end of the chamber. Move forward through the elegant Dreaming City corridors until you reach the Queen’s Walk, a visually stunning crystal hallway.
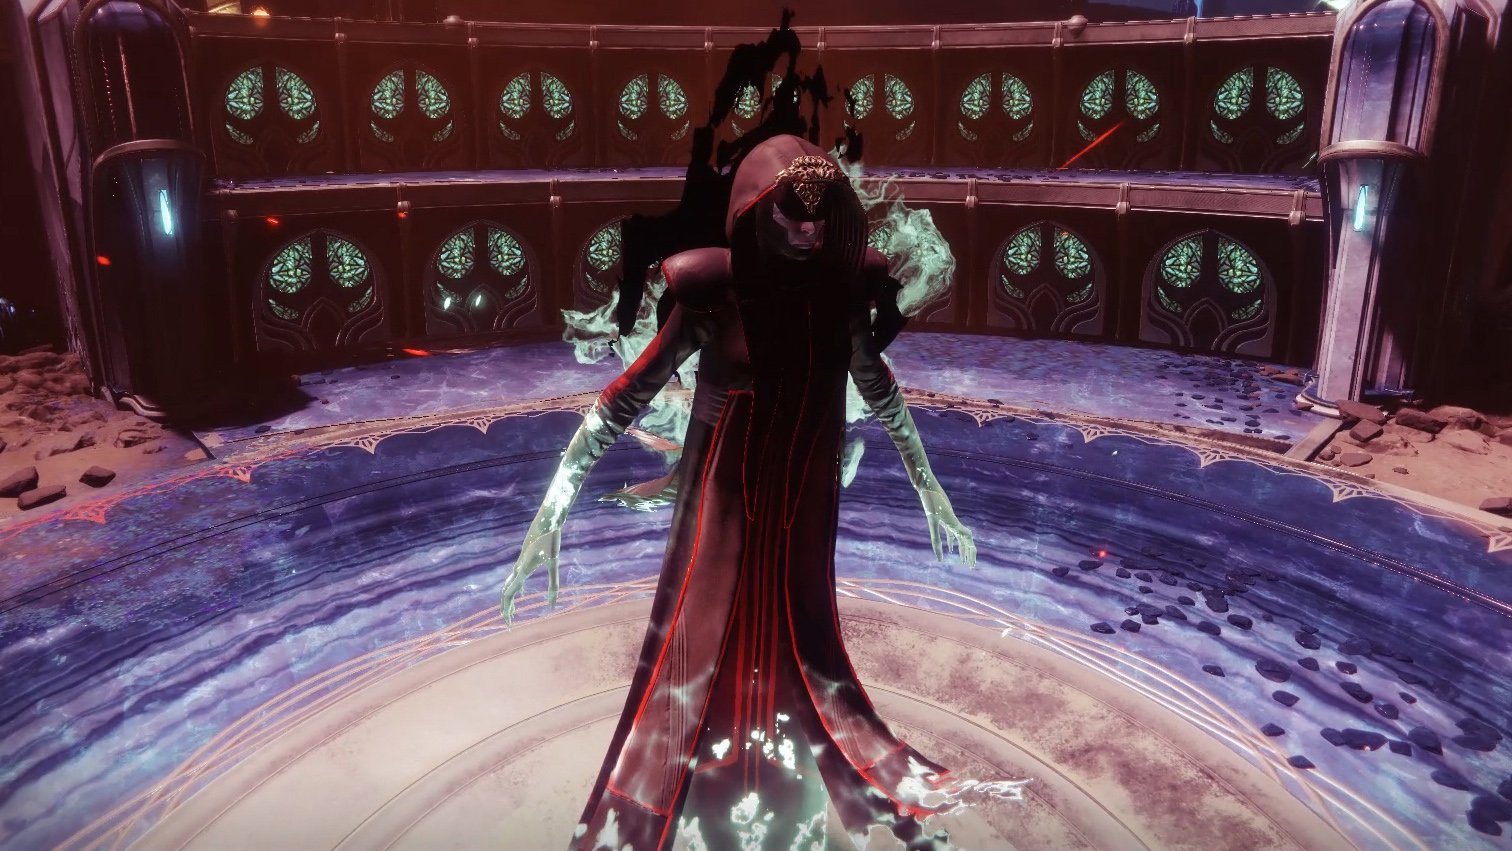
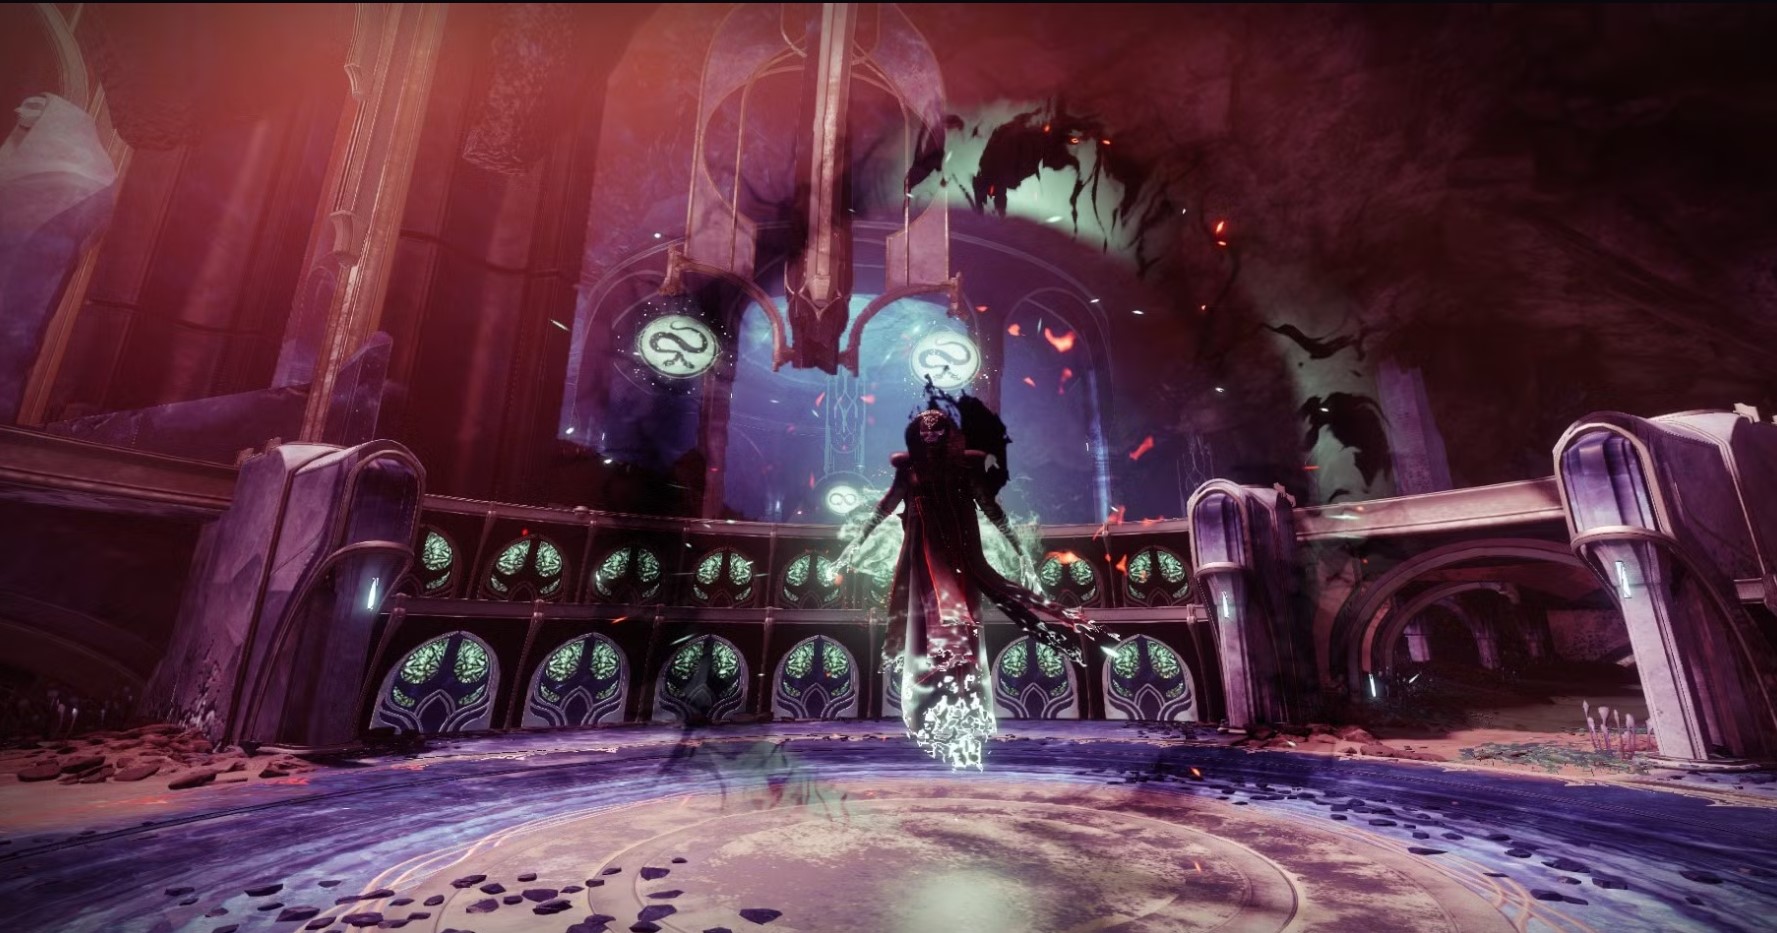
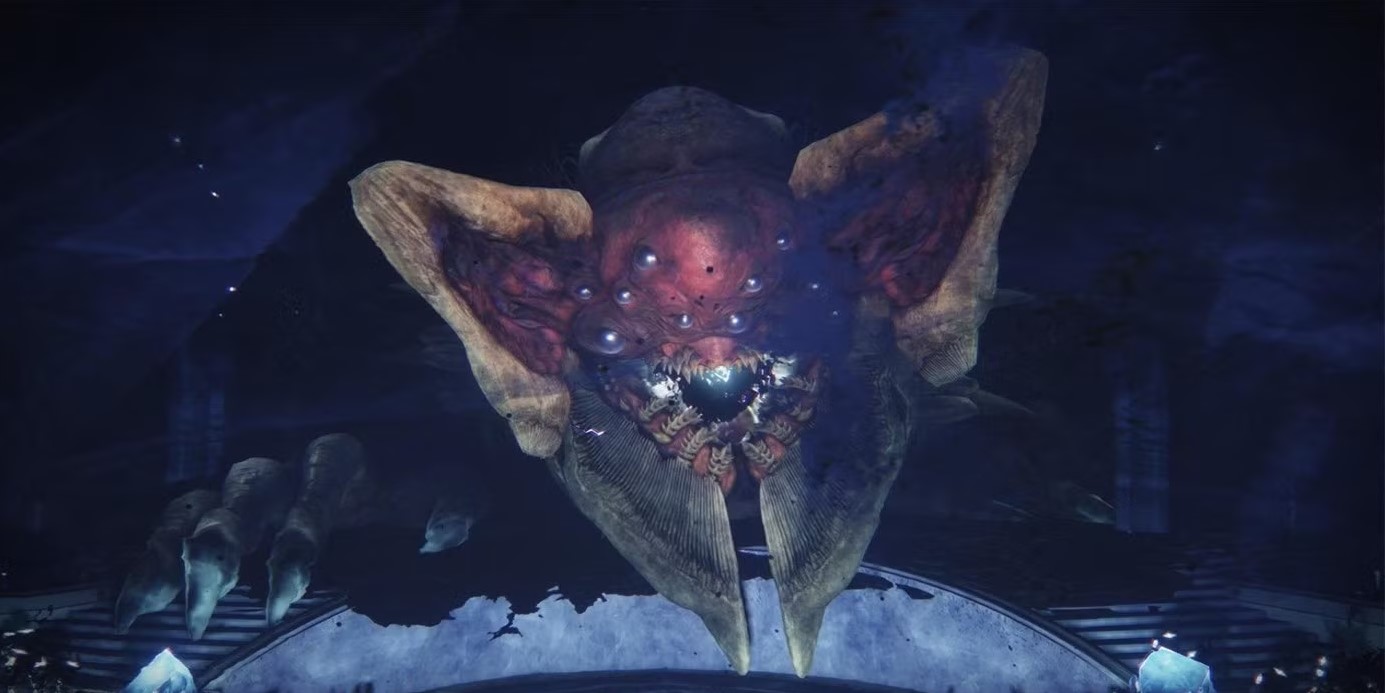
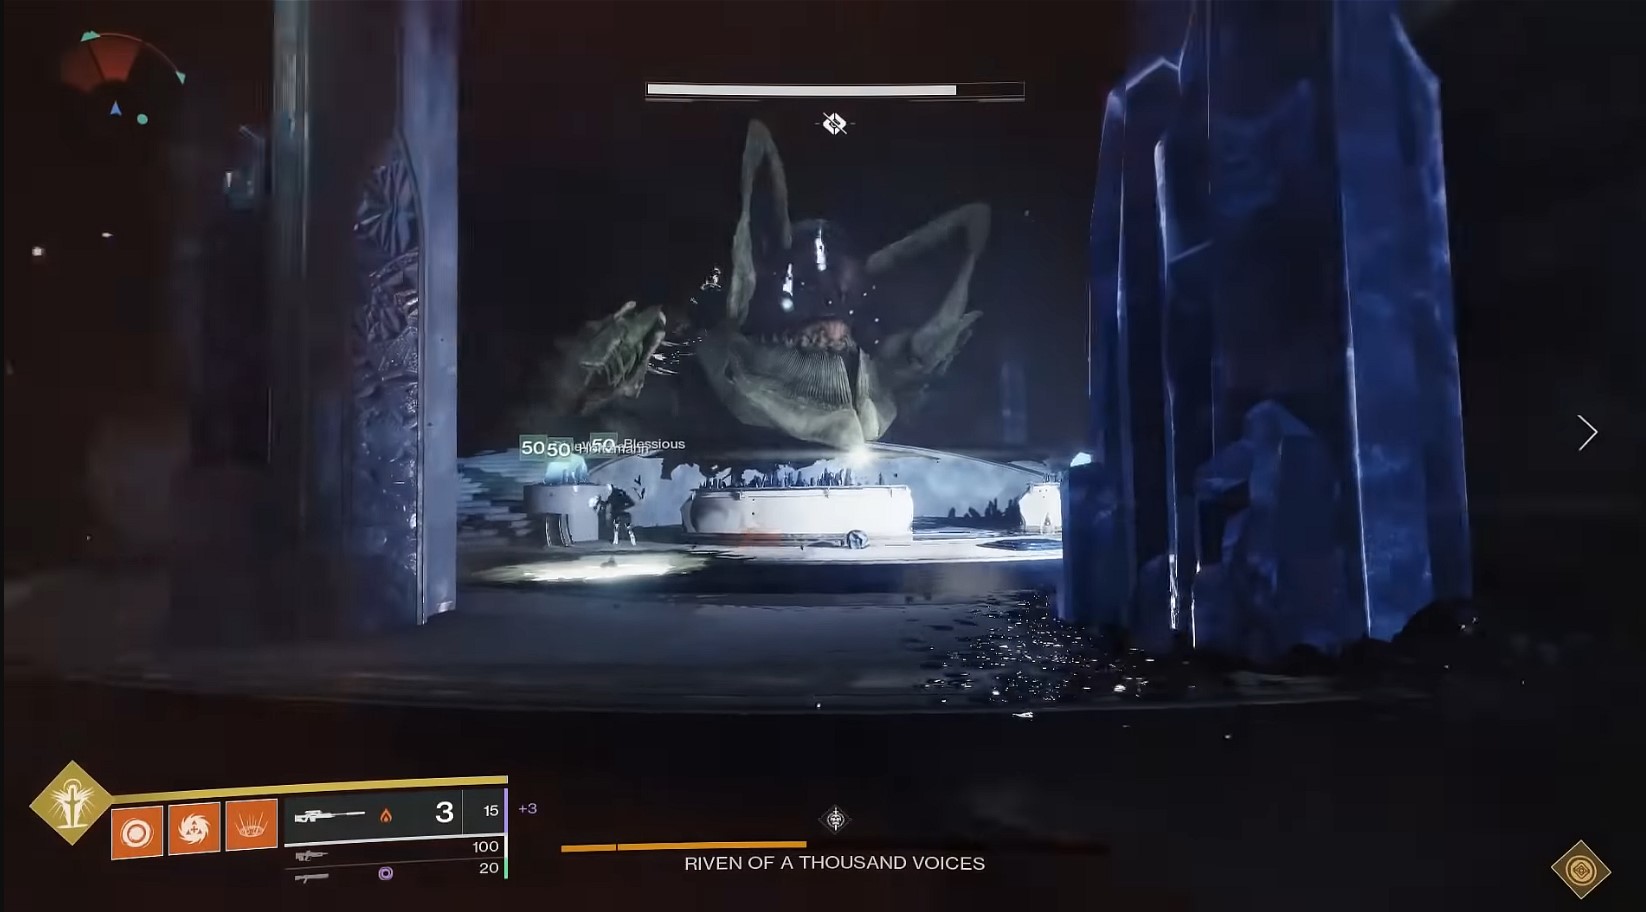
Boss Encounter - Riven
SKIP THE GRIND BUY LAST WISH BOSS KILLS!
General Objective Overview
This is the main boss fight of the raid. Your fireteam splits into two teams and navigates mirrored paths through Riven’s inner chambers. Players must clear enemies, identify the correct eye to shoot during Riven’s appearance, and survive platforming challenges between phases.
Arena & Layout
Riven resides in a massive chamber, but players will not fight her head-on at first. Instead, you’re split into two mirrored rooms, each featuring a winding hallway, elevators, and crystal platforms.
Riven will appear in a massive form at the end of the hall, showing either her real eyes or a decoy set. Your team must memorize the correct eye positions and prepare for final damage inside her body.
Team Roles & Asignments
- Split Fireteams (Team 1 and Team 2): 3 players per side, each progressing through separate mirrored paths.
- Eye Callout Leads (1 per team): Responsible for memorizing which eyes Riven opens and calling them out.
- Ad-Clear & Support: All players help with Taken enemies, especially Ogres and Psions.
Mechanics
- Progress through the halls until Riven appears at the end. She opens a set of eyes; some are real, some fake. Identify the two correct eyes (one on each side) and remember their positions.
- Each team continues clearing enemies and platforming. Riven appears again for damage; players shoot her mouth and then the correct eye. If both teams shoot the correct eyes, the cycle is successful.
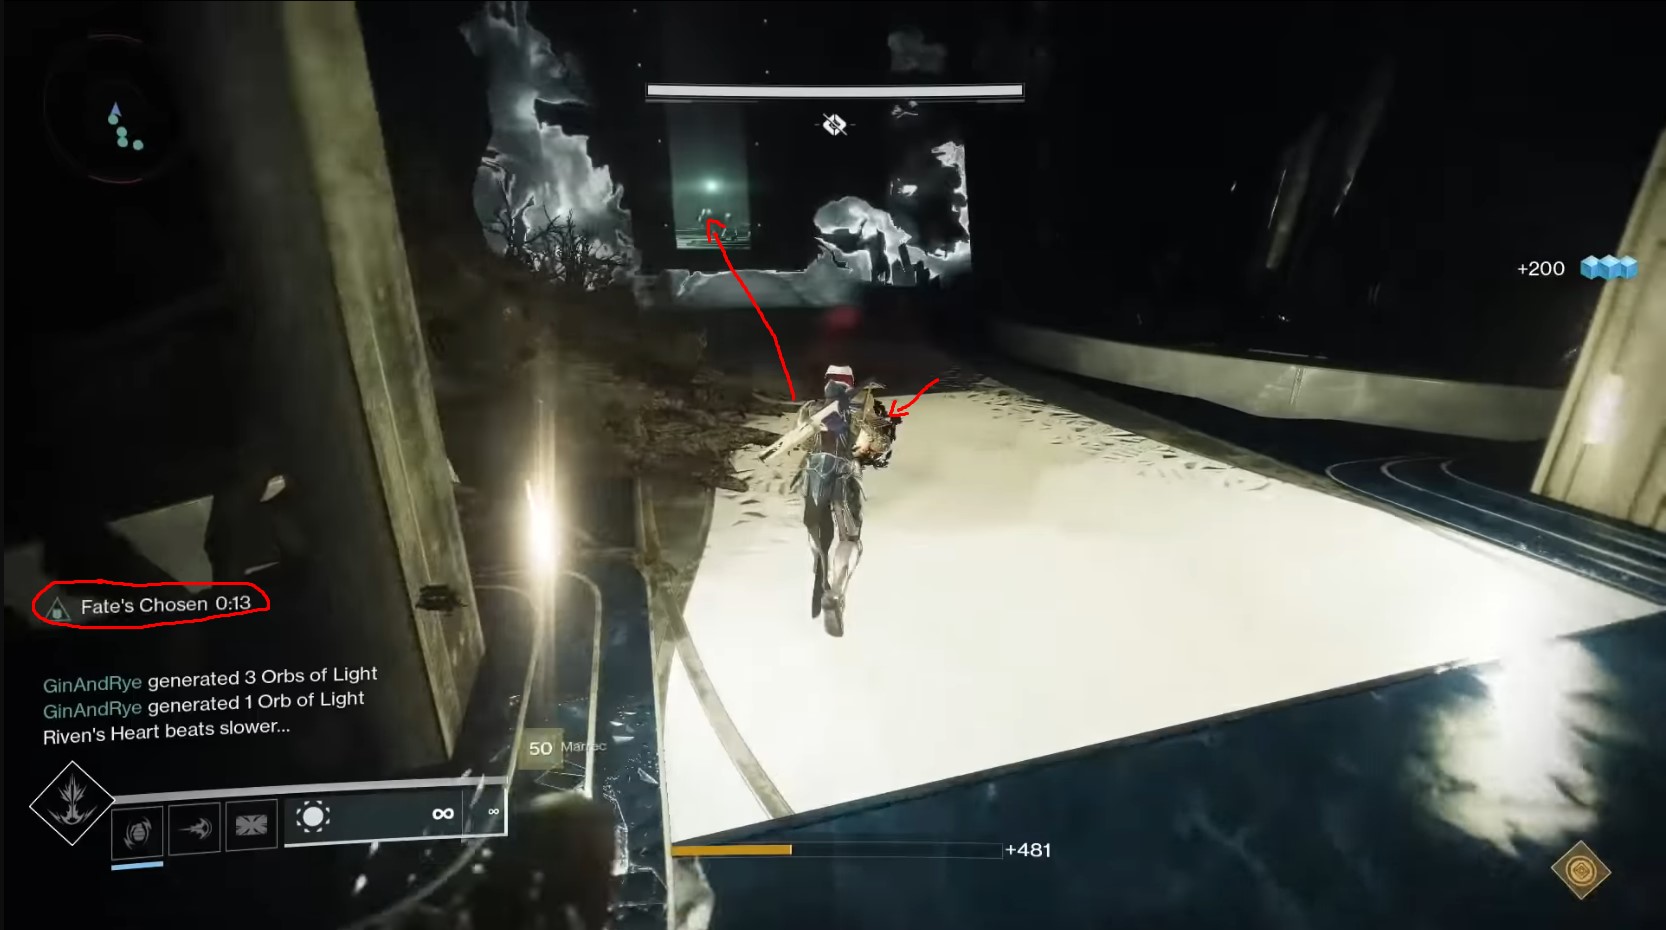
- This process repeats across multiple floors. After the final phase, players enter Riven’s mouth and shoot her heart to trigger the last part, Queenswalk.
- One random player will become Chosen and he will have to pick up the orb and run for a few seconds to dunk this orb in a specific area.
- After time runs out, that player will get teleported in another area and will have to pick up Taken Essence to extend the timer for the player carrying the orb and another one will be randomly chosen.
- All players will get Chosen at one point until the orb is dunked at the specific location, and the raid is completed.

DPS Phase
Final damage occurs inside Riven’s body, where players must destroy her heart before time runs out. After escaping through her mouth, you’ll begin the final orb-carrying sequence, known as Queenswalk.
Tips & Mistakes to Avoid
✔️ - Use consistent callouts for Riven’s eyes (e.g., top left, bottom middle).
✔️ - Equip burst DPS weapons for mouth and eye damage.
❌ - Don’t shoot the wrong eye: It fails the phase and trigger a wipe.
❌ - Don’t get overwhelmed by enemies: Coordinated ad-clear is key to survival.
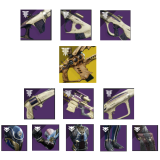
Loot Table
Here we'll be showing you every piece of loot you can acquire from the raid. Last Wish features 8 legendary weapons, 1 exotic & 1 normal armour set. Below you will find a list with all the weapons & armour pieces:
DON'T WASTE TIME BUY LAST WISH WEAPONS!
| Any Encounter |
Riven (Final Encounter) |
|||||||||
|
Chattering Bone Pulse Rifle 

.jpg)
|
The Supremacy Sniper Rifle 

|
Transfiguration Scout Rifle
.jpg)
|
Apex Predator Rocket Launcher 


|
One Thousand Voices Fusion Rifle 

|
||||||
|
Age-Old Bond Auto Rifle 

|
Nation of Beasts Hand Cannon 

.jpg)
|
Techeun Force Fusion Rifle 
|
Tyranny of Heaven Combat Bow 
|
Any previous weapon 
|
Helm of the Great Hunt 
|
Gauntlets of the Great Hunt 
|
Plate of the Great Hunt 
|
Greaves of the Great Hunt 
|
Any Armor piece 
|
Mark of the Great Hunt 
|
These are all the possible loot that can drop from each encounter in Last Wish raid.
SKIP THE GRIND BUY LAST WISH EXOTIC NOW!
Extras & Challenges
Like in the previous raids, Last Wish also has a certain number of collectables, a title (or seal), specific triumphs that awards a unique special badges on your dungeon report. We’ll be going over each of them and tell you what are the best tips & tricks on acquiring them.
Cosmetics
Wish-Maker Shell
The Wish-Maker legendary ghost shell can drop randomly by killing Shuro Chi, the second encounter of the raid.
Cleasing Knife Sparrow
The Cleasing Knife legendary sparrow can drop randomly by killing Morgeth, the third encounter of the raid.
Ermine TAC-717
The Ermine TAC-717 legendary ship can be obtained by using a Glittering Key to open a chest in the raid.
Title & Seal
The title for the Last Wish is called Rivensbane. Below you will find the list with all the required triumphs needed to acquire your seal:
- Last Wish - Trophies from the "Last Wish" raid.
- O Murderer Mine - Complete the "Last Wish" raid.
- Summoning Ritual - During the Kalli encounter, cleanse all nine plates before the damage phase begins.
- Coliseum Champion - Complete the Shuro Chi encounter without anyone getting damaged by her arc blast attack.
- Forever Fight - Defeat Morgeth without killing any Taken Ogres.
- Keep Out - During the Vault encounter, kill the Might of the Riven Knights before they reach the center chamber.
- Strength of Memory - Defeat Riven of a Thousand Voices without shooting the same eye twice.
- Thunderstruck - Complete all raid encounters with a fireteam made entirely of Arc subclasses.
- Night Owl - Complete all raid encounters with a fireteam made entirely of Void subclasses.
- Sunburn - Complete all raid encounters with a fireteam made entirely of Solar subclasses.
- The New Meta - Complete all raid encounters with a fireteam made entirely of the same Guardian class.
- Clan Night: Last Wish - Complete the "Last Wish" raid with a full fireteam of clanmates.
- Petra's Run - Complete the Petra's Run version of the "Last Wish" raid.
- Habitual Wisher - Make 10 wishes in the "Last Wish" raid.
- Put a Flag on It - Plant 5 "Last Wish" Raid Banners.
- Treasure Trove - Loot hidden chests in the "Last Wish" raid 10 times.
After you complete all 16 triumphs, the Rivensbane seal will be unlocked so you can equip it on all your guardians.
SKIP THE GRIND BUY LAST WISH TITLE & SEAL!
FAQs
The Last Wish raid is located in the Dreaming City.
No, the Last Wish raid is not farmable, unless it is the featured raid on rotation that week.
No, the Last Wish raid is one of the older raids in Destiny 2 and doesn't have hard mechanics.
Yes, the Last Wish raid requires ownership of the Forsaken expansion in Destiny 2.
Final Thoughts
I hope this guide will ease your experience with the Last Wish raid encounters and help you get one step further to success. We did all the research, and now it’s your turn to show your skill. Give it a try, Guardian!
About KBoosting
If you are struggling to find a fireteam or don't have enough time to play yourself, at KBoosting, besides articles & guides, we also provide Destiny 2 boosting services. All you need to do is check our Last Wish boosting services and let us handle everything for you, while you have some fun in the game!
