Shattered Throne Guide – Complete Destiny 2 Dungeon Walkthrough


-
-
Bundle
- Powerful & pinnacle gear with 25% off
- Increase your power level easily
-
Hot


-
Sale 15%Ends in 9h 48m 05s
-
Sale 15%Ends in 9h 48m 05s
-
In Rotation
-
In Rotation
-
Sale 15%Ends in 9h 48m 05s
-
Sale 15%Ends in 9h 48m 05s

-
In Rotation

- Flawless ST dungeon guaranteed
- Get unique cosmetics for your guardian
Introduction
The Shattered Throne dungeon was released in Destiny 2 during Forsaken expansion. The guide will take you through every step needed to complete it, covering all mechanics, strategies, and loadouts.
Table of Contents
In this guide, we will cover the following subjects:
- Dungeon Preparation
- How to access the dungeon
- First Encounter
- Second Encounter
- Boss Encounter
- Loot Table
- Extras & Challenges
- FAQ
- Conclusion
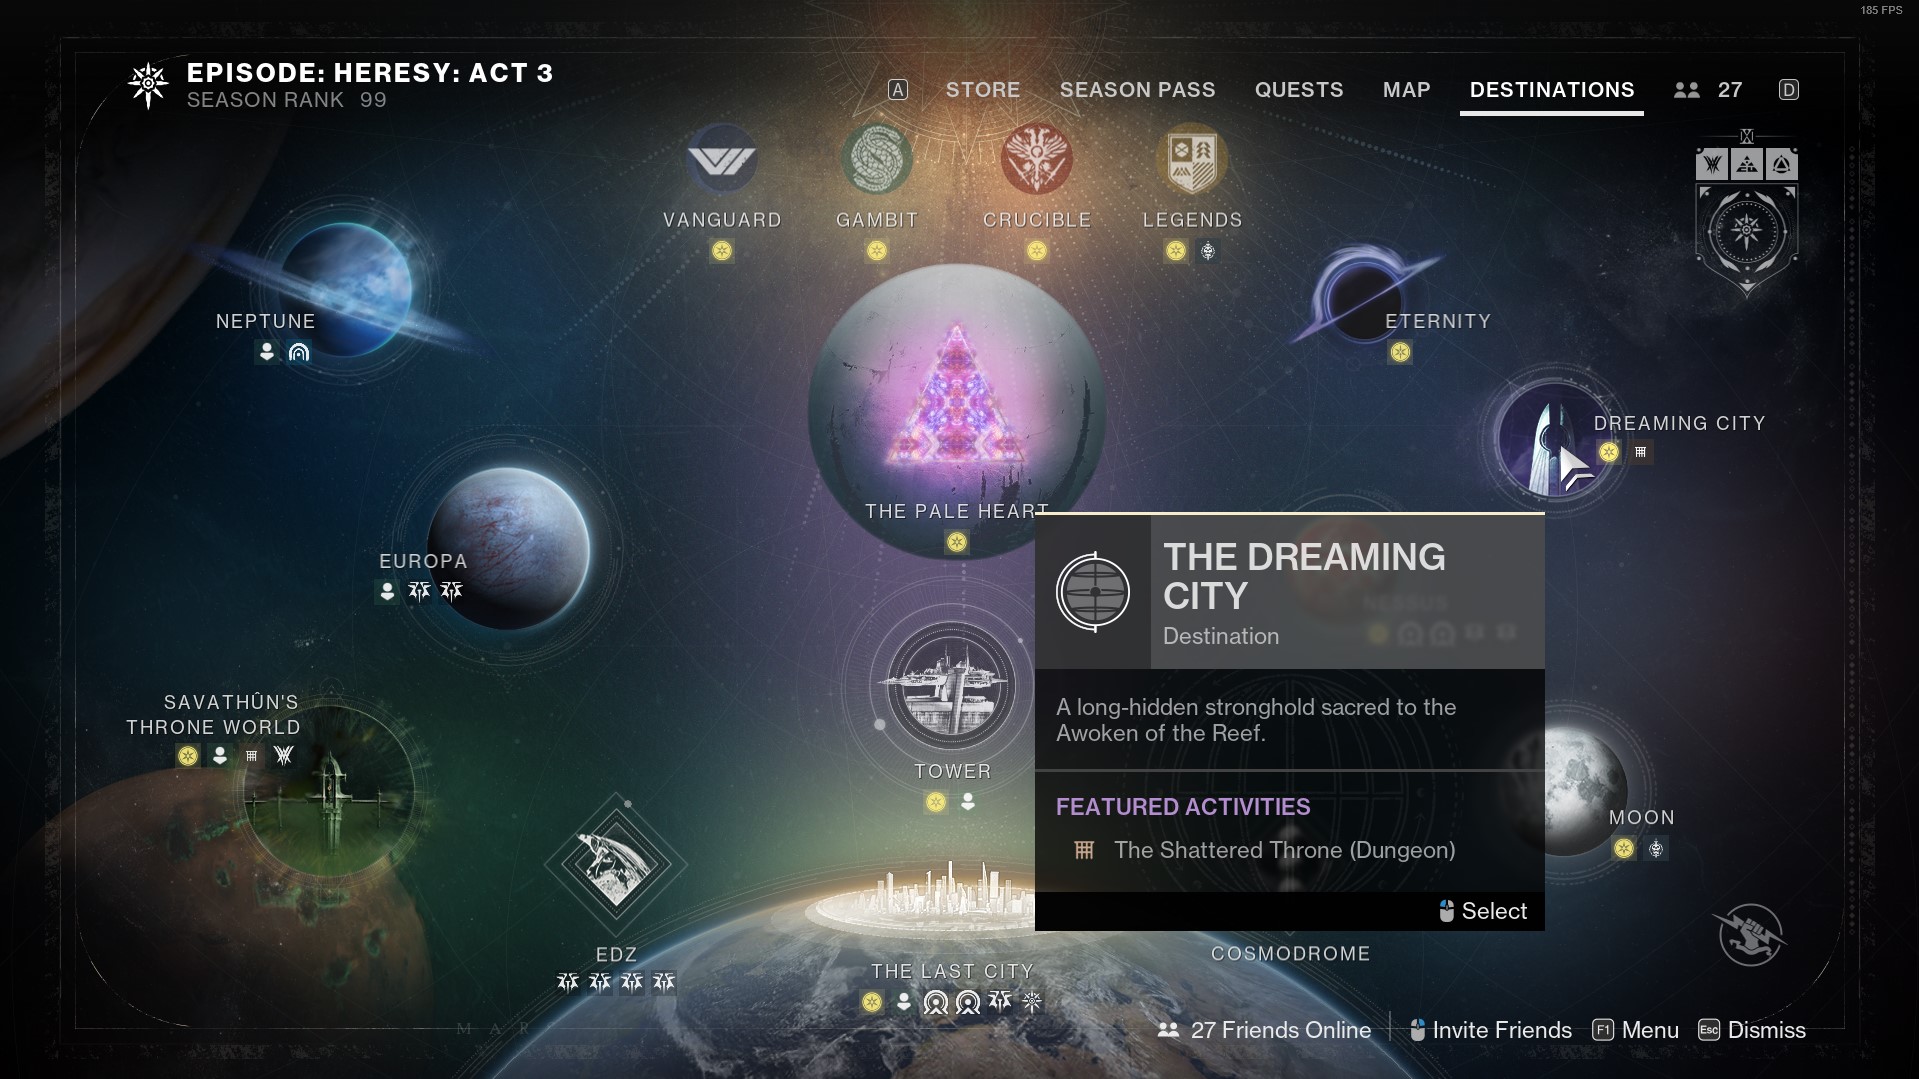
How to access the dungeon
To access the Shattered Throne dungeon, you need to have the Forsaken expansion purchased on your account.
You must open the destination menu and find the activity icon in the Dreaming City tab and locate the Confluence area.

Dungeon Preparation
Shattered Throne dungeon features unique mechanics, so being prepared with the best meta loadouts will help you out immensely during each encounter. I’ll be going over some of the best weapons & subclasses that you should be using to ensure your success.
SKIP THE GRIND! BOOST YOUR GUARDIAN NOW!
Best subclasses & builds
Getting started
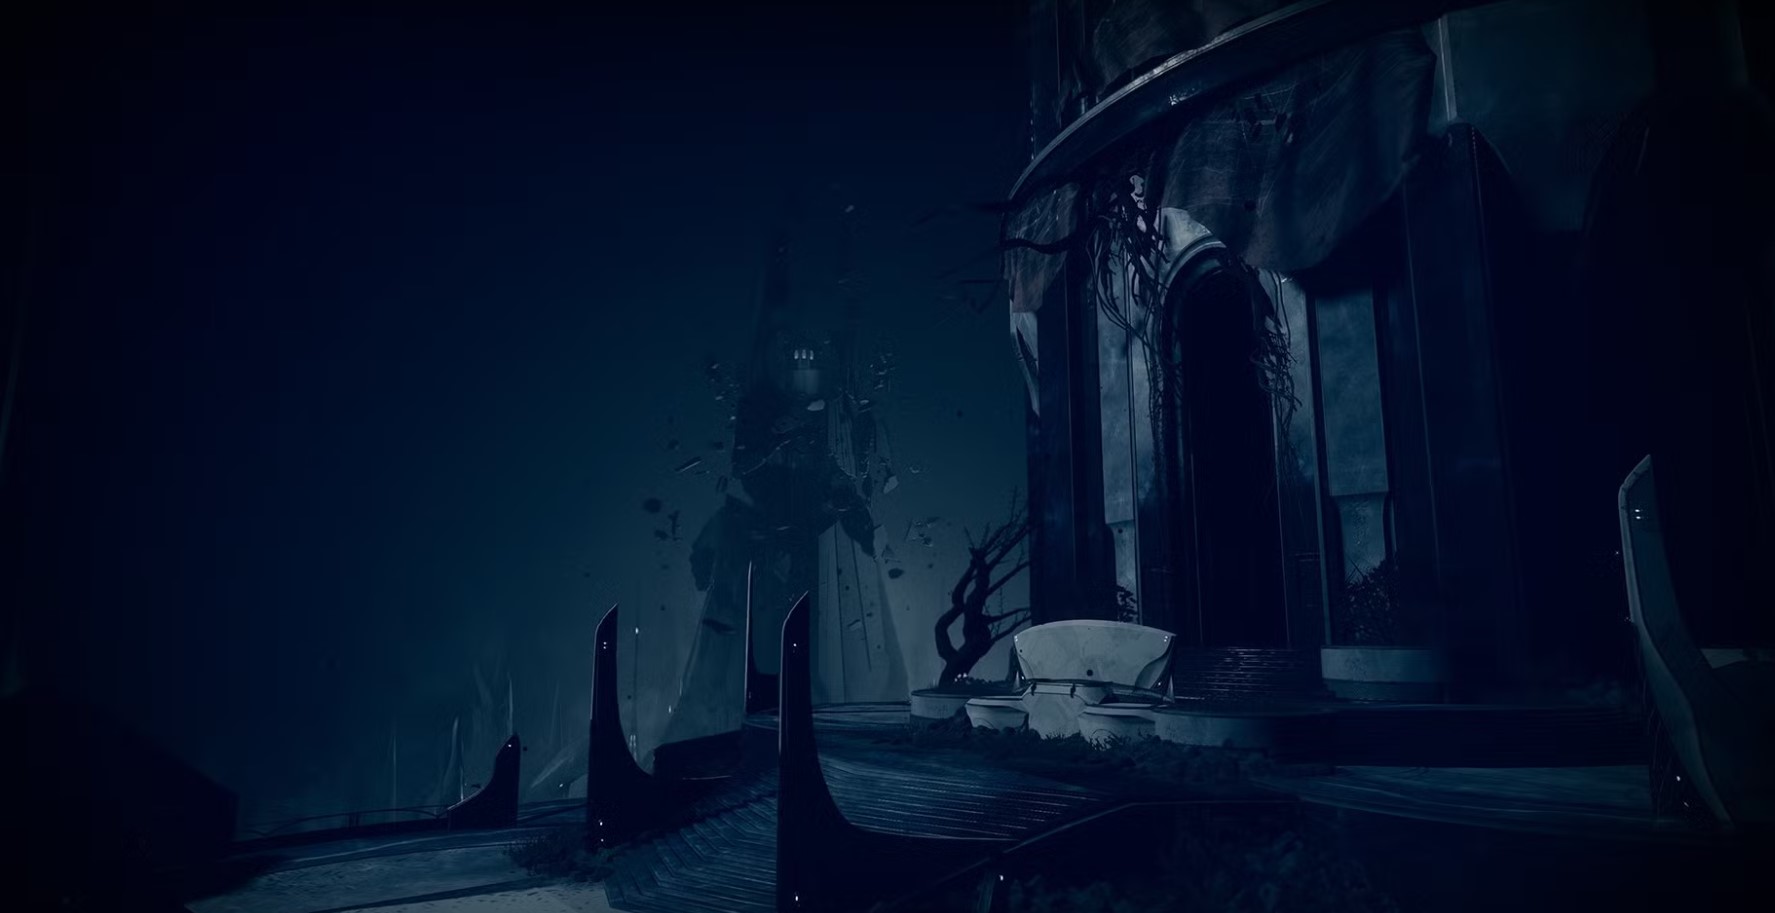
The Shattered Throne dungeon icon is located at the Confluence area, inside the Strongehold of Eleusinia (Mara Sov’s throne world).
Best weapons loadouts
Here, I’ll be going over some of the best meta weapons to use in the Shattered Throne dungeon:
SKIP THE GRIND BUY SHATTERED THRONE CARRY!
Reaching the first encounter
To reach the first encounter, travel through The Eleusinia straight ahead and the first encounter will begin shortly.
First encounter - Erebus
General Objective Overview
This phase requires players to defeat enemies at three marked symbols in the correct order to progress. Each symbol is associated with a specific miniboss. Collect the ''Petitioner's Mark'' buff by defeating a marked enemy at the correct symbol, then repeat this three times to advance.
.jpg)
Arena & Layout
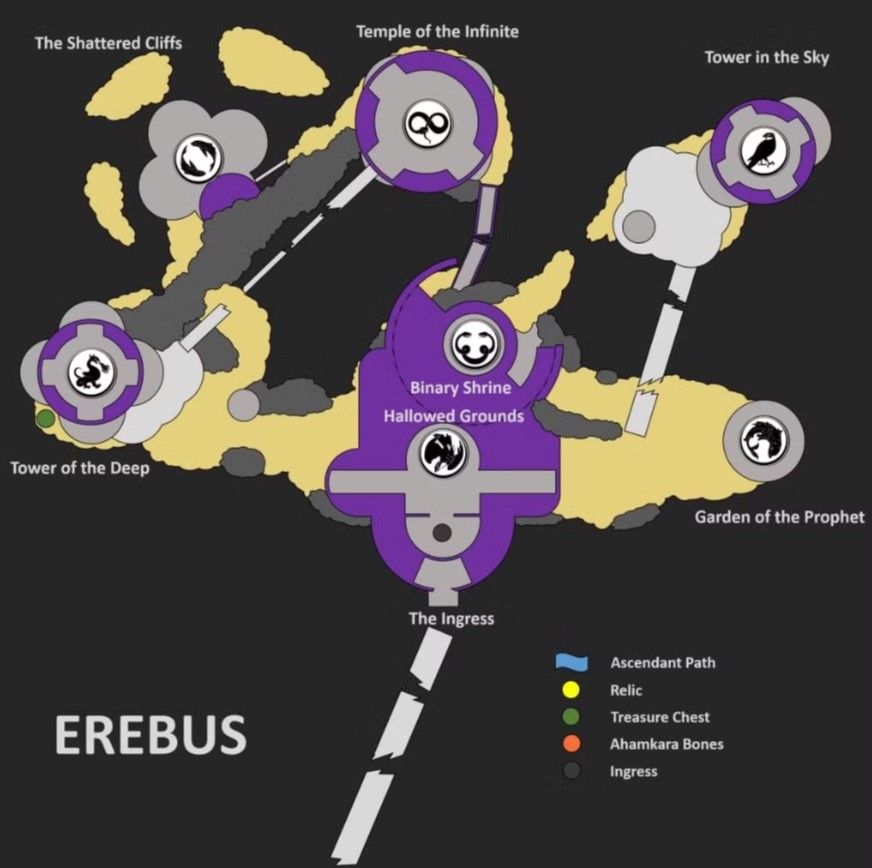
The zone is a large open map with nine total symbols, such as Dragon, Infinity Snake, and Teardrop. Use the symbol map above to navigate between locations efficiently. Please note that enemies spawn in abundance, especially at the final symbol of each cycle.
Team Roles & Asignments
- Navigator: Calls out the next symbol from the wall.
- Runner: Moves quickly between symbol locations, clearing ads and dealing damage to minibosses.
- Ad-Clear: Clears ads and protects the Runner.
Mechanics
The ''Petitioner's Mark'' is a buff gained after killing the miniboss at the correct symbol. It will kill in 45 seconds if not deposited. If the wrong miniboss is killed, the symbol sequence resets.
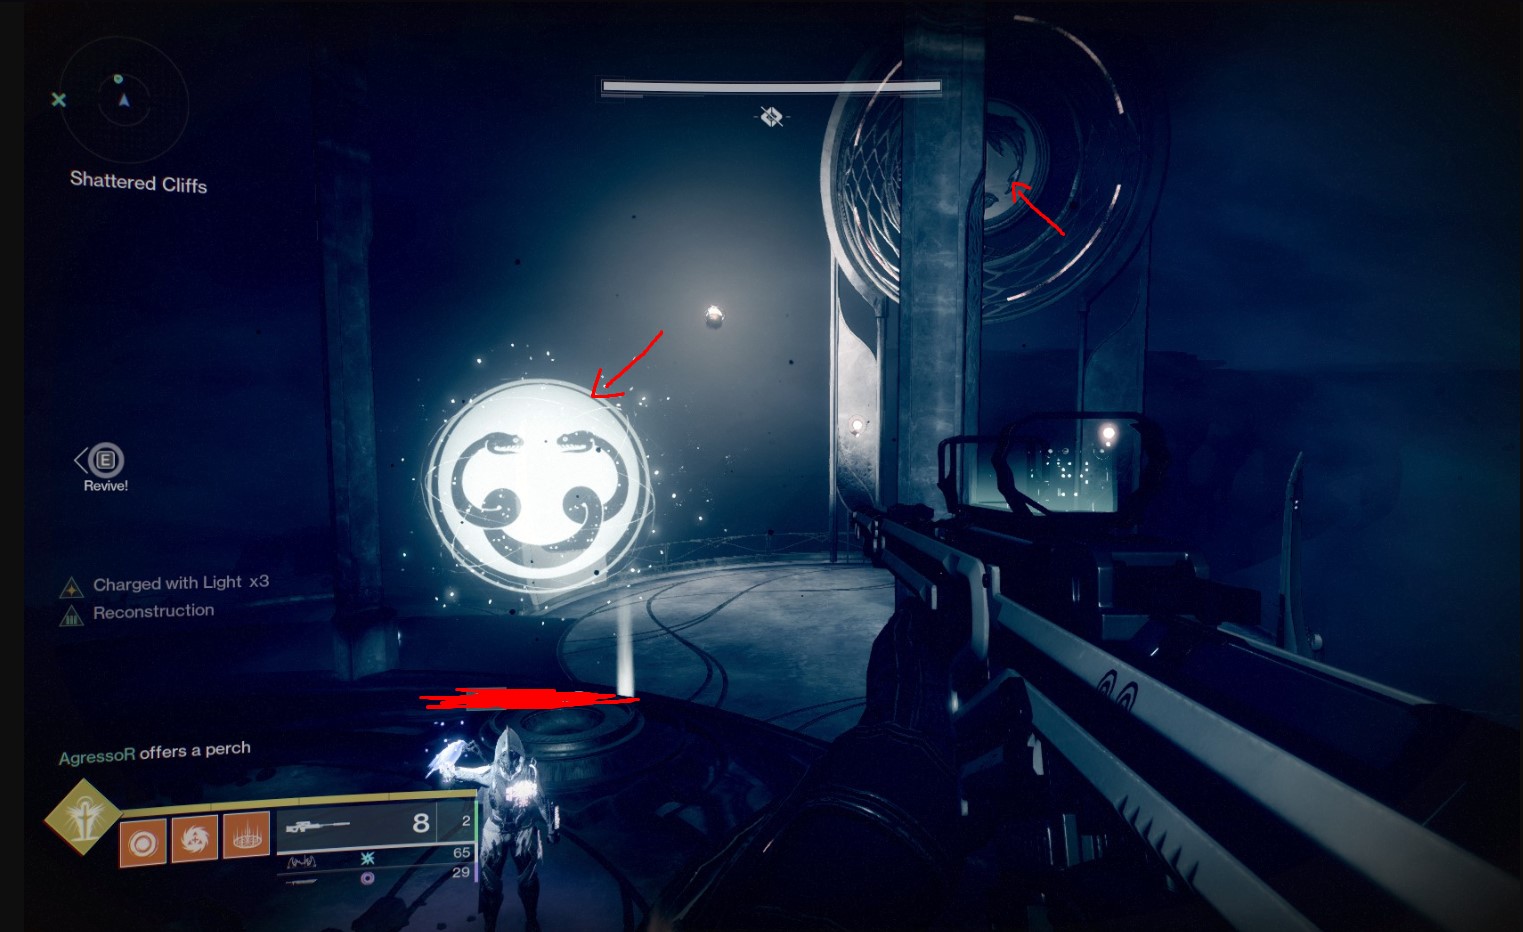
Killing enemies out of order wastes time, so only go to the correct symbol as shown on the wall. There are 7 symbols and areas to be killed, after you clear the first 6, the last symbol will appear in the middle of the arena.
DPS Phase
There is no DPS phase for this encounter, but each miniboss has a short window for burst damage after spawning.
Tips & Mistakes to Avoid
✔️ - Memorize or keep a symbol map handy: This saves time and prevents wrong turns.
✔️ - Kill ads first before the miniboss: This makes miniboss fights safer and cleaner.
❌ - Do NOT kill a miniboss at the wrong symbol: This resets the sequence.
❌ - Don't ignore the ''Petitioner's Mark'' timer: You must continue the cycle before you die.
Reaching the second encounter

After the first encounter, you will have to drop down and navigate a hallway filled with Taken Thralls. Keep following the corridor until you reach a large area where Taken Ogres patrol. You will have to keep following the beam platforms and kill the Ogres to reach the second encounter.
Second Encounter - Vorgeth, The Boundless Hunger

General Objective Overview
To defeat Vorgeth, you will need to kill 4 Wizards to spawn orbs needed to break Vorgeth's shield. Pick up orbs dropped by the Wizards and deposit them on corresponding plates so you can damage the boss.
Arena & Layout
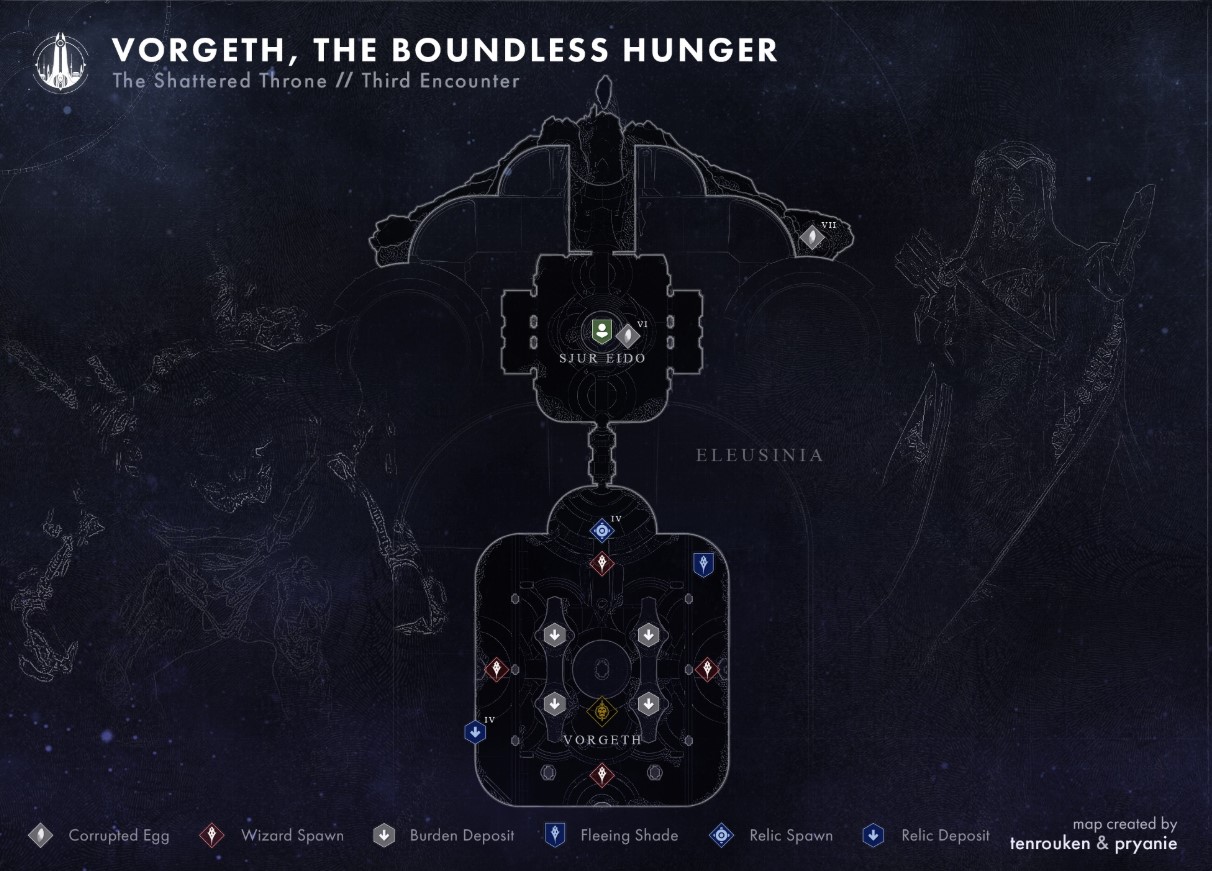
This is a square-shaped arena with 1 Wizard in each corner. There are 4 deposit plates near the center of the room, and you will need to dunk orbs into each of them.
Team Roles & Asignments
- Wizard Killers (2 players or solo if experienced): Focus on killing Wizards quickly and collecting their orbs.
- Orb Runner: Collects the orb and deposits it at the correct plate.
- Ad-clear: Controls enemy waves and clears space around plates.
Mechanics
- Shielded Vorgeth: He will be immune until all four orbs are deposited.
- Four Wizards: Killing each of them spawns an orb.
- Orb Timers: You must quickly dunk each orb or it will despawn.
DPS Phase
Once all four orbs are deposited, Vorgeth’s shield drops. Use high-burst DPS weapons like Queensbreaker or Lord of Wolves to easily one-phase this boss.
Tips & Mistakes to Avoid
✔️ - Kill all Wizards fast: they will spawn more ads the longer they live.
✔️ - Clear the area before dunking orbs: This can keep you alive in crucial moments.
❌ - Don’t hold the orbs too long: They will despawn after a short time, so try to hurry.
❌ - Don’t stand in the open during DPS: Vorgeth uses dangerous AoE blasts, so try to not stay too close to him during DPS.
Reaching the boss encounter
After Vorgeth is defeated, a door behind him opens. Proceed through more Taken-filled hallways until you reach the Throne Room; the final boss fight against Dul Incaru, the Eternal Return.
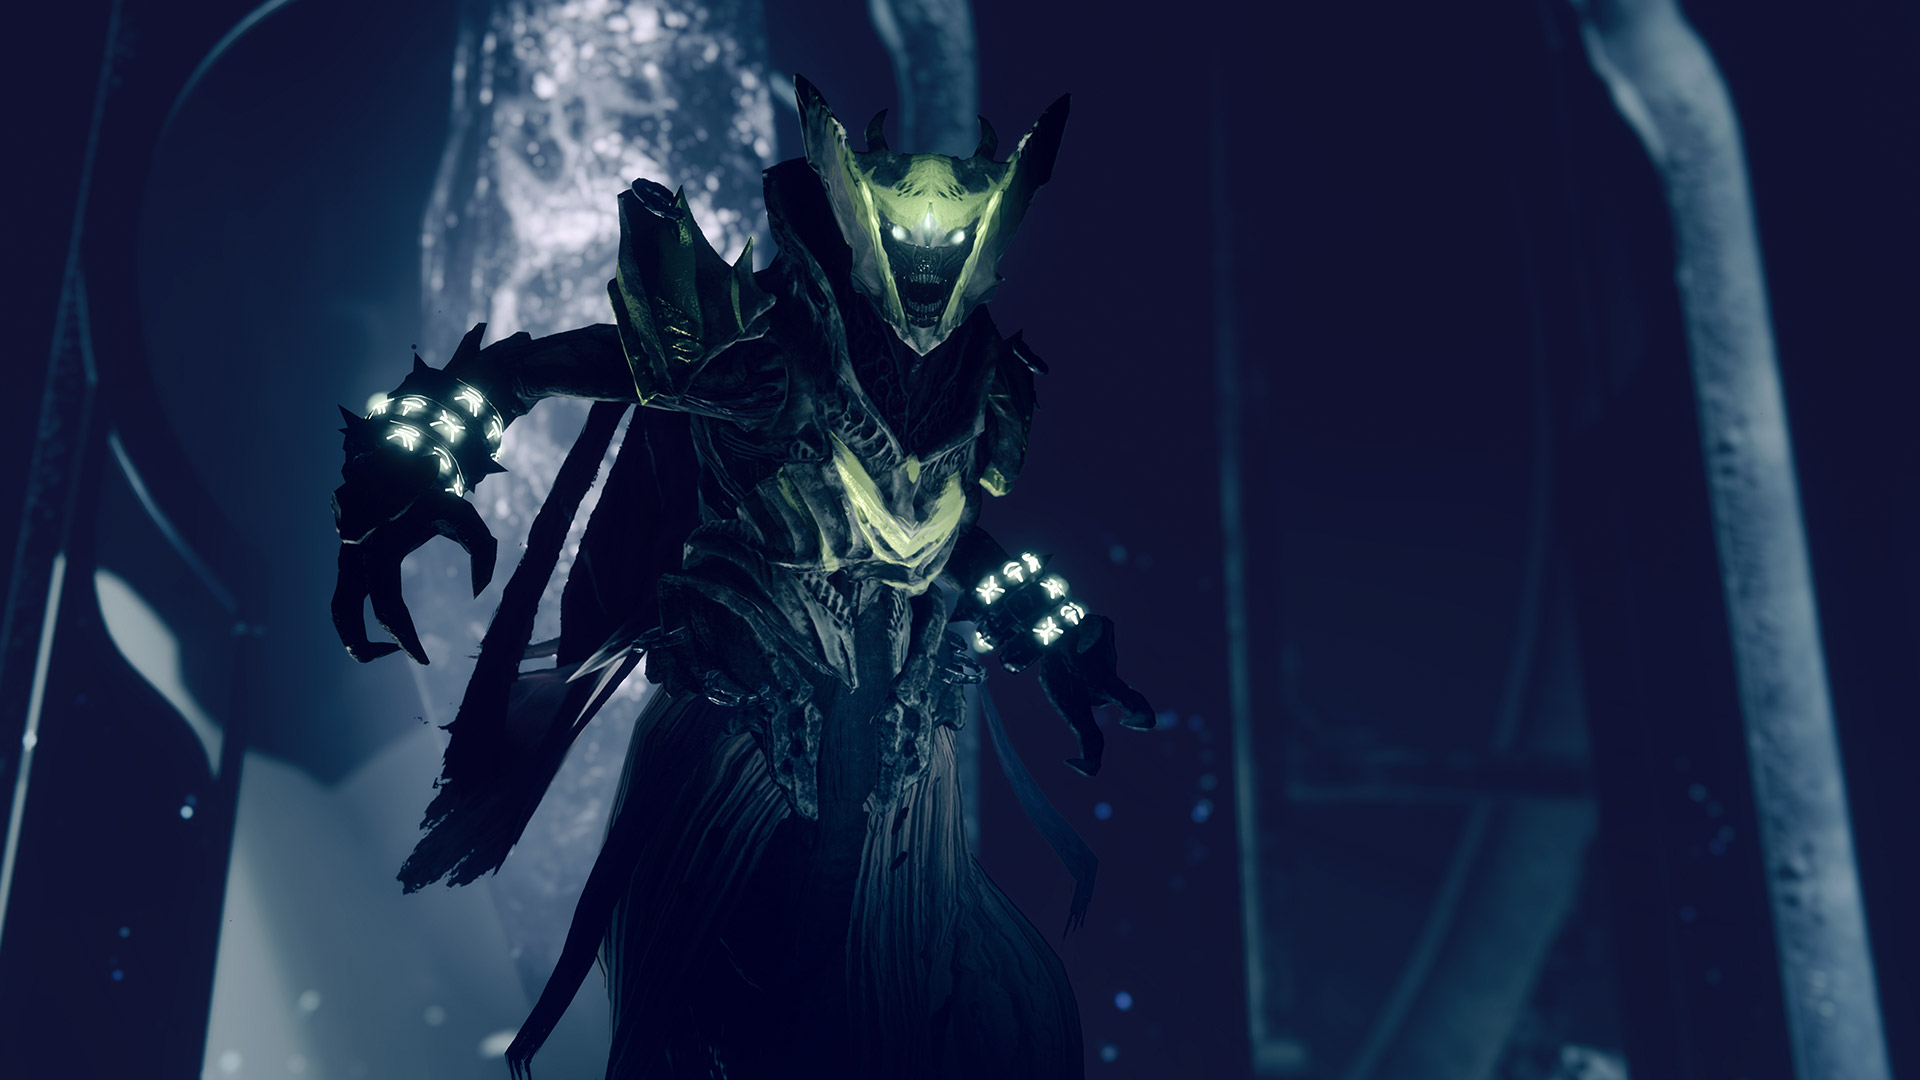
Boss Encounter - Dul Incaru, the Eternal Return
SKIP THE GRIND BUY SHATTERED THRONE BOSS KILLS!
General Objective Overview
To defeat Dul Incaru, you will first need to kill the 3 giant Knights that spawn around her in order to begin DPS.
Arena & Layout
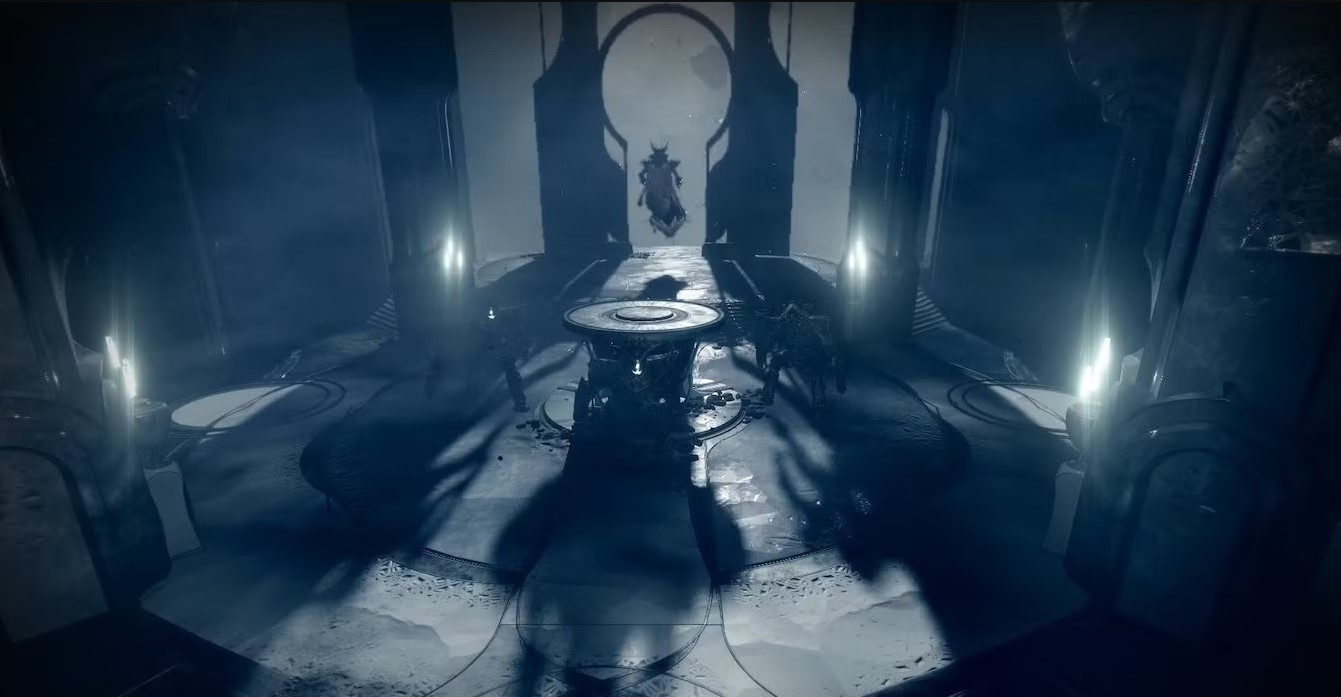
The arena is a long, rectangular throne room with a wide central platform. Dul Incaru stands at the far end with Knights flanking her. Ads spawn near the entrance and along the sides.
Team Roles & Asignments
- Knight Killers: Focus on bringing down the 3 Knights fast.
- Crystal Breakers: Immediately destroy the crystals after each Knight dies.
- Ad-clear Support: Handles constant waves of Taken Thrall and Snipers.
Mechanics
- Knights: Killing one spawns a crystal. Killing all three starts the DPS phase.
- Crystals: Must be destroyed to prevent boss wipe. Act fast.
- Wipe Timer: If the crystals remain up too long or you’re too slow in the DPS phase, she wipes the team.
DPS Phase
The DPS phase begins once all three crystals are broken. Use burst Supers (Nova Bomb, Golden Gun), Grenade Launchers, Linears, or anything that deals great DPS. She should be dead before you know it. In case you don't kill her in one-phase, repeat the mechanics again until she is dead.
Tips & Mistakes to Avoid
✔️ - Kill each Knight one at a time and immediately break the crystal.
✔️ - Use burst damage supers and coordinate DPS for a fast clear.
❌ - Don’t ignore the ads: They build up fast and can become overwhelming.
❌ - Don’t leave crystals up too long: They’ll wipe your team if left untouched.
Loot Table
Here we'll be showing you every piece of loot you can acquire from the dungeon. Shattered Throne features 7 legendary weapons, 1 exotic, 1 normal armour set & 1 artifice armour set. Below you will find a list with all the weapons & armour pieces:
SKIP THE GRIND BUY SHATTERED THRONE WEAPONS!
| Any Encounter |
||
|
Vouchsafe Scout Rifle 

.jpg)
|
Twilight Oath Sniper Rifle 


|
Abide the Return Sword 

|
|
Retold Tale Shotgun 

|
Sleepless Rocket Launcher 

|
Wish-Ender Combat Bow 

.jpg)
|
|
Waking Vigil Hand Cannon 

|
Tigerspite Auto Rifle 

|
Reverie Dawn Helmet 
|
|
Reverie Dawn Arms 
|
||
|
Reverie Dawn Chest 
|
||
|
Reverie Dawn Legs 
|
||
|
Reverie Dawn Class-item 
|
||
These are all the possible loot that can drop from each encounter in Shattered Throne dungeon.
SKIP THE GRIND BUY SHATTERED THRONE EXOTIC!
Extras & Challenges
Being the first dungeon ever released, Shattered Throne only has a limited number of collectables & no title (or seal), but it does have a solo & flawless triumph that awards a unique emblem & special badge on your dungeon report. We’ll be going over each of them and tell you what are the best tips & tricks on acquiring them.
Solo & Flawless

Conquering Shattered Throne dungeon solo flawless is a true test of a guardian's skill. Solo flawless demands perfect preparation, from optimizing your build with the right subclass, exotic armor, and weapon loadout to mastering the dungeon's encounters.
Completing the dungeon solo flawless awards you with a unique emblem that you can use to show off to other guardians, while also giving you a special badge on your raid report that you’ve completed the dungeon solo flawlessly.
SKIP THE GRIND BUY SHATTERED THRONE SOLO FLAWLESS!
FAQs
The Shattered Throne dungeon is located in the Dreaming City.
No, the Shattered Throne dungeon can only be farmed when it is part of the active dungeon rotation.
Yes, you can solo the dungeon and even solo flawless the dungeon, although it will be very challenging due to encounter mechanics and difficulty.
Yes, the Shattered Throne dungeon requires the Forsaken expansion.
Final Thoughts
I hope this guide will ease your experience with the Shattered Throne dungeon encounters and help you get one step further to success. We did all the research, and now it’s your turn to show your skill. Give it a try, Guardian!
About KBoosting
If you are struggling to find a fireteam or don't have enough time to play yourself, at KBoosting, besides articles & guides, we also provide Destiny 2 boosting services. All you need to do is check our Shattered Throne boosting services and let us handle everything for you, while you have some fun in the game!
