BO7 Freerun Ascent Event Guide: Challenges, Rewards & Hardest Sections

Black Ops 7 Season 3 Reloaded launched the Freerun mode and the time-limited Freerun: Ascent Event. Players race through a 10-zone Guild training tower with 10 racers per match, tested on Wall Jumps, Grappling Hook, Wingsuit, and weapon targets. The event runs from May 5 to May 14, 2026 and rewards three free camos, a Kogot-7 Blueprint, plus charms, calling cards, and emblems for completing specific challenges.
This guide covers all Freerun: Ascent challenges and rewards, the 3 hardest event challenges with full strategy, and a zone-by-zone walkthrough of the Ascent course including the hardest sections that wreck most runs. Use it to lock the Innovate, Cyberize, and Networked camos before the event ends.
Key Takeaways
- Hardest skill challenge: Innovate camo requires finishing Freerun: Ascent in under 14 minutes with fewer than 10 faults.
- Most consistent strategy: fault control matters more than raw speed. A clean run almost always beats a rushed one.
- Most time-consuming event reward: Cyberize camo requires Top 5 finishes across multiple Ascent matches, which is grindy rather than mechanically hard.
- Best Sprinter method: use the first three zones as your safest no-fault chain to clear the 3-zones-in-a-row requirement three times.
- Hardest course zones: Zone 5, Zone 8, Zone 9, and Zone 10 cause the majority of late-run failures.
- Event deadline: Freerun: Ascent Event rewards are only available from May 5 to May 14, 2026.
What is the Freerun Mode and the Ascent Event?
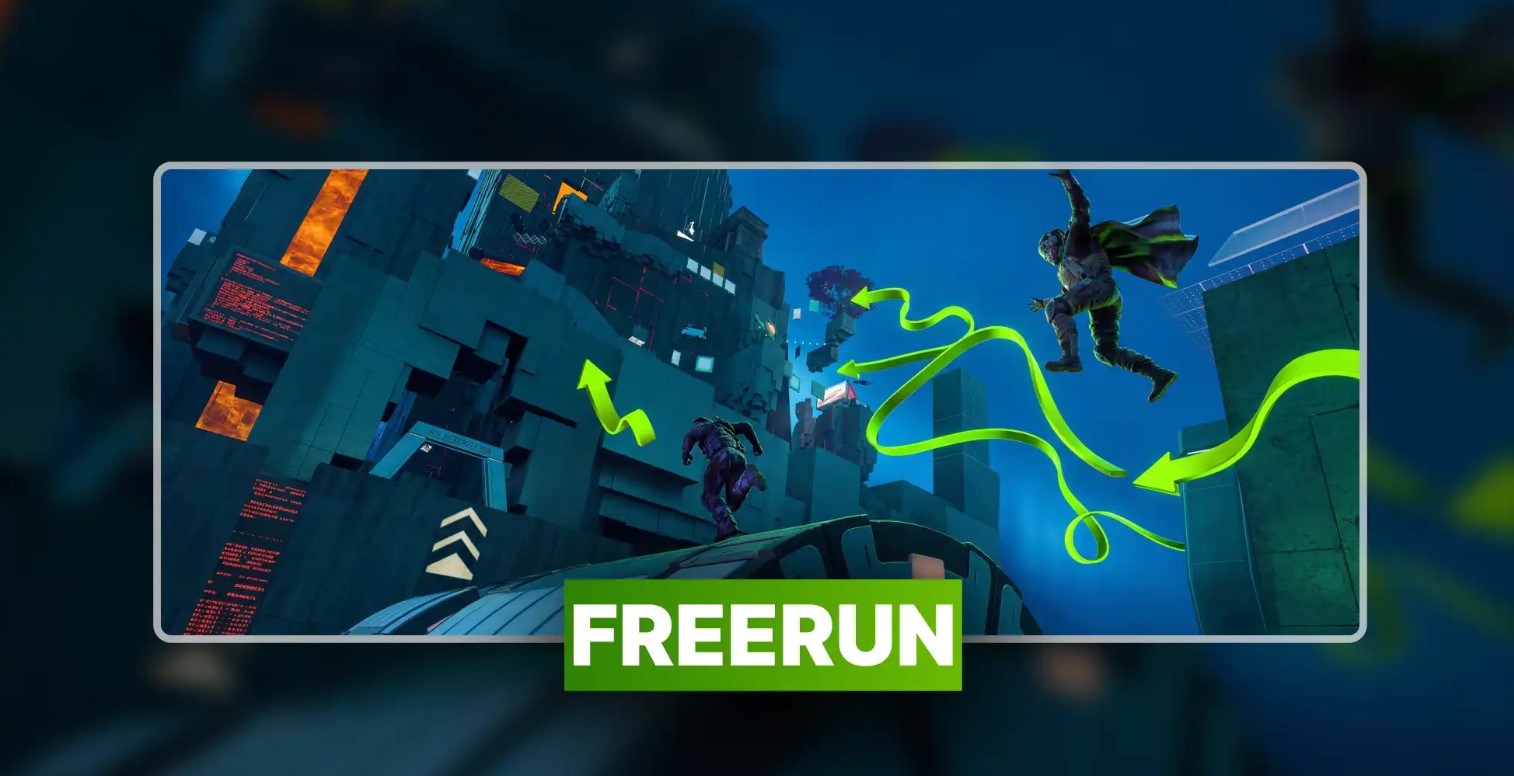
Freerun is the new parkour race mode added to Black Ops 7 with Season 3 Reloaded. Freerun: Ascent is the first course in the mode and the focus of the current event. Players climb the Guild training tower through 10 increasingly demanding zones, with 10 racers per match competing for placement and clean runs.
Freerun Mode Overview
The Guild is recruiting volunteers for Project Synapse, a training program that throws contestants through a vertical obstacle course. The Ascent course tests Wall Jumps, slide-under-low-walls, hop-across-spinning-platforms, and weapon target shooting. Later zones add the Grappling Hook and Wingsuit for traversal.
Each match has 10 racers. Placement matters because some event challenges require Top 5, Top 8, or Top 3 finishes. Fault count matters because the Innovate camo and Keep Running calling card both lock behind low fault thresholds.
Freerun Ascent Event Dates
The Freerun: Ascent Event runs from May 5 to May 14, 2026, a roughly 9-day window. After May 14 the event-locked rewards (Networked animated camo, Cyberize camo, Run Wild Kogot-7 Blueprint, etc.) are no longer earnable. The mode-level rewards (Innovate, Scaled, Upswing) remain available indefinitely as long as the Freerun mode stays in rotation.
Mode Challenges vs Event Challenges
Two separate reward groups exist. Permanent mode rewards live with Freerun forever (Scaled Emblem, Upswing Charm, Innovate Camo). Time-limited Event rewards are locked to the May 5 to May 14 window (Gain Foothold, Cyberize, Sprinter, Keep Running, Dodge, Run Wild, Networked).
Important: The event runs from May 5 to May 14, 2026. Mode-level rewards may remain available after that window, but the event rewards are time-limited and cannot be earned later.
BUY FREERUN CAMOS NOW!
All Freerun Ascent Challenges and Rewards
The full reward list combines 3 mode-level rewards plus 7 event rewards for 10 total unlocks across the Freerun: Ascent ecosystem. The table below pairs each challenge with the source group, the reward, and the unlock requirement.
| Challenge | Source | Reward | Requirement | Notes |
| Scaled | Mode | Emblem + 1,000 XP | Complete the Ascent course 3 times | Easiest mode reward, completion-only |
| Upswing | Mode | Weapon Charm + 2,500 XP | Collect all Ciphers in Ascent | Requires careful course exploration |
| Innovate | Mode | Universal Weapon Camo + 5,000 XP | Finish Ascent under 14 minutes with fewer than 10 faults | Hardest skill challenge of the package |
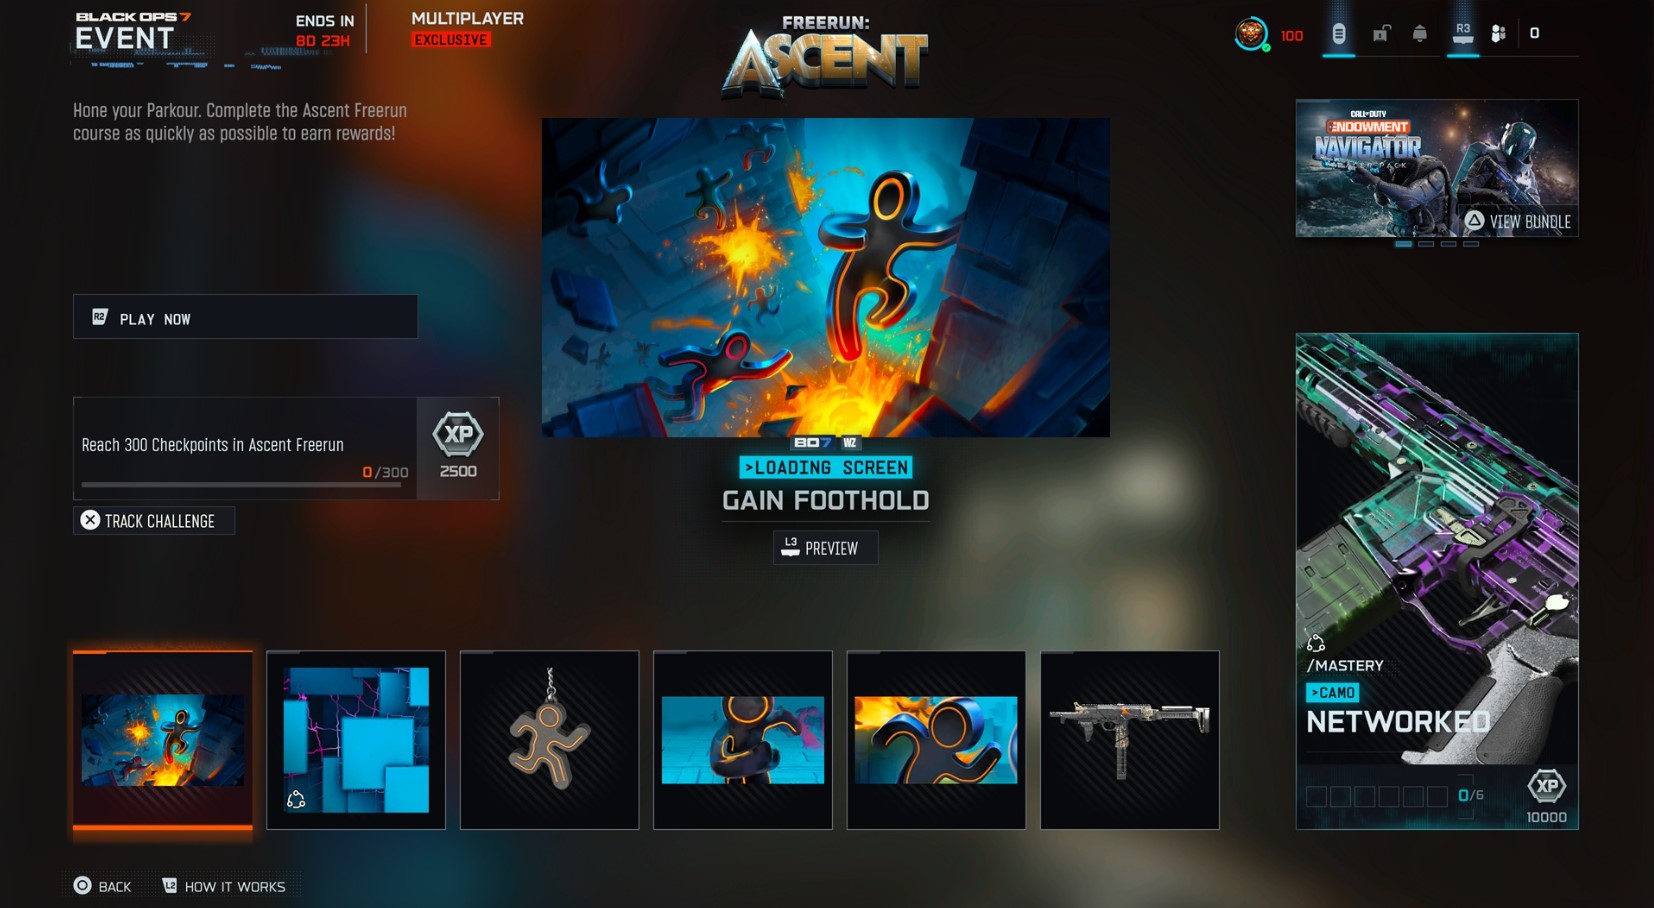
| Gain Foothold | Event | Loading Screen | Reach 300 Checkpoints in Ascent | Adds up across multiple matches |
| Cyberize | Event | Weapon Camo | Finish Top 5 in Ascent x6 times | Most time-consuming event reward |
| Sprinter | Event | Weapon Charm | Complete 3 Zones in a row without a Fault, x3 times | Hardest consistency challenge |
| Keep Running | Event | Animated Calling Card | Top 8 finish with fewer than 15 Faults | Lenient fault threshold |
| Dodge! | Event | Calling Card | Finish Top 3 in Ascent | One clean run gets it |
| Run Wild | Event | Kogot-7 Weapon Blueprint | Finish Ascent under 17 minutes | Generous time, easy unlock |
| Networked | Event | Animated Weapon Camo | Earn all previous Ascent Event rewards | Compound challenge, locks the animated camo |
The 3 Hardest Freerun Challenges
Three challenges separate completionists from casual players. Each one fails for a different reason: Innovate is a skill wall, Sprinter is a consistency wall, and Cyberize is a time wall. The comparison table below breaks down why each is hard plus the cleanest strategy.
| Challenge | Reward | Why It Is Hard | Best Strategy |
| Innovate | Universal Weapon Camo | 14 min cap + sub-10 faults — one bad zone ends the run | Slow and clean, prioritize fault control over speed |
| Sprinter | Weapon Charm | 3 zones in a row no fault, x3 times — consistency punishment | Use Zones 1, 2, 3 as the safe chain |
| Cyberize | Weapon Camo | Top 5 finish x6 — large time investment | Pace yourself, focus on clean finishes over racing |
Innovate Camo: Hardest Skill Challenge
Innovate is the hardest mechanical challenge in the Freerun: Ascent ecosystem. The 14-minute timer is generous, but the sub-10 fault requirement is where most players collapse. One bad zone with three or four faults effectively ends your camo run.
The smart approach is slow and controlled, not fast and stupid. Take Zone 3 carefully because of the hidden hole behind the first crouch jump, slow down at Zone 5 to spot the second zip line target on the left, and treat Zones 8 and 9 as fault-management zones rather than speed zones. A clean run at 12 to 13 minutes beats a chaotic 11-minute run with 12 faults every time.
Pro Tip: For Innovate, slow and clean beats fast and messy. The 14-minute timer is generous, but 10 faults fails the camo regardless of your finishing time.
Sprinter Charm: Hardest Consistency Challenge
Sprinter requires three zones in a row without a single fault, repeated three separate times. The challenge is not raw skill, it is consistency. A clean run of any three connected zones counts, but most players try to push through later harder zones instead of locking in the easy chain early.
The best Sprinter route is Zones 1, 2, and 3 as the safe chain. Take them slow, treat them like a practice round, and the streak completes naturally. Zone 3 is the only trap in the chain because of the hidden hole, so memorize the route once and the chain becomes automatic for the remaining two attempts.
Pro Tip: For Sprinter, use Zones 1, 2, and 3 as your safest no-fault chain instead of trying to force the chain in later zones. Three runs lock the charm.
Cyberize Camo: Most Time-Consuming Challenge
Cyberize is not the hardest mechanically, but it is the most demanding on time because it requires Top 5 finishes in six separate matches. With 10 racers per match and the course structured to pile up faults late, getting six clean Top 5 placements adds up to multiple hours of dedicated play.
The cleanest Cyberize plan is to pace yourself across multiple sessions rather than burn through six matches in a row. Focus on consistent finishes rather than racing for first place, since faults from rushed plays drop you below Top 5 fast. Stack Cyberize attempts with Sprinter and Keep Running progress to maximize per-match value.
Note: Cyberize is more time-consuming than mechanically hard because it requires multiple Top 5 finishes. Treat it like a marathon, not a sprint.
Skip the grind? If the hardest sections keep wrecking your run, our BO7 Freerun: Ascent boost can complete the event challenges and unlock the rewards for you before May 14.
Freerun Ascent Course Walkthrough
The Ascent course runs through 10 zones of escalating difficulty. Early zones test basic movement, middle zones add weapons and verticality, and late zones layer Grappling Hook, Wingsuit, and tight platforms. The reference table summarizes each zone before the per-zone H3 breakdowns below.
| Zone | Main Mechanic | Primary Hazard | Difficulty |
| 1-2 | Wall jumps, basic traversal | Wall jump required before mount, skip it and you fall | Easy |
| 3 | Crouch jump sequence | Hidden hole behind first crouch jump | Trap |
| 4 | Wall jump chains | Jump from the very edge, not mid-platform | Medium |
| 5 | Pistol + zip line targets | Second zip line is left side, nearly invisible | Hard |
| 6 | Pistol, wall run, box platforms | Two wall jumps before box mount, target timing is tight | Hard |
| 7 | Grappling Hook traversal | Grapple cooldown, spam at vehicles and surfaces | Medium |
| 8 | Weapon targets + ballistic knife | Tiny landing platform, slow down | Hard |
| 9 | Box sprint + shoot sequence | Most frustrating obstacle, sprint right to left corner | Hardest |
| 10 | Wingsuit + butterflies | Follow butterflies not rings, slow analog input only | Medium |
Zones 1 and 2: Basic Movement
The opening zones teach the core wall jump rhythm. Hit the wall, push off, mount the next platform. Skipping the wall jump makes you fall short of the mount. Use these zones to set up Sprinter no-fault chains.
Zone 3: Hidden Crouch Jump Trap
Zone 3 is the first major fault trap. After the first crouch jump there is a hidden hole that catches almost every first-time player. Slow down, hug the visible path, and the trap becomes a non-issue once you have done it once.
Warning: Zone 3 has a hidden hole after the first crouch jump. Slow down there until the route becomes muscle memory, otherwise it ends most first runs.
Zone 4: Wall Jump Chains
Zone 4 stacks multiple wall jumps in sequence. The trick is to push off from the very edge of each platform, not mid-platform. Mid-platform jumps kill momentum and drop you short of the next wall.
Zones 5 and 6: Zip Lines, Targets and Box Platforms
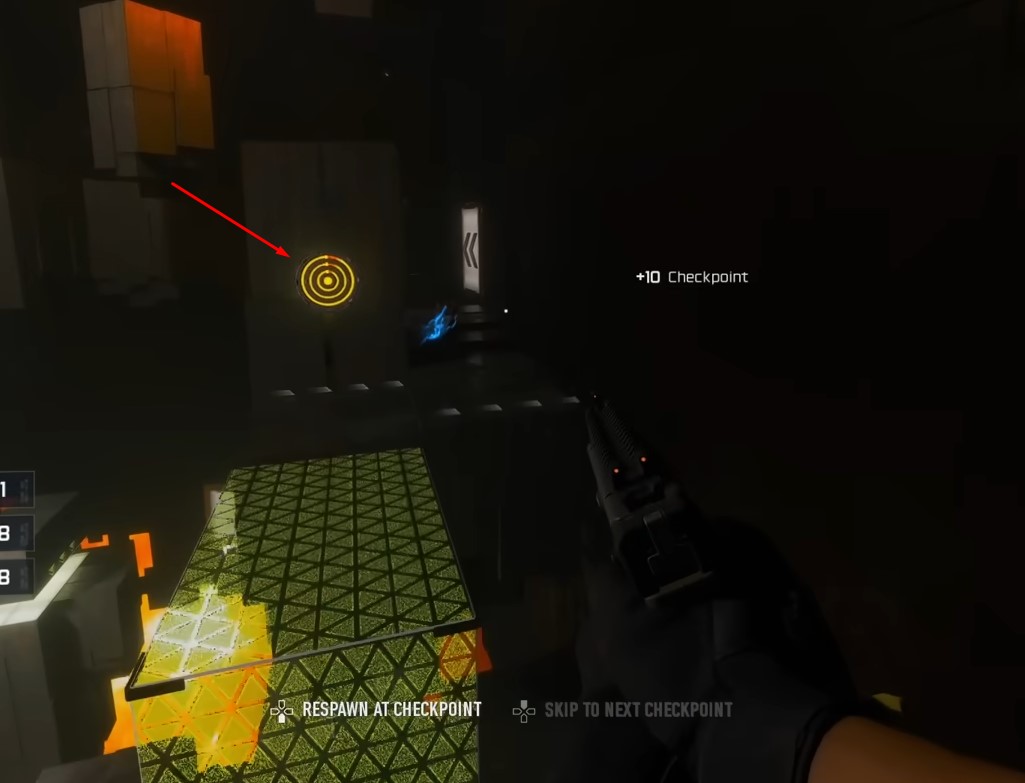
Zones 5 and 6 introduce weapon targets and zip lines. The hardest hazard in Zone 5 is the second zip line on the left side, which is nearly invisible from the approach angle. Most players miss it on the first run. Zone 6 layers two wall jumps before a box platform mount with tight target timing.
- Zone 5 trap: the second zip line is on the left side and easy to miss.
- Zone 6 timing: hit both targets before the platform rotates away.
- Pistol use: aim at center mass on targets, not the bullseye.
Zone 7: Grappling Hook
Zone 7 unlocks the Grappling Hook. Spam it at vehicles, walls, and any surface with a hookpoint. The hook has a short cooldown so do not panic if a grapple misses. Skip the crouch sections entirely with grapple chains for faster times.
Zone 8: Ballistic Knife Section
Zone 8 layers weapon targets onto a tiny landing platform. The platform is the smallest in the course and overshooting it is the most common fault. Slow down on approach, line up the targets, and shoot both simultaneously when possible to save time.
Zone 9: Box Sprint Section
Zone 9 is widely considered the most frustrating single obstacle in Ascent. The box sprint and shoot sequence requires you to start on the right, sprint to the left corner, hit the targets in order, and continue moving without faulting. Most failed Innovate runs collapse here.
Zone 10: Wingsuit Finale
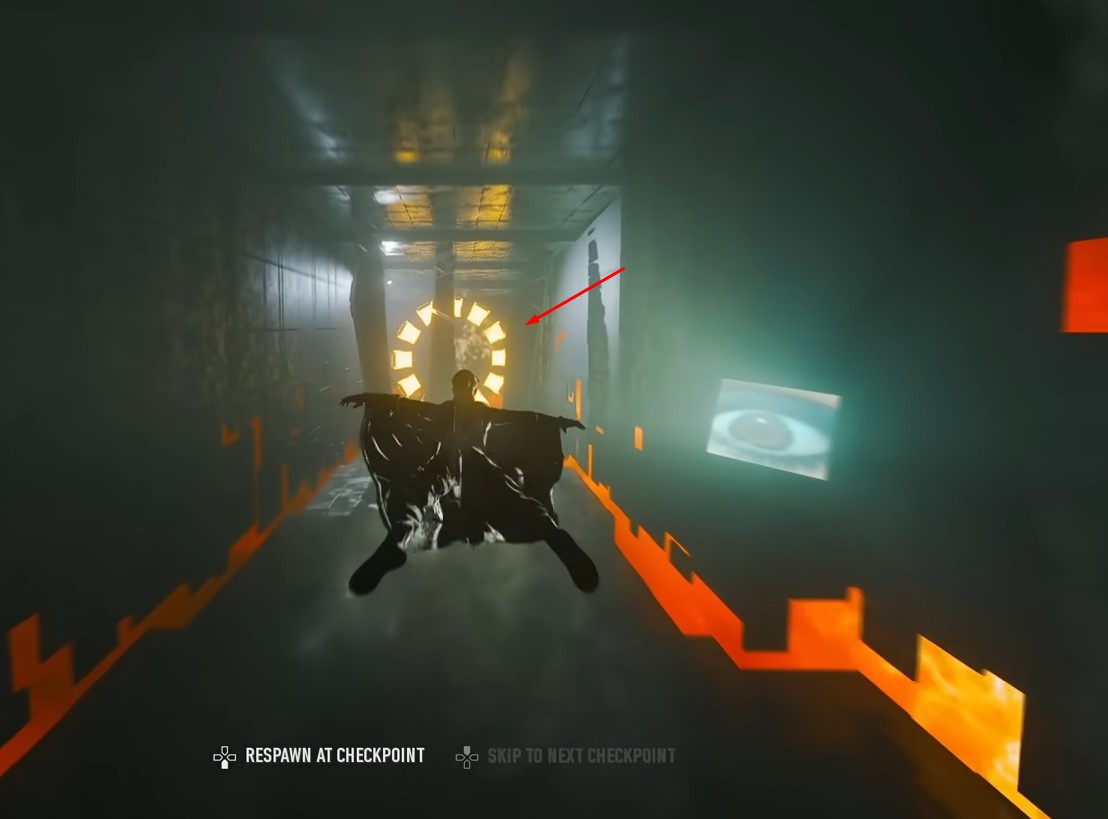
The final zone is the Wingsuit descent. Follow the butterflies, not the rings. The rings are decorative bait. Use slow analog input only because flicking the stick ends your run. A clean Wingsuit finale closes out the course at full speed without piling up late faults.
Pro Tip: In the Wingsuit section, follow the butterflies and use slow analog input. Flicking ends your run. Most players treat the rings as the goal, but the butterflies are the actual path indicator.
Tips for Reducing Faults
Fault control wins this event. The Innovate camo and Keep Running calling card both lock behind low fault thresholds, and Sprinter requires three clean zones in a row. Pace beats panic on every problem zone in the course.
| Problem | Why It Causes Faults | How to Avoid It |
| Zone 3 hidden hole | Visible path masks a drop after the first crouch jump | Slow down, hug the visible path until you memorize it |
| Zone 5 invisible zip line | Second zip line is on the left, easy to miss | Pause at the platform edge, scan left before committing |
| Mid-platform wall jumps | Jumping from the middle kills momentum | Always push off from the very edge |
| Zone 8 platform overshoot | Tiny landing platform punishes momentum | Slow down on approach, walk the last meter |
| Zone 9 box sprint chaos | Targets out of order, sprint overshoot | Start right, sprint to left corner, hit targets in order |
| Zone 10 Wingsuit flicks | Sharp analog corrections crash the Wingsuit | Slow analog only, follow butterflies not rings |
| Rushing for placement | Faults pile up faster than time saved | Pace yourself, aim for clean Top 5 over fastest finish |
The general rule for every problem zone: do the section once at quarter speed until you understand the path, then build speed on subsequent runs. Most faults come from speeding through a section the first time you see it.
Best Loadout for Freerun Ascent
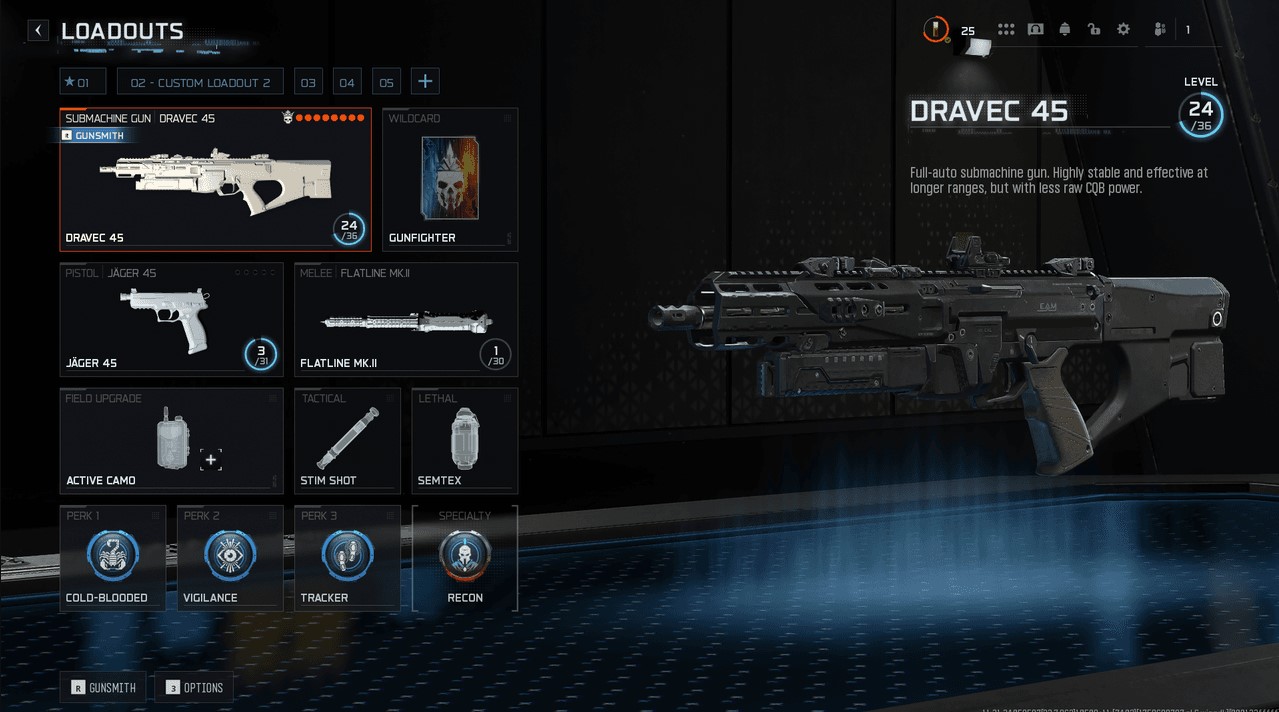
Freerun: Ascent is course-driven, not loadout-driven. The course supplies pistols, ballistic knives, and weapon targets at the points where you need them, so your equipped loadout matters far less than in Multiplayer. That said, a few small choices help on shooting zones.
- Aim sensitivity: drop your sensitivity slightly before the run because Zones 5, 6, and 8 all reward clean target acquisition over flick speed.
- Movement settings: tap-to-slide and tap-to-mantle help on the wall jump and crouch jump zones if you have not enabled them.
- Audio: bump game effects up so you can hear the Grappling Hook cooldown and target hit confirms.
- Camera: a slightly wider FOV helps spot the second zip line in Zone 5 and the butterflies in Zone 10.
Beyond settings, muscle memory of the course is the real loadout. The first three runs are practice. The fourth onward is when Innovate, Sprinter, and Cyberize attempts become realistic.
Freerun Ascent FAQ
1. When does the Freerun: Ascent Event end?
May 14, 2026, at 10 AM PT. After that the event-locked rewards (Networked, Cyberize, Run Wild, Sprinter, Keep Running, Dodge, Gain Foothold) cannot be earned.
2. What is the hardest event challenge?
Innovate is the hardest skill challenge (sub-14 min, fewer than 10 faults). Sprinter is the hardest consistency challenge. Cyberize is the most time-consuming.
3. How do I unlock the Innovate camo?
Finish the Freerun: Ascent course in under 14 minutes with fewer than 10 total faults. The fault count is the real wall, not the timer.
4. How do I unlock the Networked animated camo?
Earn every other Freerun: Ascent Event reward. Networked is the compound reward that locks the animated camo behind clearing the full event challenge list.
5. How do I unlock the Cyberize camo?
Finish in the Top 5 of an Ascent match six separate times. Pace it across multiple sessions because rushing piles up faults that drop you below Top 5.
6. How do I unlock the Sprinter charm?
Complete three zones in a row without a fault, three separate times. Use Zones 1, 2, and 3 as the safest no-fault chain.
7. How do I unlock the Run Wild Kogot-7 Blueprint?
Finish the course in under 17 minutes. The 17-minute timer is generous, so most clean runs unlock this without effort.
8. What are the Mode rewards versus Event rewards?
Mode rewards (Scaled, Upswing, Innovate) are permanent and tied to the Freerun mode. Event rewards (Gain Foothold, Cyberize, Sprinter, Keep Running, Dodge, Run Wild, Networked) are time-limited to the May 5 to May 14 window.
9. Which zones cause the most faults?
Zones 5, 8, 9, and 10. Zone 9 is the most frustrating obstacle, Zone 5 hides the second zip line on the left, Zone 8 has a tiny landing platform, and Zone 10 punishes Wingsuit flicks.
10. Can I retry a run if I fail Innovate?
Yes. Each match is a fresh attempt and there is no daily cap. Run the course as many times as needed to lock the camo before May 14.
Final Thoughts
The Freerun: Ascent Event packs 10 unlocks across two reward groups. Mode rewards (Scaled, Upswing, Innovate) stay around for as long as Freerun is in rotation, but the seven Event rewards (Networked animated camo, Cyberize, Run Wild Kogot-7 Blueprint, and the rest) lock on May 14. If you want them all, plan your sessions before the deadline.
Run the course slow on the first few attempts to build muscle memory, then start chasing Innovate, Sprinter, and Cyberize once Zone 3, Zone 5, Zone 8, Zone 9, and Zone 10 stop costing faults. Pace beats panic every single time.
Out of time? Our BO7 Freerun: Ascent boost covers full event challenge completion with verified players, including the Innovate camo, the Networked animated camo, the Cyberize camo, and the Run Wild Kogot-7 Blueprint before the May 14 deadline.
