Equilibrium Guide – Complete Destiny 2 Dungeon Walkthrough


-
Sale 30%Ends in 7h 51m 58s

-
Sale 30%Ends in 7h 51m 58s
-


Introduction
The Equilibrium dungeon was released in Destiny 2 during Renegades expansion. The guide will take you through every step needed to complete it, covering all mechanics, strategies, and loadouts.
Table of Contents
In this guide, we will cover the following subjects:
- Dungeon Preparation
- How to access the dungeon
- First Encounter
- Second Encounter
- Boss Encounter
- Loot Table
- Extras & Challenges
- FAQ
- Conclusion
How to access the dungeon
To access the Equilibrium dungeon, you need to have the Renegades expansion purchased on your account.
You must open the Portal menu and find the activity icon in the Renegades tab.
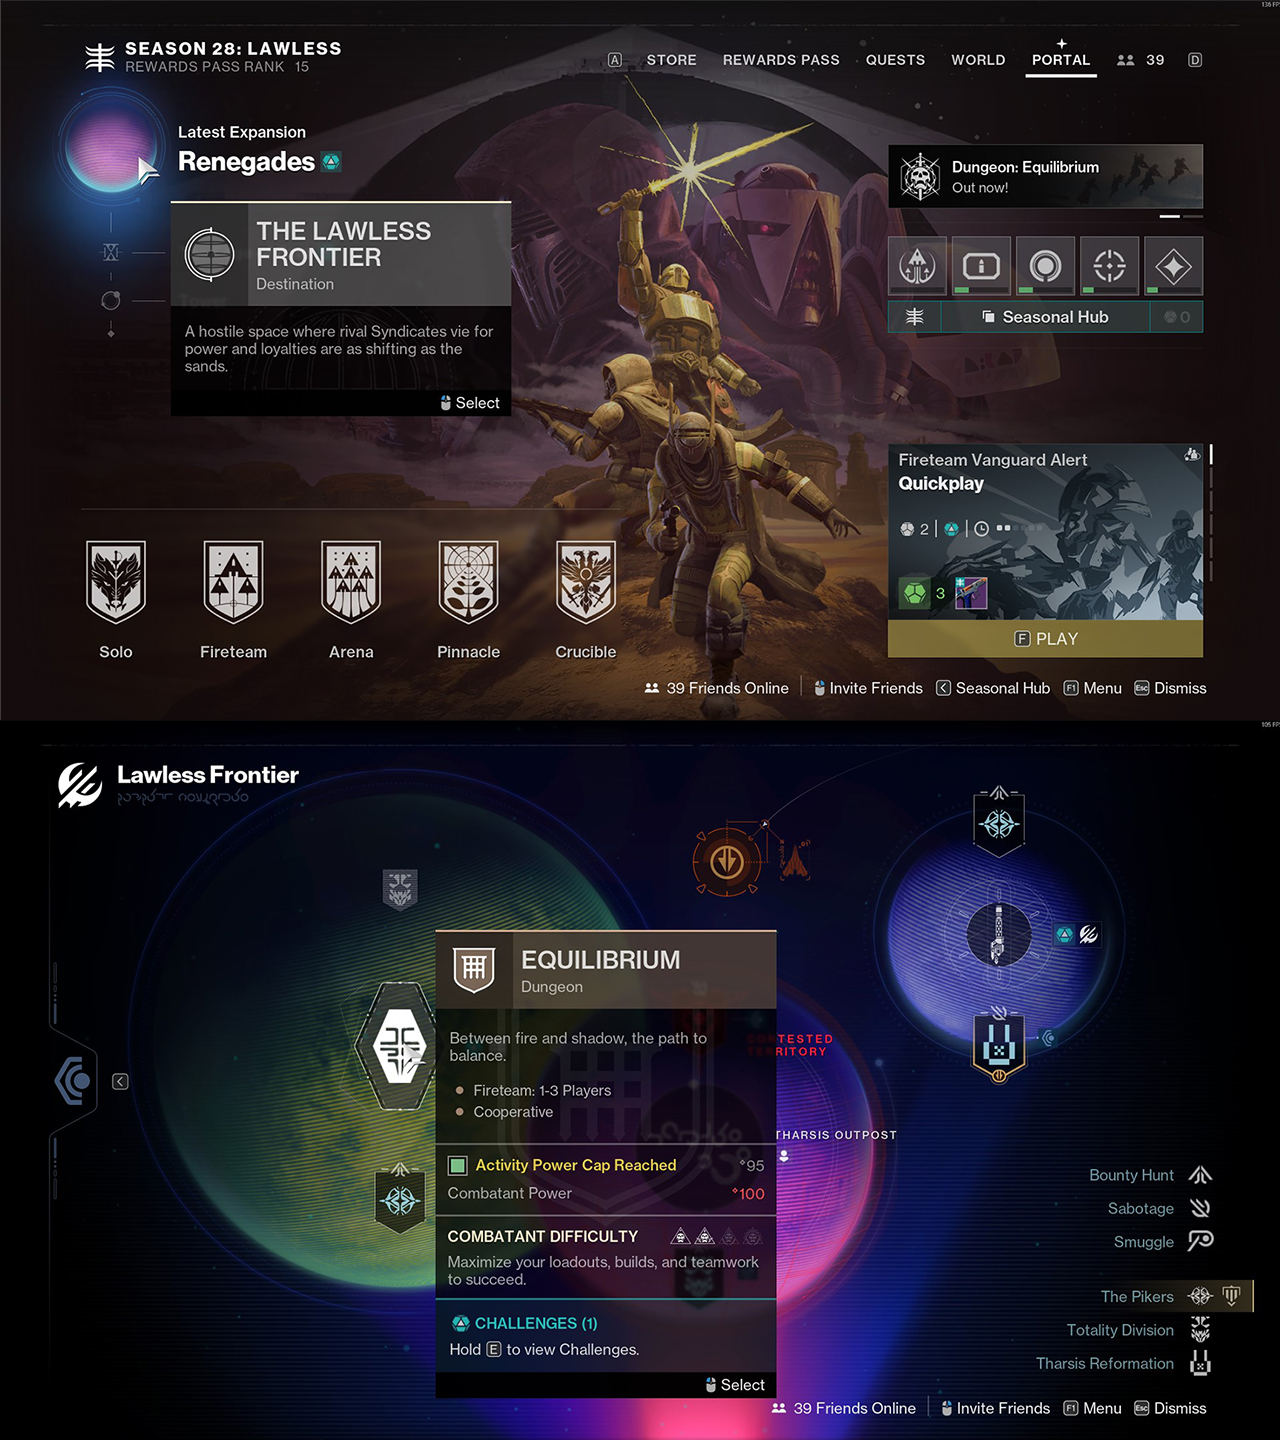
Dungeon Preparation
Equilibrium dungeon features unique mechanics, so being prepared with the best meta loadouts will help you out immensely during each encounter. I’ll be going over some of the best weapons & subclasses that you should be using to ensure your success.
SKIP THE GRIND! BOOST YOUR GUARDIAN NOW!
Best subclasses & builds
- Warlock (Solar Well) – Using Well of Radiance will greatly increase you and your team survivability while also increasing damage output. Consider using Healing Grenade if your team needs it.
- Titan (Prismatic Thundercrash) – Thundercrash is one of the best DPS supers for Titan, and using the Prismatic subclass lets you choose a variety of aspects & grenades to best suit your playstyle.
- Hunter (Prismatic Solar) – Prismatic Solar with Golden Gun super in combination with the Celestial Nighthawk exotic is best for massive DPS damage during boss phases.
Getting started
Once you’ve obtained the quest, navigate to the Renegades destionation and locate the dungeon marker in the right corner.
Best weapons loadouts
Here, I’ll be going over some of the best meta weapons to use in the Equilibrium dungeon:
- Primary slot: Mint Retrograde, Lost Signal, Praxic Blade.
- Energy slot: Choir of One, Reckless Oracle, Mida Mini-Tool.
- Heavy slot: Parasite, Pro Memoria, Finality Auger (with Catalyst).
SKIP THE GRIND BUY EQUILIBRIUM CARRIES!
Reaching the first encounter
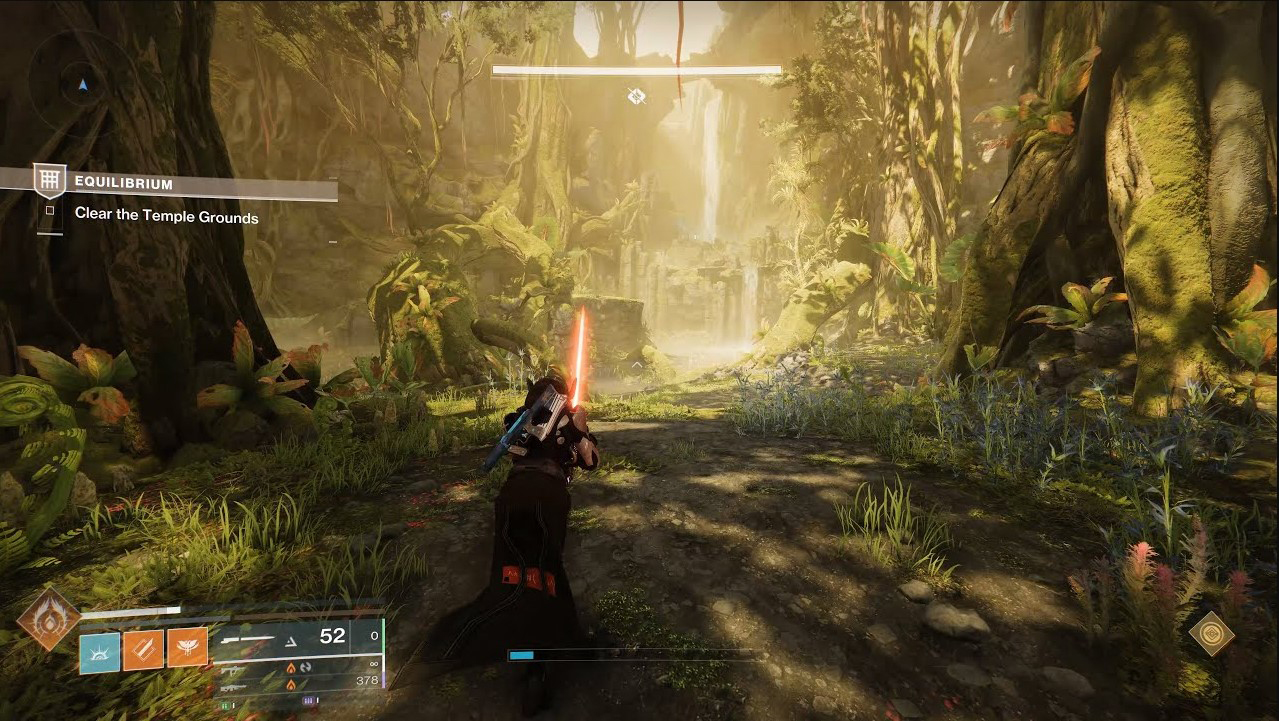
When you load into Equilibrium, you’ll spawn in the Temple Grounds with a simple first objective: clear the area. Right away, a wave of Cabal enemies will drop in. Wipe them out before you push forward. Nothing here is meant to be a hard fight, but it’s easy to get slowed down. There’s a yellow bar Cabal called “Imperium Generalis,” that spawns here.
Once the area is clear, move forward until you see a waterfall ahead. Jump down and drop all the way to the bottom, then head forward into a tunnel. Inside the tunnel, you’ll run into a few Cabal War Beasts. Clear them quickly, then keep moving, since this section is mostly just a short run to the first real arena.
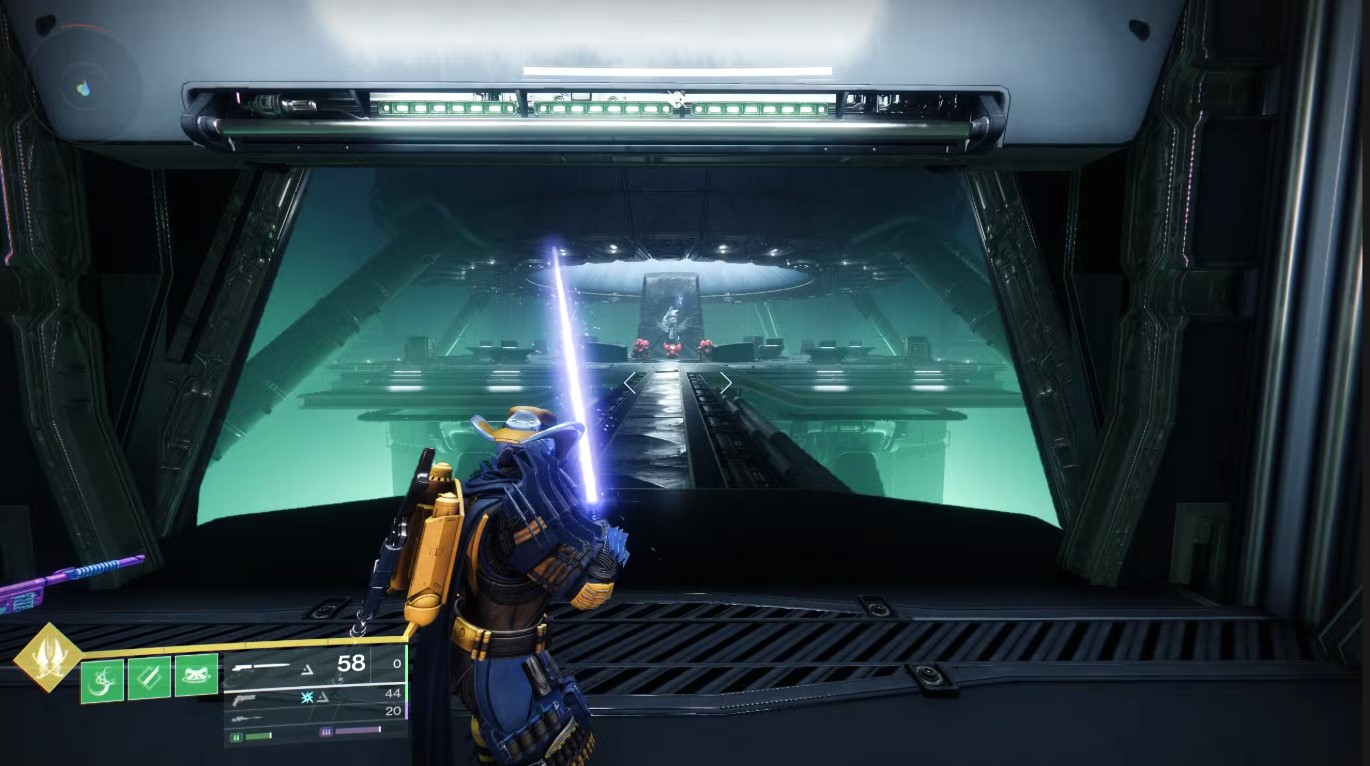
Keep moving forward through the tunnel and follow the path until you come out the other side. As soon as you exit, the first encounter area will be directly in front of you.
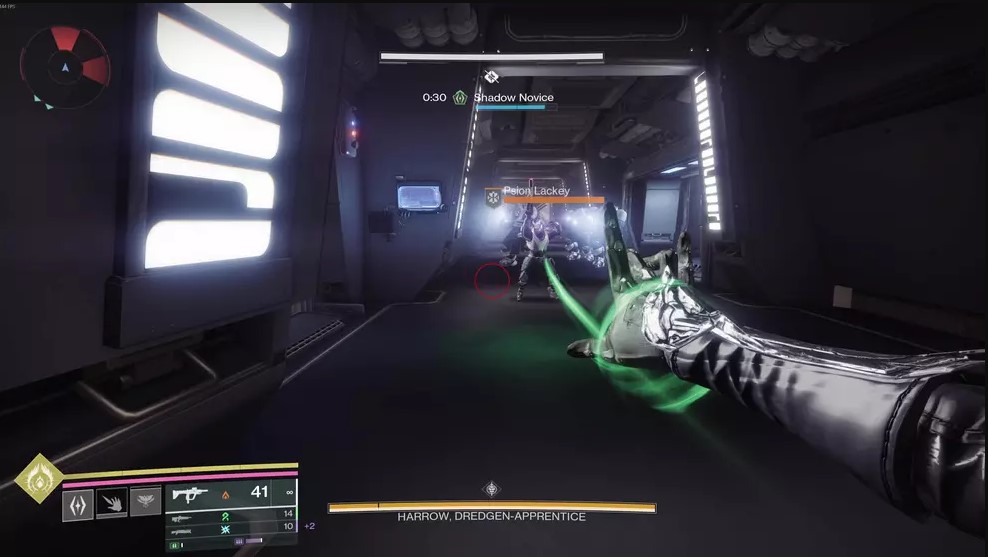
First encounter - Harvester
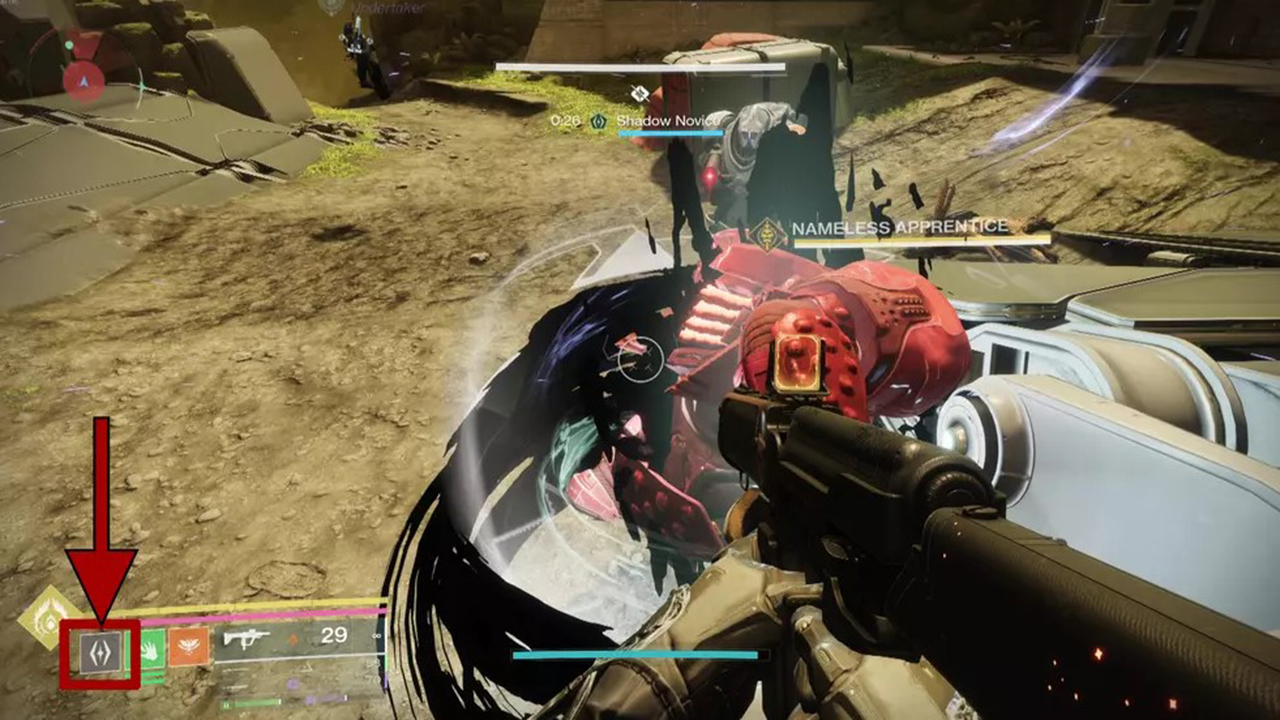
General Objective Overview
The encounter follows two core principles: build up Gathering Shadows to become a Shadow Novice so you can break Nameless Apprentice shields, and defeat the Behemoths that spawn after their defeat.
Arena & Layout
In order to first get the Gathering Shadows buff, you must interact with one of the antennas around the arena, near to where the red shield walls are. Once you interact with an array satellite, its battery will reveal itself, but to destroy it, you must get a Nameless Apprentice to detonate near it, which is achieved simply by standing close. Doing so will open a previous shielded room that contain Sparrows.
.jpg)
Team Roles & Asignments
- 2 players must complete the mechanic and gather the Shadow Novice buff.
- 1 player must take care of ad-clearing.
Mechanics
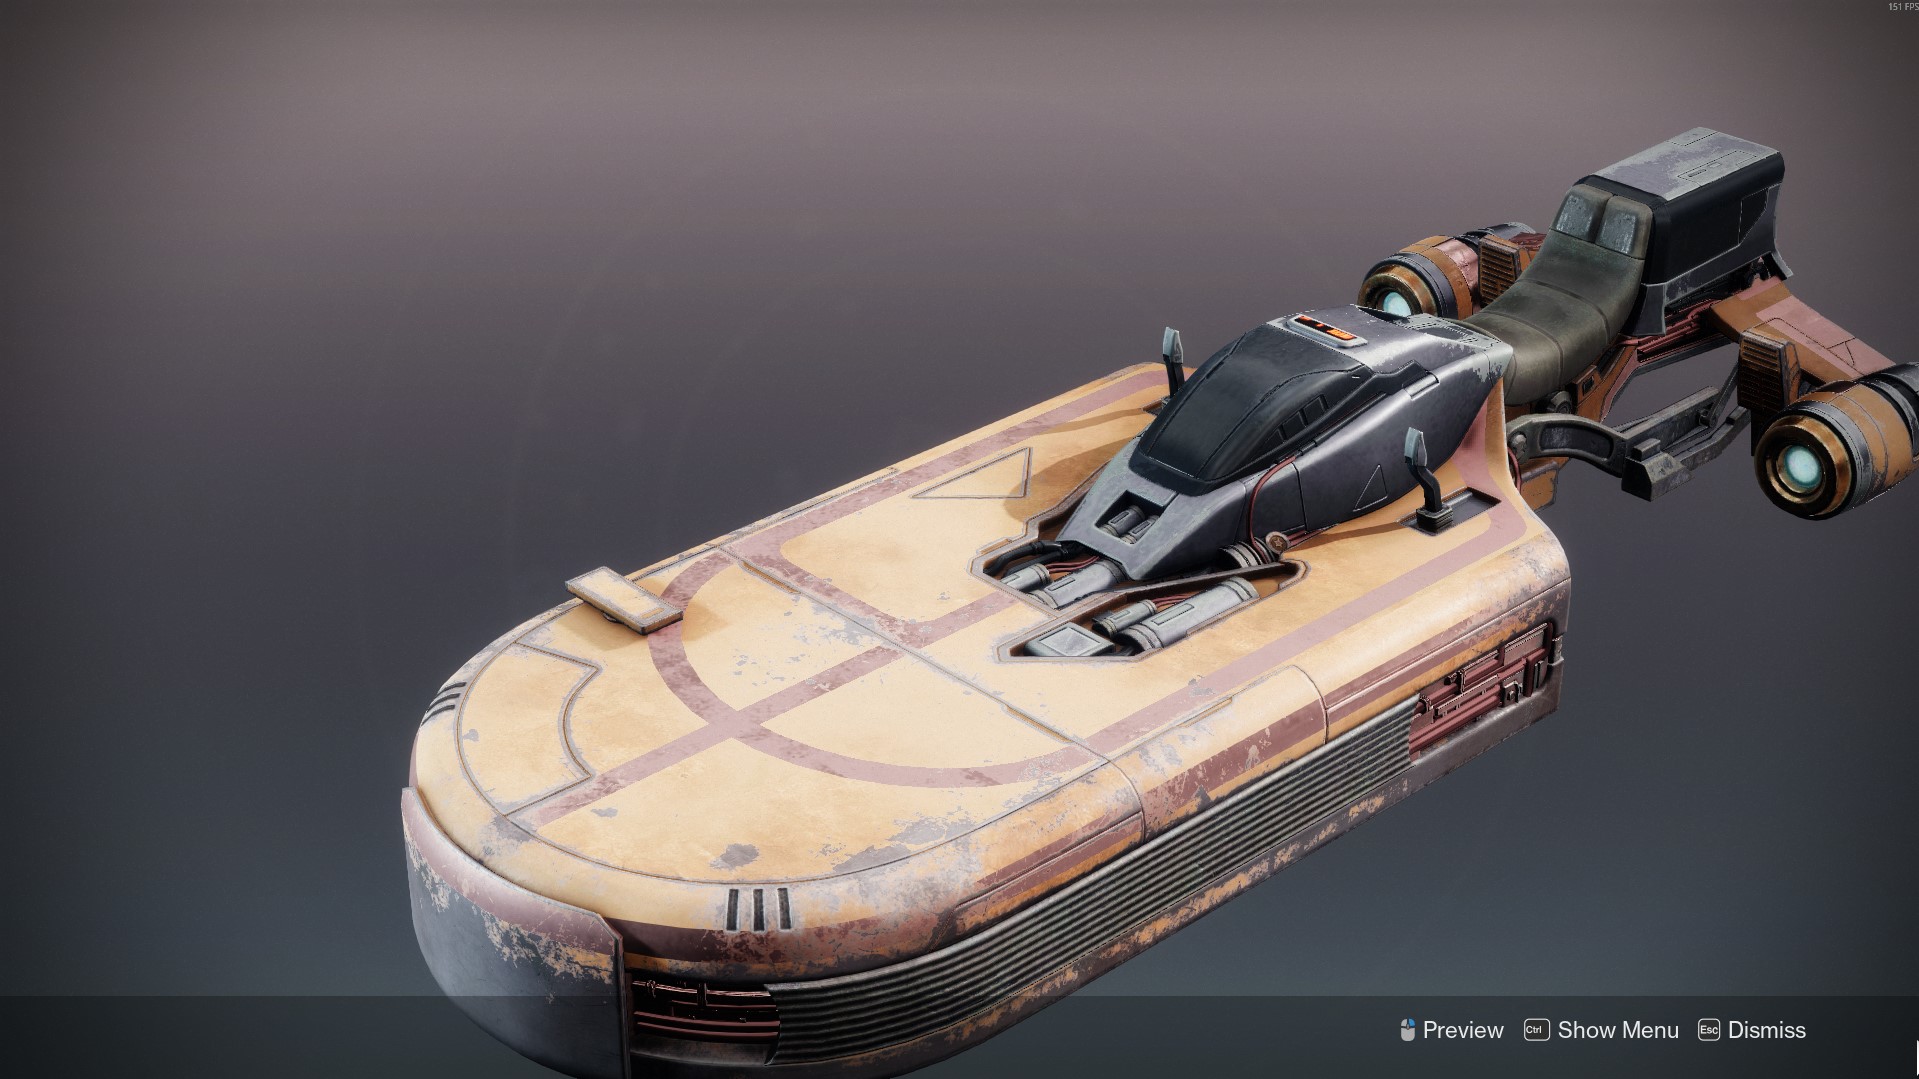
- Enter the shielded rooms that open when you kill a Nameless Apprentice to find a Sparrow that's far faster than yours, and has guns.
- Use the Sparrow and race around the now open area to collect Gathering Shadows, which are the light pools on the ground.
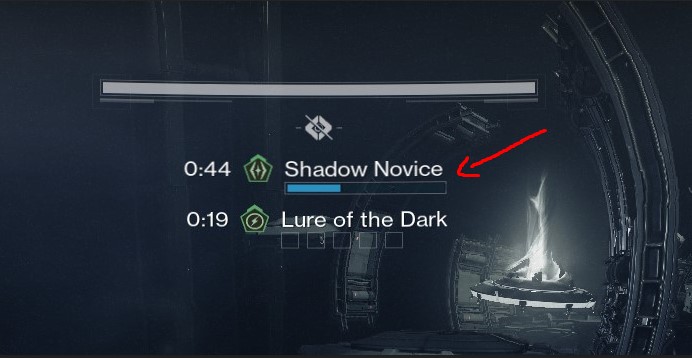
- Once you've filled the meter, you'll have the Shadow Novice buff for 45 seconds, which can be refreshed with more Gathering Shadows pools.
- With the Shadow Novice ability, you can swap between your grenade ability and the new Shadow Power.
DPS Phase
There is no DPS phase for this encounter.
Tips & Mistakes to Avoid
✔️ - Remember to always swap between the Shadow Novice grenade and your normal grenade.
✔️ - Make sure you have the Shadow Apprentice buff before you can take down the enemy shields.
❌ - Don't stay near the pods when the Behemoths spawn, they will one-shot you.
❌ - Don't rush the Sparrow section, take it slow, its easy to get blown up.
Reaching the second encounter
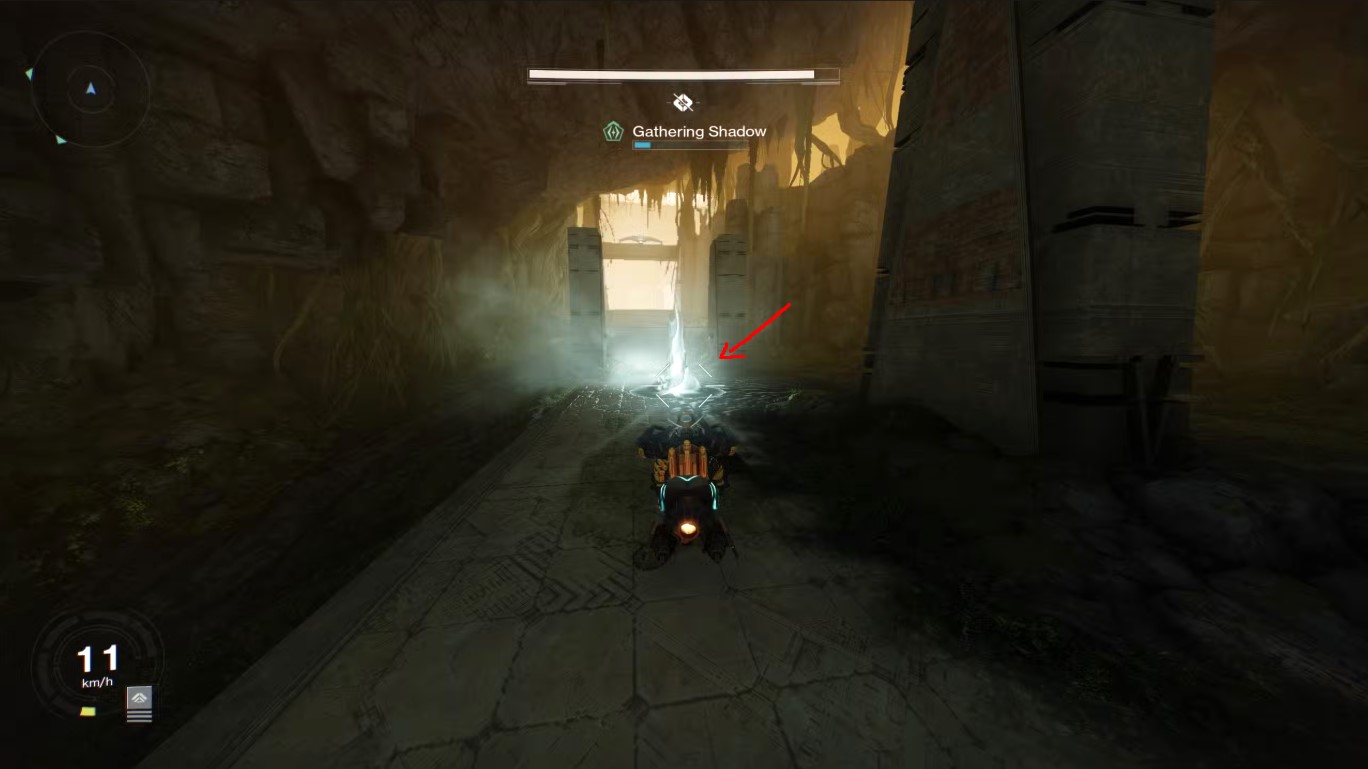
After embarking on the Harvester, you'll spawn inside the large Imperium ship. Immediately look up and begin to jump up the platforms, where you will find a vent that can be shot to enter inside. Continue on the linear path ahead, where you will eventually reach a locked door that can be opened by shooting the three blue batteries by the locked door and opposite it.
Now, the ship will activate its NLS drive to go faster, so you'll need to make a jump to the next platform by standing on the furthest left, as the speed of the NLS drive will push you to the right. Once you land, you'll want to head left and destroy the blue fuse inside the room.
Now, head forward to destroy the next blue fuse so that the locked door opens. In the next room forward, you'll find a vent on the right that will take you to the second encounter, which will be the first boss you face.
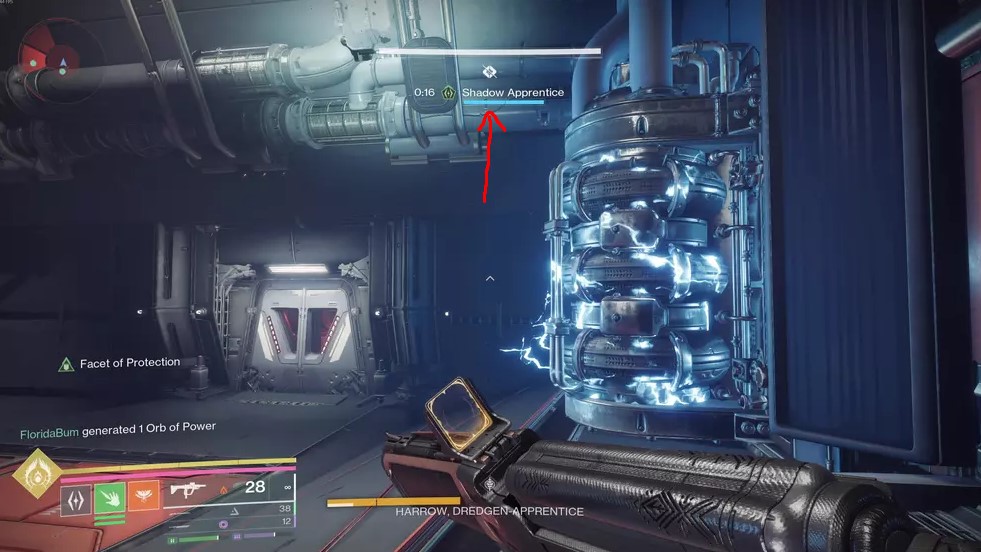
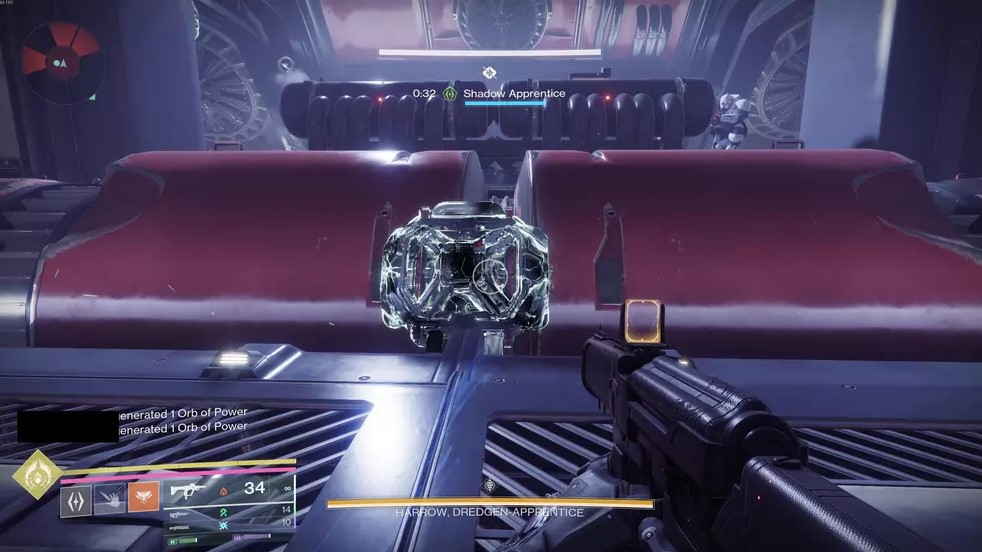
Second Encounter - Harrow, Dredgen-Apprentice
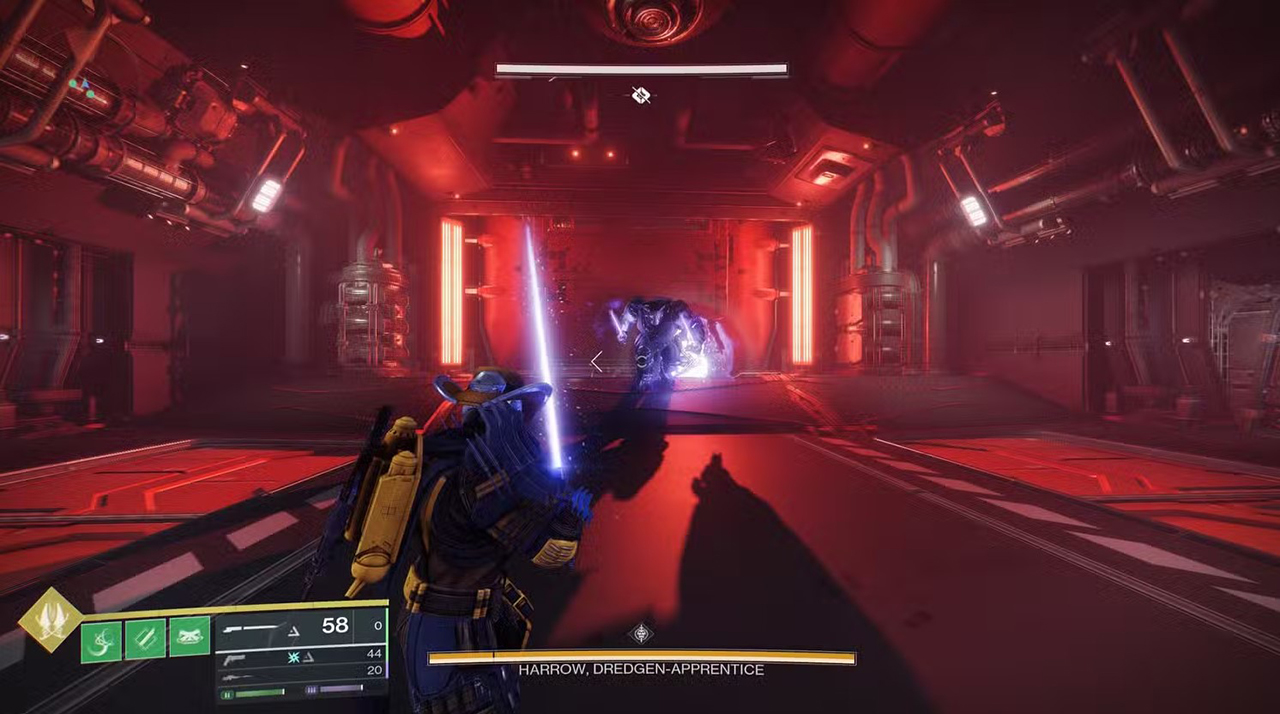
General Objective Overview
The first boss encounter in Equilibrium pits you against a dual Praxic Blade-wielding Gladiator named Harrow, Dredgen Apprentice. This fight is an expansion on what you learned in the first encounter. As before, you’ll be using the Gathering Shadows mechanic to build up what is now the Shadow Apprentice buff.
Arena & Layout
Shoot the fuse in the main room to open a hole in the floor, then drop down into the encounter area to meet Harrow as he activates his two Praxic Blades.
Team Roles & Asignments
- All players will have to run around clearing ads, killing Lackey enemies & gathering the Shadow Novice buff.
Mechanics
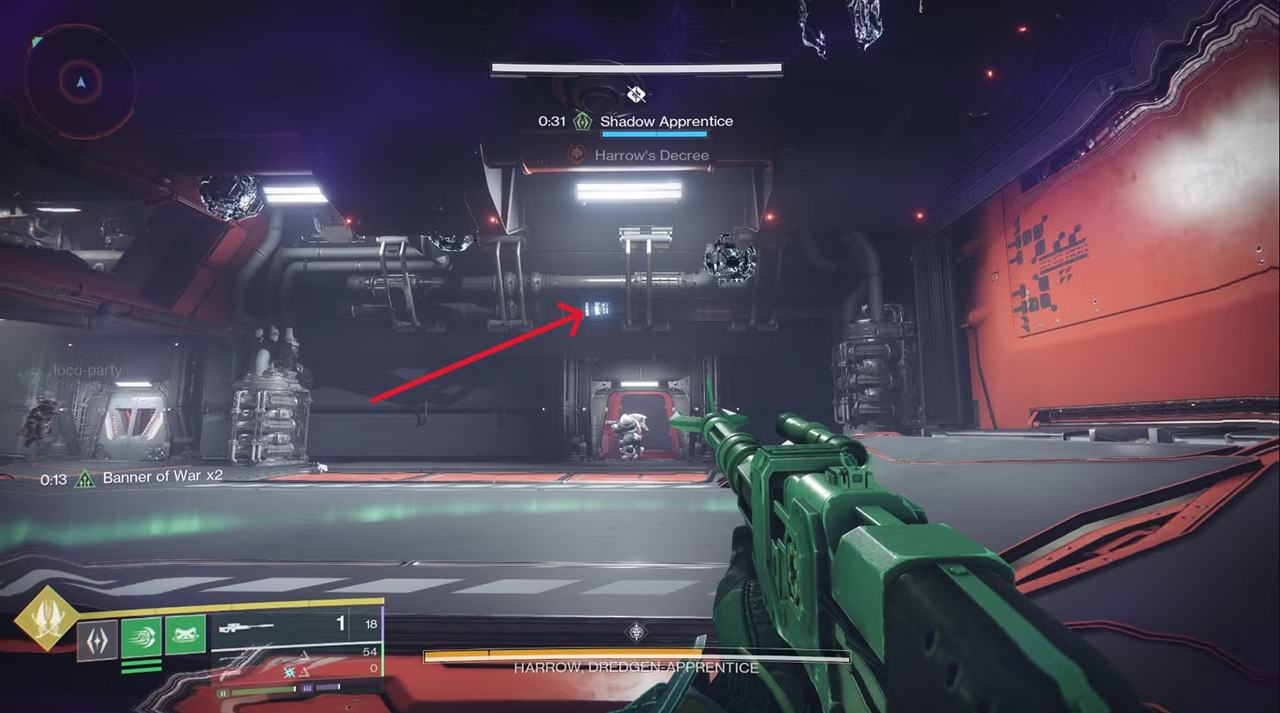
- In the hallways and rooms behind the doors, navigate around until you find Lackey enemies, who drop the Darkness energy you need for the mechanic.
- Continue clearing Lackeys until you earn the Shadow Novice buff, then advance it to Shadow Apprentice by doubling the amount of Shadow you hold.
- With the Shadow buffs, you’ll now see several devices in each room covered in the same Darkness energy. You need to find the correct one and use the special grenade ability on it to close it.
- There are three rooms off the hallways around the main arena. With the Shadow Apprentice buff active, you'll need to use the special grenade ability to hit three Darkness panels in each room. Check for the green lights above the door to know if you've got them all.
- Lure Harrow onto the red bay doors on the floor, then shoot the fuse above the nearby door to open one of the doors. Bait Harrow into falling into the hole to remove some of his shields.
- Once Harrow’s shield is down, you have about 30 seconds to damage him before he goes immune again.
- Note that once destroyed, the pylons and fuses do not regenerate, meaning you likely only have three damage phases before you need to try again.
DPS Phase

When Harrow reaches the split in his health bar, his shields will reset, and he’ll cut a hole in the back wall of the arena and attempt to run. At the other end of the hallway, however, those shields will falter, giving you enough time to finish the fight. Any weapon with high burst damage potential is fantastic here, including the Praxic Blade, Legend of Acrius, or Parasite, to name a few.
Tips & Mistakes to Avoid
✔️ - Always stay together as a team and avoid splitting up.
✔️ - Try having both ad-clear & hard DPS weapons on you.
❌ - Sometimes, Harrow will teleport next to a random player and charge an explosion. Either run away or stop his charge to avoid dying.
❌ - Avoid staying close to the enemies, they have strong melee attacks that can instantly bring you down.
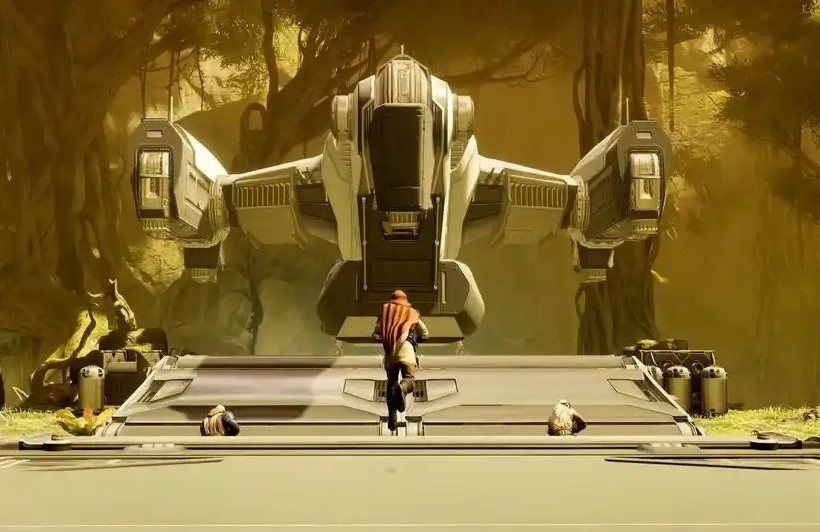
Reaching the boss encounter
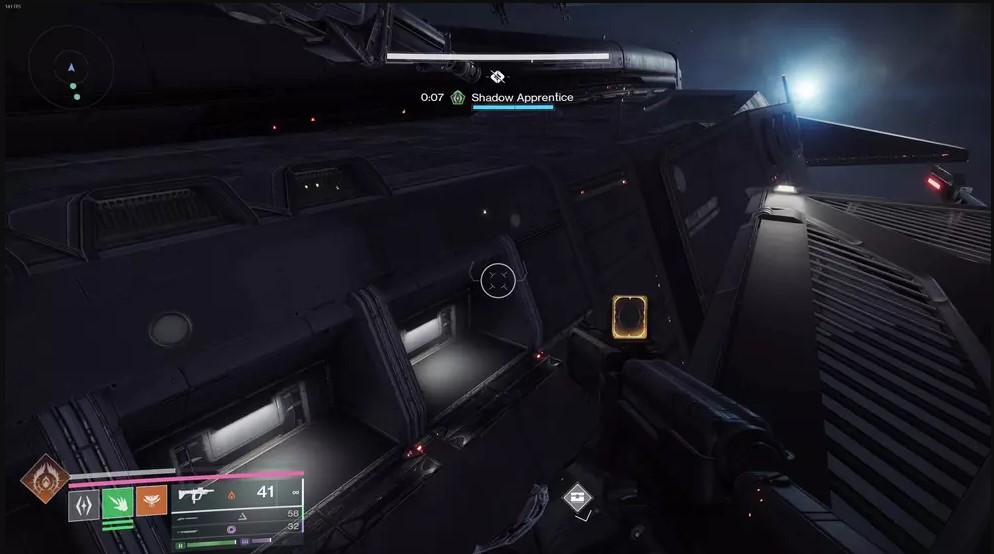
With Harrow's defeat, head to the center of the room to find a lever that you can activate. This will open a bay door for you to stand on, where you'll exit lightspeed and be able to jump to the ship that's arrived on the left. Jump on board, and follow the path left to find two red lights with switches that, once activated, allow you to enter the ship.
You'll want to continue through the path and access the vent space to continue until you reach the large shipping hangar. Inside, you'll need to destroy the Cabal and the Behemoth, and interact with the console to activate moving platforms, where you'll find the way forward in the center hatch by looking up.
The final area takes you to a large room where you'll once again need to collect Gathering Shadow. Climb up the platforms in the room to use the Shadow Power grenade on another taken-imbued panel, which opens up a hatch in a red pipe that allows you to access the final encounter.
Boss encounter - Dredgen Sere
General Objective Overview
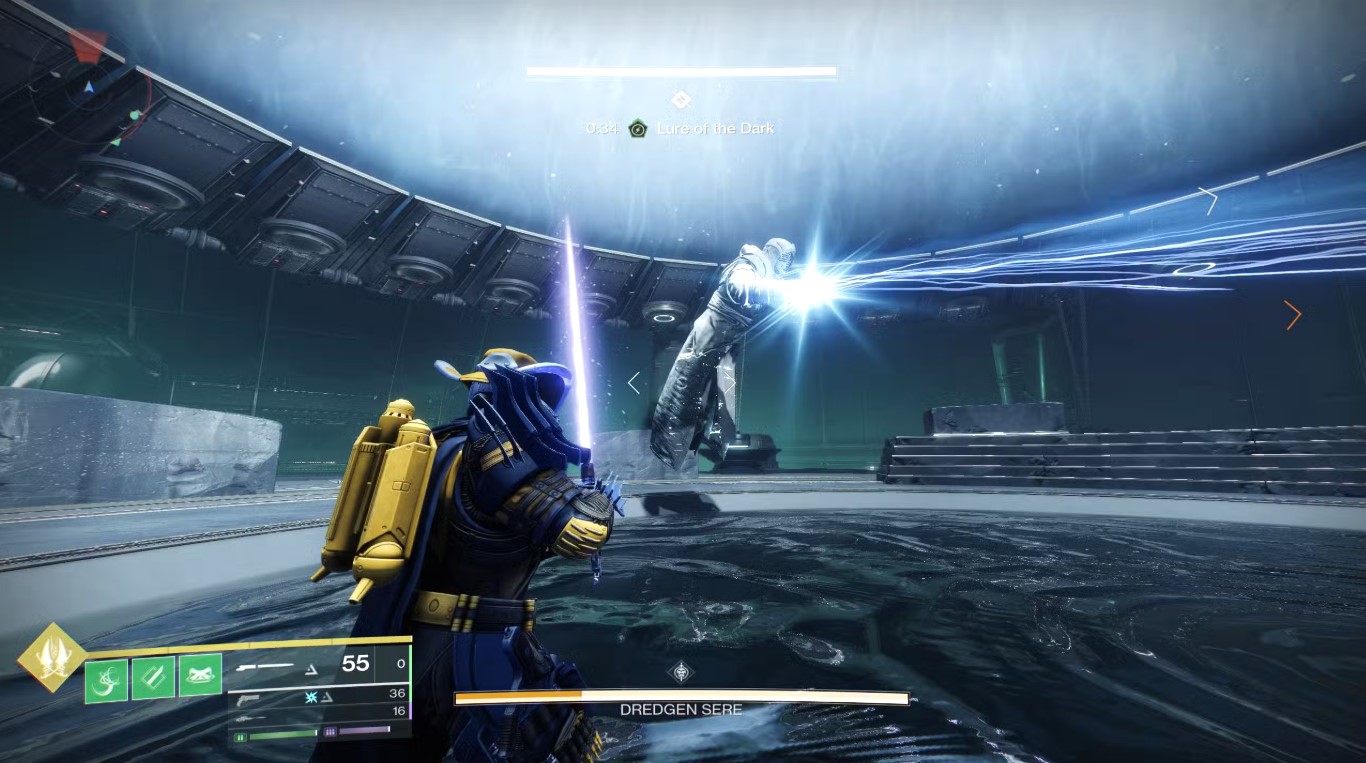
The final boss of the Equilibrium Dungeon is called Dredgen Sere, who’s using Arc and Taken energy to rip open his own throne world and become functionally immortal. To beat him, you need to use everything you’ve learned so far and more. You’ll still be using the Gathering Shadow mechanic up to Shadow Master this time, plus some additional combat and platforming mechanics.
Arena & Layout
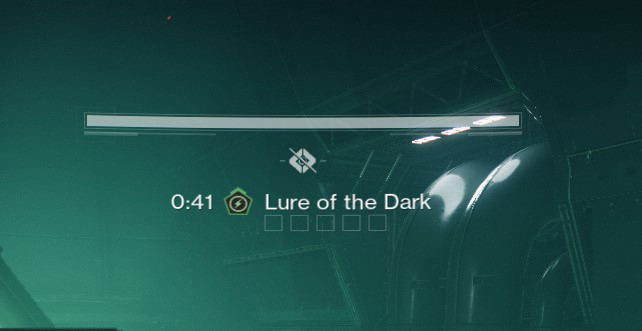
After you enter the arena, approach or shoot at Dredgen Sere or his kneeling Apprentices to start the fight. Don’t be too close or his initial slam can kill you.
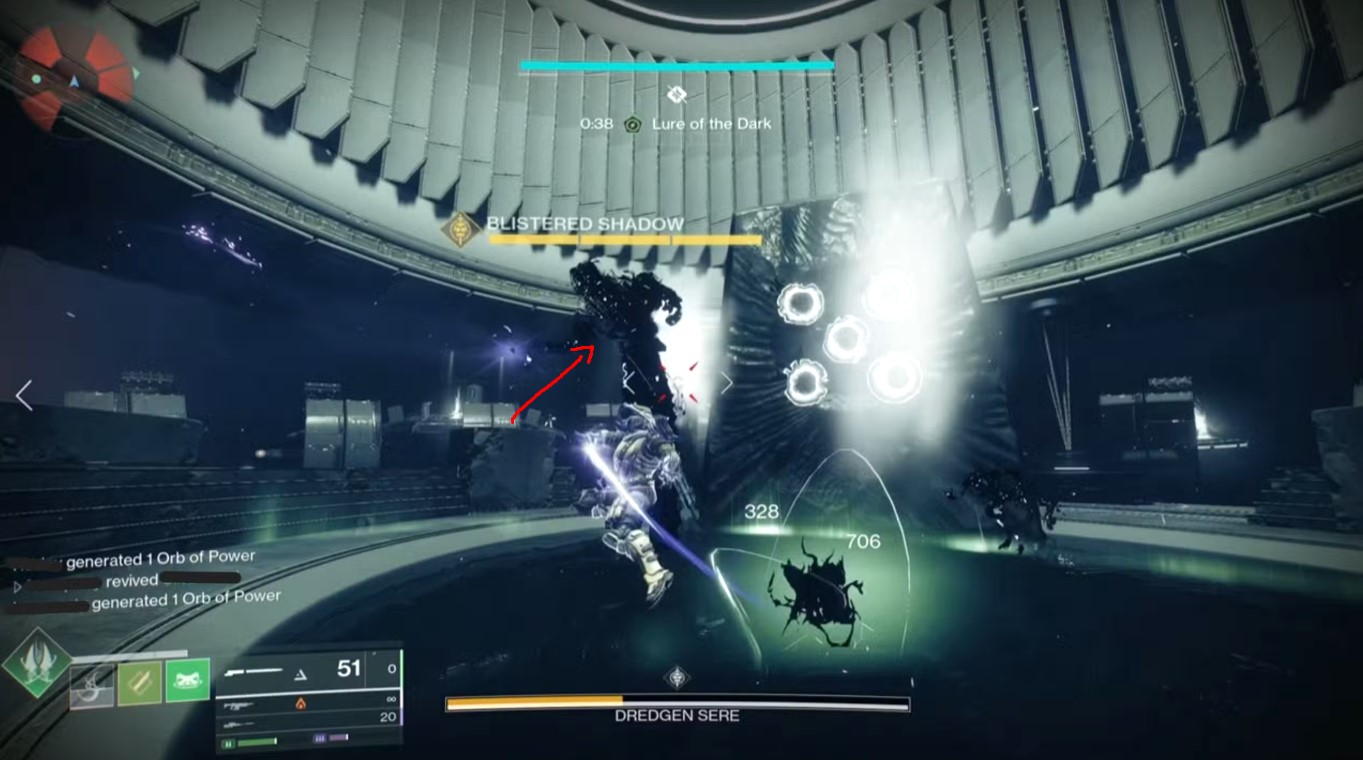
When the Lure of the Dark timer reaches zero, you’ll be teleported into a Taken version of the arena. There are five shades of Sere in here named Blistered Shadows. There are Gathering Shadow pools all around in this space.
With the Shadow Master buff, you need to get close to each of them in turn and press your interact button to Compel them.
Team Roles & Asignments
- 2 players will need to gather the Shadow buff and do the mechanic.
- 1 player needs to take care of ad-clearing.
Mechanics
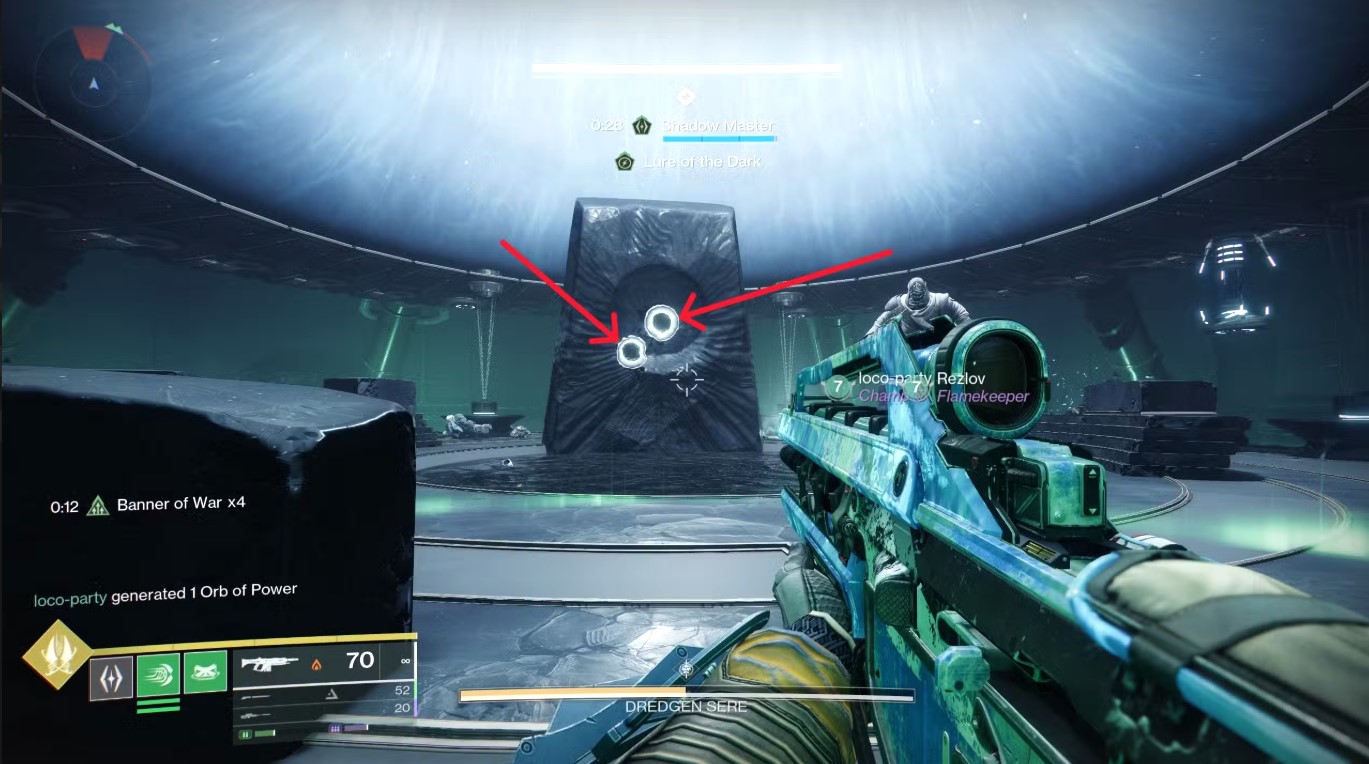
- Kill Centurions to build Gathering Shadow, and become a Shadow Master.
- Use the Shadow Power grenade to disable the immunity shield of the Nameless Apprentices and kill them.
- There will be 5 in total, and after each death, a taken orb will lose its immune shield on the central slab.
- Destroying the orb gives you more time before the "Lure of the Dark" buff activates, which sends you to the Ascendant Realm.
- Once you're in the Ascendant Realm, you will need to find and Compel the 5 Blistered Shadow enemies that are around the arena.
- These can be compelled with the Shadow Master ability by interacting with them.
- If you kill them, then you will have to deal more damage to the boss during the DPS phase, or the arena will activate with lightning coils, which can be deactivated by hitting the panels in the room with the Shadow Power.
- Once all the Taken orbs (10 in total) have been destroyed in both realms, you will begin the DPS phase against Dredgen Sere.
DPS Phase
You’ll likely want at least one Well of Radiance Warlock for the Sere damage phase, and as with the Harrow encounter, the Parasite exotic also works fantastic, but really anything with high burst damage is more than usable.
Tips & Mistakes to Avoid
✔️ - Assign clear roles before the encounter so you don't mindlessly run around the arena.
✔️ - When the ''Face your Death'' appears on screen, shoot Dredgen Sere hands before he kills you.
❌ - Don't move slow, as the ''Lure of the Dark'' timer makes things harder if you do.
❌ - When the encounter begins, don't stay close to the boss as he will slam the ground and deal a lot of damage.
Loot Table
Here we'll be showing you every piece of loot you can acquire from the dungeon. Equilibrium features 6 legendary weapons, 1 exotic, 1 normal armour set & 1 artifice armour set. Below you will find a list with all the weapons & armour pieces (you can also visit our Loot Table guide for a complete overview):
|
Harvester (1st Encounter) |
Harrow (2nd Encounter) |
Sere (Final Encounter) |
|
Zealous Ideal Auto Rifle 

.jpg)
|
Bitted End Machine Gun 


|
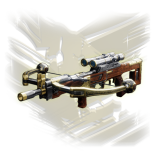
Heirloom Combat Bow 

|
|
Voltaic Shade Scout Rifle 
|
Voltaic Shade Scout Rifle
|
High Tyrant Pulse Rifle 

|
|
Conspiracy Sniper Rifle 

|
Sullen Claw Sword 
|
|
|
Equilibrium 
|
Equilibrium 
|
Equilibrium
|
|
Equilibrium 
|
Equilibrium
|
Equilibrium
|
|
Equilibrium 
|
Equilibrium 
|
These are all the possible loot that can drop from each encounter in Equilibrium dungeon.
SKIP THE GRIND BUY EQUILIBRIUM EXOTIC!
Extras & Challenges
Like in the previous dungeons, Equilibrium also has a certain number of collectables, a title (or seal), solo & flawless triumph that awards a unique emblem & special badge on your dungeon report. We’ll be going over each of them and tell you what are the best tips & tricks on acquiring them.
Sparrow
The exotic sparrow is called Arid Rambler, and you can acquire it by completing the Perfect Record triumph, which requires full completion of the Equilibrium dungeon as a fireteam without dying and without leaving the activity.
Solo & Flawless
Conquering the Equilibrium dungeon solo flawless is a true test of a guardian's skill. Solo flawless demands perfect preparation, from optimizing your build with the right subclass, exotic armor, and weapon loadout to mastering the dungeon's encounters.
Completing the dungeon solo flawless awards you with a unique emblem that you can use to show off to other guardians, while also giving you a special badge on your raid report that you’ve completed the dungeon solo flawlessly.
SKIP THE GRIND BUY EQUILIBRIUM FLAWLESS!
Catalyst
You can obtain the Heirloom catalyst by completing a special puzzle quest.
For a comprehensive guide on how to obtain the catalyst for this weapon, be sure to watch the video above, where all the steps are explained in detail.
Title & Seal
The title for the Equilibrium is called Praxic. Below you will find the list with all the required triumphs needed to acquire your seal:
- Finding Balance - Complete the ''Equilibrium'' dungeon.
- Never De-Feated - Complete all encounters in ''Equilibrium'' with three or more feats active.
- Finish Line - Complete all encounters in ''Equilibrium'' with the Phase Race feat active.
- Challenger Approaching - Complete all encounters in ''Equilibrium'' with the Encounter Challenges feat active.
- Blade Against Blade - Complete all encounters in ''Equilibrium'' with the Cutthroat Combat feat active.
- Lifetime Limit - Complete all encounters in ''Equilibrium'' with the Token Enabled feat active.
- Listen In - Find all collectibles within ''Equilibrium''.
- Imperial Hordes - Complete all encounters in ''Equilibrium'' with the Battalions feat active.
- Perfect Record - Complete all encounters in ''Equilibrium'' as a fireteam without dying and without leaving the activity.
- Me And My Shadow - Complete all encounters in ''Equilibrium'' solo and without leaving the activity.
- To Walk Alone - Complete all encounters in ''Equilibrium'' solo without dying and without leaving the activity.
- Take A Bow - Earn the Exotic Bow, Heirloom.
- Equilibrium - Trophies from the "Equilibrium" dungeon.
After you complete all 10 triumphs, the seal will be unlocked so you can equip it on all your guardians.
SKIP THE GRIND BUY EQUILIBRIUM TITLE & SEAL!
FAQs
- Where is the Equilibrium dungeon located?
- Is the Equilibrium dungeon farmable?
- Can you solo Equilibrium dungeon?
- Does Equilibrium need a dungeon key?
The Equilibrium dungeon is located in the Legends tab.
No, the Equilibrium dungeon can only be farmed when it is part of the active dungeon rotation.
Yes, you can solo the dungeon and even solo flawless the dungeon, although it will be very challenging due to encounter mechanics and difficulty.
Yes, the Equilibrium dungeon requires the Renegades dungeon key.
Final Thoughts
I hope this guide will ease your experience with the Equilibrium dungeon encounters and help you get one step further to success. We did all the research, and now it’s your turn to show your skill. Give it a try, Guardian!
About KBoosting
If you are struggling to find a fireteam or don't have enough time to play yourself, at KBoosting, besides articles & guides, we also provide Destiny 2 boosting services. All you need to do is check our Equilibrium boosting services and let us handle everything for you, while you have some fun in the game!
