Deep Stone Crypt Guide – Complete Destiny 2 Raid Walkthrough

-
Bundle
- Powerful & pinnacle gear with 25% off
- Increase your power level easily
-
Hot

-
-
- Play alongside our professional sherpas!
- Get unique Deep Stone Crypt raid gear


Introduction
The Deep Stone Crypt raid was released in Destiny 2 with the Beyond Light expansion. The guide will take you through every step needed to complete it, covering all mechanics, strategies, and loadouts.
Table of Contents
In this guide, we will cover the following subjects:
- Raid Preparation
- How to access the raid
- First Encounter
- Second Encounter
- Third Encounter
- Fourth Encounter
- Boss Encounter
- Loot Table
- Extras & Challenges
- FAQ
- Conclusion
How to access the raid
To access the Deep Stone Crypt raid, you need to have the Beyond Light expansion purchased on your account.
You must open the destination menu and find the activity icon in the Europa destination.


Raid Preparation
Deep Stone Crypt raid features unique mechanics, so being prepared with the best meta loadouts will help you out immensely during each encounter. I’ll be going over some of the best weapons & subclasses that you should be using to ensure your success.
SKIP THE GRIND! BOOST YOUR GUARDIAN NOW!
Best subclasses & builds
Getting started
Once you're ready, navigate to the Europa and locate the raid marker in the lower right section of the map, near Beyond.
Best weapons loadouts
Here, I’ll be going over some of the best meta weapons to use in the Deep Stone Crypt raid:
- Primary slot: Khvostov 7G-0X, Adamantite.
- Energy slot: Psychopomp, Lord of Wolves.
- Heavy slot: Queensbreaker, Lament, Scintillation.
SKIP THE GRIND BUY DEEP STONE CRYPT CARRIES!
Reaching the first encounter
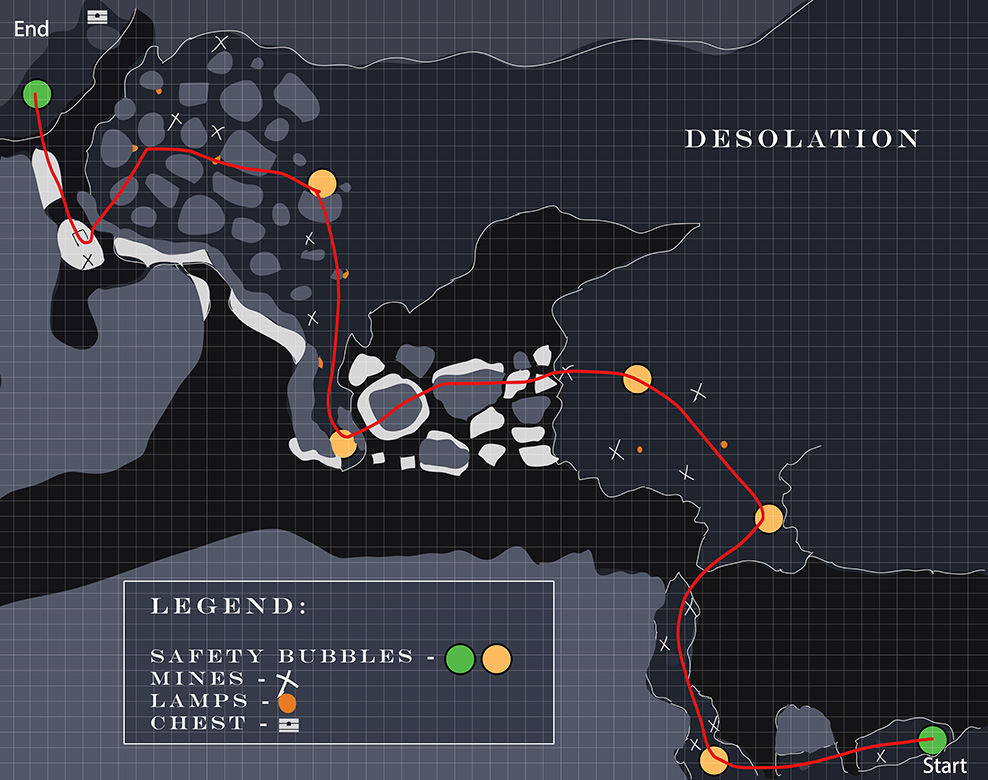
The first section is called Desolation and requires the players to use either their personal sparrow or the provided pikes to navigate a snow storm and move from bubble to bubble until they reach the first encounter. Here is a picture with the best route to take through the blizzard:
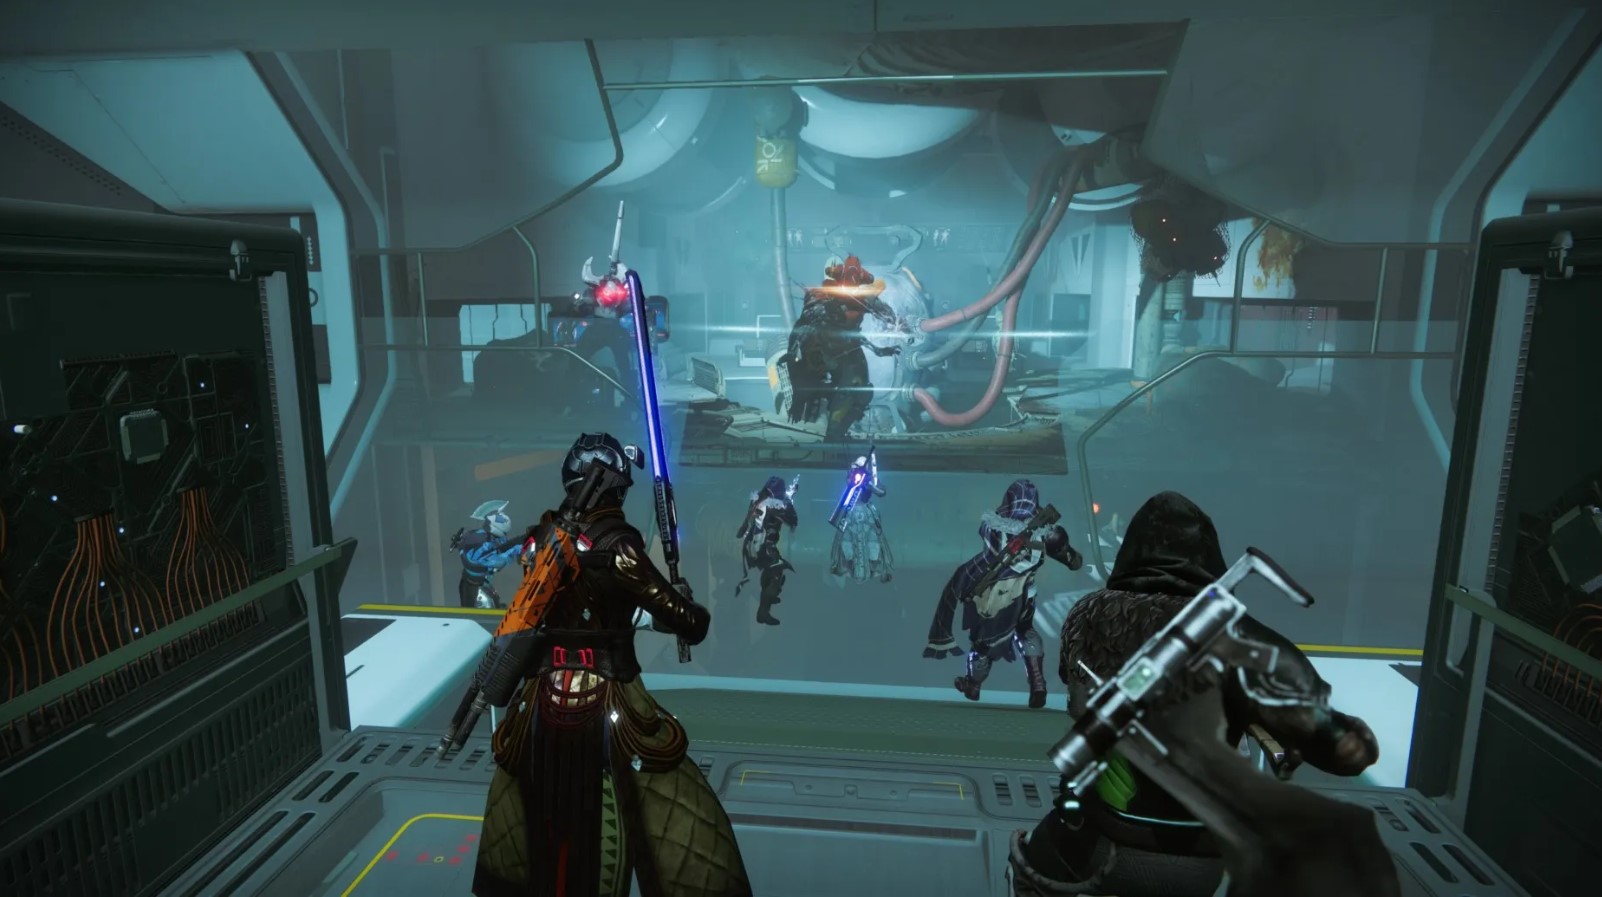
First encounter - Crypt Security
General Objective Overview
The first encounter is called Crypt Security, and requires your team to use the Operator and Scanner roles to deactivate 6 security fuses while handling ads and coordinating Augments swaps.
Arena & Layout
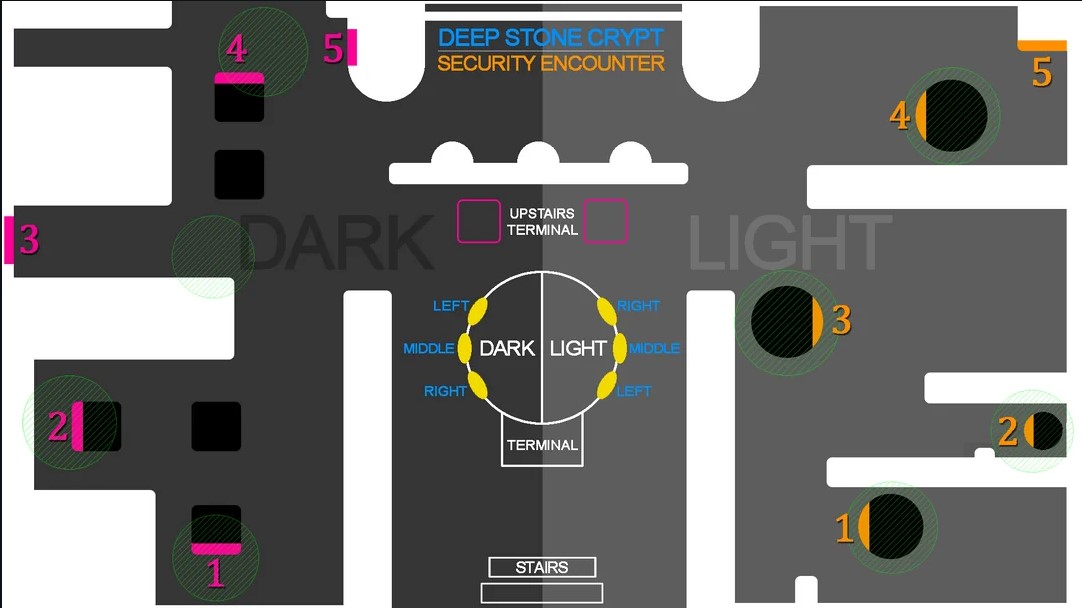
The room is divided into an upper and a lower level. The upper level contains the Scanner and the security fuses, while the lower level contains the Operator panels and enemy spawns. Players will need to communicate across both sections to disable the correct fuses.
Team Roles & Asignments
- Operator (Lower Level): - His role is to shoots panels to open doors and free trapped teammates.
- Scanner (Upper Level): - His role is to identify which security fuses must be destroyed.
- DPS Team - Their roles is to shoot the correct fuses once the Scanner calls them out.
Mechanics
The encounter revolves around passing Augments and coordonating with your fireteam:
- Operator: - Opens doors by shooting terminals and prevents players from being trapped.
- Scanner: - Checks which fuses are glowing and calls them out.
- DPS Team - The team damages the correct fuses before the time limit expires.
DPS Phase
Once the mechanic has been done and the fuses are exposed, the DPS team must quickly destroy the designated ones before security resets. Use high burst weapons like Xenophage, Grand Overture, or Linear Fusion Rifles for efficient damage.
Tips & Mistakes to Avoid
✔️ - Communicate well: Maintain clear callouts between the upper and lower levels.
✔️ - Don't forget to swap Augments: Swap Augments at the terminals when needed to keep the mechanic going.
❌ - Don't shoot the wrong fuses: Shooting the wrong fuse resets the encounter and ends the DPS phase.
❌ - Avoid getting trapped: You can get trapped by certain doors, the Operator player needs to be on guard when that happens.
Reaching the second encounter
After completing the first encounter, you can exit the door that opened next to the chest and reach a new area with a large veiled statue. Keep going forward to reach the second encounter.
Second Encounter - Atraks-1
General Objective Overview
The second encounter, Atraks-1, requires your team to defeat multiple clones of Atraks while managing Augment roles, space transitions, and a pretty strict damage phase. Failing to clear Atraks’ replication mechanic in time will result in a team wipe.
Arena & Layout
The fight takes place across two areas:
- Ground Level - (Orbital Facility entrance)
- Space Station - (Accessible via launch pods)
The fireteam must split between these two sections to handle ads, activate Augments, and manage the replication mechanic.
Team Roles & Asignments
- Operator (Ground Team): - His role is to shoot panels to remove Atraks' Replication debuffs from players.
- Scanner (Space Team): - Checks which fuses are glowing and calls them out.
- DPS Team: - After the mechanic is done, everyone goes to the real clone during each damage phase and kills it fast.
Mechanics
- Atraks clones will spawn in both arenas, dealing AoE damage.
- The Scanner from the Space Team calls out the real glowing clone.
- After the clone is destroyed, the Operator removes the lingering Replication debuff from one of the players.
- Repeat until you reach Atraks-1’s final stand, where the fireteam must quickly burst the remaining health before the wipe occurs.
DPS Phase
For efficient DPS, use Lament, Parasite, or Queensbreaker combos for massive burst damage. Gather near the called-out clone and make sure you all time your abilities to maximize the damage output.
Tips & Mistakes to Avoid
✔️ - Always clear Replication debuffs immediately: Holding them too long wipes the team, so the Operator has to remove them fast.
✔️ - Swap Augments between Space & Ground levels: After you complete a mechanic, make sure you put the Augments in the terminals for the other team to avoid wipes.
❌ - Don’t leave Replication debuffs on the floor unattended: Doing so will instantly wipe your team.
❌ - Avoid wasting launch pods: If they are used carelessly, they can affect your run, so only use them for role swapping if needed.
Reaching the third encounter
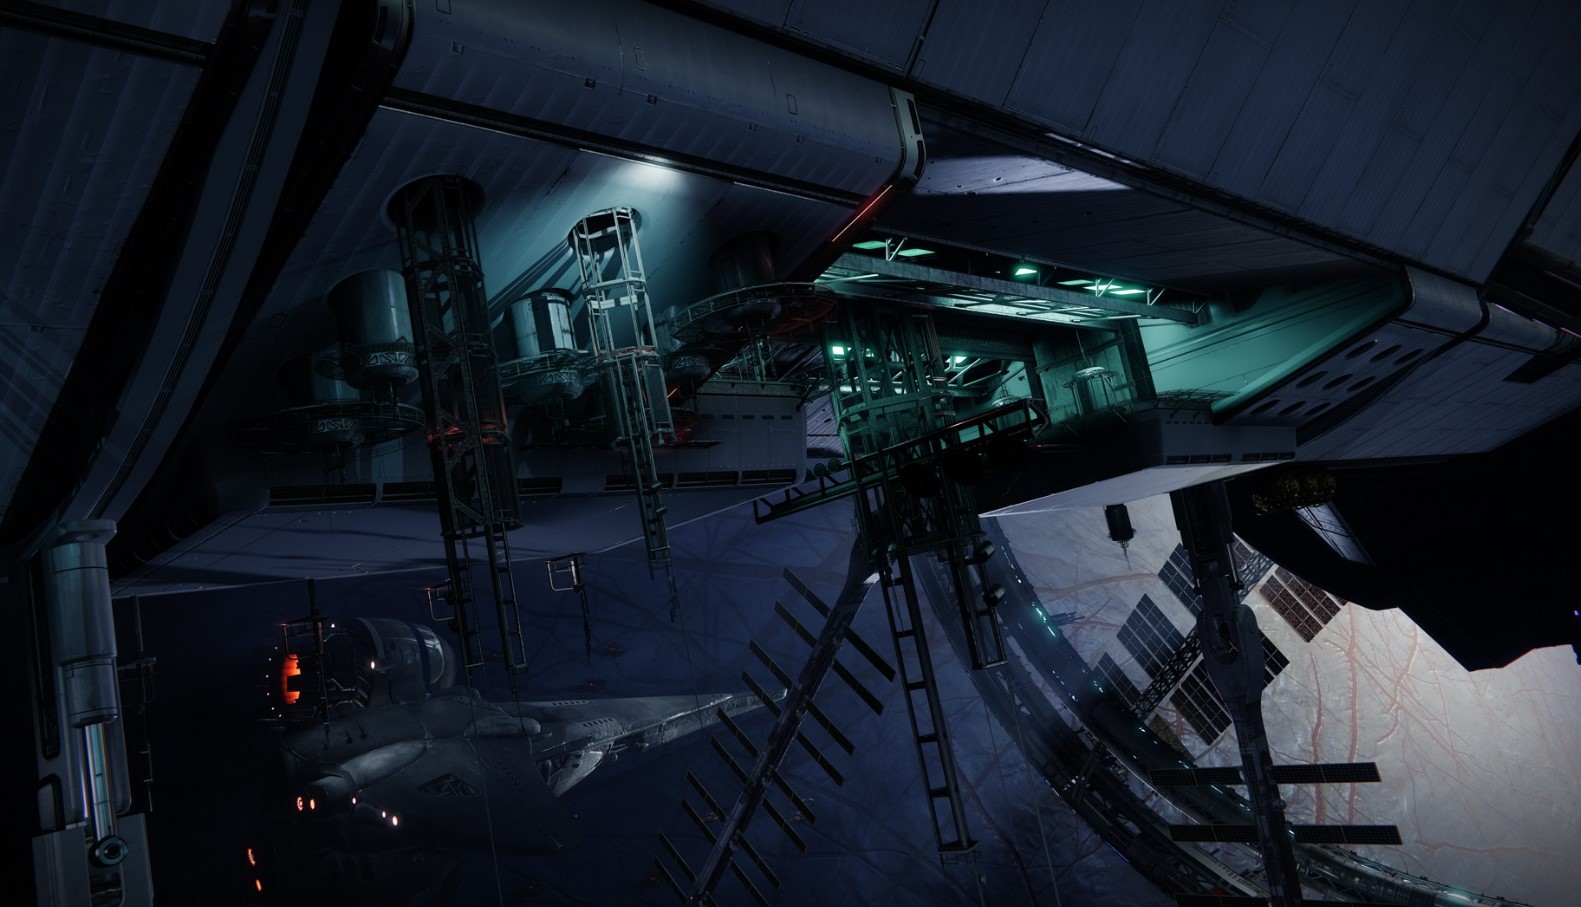
After completing the second encounter, you will have to navigate an abandoned space station in 0 gravity by platforming and killing enemies. You will eventually reach an area where a lot of ads and some Brigs spawn, kill them and advance further towards the third encounter.
Third Encounter - Taniks, Reborn
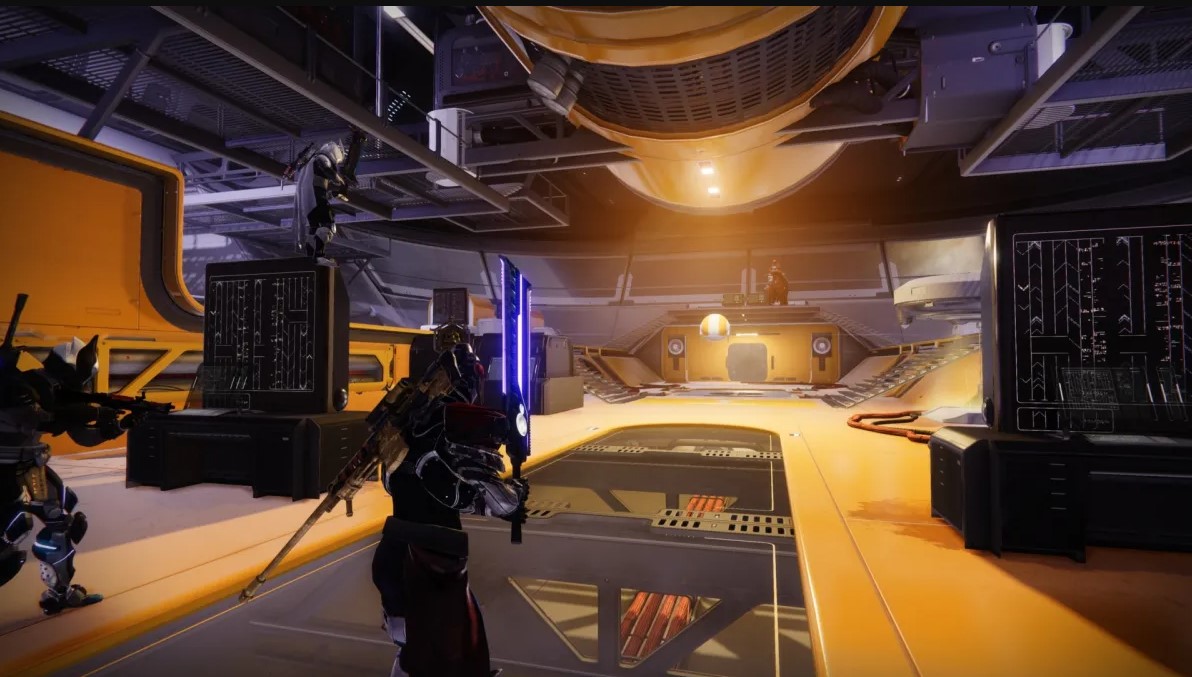
General Objective Overview
The third encounter, called Taniks Reborn, is a chaotic race against time where your team must prevent nuclear cores from overloading the facility while managing Augments and suppressing Taniks. Success requires coordinated Augment swaps and precise nuclear core handling.
Arena & Layout
The battle takes place in a circular arena with multiple terminals. The fireteam will need to move between designated deposit stations while avoiding Taniks’ attacks and carrying the nuclear cores.
Team Roles & Asignments
- Operator: - He shoots panels to release nuclear cores for other players.
- Scanner: - Identifies the correct deposit stations to deposit nuclear cores.
- Suppressor: - He can stun Taniks by standing under three different security drones.
Mechanics
- Once you start, enemies start spawning and Taniks begins the nuclear core sequence.
- Two players will pick up nuclear cores, triggering Radiation buildup for them.
- The Operator shoots the terminals to allow core carriers to be freed if needed.
- Scanner calls out the two correct deposit stations.
- Suppressor must stand under all three blue drones and shoots Taniks to stun him.
- Once stunned, the core carriers deposit their cores.
- Repeat this cycle until the encounter completes.
DPS Phase
This encounter does not have a DPS phase.
Tips & Mistakes to Avoid
✔️ - Rotate the Augments when needed: Keep rotating the Augments at terminals to avoid role lockouts.
✔️ - Core carriers need to be fast: There is a Radiation debuff when you carry a core, once it reaches 10, you die, so make sure you move fast.
❌ - Don’t deposit cores in the wrong deposit stations: Doing so will wipe your team.
Reaching the boss encounter
After completing the third encounter, the space station will fall on Europa's surface, you must navigate through the fallen debris and reach the final encounter.
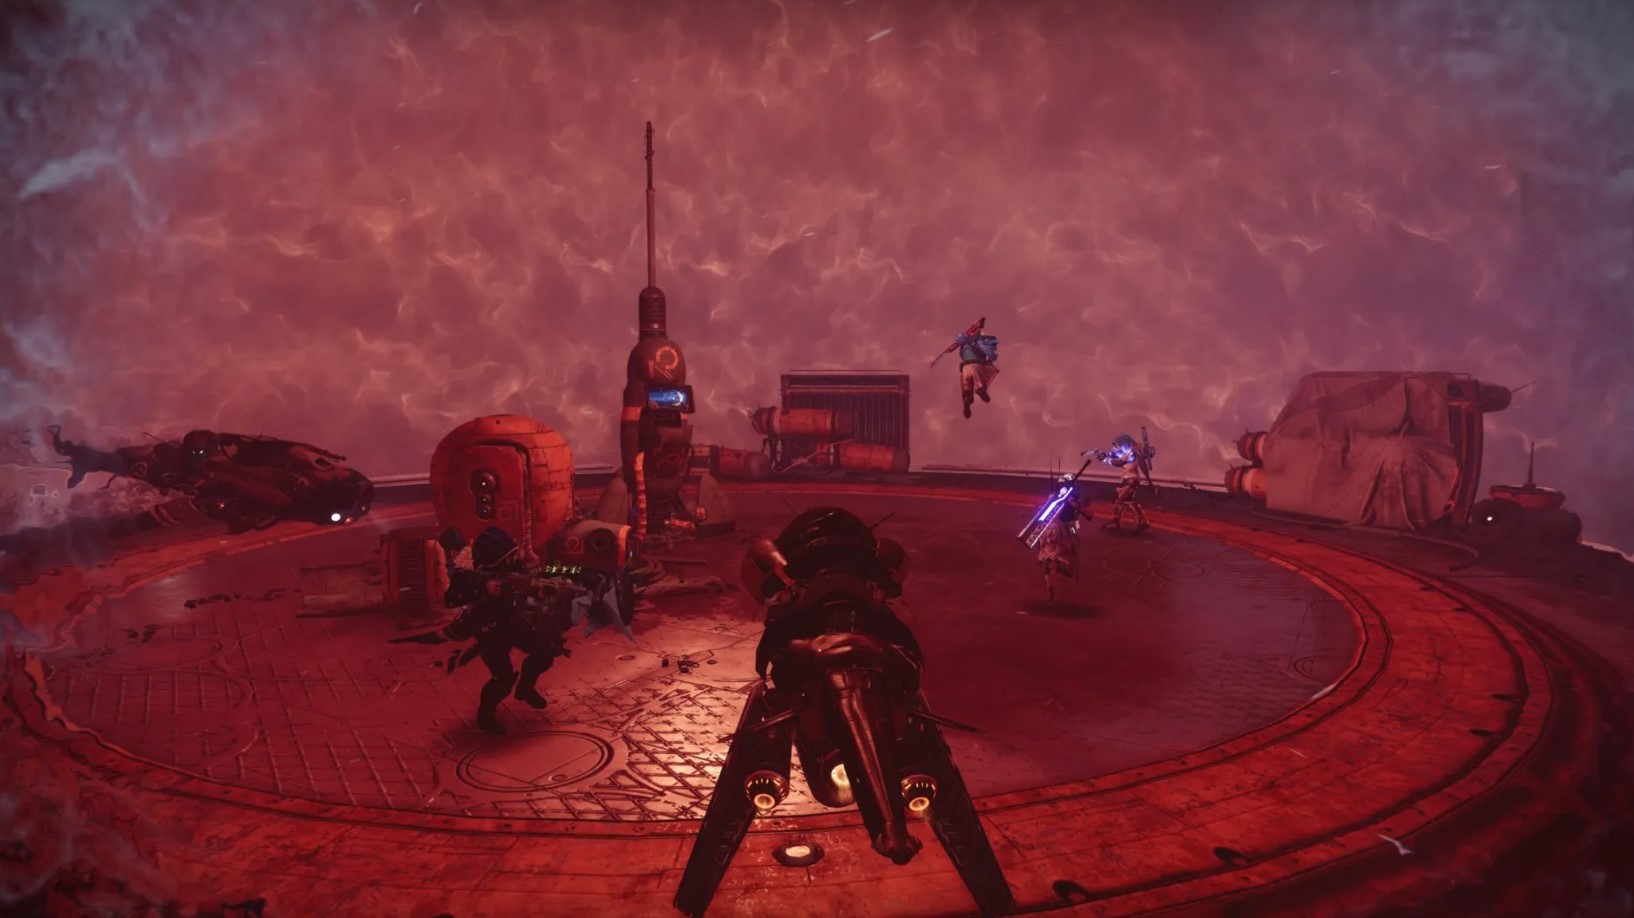
Boss Encounter - Taniks, the Abomination

General Objective Overview
The final encounter against Taniks, the Abomination is a mix of nuclear core management, Augment coordination, and high-damage phases. Your fireteam must handle nuclear cores, suppress Taniks, and do DPS in the middle of the arena.
SKIP THE GRIND BUY DEEP STONE CRYPT BOSS KILLS NOW!
Arena & Layout
The fight takes place in a large, open arena divided into three zones (Orange, Blue, and Spawn). Nuclear core deposits are spread across these zones, requiring quick callouts and movement.
Team Roles & Asignments
- Operator: He shoots panels to free players holding nuclear cores.
- Scanner: He identifies the correct deposit stations for the nuclear cores.
- Suppressor: He stuns Taniks by shooting him while standing under three security drones.
Mechanics
- After some time, Taniks will start moving to a side of the arena, either Spawn, Blue, or Orange.
- Everyone must move with him and then shoot his glowing legs to drop cores.
- All 4 cores must be picked up or the whole team gets wiped.
- The 4 cores must be deposited in the zones where Taniks didn't go to (for example, if he moves to Blue, you need to deposit them at Orange & Spawn).
- The Suppressor needs to stun the boss in the meantime so the cores can be deposited.
- The Operator must shoot trapped players to free them when carrying the cores.
- Once all 4 cores have been deposited, the DPS can begin in the middle of the arena.
DPS Phase
After handling nuclear cores, Taniks moves to the center and becomes vulnerable.
Gather in a Well of Radiance and use Divinity, Thunderlord, or any other meta weapons for good damage.
Tips & Mistakes to Avoid
✔️ - Assign dedicated players to each Augment role: Make sure each player knows his role before starting the encounter.
✔️ - Move quickly with nuclear cores: Make sure you deposit the cores fast or you will die from the Radiation debuff.
❌ - Don't get too close to the boss: The boss has a stomp attack that can easily kill you or throw you off the map.
DON'T WASTE TIME BUY DEEP STONE CRYPT WEAPONS!
Loot Table
Here we'll be showing you every piece of loot you can acquire from the raid. Deep Stone Crypt features 6 legendary weapons, 1 exotic & 1 normal armour set. Below you will find a list with all the weapons & armour pieces:
| Crypt Security (1st Encounter) |
Atraks-1 (2nd Encounter) |
Rapture (3rd Encounter) |
The Abomination (Final Encounter) |
|
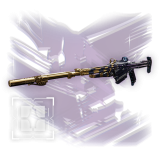
Trustee Scout Rifle 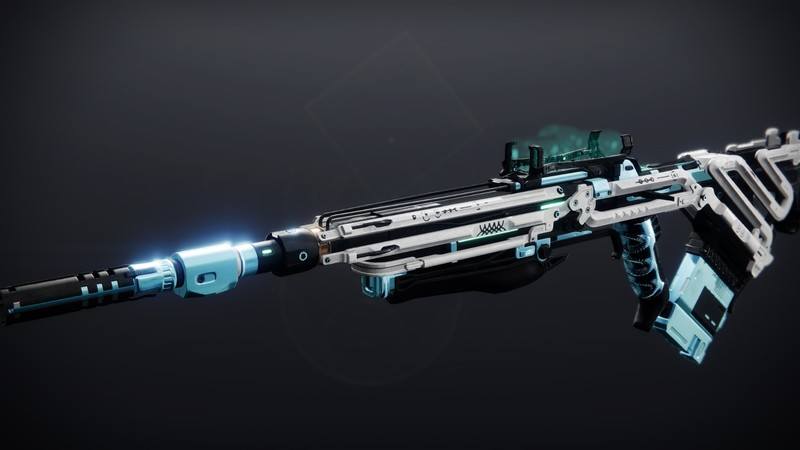

.jpg)
|
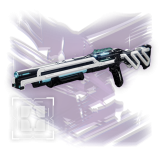
Succession Sniper Rifle 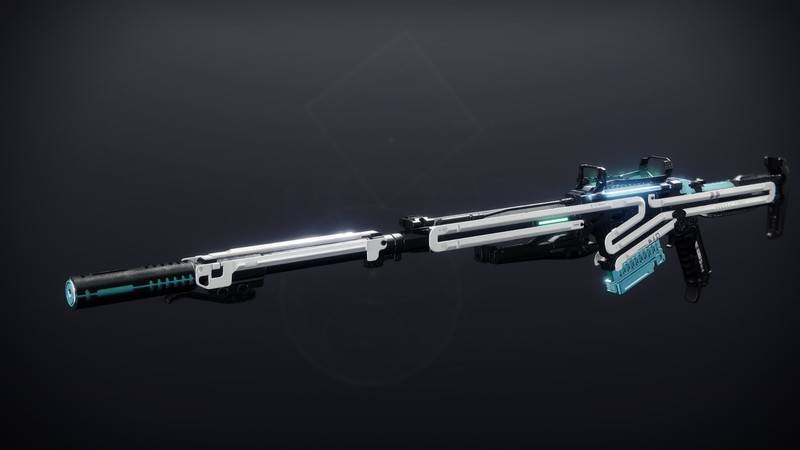


|
Posterity Hand Cannon 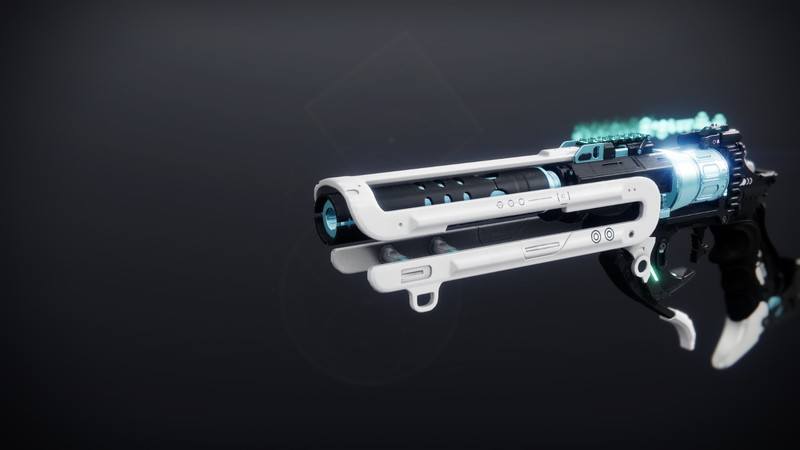

.jpg)
|
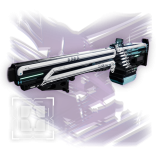
Bequest Sword 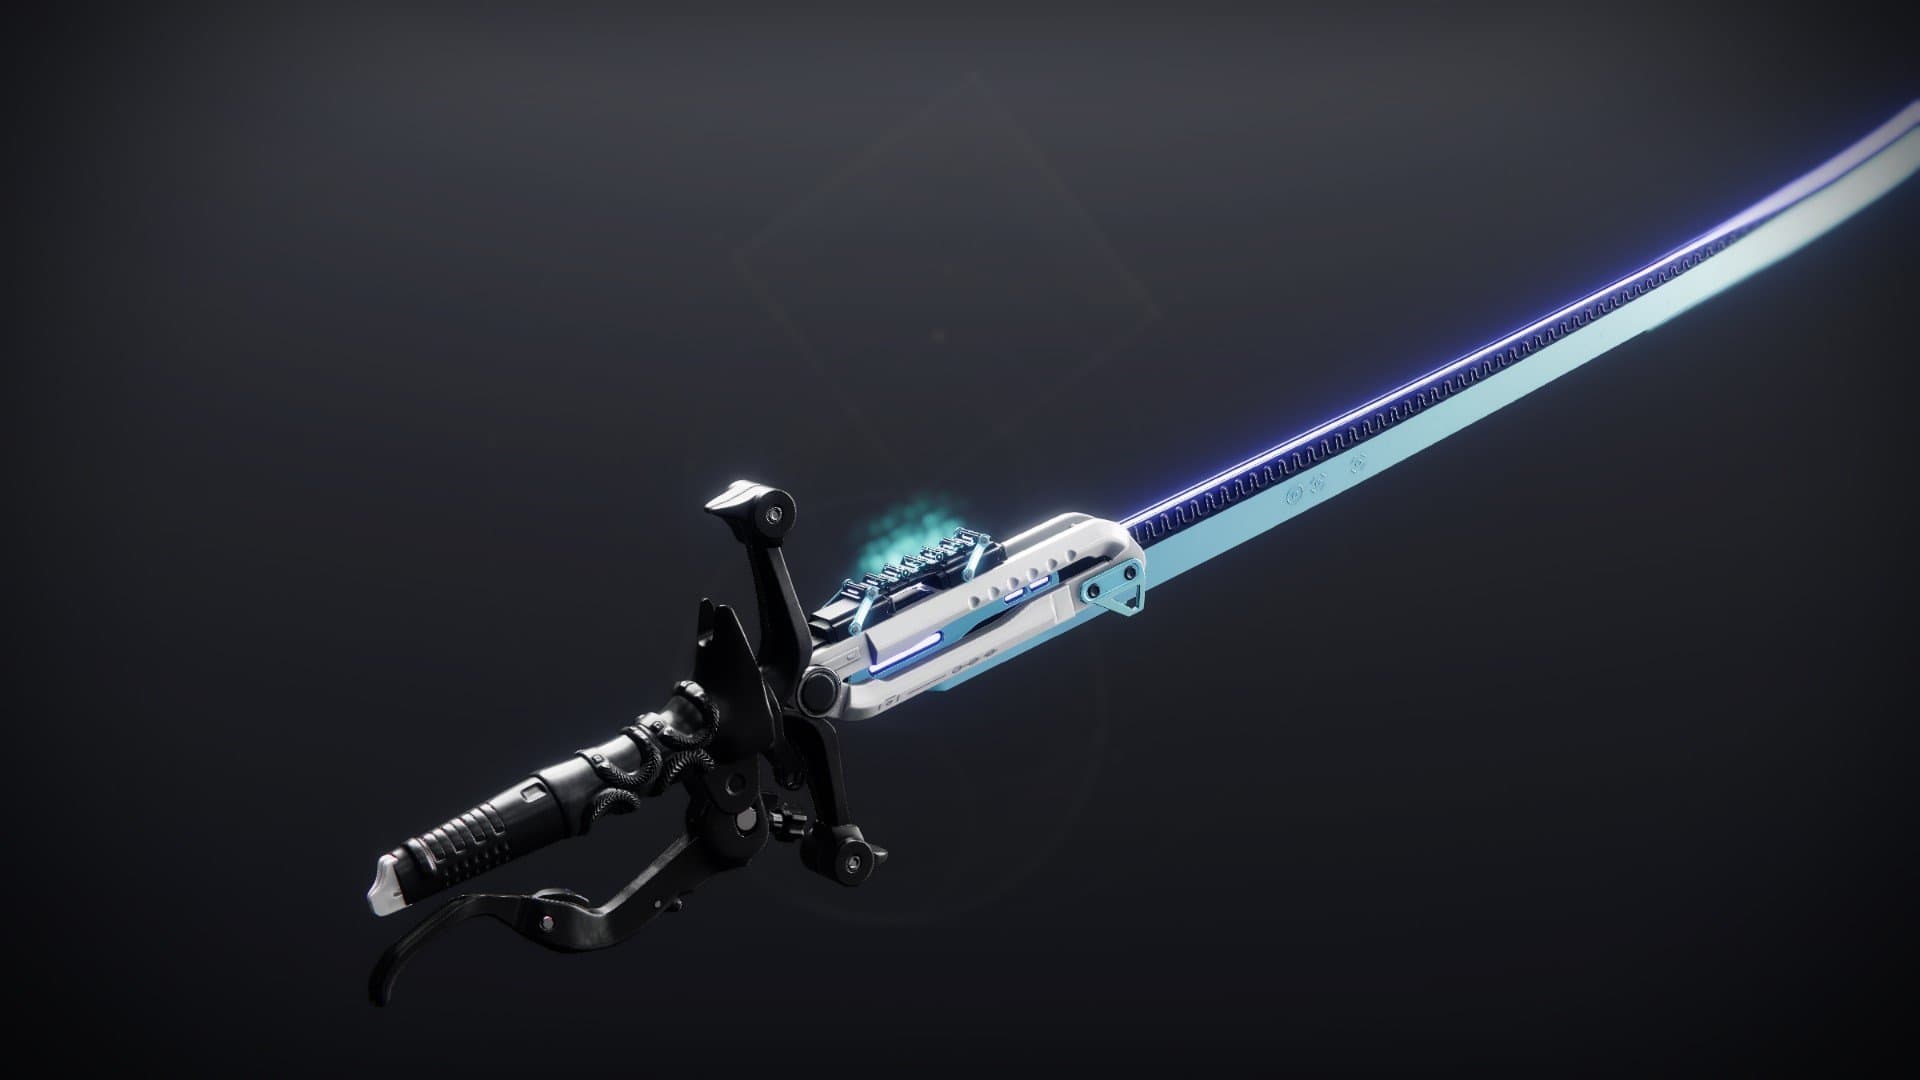

|
|
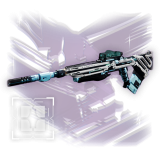
Heritage Shotgun 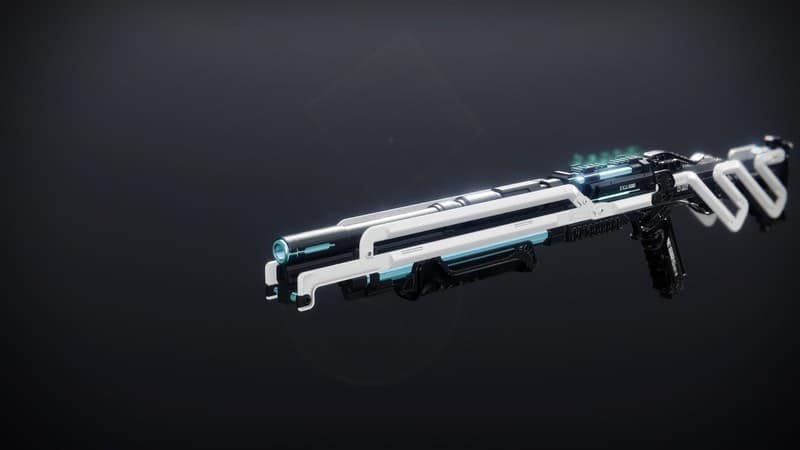
|
Commemoration Machine Gun 

|
||
|
Eyes of Tomorrow Rocket Launcher .jpg)

|
|||
|
Legacy's Oath Gauntlets 
|
Legacy's Oath Gauntlets
|
Legacy's Oath Plate 
|
Legacy's Oath Helm 
|
|
Legacy's Oath Greaves 
|
Legacy's Oath Greaves
|
Legacy's Oath Gauntlets
|
Legacy's Oath Plate
|
|
Legacy's Oath Mark 
|
Legacy's Oath Mark
|
Legacy's Oath Mark
|
Legacy's Oath Greaves
|
These are all the possible loot that can drop from each encounter in Deep Stone Crypt raid.
SKIP THE GRIND BUY DEEP STONE CRYPT EXOTIC NOW!
Extras & Challenges
Like in the previous raids, Deep Stone Crypt also has a certain number of collectables, a title (or seal), specific triumphs that awards a unique special badges on your dungeon report. We’ll be going over each of them and tell you what are the best tips & tricks on acquiring them.
Title & Seal
The title for the Deep Stone Crypt is called Descendant. Below you will find the list with all the required triumphs needed to acquire your seal:
- Deep Stone Crypt - Trophies from the "Deep Stone Crypt" raid.
- Deep Stone Crypt raid - Complete any version of the "Deep Stone Crypt" raid.
- Cryptkeeper - Loot all hidden chests in the "Deep Stone Crypt" raid.
- Clan night: Deep Stone Crypt - Complete the "Deep Stone Crypt" raid with a team made entirely of clanmates.
- Control Group - Complete all raid encounters with a fireteam made entirely of the same Guardian class.
- Electric Sheep - Complete all raid encounters with a fireteam made entirely of Arc subclasses.
- Meltdown - Complete all raid encounters with a fireteam made entirely of Solar subclasses.
- Freezing Point - Complete all raid encounters with a fireteam made entirely of Stasis subclasses.
- Devoid of the Rest - Complete all raid encounters with a fireteam made entirely of Void subclasses.
- Not a Scratch - Bring all six Pikes from the starting heat bubble to the final heat bubble.
- Rock Bottom - Collect all five Exo Stranger logs.
- Red Rover - Complete the Crypt Security encounter by having all Guardians fire at least two panels as an Operator.
- Resource Contention - Shut down Crypt security while only using 2 of the 3 augmentation terminals.
- Copies of Copies - Defeat Atraks-1, Fallen Exo without depositing Replication Orbs into airlocks.
- 5 Seconds to Paradise - Defeat Atraks-1 while destroying all Servitors within 5 seconds of each other.
- Of All Trades - Complete the Descent encounter by having all players use the Scanner, Operator, and Suppressor augments at least once.
- Short Circuit - Confront Taniks while allowing only one player from your fireteam to deposit nuclear cores.
- The Core Four - Defeat Taniks, the Abomination, by spawning four nuclear cores at once.
- Ready, Set, Go! - Defeat Taniks, the Abomination while activating pairs of conduit nodes within 5 seconds of each other.
After you complete all 19 triumphs, the Descendant seal will be unlocked so you can equip it on all your guardians.
Cosmetics
No Love Lost Ghost Shell
The No Love Lost exotic ghost shell is acquired by completing the ''Rock Bottom'' triumph that requires you to collect all 5 Exo Stranger logs throughout the raid.
Retrocausality Sparrow
The Retrocausality exotic sparrow is acquired by completing the ''Not a Scratch'' triumph that requires you to bring all 6 Pikes from the starting heat bubble to the final heat bubble before the first encounter.
SKIP THE GRIND BUY DEEP STONE CRYPT TITLE NOW!
FAQs
The Deep Stone Crypt raid is located on Europa.
No, the Deep Stone Crypt raid is not farmable, unless it is the featured raid on rotation that week.
No, the Deep Stone Crypt raid is one of the older raids in Destiny 2 and doesn't have hard mechanics.
Yes, the Deep Stone Crypt raid requires ownership of the Beyond Light expansion in Destiny 2.
Final Thoughts
I hope this guide will ease your experience with the Deep Stone Crypt raid encounters and help you get one step further to success. We did all the research, and now it’s your turn to show your skill. Give it a try, Guardian!
About KBoosting
If you are struggling to find a fireteam or don't have enough time to play yourself, at KBoosting, besides articles & guides, we also provide Destiny 2 boosting services. All you need to do is check our Deep Stone Crypt boosting services and let us handle everything for you, while you have some fun in the game!
