Ghosts of the Deep Guide – Complete Destiny 2 Dungeon Walkthrough


-
Bundle
- Powerful & pinnacle gear with 25% off
- Increase your power level easily
-
Hot

-
-
-
-
Sale 15%Ends in 23h 49m 43s
-

- Flawless GotD dungeon guaranteed
- Get unique cosmetics for your guardian
-
Bundle
- GoTD dungeon gear with 30% off
- 6 weapons, 5 armor pices and 1 exotic
- Solo Flawless included

-
-
- Flawless GotD dungeon guaranteed
- Get unique cosmetics for your guardian

Introduction
The Ghosts of the Deep dungeon was released in Destiny 2 during Season of the Deep. The guide will take you through every step needed to complete it, covering all mechanics, strategies, and loadouts.
Table of Contents
In this guide, we will cover the following subjects:
- Dungeon Preparation
- How to access the dungeon
- First Encounter
- Second Encounter
- Boss Encounter
- Loot Table
- Extras & Challenges
- FAQ
- Conclusion
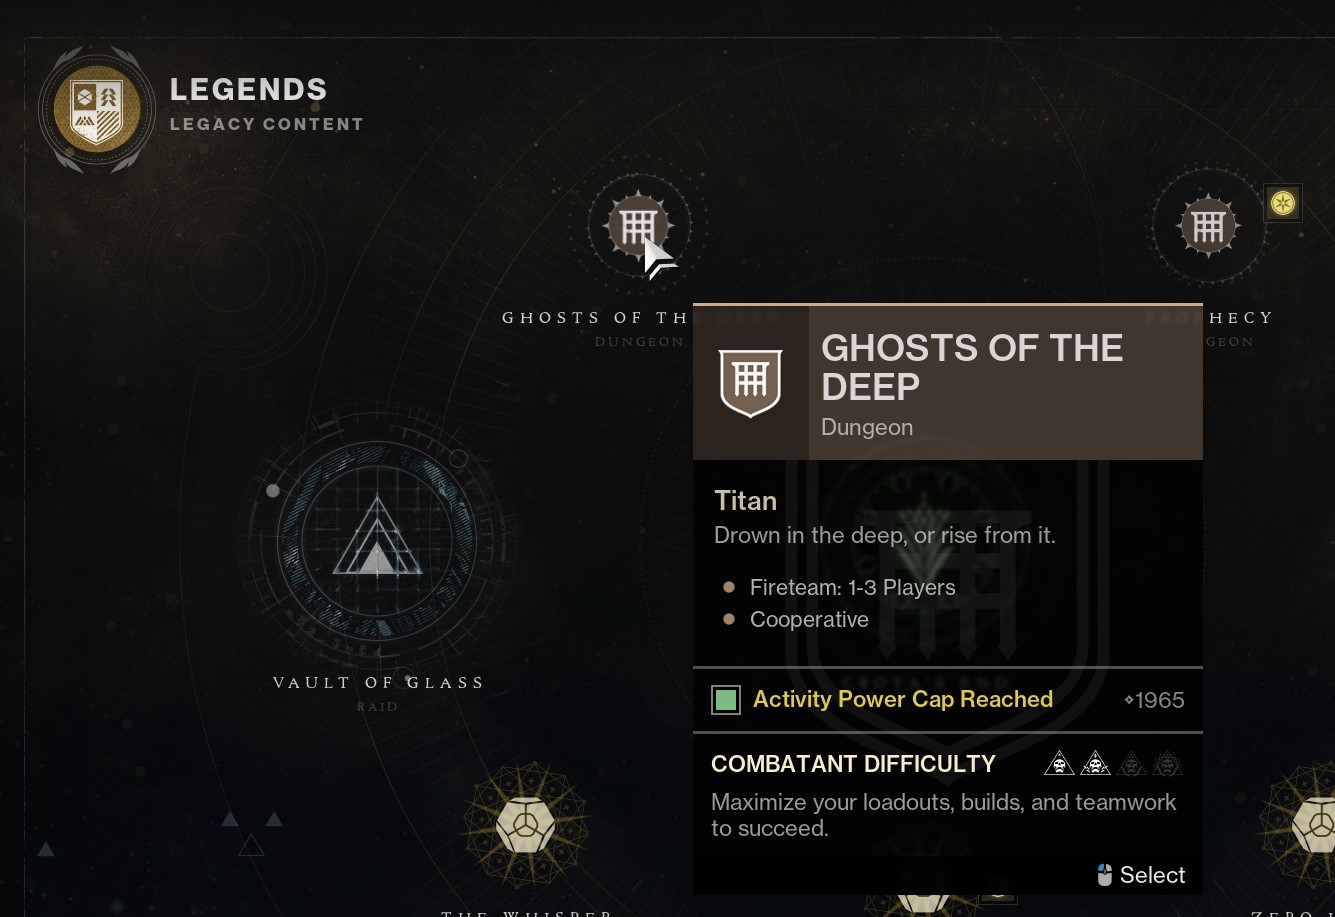
How to access the dungeon
To access the Ghosts of the Deep dungeon, you need to have the Lightfall expansion purchased on your account.
You must open the destination menu and find the activity icon in the Legends tab.

Dungeon Preparation
Ghosts of the Deep dungeon features unique mechanics, so being prepared with the best meta loadouts will help you out immensely during each encounter. I’ll be going over some of the best weapons & subclasses that you should be using to ensure your success.
SKIP THE GRIND! BOOST YOUR GUARDIAN NOW!
Best subclasses & builds
- Warlock (Solar Well) – Using Well of Radiance will greatly increase you and your team survivability while also increasing damage output. Consider using Healing Grenade if your team needs it.
- Titan (Prismatic Thundercrash) – Thundercrash is one of the best DPS supers for Titan, and using the Prismatic subclass lets you choose a variety of aspects & grenades to best suit your playstyle.
- Hunter (Prismatic Solar) – Prismatic Solar with Golden Gun super in combination with the Celestial Nighthawk exotic is best for massive DPS damage during boss phases.
Getting started
Once you’ve obtained the quest, navigate to the Legends and locate the dungeon marker in the top right corner.
Best weapons loadouts
Here, I’ll be going over some of the best meta weapons to use in the Ghosts of the Deep dungeon:
- Primary slot: Lost Signal, Tinasha’s Mastery, Outbreak Perfected.
- Energy slot: Lord of Wolves, Unforgiven, Ikelos SMG.
- Heavy slot: Grand Overture, Legend of Acrius (with Catalyst), Queensbreaker (with Catalyst).
SKIP THE GRIND BUY GHOSTS OF THE DEEP CARRIES!
Reaching the first encounter
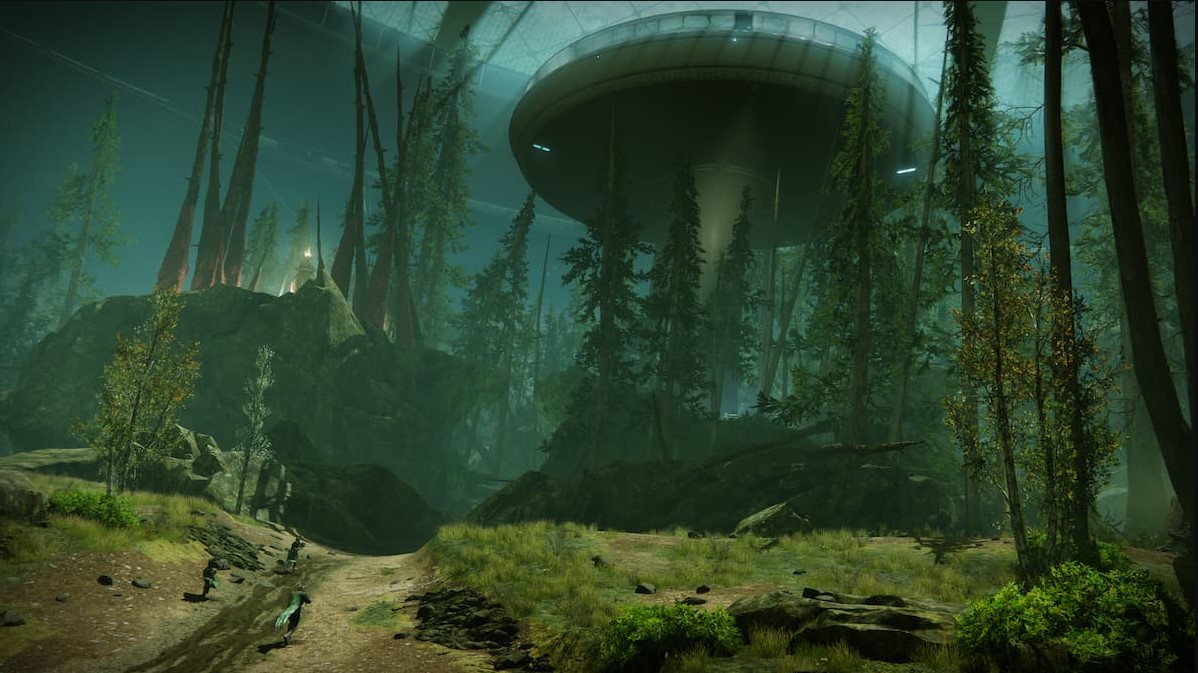
You and your fireteam will spawn right in front of where the first encounter takes place.
First encounter - Hive Ritual
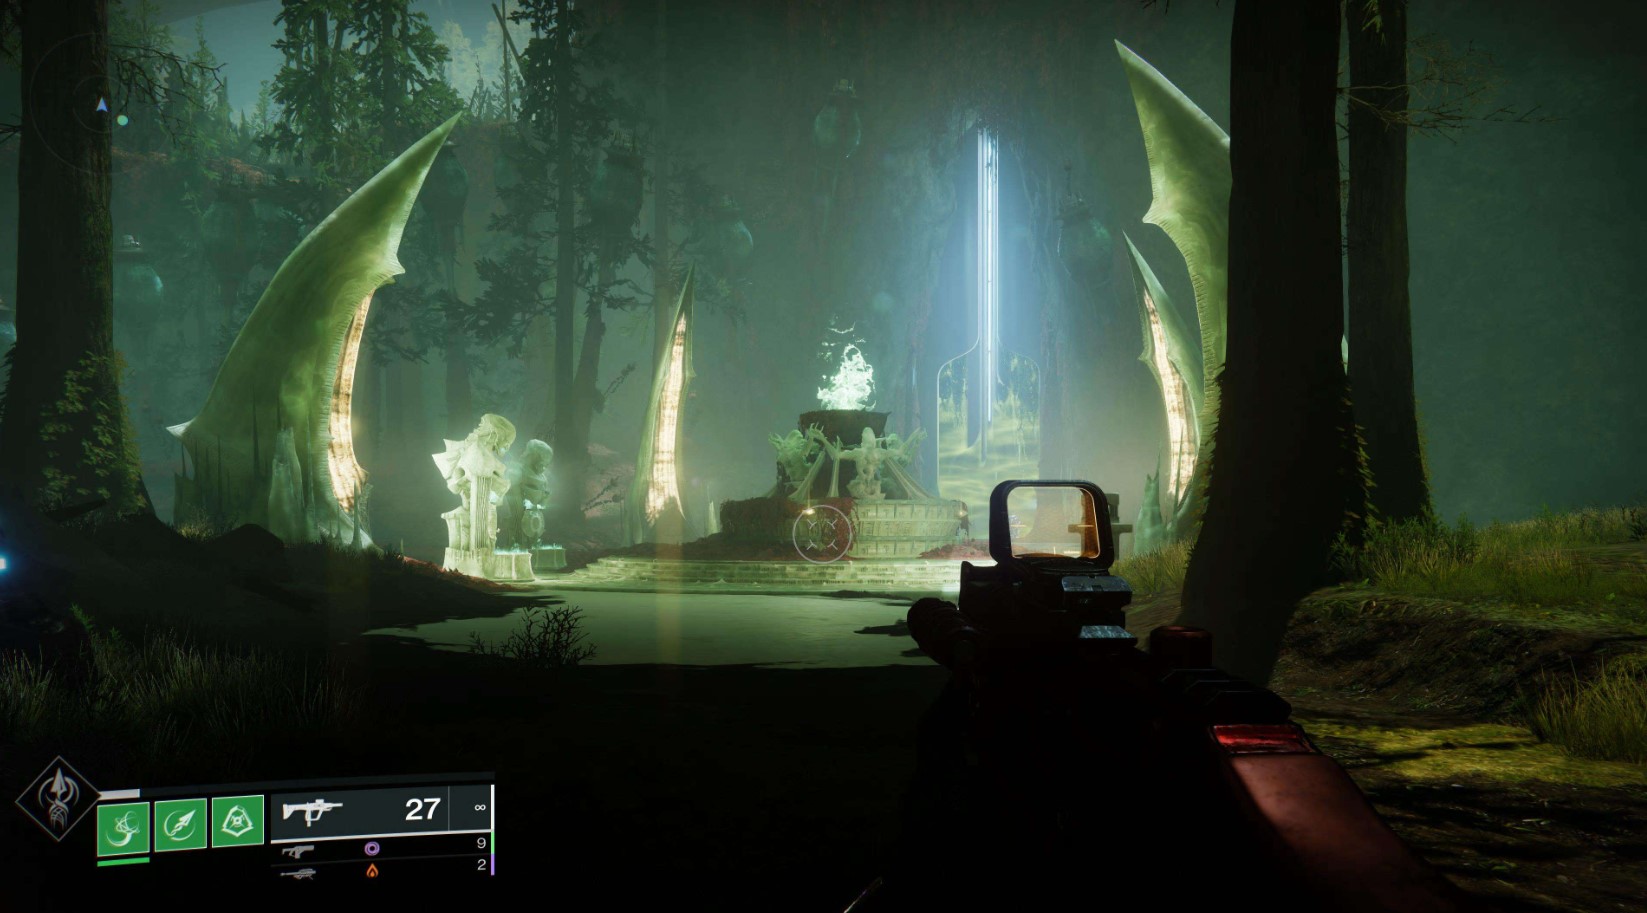
General Objective Overview
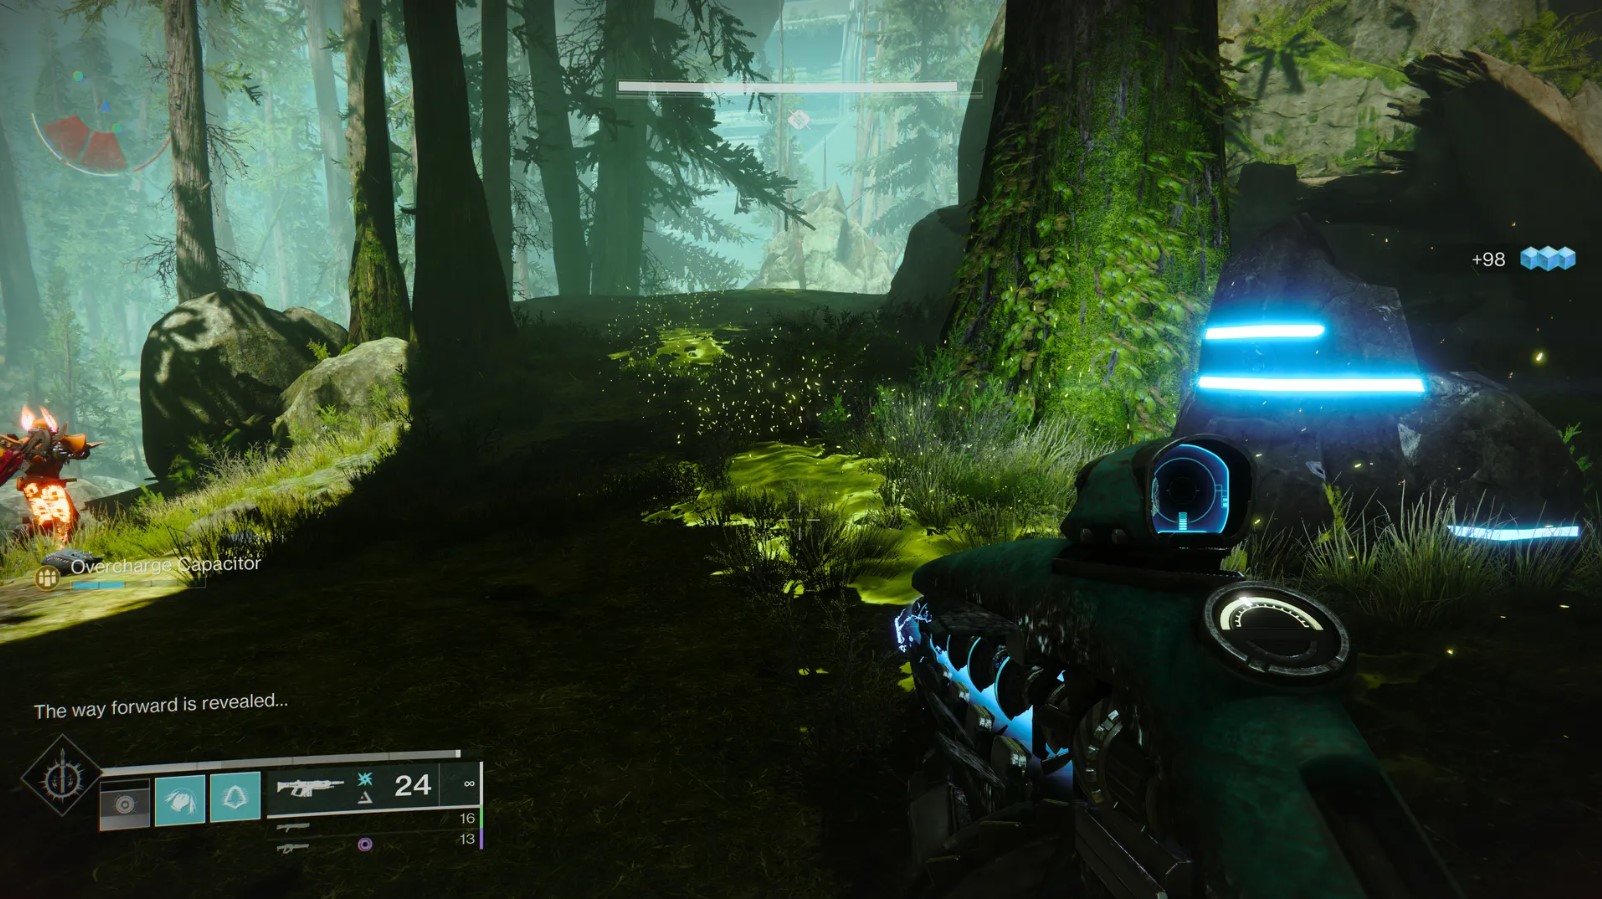
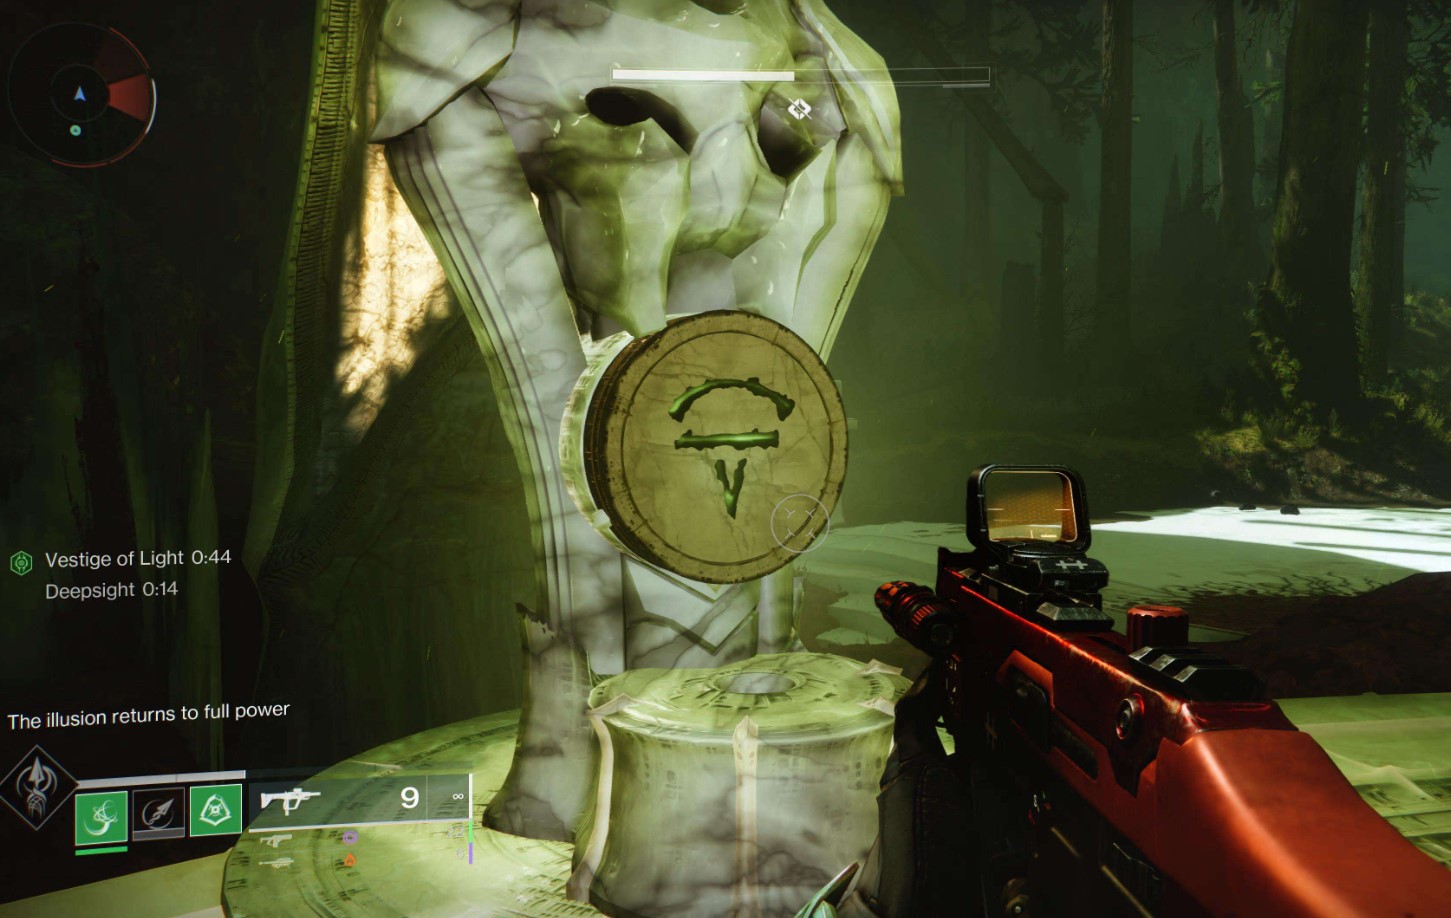
In the first encounter of the Ghosts of the Deep dungeon, your fireteam must disrupt a Hive ritual by activating 4 statues. This involves defeating specific Hive enemies, acquiring the Vestige of Light buff, and depositing it into statues with matching Hive symbols.
Arena & Layout
The encounter takes place in an open area outside the New Pacific Arcology on Titan. It contains:
- Central Ritual Site: Located at the back center, surrounded by Hive statues and spikes.
- Multiple Pathways: Lead to various sections where Hive enemies spawn.
- Open Spaces: Allow for Sparrow traversal to quickly move between areas.
Team Roles & Asignments
- Vestige Carrier (1 player): Responsible for obtaining the Vestige of Light buff and depositing it into the correct statue.
- Ad-clear Team (2 players): Focus on eliminating Hive enemies, including Ogres, Wizards, and Lightbearer Knights, to ensure the Vestige Carrier can perform their role safely.
Mechanics
- Defeat the Soulfire Binder Ogre: An Ogre spawns near the ritual site; killing it reveals a green trail leading to the next group of enemies.
- Follow the Green Trail: This trail leads to a Hive rune symbol in the air; note this symbol as it indicates the correct statue for depositing the buff.
- Eliminate Hive Enemies: Along the trail, defeat groups of Hive, including additional Soulfire Binders.
- Confront the Lightbearer Knight: At the final location, a Lightbearer Knight appears; defeat it and finish its Ghost to acquire the Vestige of Light buff (80-second timer).
- Return to the Ritual Site: Back at the central area, defeat the Veilweaver Wizard to spawn a Deepsight Orb.
- Activate Deepsight: This reveals hidden Hive symbols on the statues.
- Deposit the Vestige of Light: The buff holder must imbue the statue matching the earlier noted symbol.
- Repeat Process: This sequence must be completed 4 times, each with a different symbol, to fully disrupt the ritual and open the path forward.
DPS Phase
There is no DPS phase for this encounter.
Tips & Mistakes to Avoid
✔️ - Communicate Symbol Identification: Ensure all team members are aware of the current Hive symbol to avoid depositing errors.
✔️ - Manage Buff Timers: The Vestige of Light buff has an 80-second duration; prioritize returning to the ritual site promptly to prevent deaths.
❌ - Avoid Depositing into Incorrect Statues: Depositing the buff into the wrong statue results in player death and delays.
❌ - Neglecting Ad-clear: Allowing enemies to accumulate can overwhelm the team; maintain consistent ad-clear to ensure safety.
Reaching the second encounter
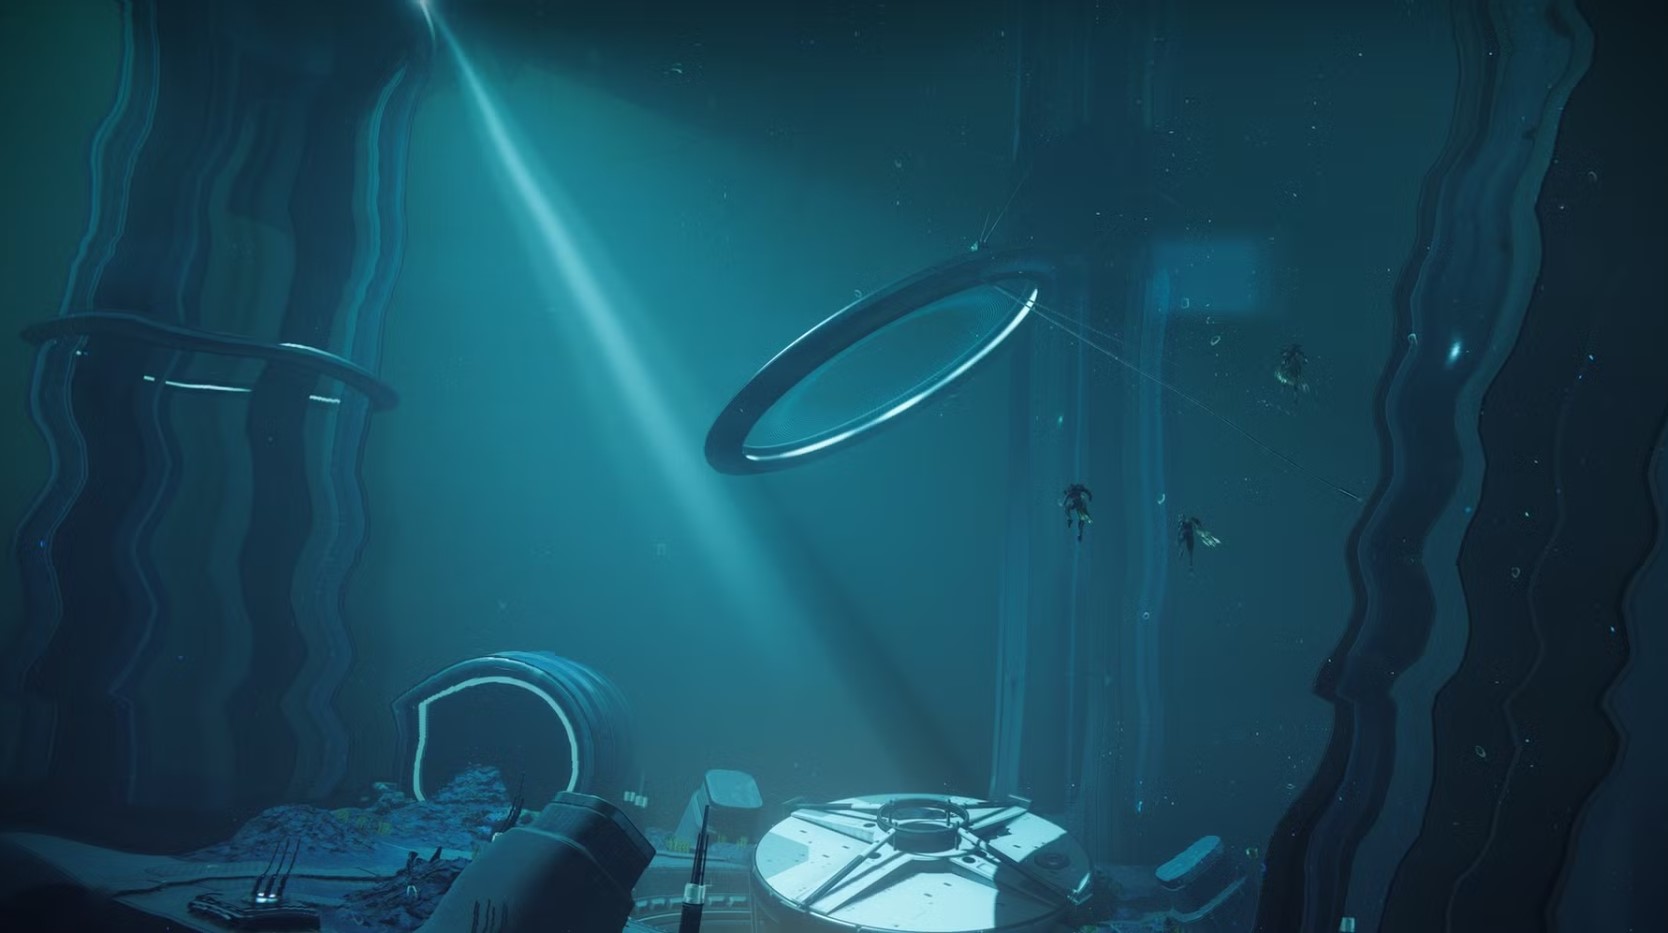
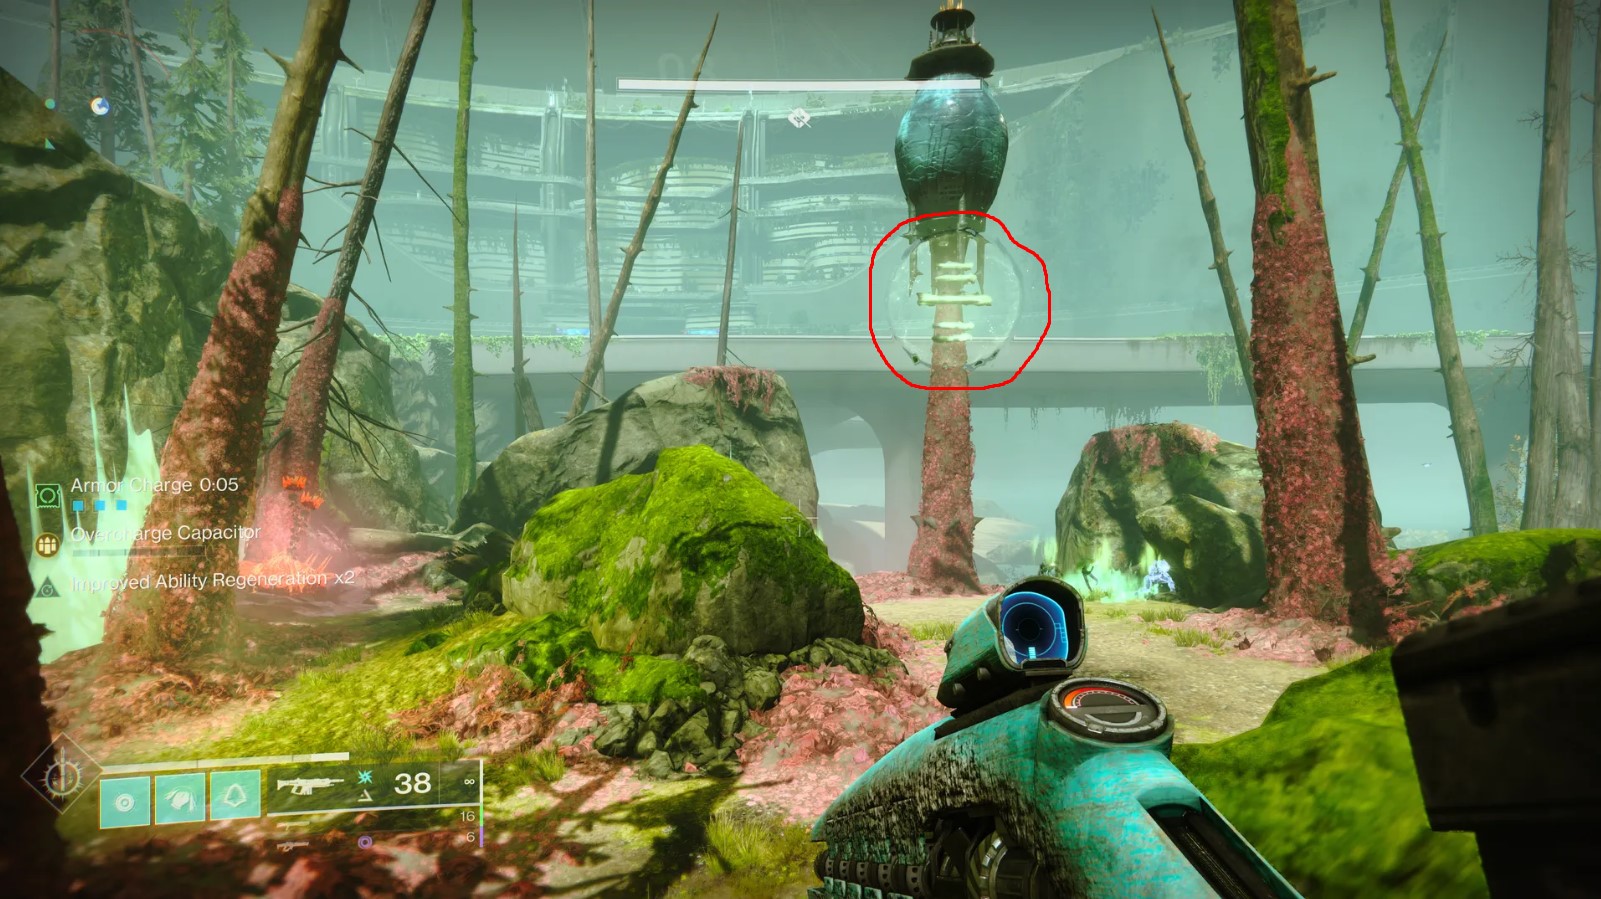
After completing the first encounter, Break the Ritual, your fireteam must navigate through an underwater traversal section that requires you to collect air bubbles or you will die from pressure. The underwater section is dark and disorienting, requiring careful navigation. After finally reaching dry land, its time for the second encounter, Ecthar, the Shield of Savathûn.
General Objective Overview
Second Encounter - Ecthar, the Shield of Savathûn

General Objective Overview
The second encounter in Ghosts of the Deep pits your fireteam against Ecthar, the Shield of Savathûn. This fight requires you to navigate underwater sections, defeat Lucent Hive, and utilize the Deepsight buff to uncover and dunk Hive runes. Success relies on precise ad-clear, dunking mechanics, and coordinated DPS phases.
Arena & Layout
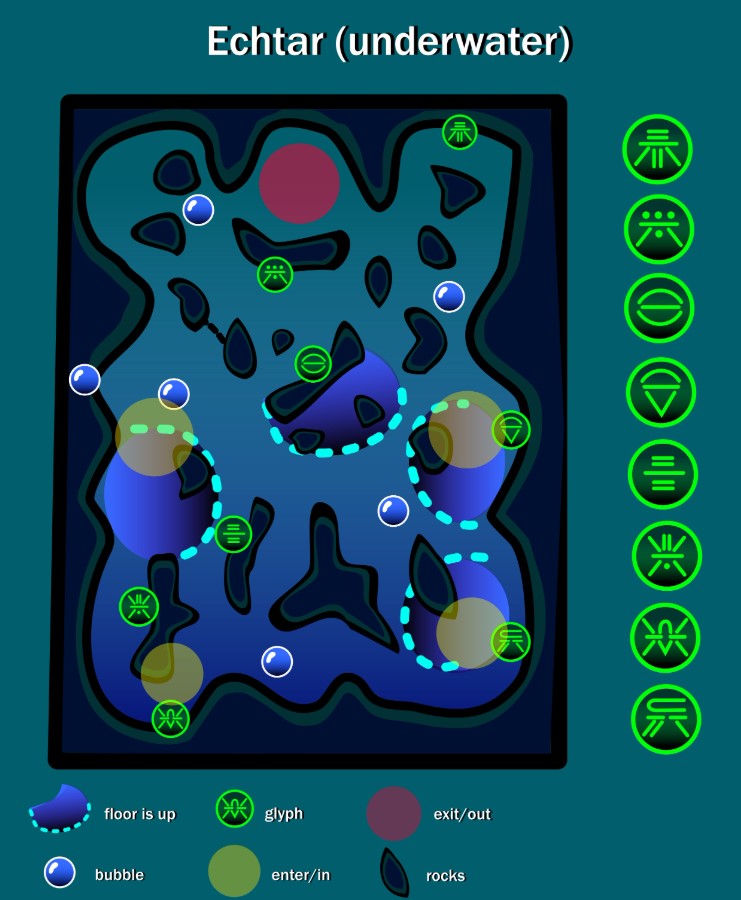
The battle takes place in a large, dark temple chamber with an underwater section.
- The main arena contains 3 Hive rune deposit points.
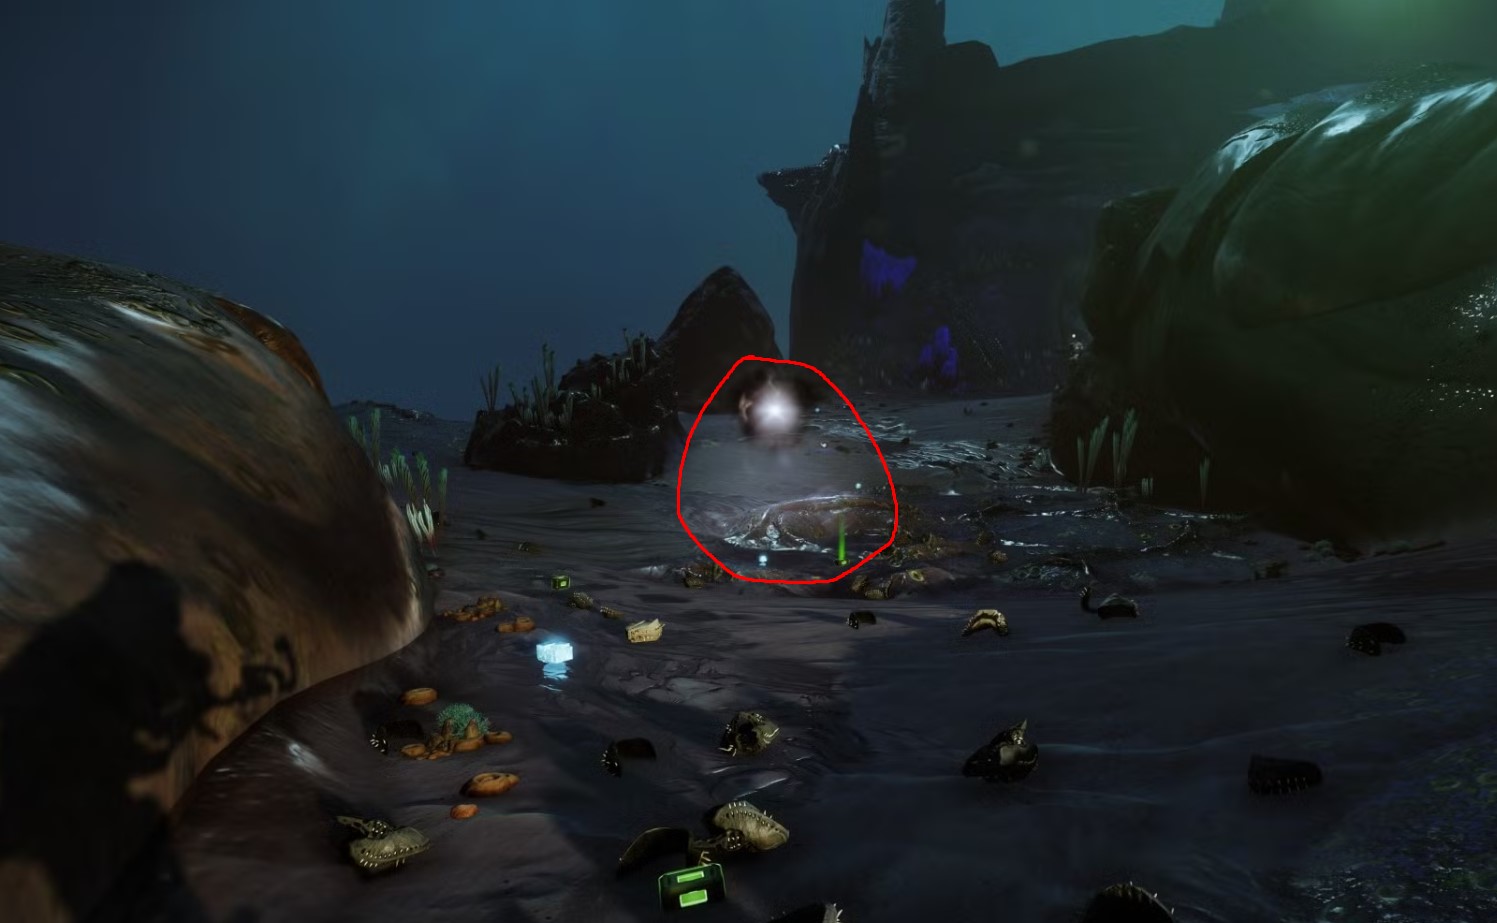
- An underwater section is accessed during the encounter, requiring players to manage their oxygen while searching for runes.
- Lucent Hive Wizards and Knights spawn, adding difficulty to the fight.
Team Roles & Asignments
- Runner: Uses Deepsight to locate Hive runes underwater.
- Dunker: Collects Hive runes and dunks them at the correct locations.
- Ad-clear: Focuses on clearing Lucent Hive, Thrall, and Knights to prevent being overwhelmed.
Mechanics
- Activate Deepsight at the designated Hive altar.
- A player gains the Deepsight buff and enters the underwater section to locate 3 Hive runes.
- The team defeats Lucent Hive Knights and Wizards to obtain the runes.
- Dunkers deposit the runes at the correct altars to progress.
- After successfully dunking, Ecthar’s shield is removed, starting the DPS phase.
- Repeat the cycle until Ecthar is defeated.
DPS Phase
Tips & Mistakes to Avoid
✔️ - Assign clear roles for Runner and Dunker to prevent confusion.
✔️ - Use good DPS weapons to clear Wizards quickly before dunking runes.
❌ - Don’t linger underwater for too long: Make sure you pay attention to the oxygen meter to avoid drowning.
❌ - Avoid spreading out too much: Sticking together makes managing enemy spawns easier.
Reaching the boss encounter
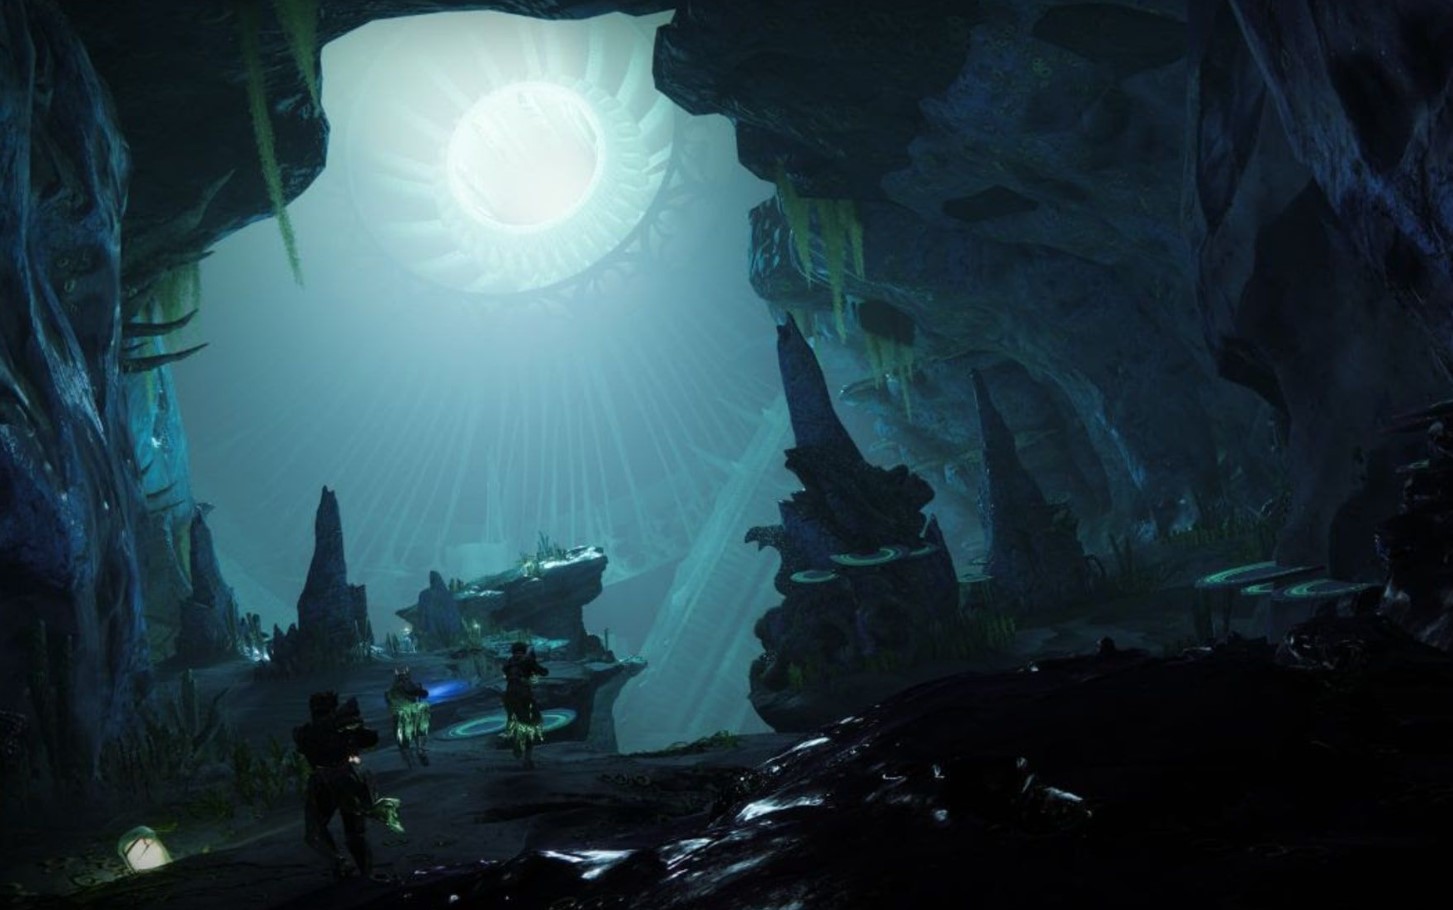
After you defeat Ecthar, you must enter the underwater passage in the arena and once again navigate an underwater maze full of Hive enemies until you reach the final boss.
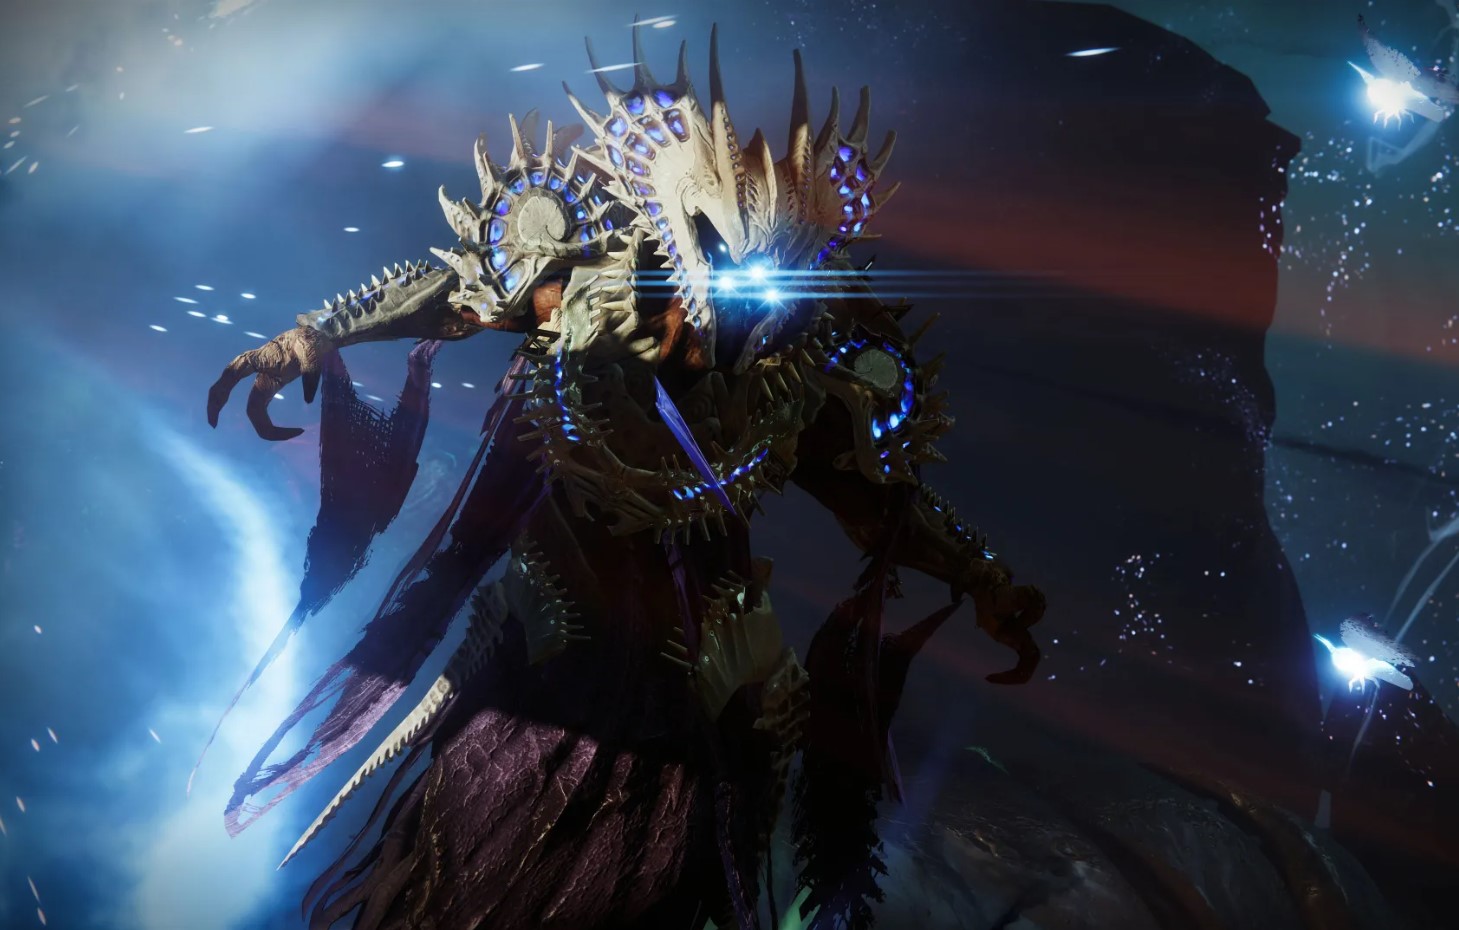
Boss Encounter - Simmummah, the Forsaken
(reclama cu boss kill + altceva similar)
General Objective Overview
The final encounter in Ghosts of the Deep pits your fireteam against Simmumah, the Forsaken, a powerful Lucent Hive Necromancer. This fight requires managing Hive runes, dunking Vestiges of Light, and coordinating strong DPS phases while dealing with Lucent Hive enemies and continuous ad spawns.
Arena & Layout
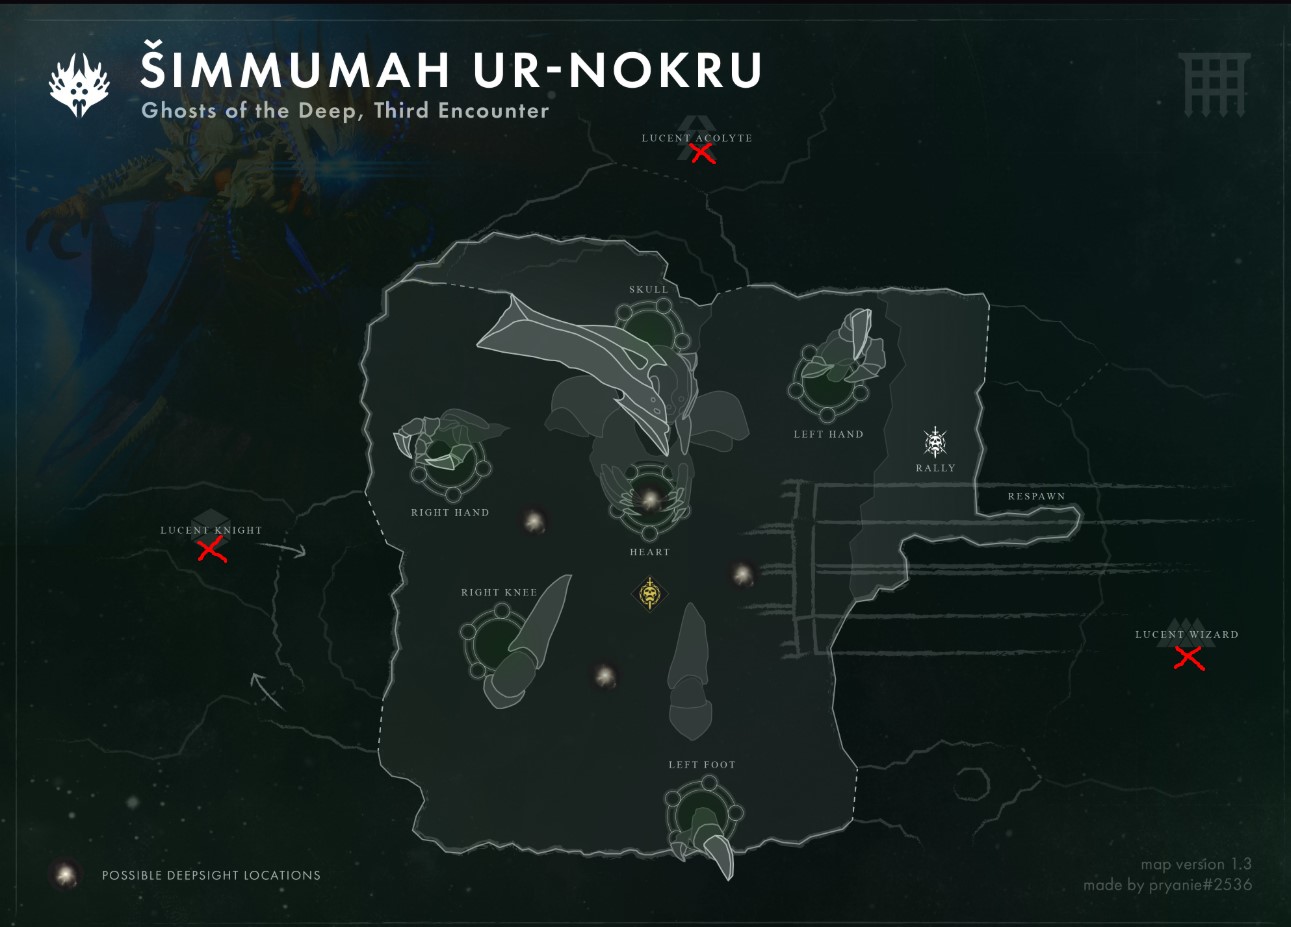
- Central Arena: The main combat space where Simmumah floats above, casting Hive magic.
- Underwater Sections: Players will need to dive underwater to complete mechanics.
- 3 Rune Deposits: Similar to the Ecthar fight, these are used for dunking Vestiges of Light.
Team Roles & Asignments
- Runners (1 or 2 players): Their job is to run and kill the Lucent Hive enemies, get deepsight in the arena and activate the corresponding Hive runes.
- Ad-clear (All players): Eliminate Thrall, Acolytes, and Lucent Wizards to keep the arena manageable.
Mechanics
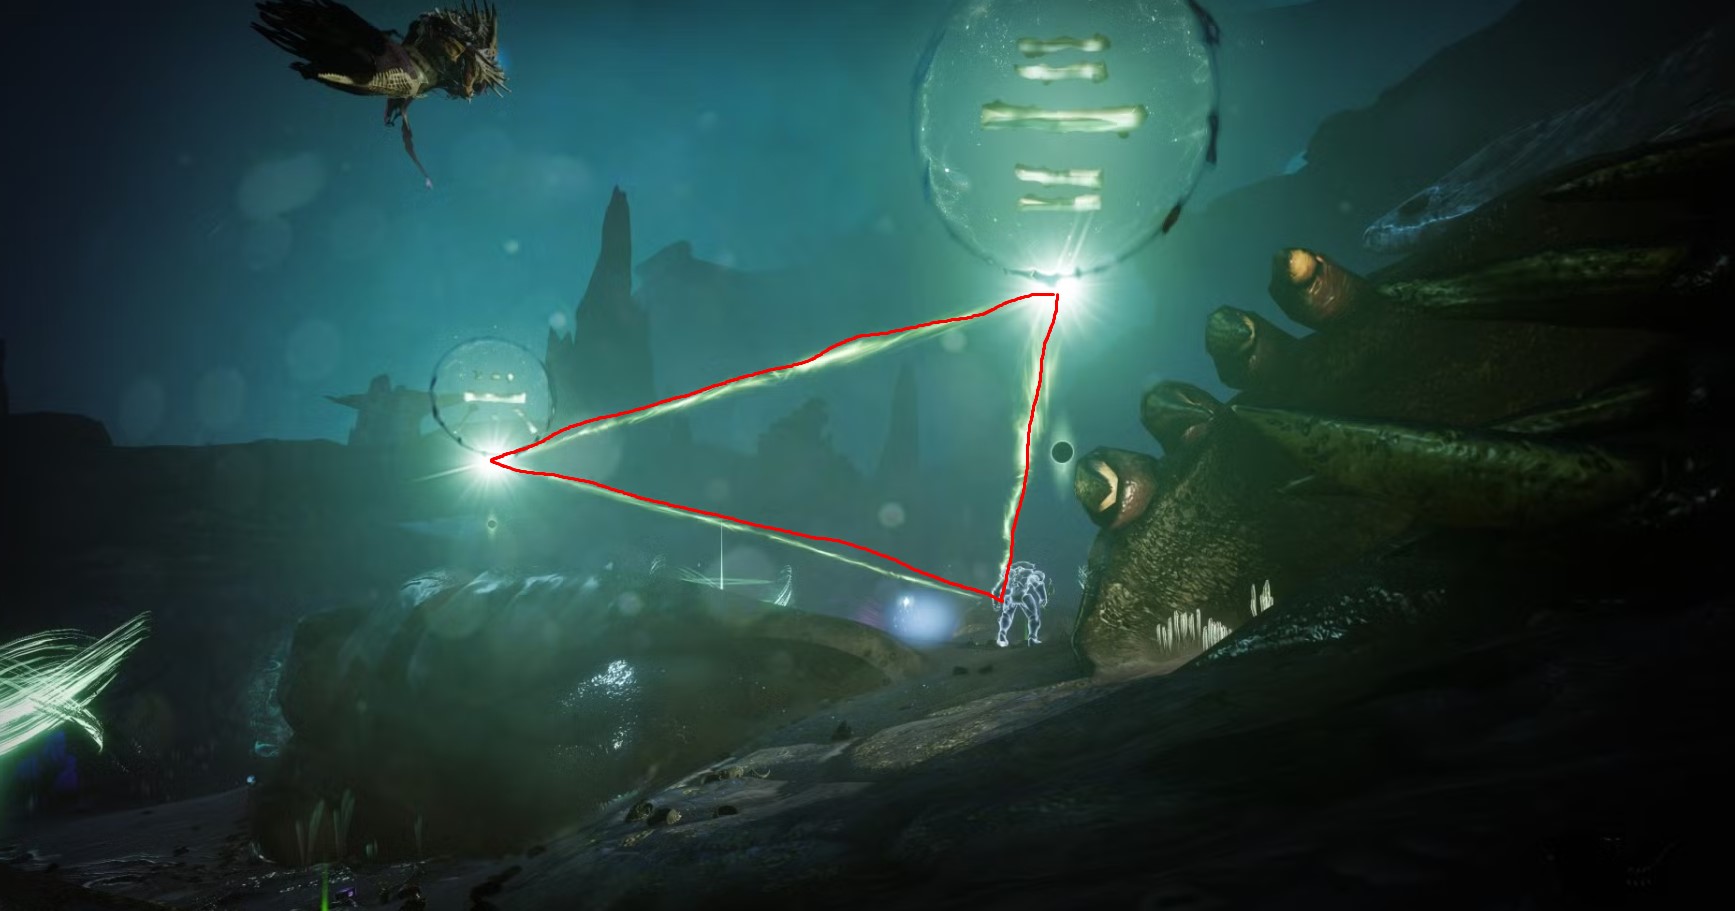
- Destroy the Ghost near Oryx's head to spawn a Deepsight node.
- Activate the Deepsight node to reveal 3 ritual circles marked by green Hive symbols.
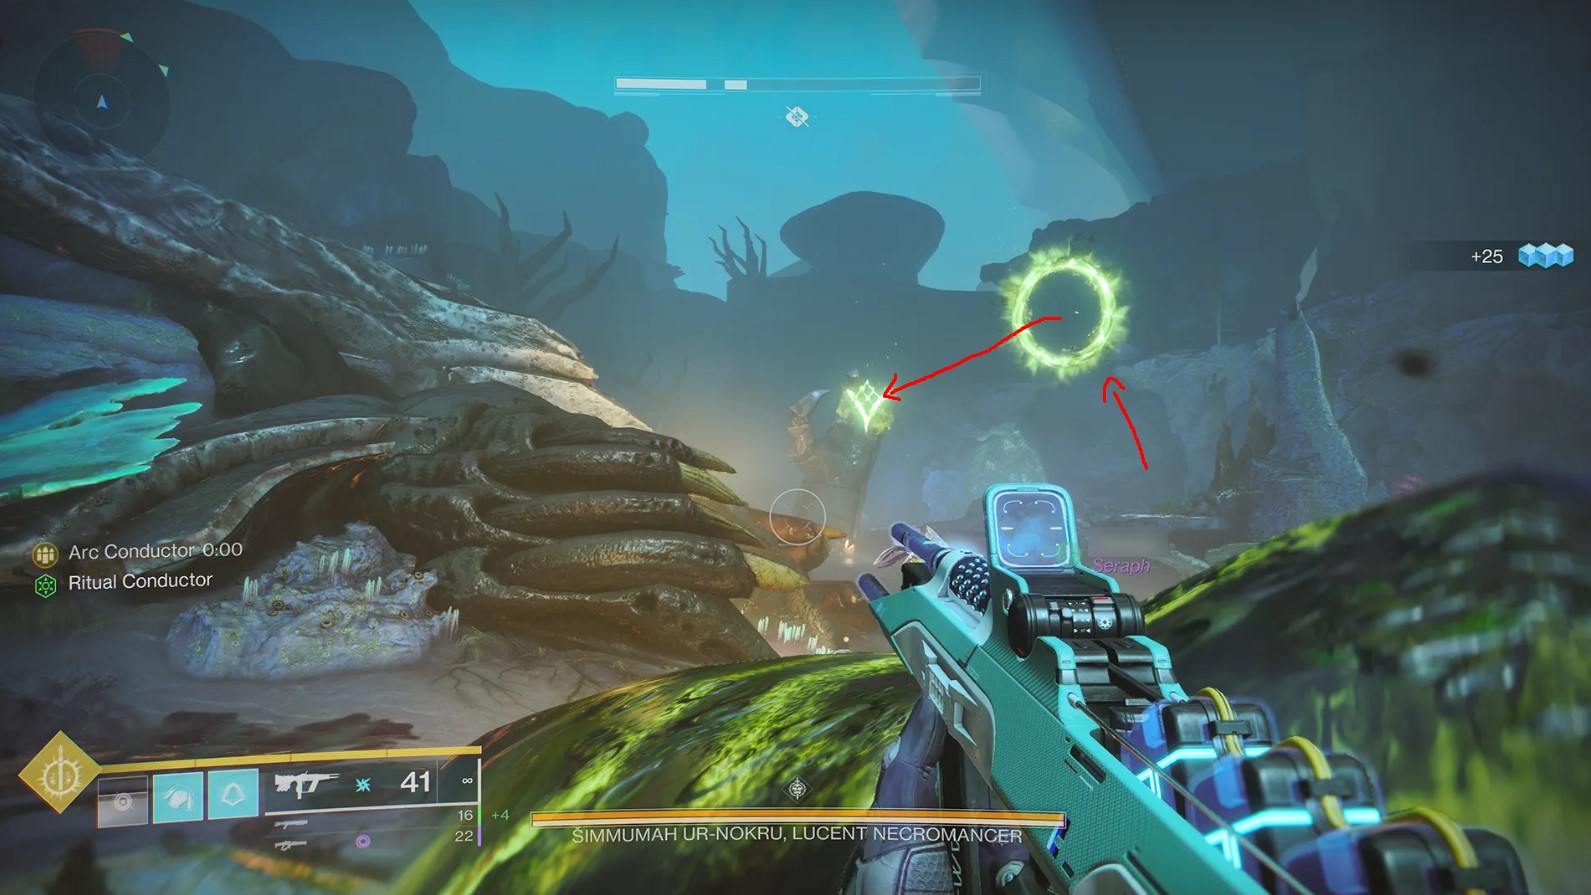
- Stand in a ritual circle to gain the Ritual Conductor buff.
- While in the circle, defeat Vorlog, Risen in Heresy, to progress the mechanic.
- After defeating Vorlog, align your view through the floating circle symbol towards the Hive face symbol to reveal a specific rune.
- Defeat the corresponding Hive Lightbearer beneath the rune to obtain a Vestige of Light.
- Return to the main arena and deposit the Vestige into the statue matching the revealed rune.
- Repeat the process for all 3 runes to remove Simmumah's shield.
DPS Phase
After the mechanic has been done, you need to break Simmummah's shield and deal damage. I recommend dealing damage from Oryx's head, using a Well of Radiance, and long-range weapons like linear fusion rifles.
Tips & Mistakes to Avoid
✔️ - Manage Buff Timers: Be mindful of the Ritual Conductor and Vestige of Light timers to avoid failures.
✔️ - Use Cover Effectively: Utilize the environment to avoid Simmumah's attacks and incoming Moths that she sometimes spawns.
❌ - Don't Ignore Moths: These can deal significant damage and wipe out your team; eliminate them promptly.
❌ - Avoid Uncoordinated Movements: Stick to assigned roles to prevent confusion and mechanic failures.
SKIP THE GRIND BUY GHOSTS OF THE DEEP WEAPONS!
Loot Table
Here we'll be showing you every piece of loot you can acquire from the dungeon. Ghosts of the Deep features 4 legendary weapons, 1 exotic, 1 normal armour set & 1 artifice armour set. Below you will find a list with all the weapons & armour pieces:
| Hive Ritual (1st Encounter) |
Ecthar, the Shield of Savathûn (2nd Encounter) |
Simmumah ur-Nokru (Final Encounter) |
|
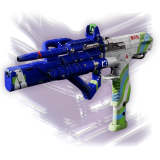
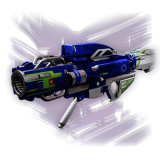
No Survivors Submachine Gun 

.jpg)
|
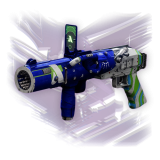
No Survivors Submachine Gun
|
|
|
New Pacific Epitaph Grenade Launcher 

|
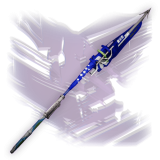
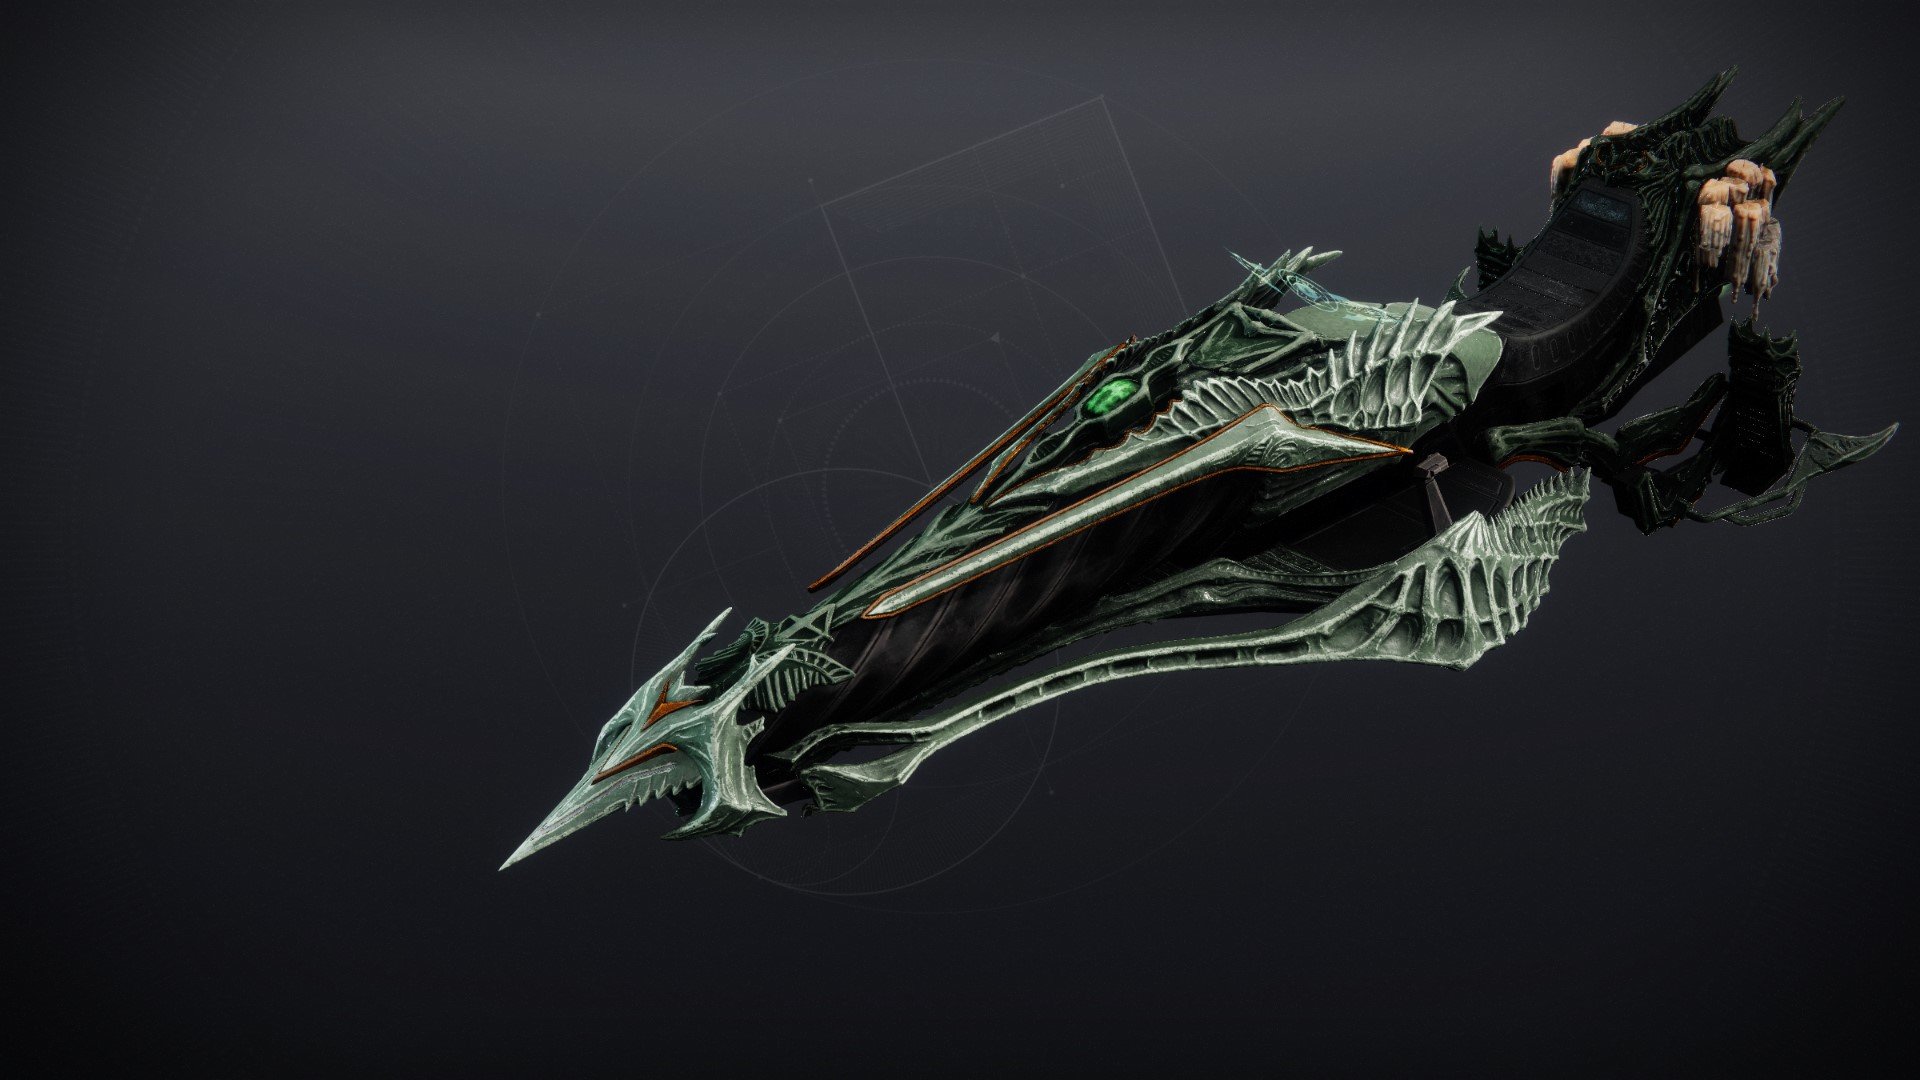
Greasy Luck Glaive 
|
No Survivors Submachine Gun
|
|
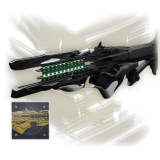
Cold Comfort Rocket Launcher 

|
Cold Comfort Rocket Launcher
|
Cold Comfort Rocket Launcher
|
|
Greasy Luck Glaive
|
||
|
New Pacific Epitaph Grenade Launcher
|
||
|
Gauntlets of the 
|
Gauntlets of the
|
Gauntlets of the
|
|
Greaves of the 
|
Plate of the 
|
Plate of the
|
Helm of the 
|
Mark of the 
|
Mark of the
|
|
Greaves of the
|
||
|
Helm of the
|

These are all the possible loot that can drop from each encounter in Ghosts of the Deep dungeon.
SKIP THE GRIND BUY GHOSTS OF THE DEEP EXOTIC!
Extras & Challenges
Like in the previous dungeons, Ghosts of the Deep also has a certain number of collectables, a title (or seal), solo & flawless triumph that awards a unique emblem & special badge on your dungeon report. We’ll be going over each of them and tell you what are the best tips & tricks on acquiring them.
Sparrow
The exotic sparrow is called Recalcitrant Host, and you can acquire it by completing the Sovereign triumph, which requires full completion of the Ghosts of the Deep dungeon on master difficulty.
Solo & Flawless

Conquering Ghosts of the Deep dungeon solo flawless is a true test of a guardian's skill. Solo flawless demands perfect preparation, from optimizing your build with the right subclass, exotic armor, and weapon loadout to mastering the dungeon's encounters.
Completing the dungeon solo flawless awards you with a unique emblem that you can use to show off to other guardians, while also giving you a special badge on your dungeon report that you’ve completed the dungeon solo flawlessly.
SKIP THE GRIND BUY GHOSTS OF THE DEEP FLAWLESS!
Catalyst
You can obtain the Navigator catalyst by completing a special puzzle quest. To complete it, you'll need to return to Ghosts of the Deep and activate 3 statues, collect Vestiges of Light, and killing a secret boss.
For a comprehensive guide on how to obtain the catalyst for this weapon, be sure to watch the video above, where all the steps are explained in detail.
Master Difficulty
The Ghosts of the Deep dungeon has normal & master difficulties to choose from. Completing the dungeon on master difficulty is required to complete the Ghoul title (seal). There are certain modifiers that makes the Master difficulty hard to complete:
Title & Seal
After you complete all 10 triumphs, the seal will be unlocked so you can equip it on all your guardians.
SKIP THE GRIND BUY GHOSTS OF THE DEEP TITLE & SEAL!
FAQs
The Ghosts of the Deep dungeon is located in the Legends tab.
No, the Ghosts of the Deep dungeon can only be farmed when it is part of the active dungeon rotation.
Yes, you can solo the dungeon and even solo flawless the dungeon, although it will be very challenging due to encounter mechanics and difficulty.
Yes, the Ghosts of the Deep dungeon requires the Lightfall dungeon key.
Final Thoughts
I hope this guide will ease your experience with the Ghosts of the Deep dungeon encounters and help you get one step further to success. We did all the research, and now it’s your turn to show your skill. Give it a try, Guardian!
About KBoosting
If you are struggling to find a fireteam or don't have enough time to play yourself, at KBoosting, besides articles & guides, we also provide Destiny 2 boosting services. All you need to do is check our Ghosts of the Deep boosting services and let us handle everything for you, while you have some fun in the game!
