Prophecy Guide – Complete Destiny 2 Dungeon Walkthrough


-
Bundle

- Powerful & pinnacle gear with 25% off
- Increase your power level easily
-
Hot


-
-
- Prophecy dungeon-exclusive armor set
- Buy the full set with a 35% discount

-
-
-
-
-
Sale 15%Ends in 9h 46m 05s
-

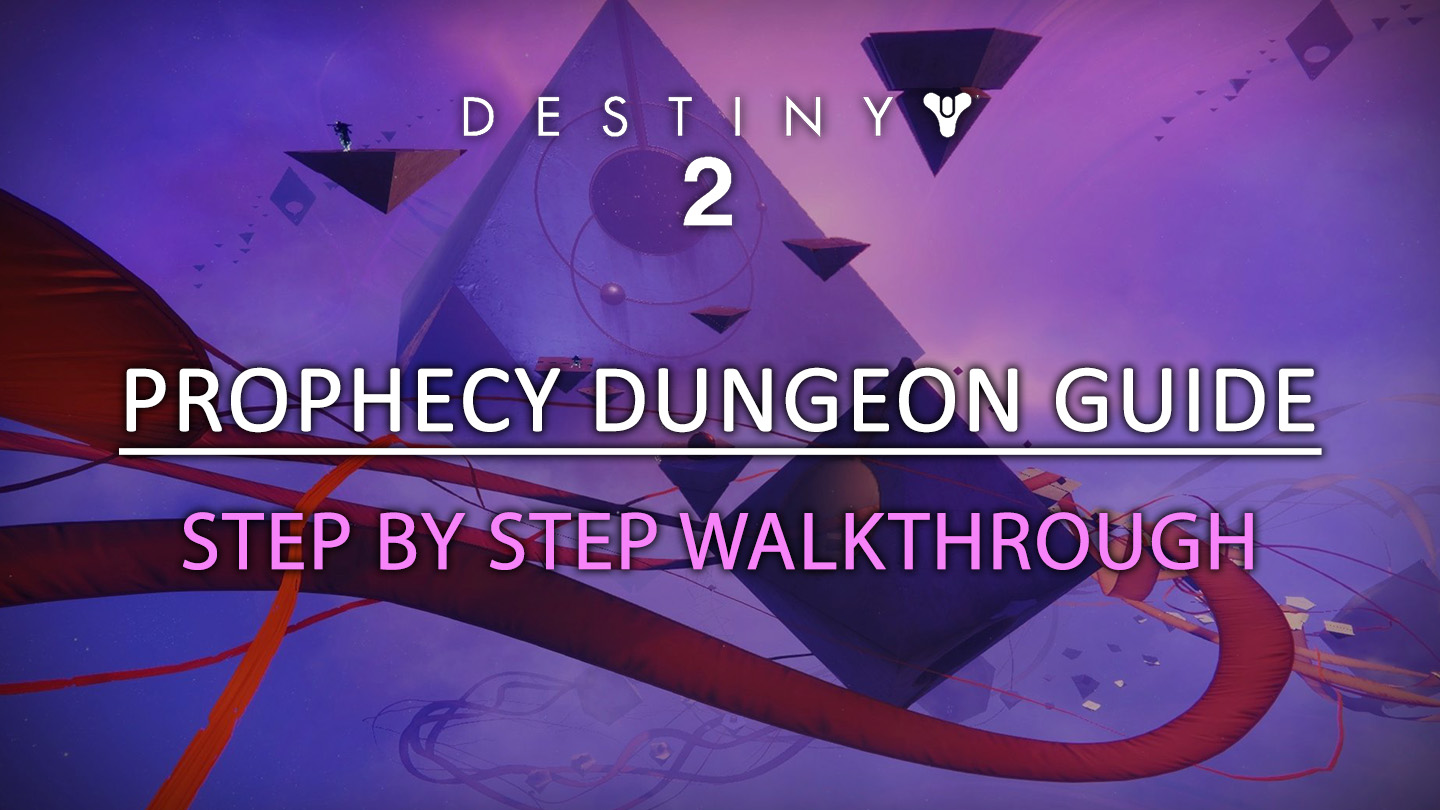
Introduction
The Prophecy dungeon was released in Destiny 2 during Season of Arrivals. The guide will take you through every step needed to complete it, covering all mechanics, strategies, and loadouts.
Table of Contents
In this guide, we will cover the following subjects:
- Dungeon Preparation
- How to access the dungeon
- First Encounter
- Second Encounter
- Boss Encounter
- Loot Table
- Extras & Challenges
- FAQ
- Conclusion
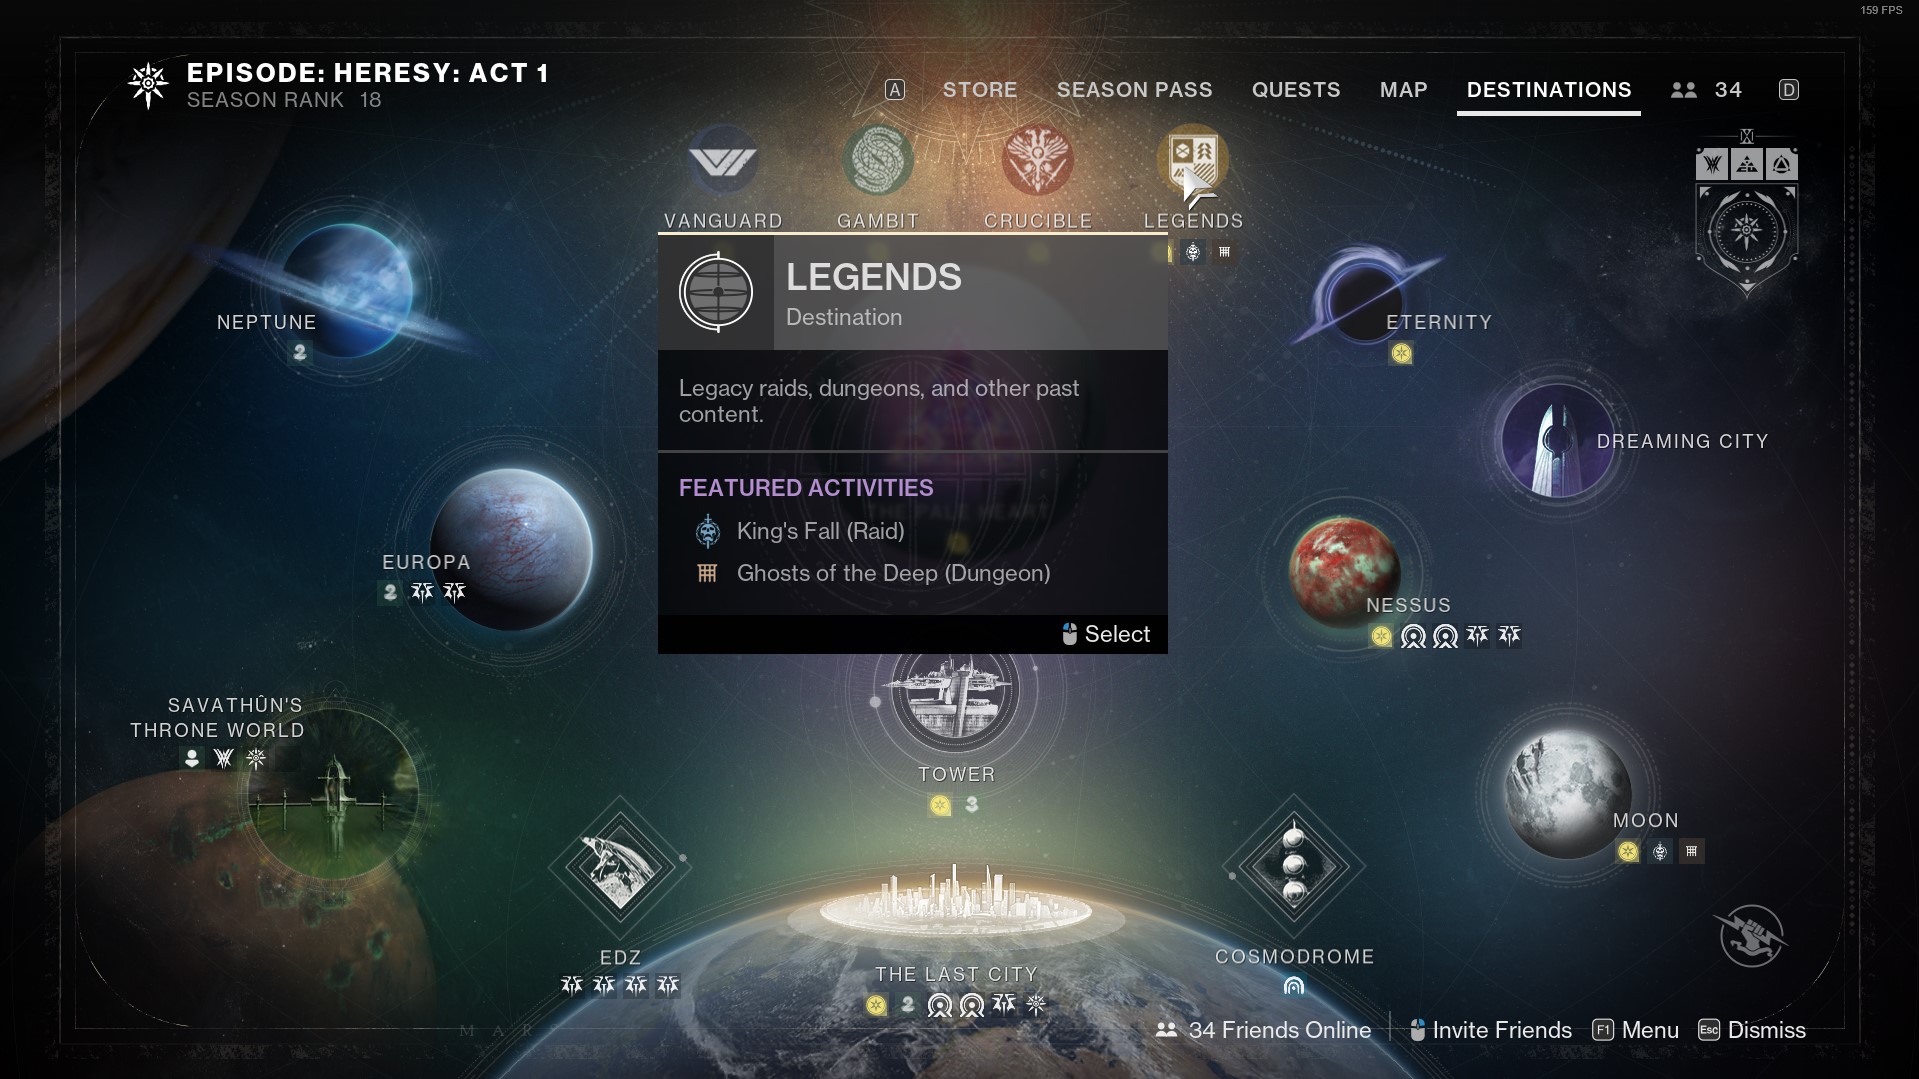
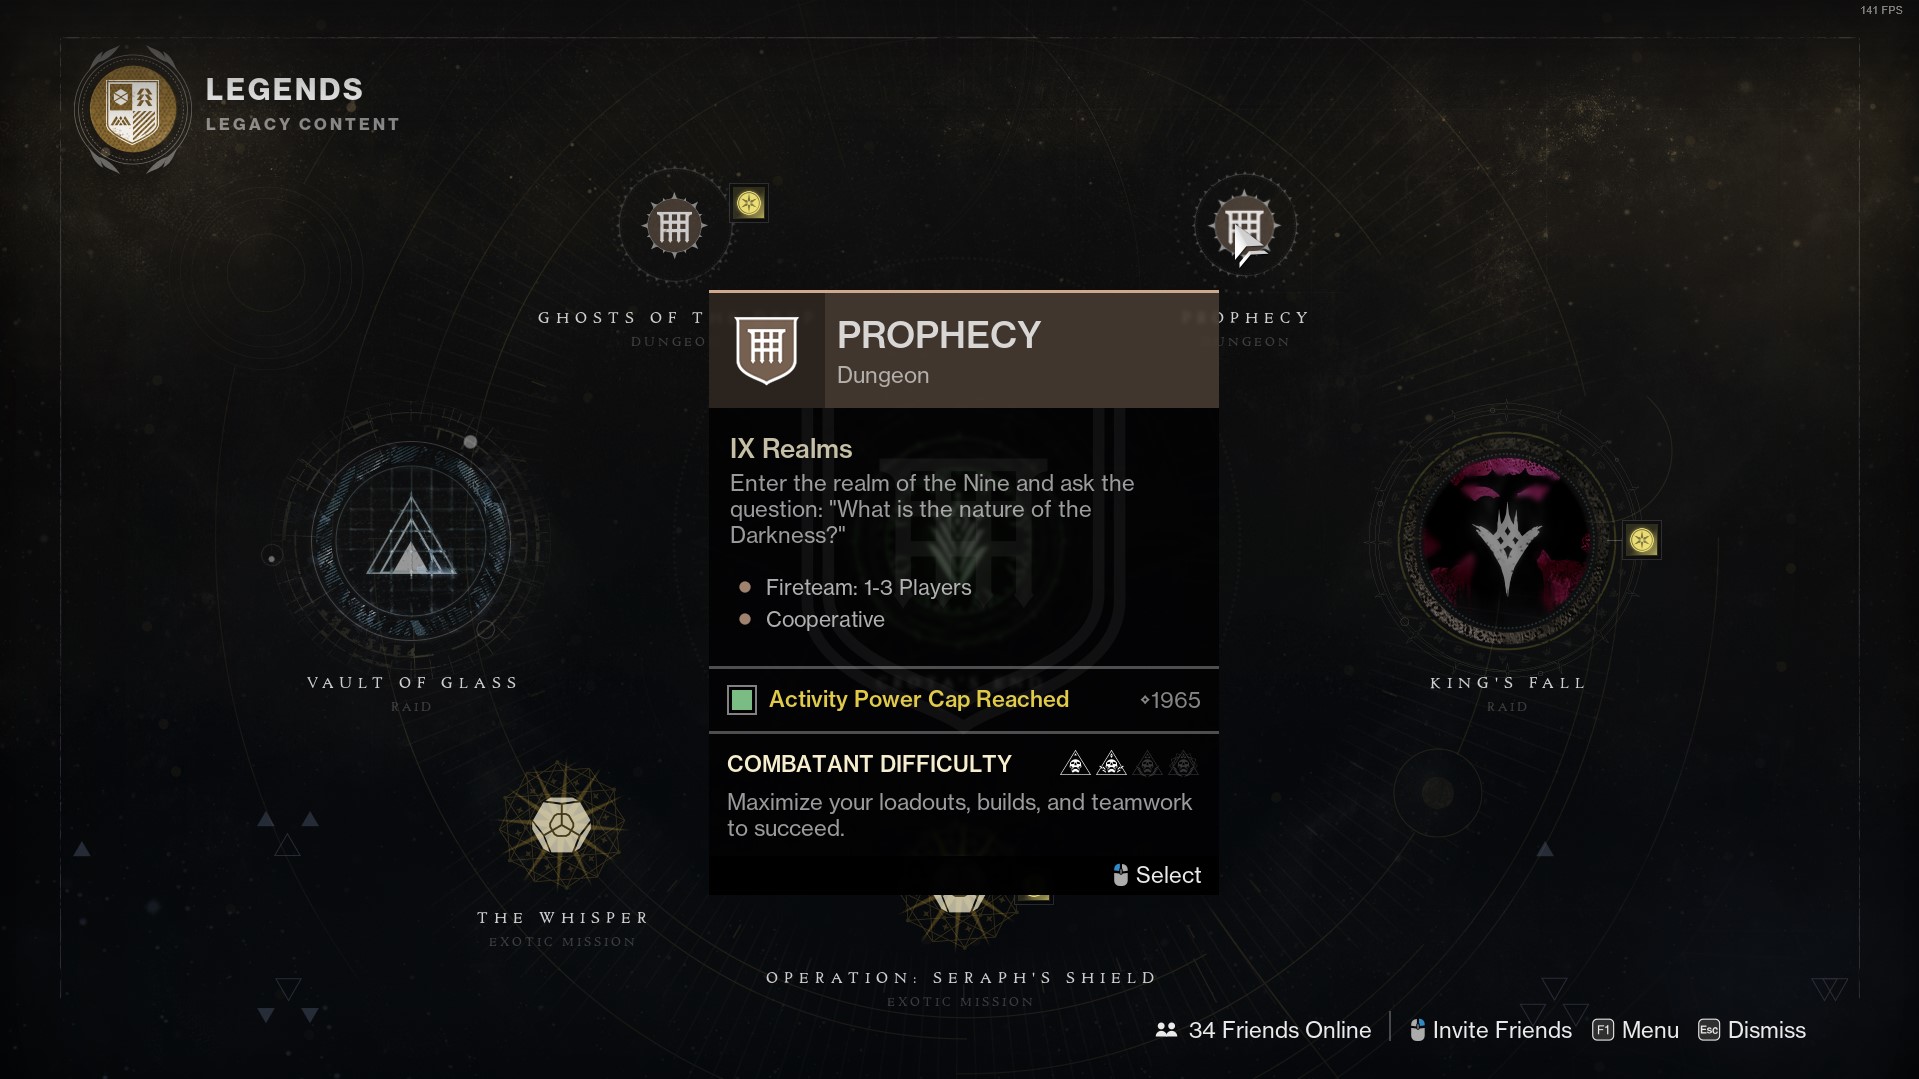
How to access the dungeon
You don't need prerequisites for the Prophecy dungeon, as it is free for all players.
You must open the destination menu and find the activity icon in the Legends tab.
Dungeon Preparation
Prophecy dungeon features unique mechanics, so being prepared with the best meta loadouts will help you out immensely during each encounter. I’ll be going over some of the best weapons & subclasses that you should be using to ensure your success.
Best subclasses & builds
SKIP THE GRIND! BOOST YOUR GUARDIAN NOW!
Getting started
Once you’ve obtained the quest, navigate to the Legends and locate the dungeon marker in the top right corner.
Best weapons loadouts
Here, I’ll be going over some of the best meta weapons to use in the Prophecy dungeon:
SKIP THE GRIND BUY PROPHECY CARRIES!
Reaching the first encounter
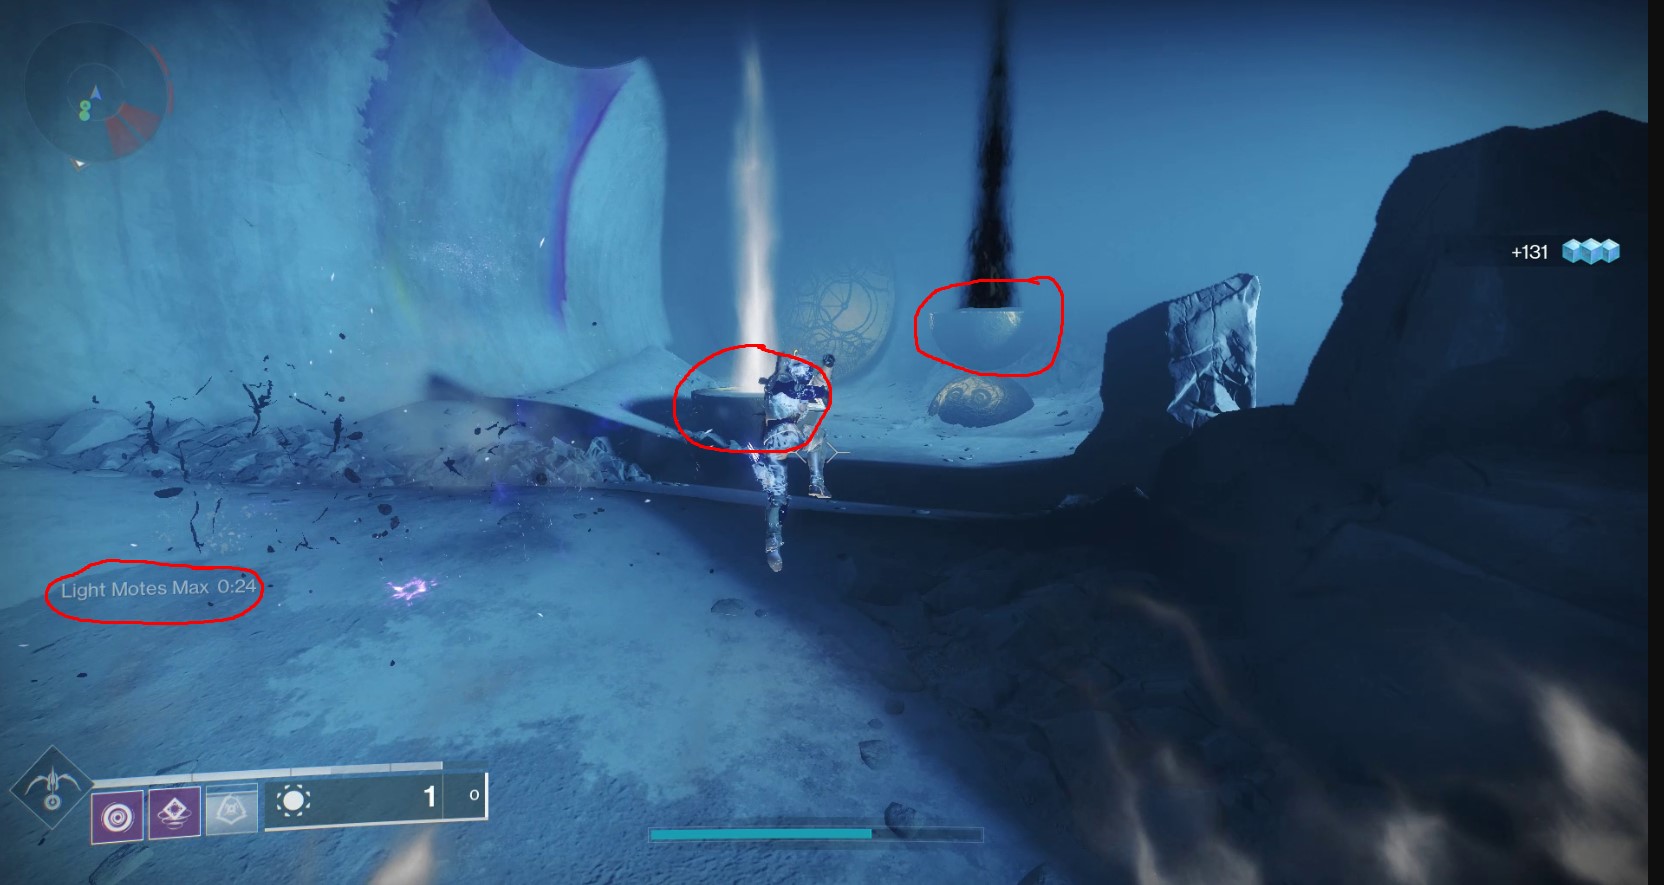
Once you spawn in, take the portal in front of you that will transport you into the Realm of the Nine. Here, you will learn the mechanic that you will meet all throughout the dungeon: depositing Light & Dark motes. At the end of this tunnel, you will see 2 platforms, one glowing white and one glowing dark.
In order to get motes, you need to kill Taken Knights. If you kill a Taken Knight while standing in the light, it will drop 3 Light motes. If you kill it while standing in the dark, it will drop 3 Dark motes. Once you collect 4 motes of either type, you will get a massive mote in your hands that can be blown over the respective glowing platform.
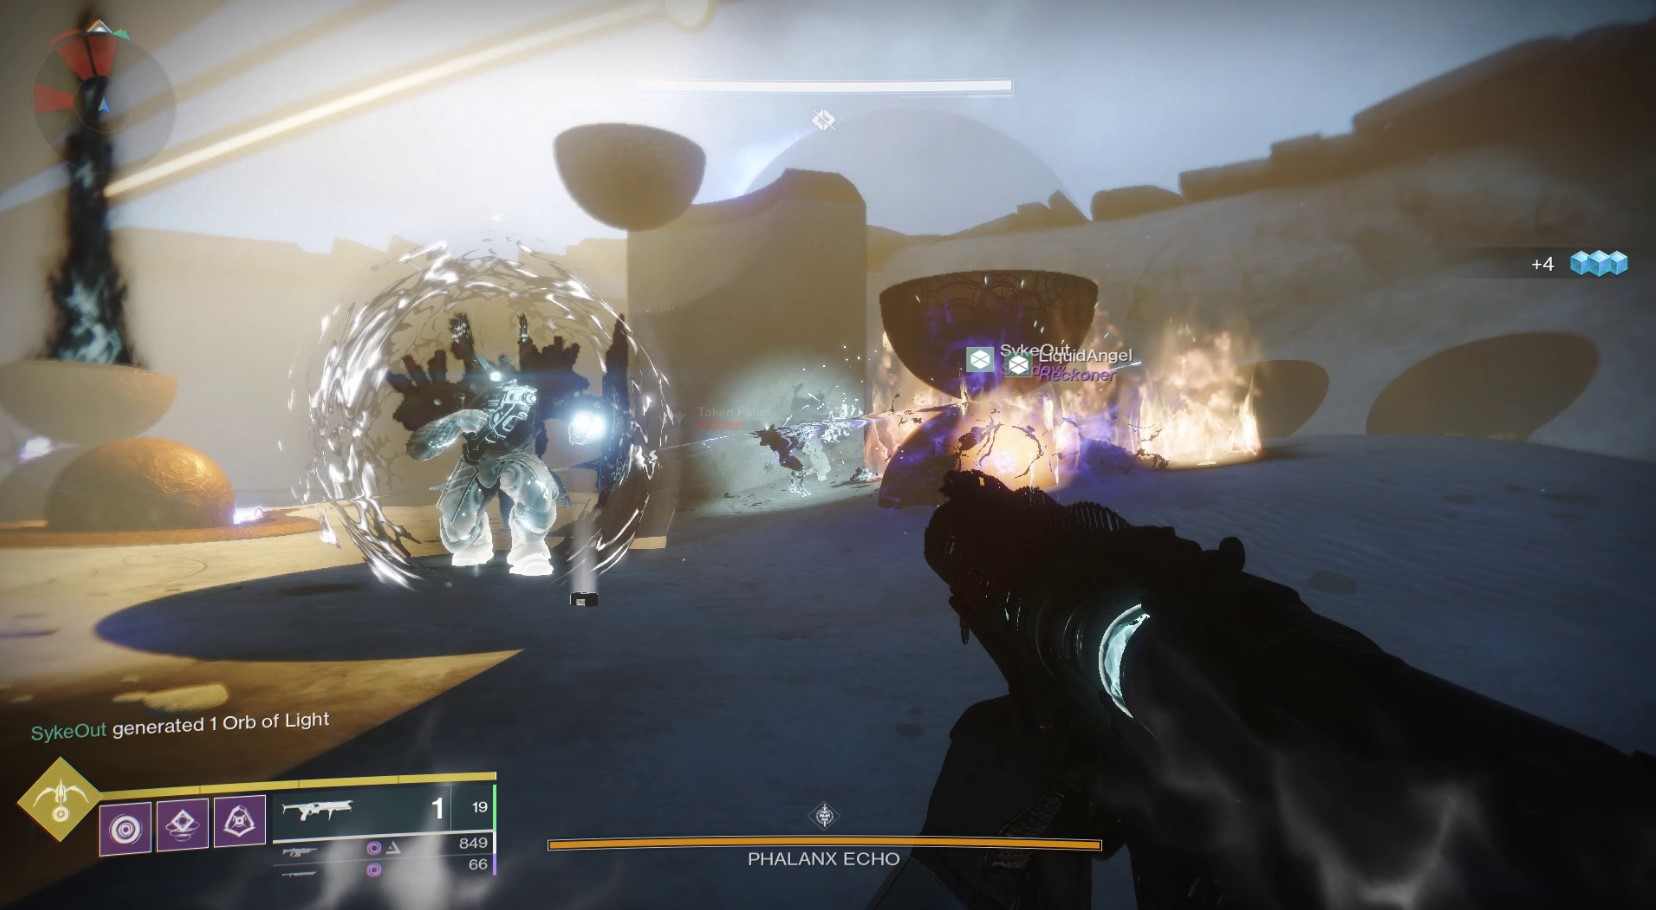
First encounter: Phalanx Echo
General Objective Overview
Here, you will have to repeat the mechanic that you learned when you first spawned in the dungeon, only this time, there will be 2 pairs of glowing platforms. You will have to deposit the corresponding motes on the platforms to start the DPS.
Arena & Layout

There will be 2 white glowing platforms and 2 dark glowing platforms, each spread randomly in the arena (usually its 2 on ground level and 2 slightly above the arena). Once you dunk a mote in the correct platform, the sphere in the center of the arena will change, giving new spots of light and darkness around you.
Team Roles & Asignments
Mechanics
DPS Phase
Once all pairs of platforms have been done, DPS phase starts. The Phalanx's immunity shield goes off and you have 50 seconds to deal damage. Using swords like the Falling Guillotine or precision weapons like Queenbreaker will help you tremendously.
NOTE: During DPS, the boss will spawn Taken Goblins that can make him immune. Make sure you get rid of them fast to ensure a good DPS phase.
Tips & Mistakes to Avoid
✔️ - Gather the correct motes: Make sure you communicate with your team about your roles and what motes will be gathered.
✔️ - Use the arena to your advantage: Always make sure you are in the correct position when killing Taken Knights.
❌ - Focus on ad clear: You can easily get overwhelmed by enemies because they multiply. Make sure you take care of the ads fast
❌ - Don't fall off the map: The arena is suspended, so you can easily get thrown by the boss stomp attack or simply by falling on the edges.
Reaching the second encounter
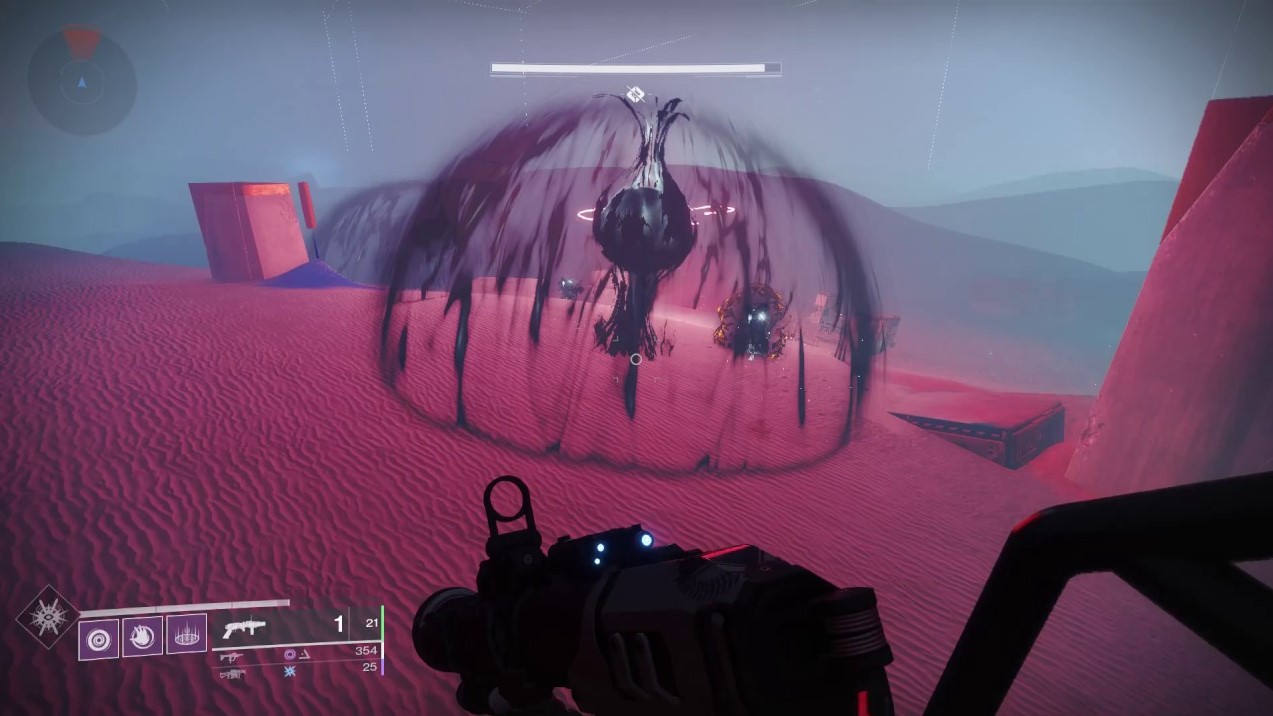
This intermission is called Wasteland, and you will need to use your sparrow to navigate around, following a small white ball called Toland, and destroying Taken Blights in certain areas.
General Objective Overview
Check your radar for enemies. Keep using your sparrow on the dunes until you encounter a few Taken Blights. Hop off your sparrow and destroy them. Make sure you kill the snipers that are on the pillars, as they can easily kill you in 2-3 shots.
Once you are done, get close to Toland (the small glowing ball of light) and he will teleport to another area in the Wasteland. You must use your sparrow again to find him and kill another set of Taken Blights. Do this 3 times.
Once this is done, you will get a message saying ''The Way is Open''. Go to the edge of the Wasteland and get through a narrow passage to reach the second encounter.
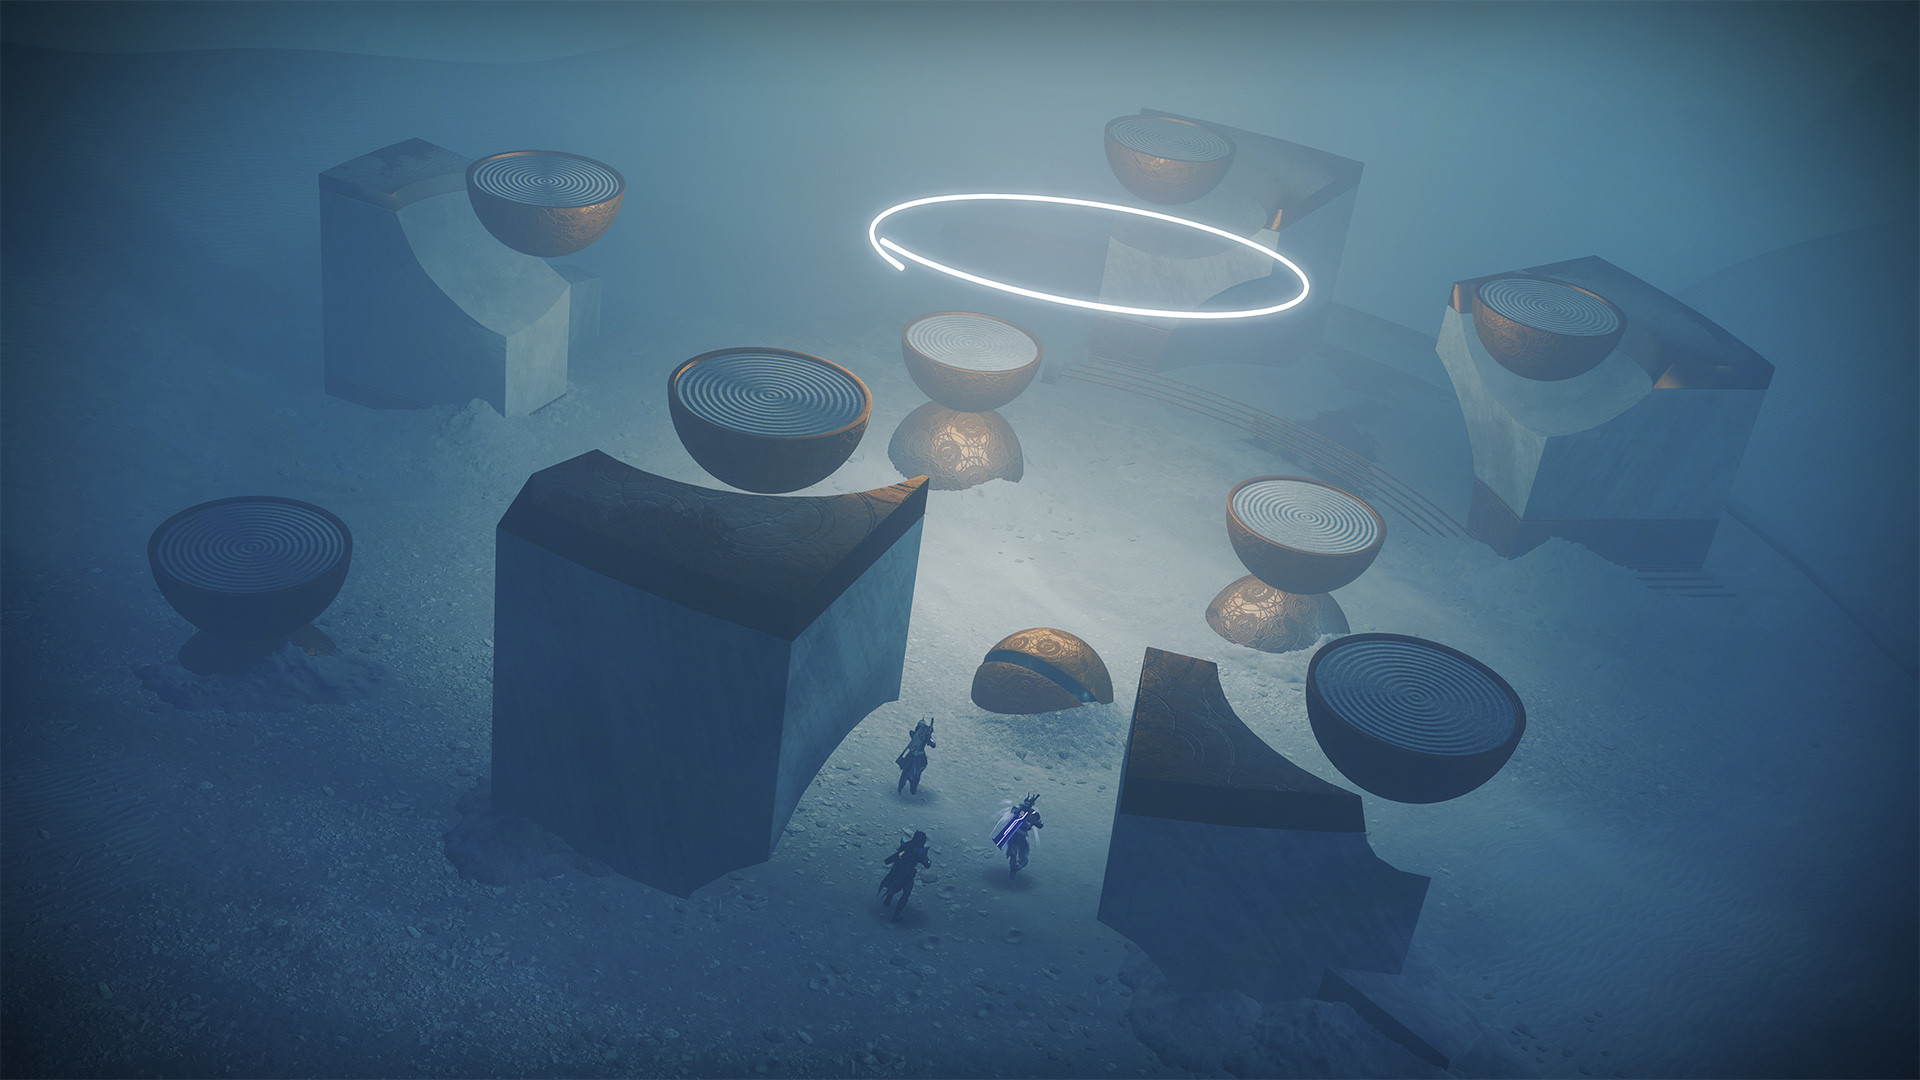
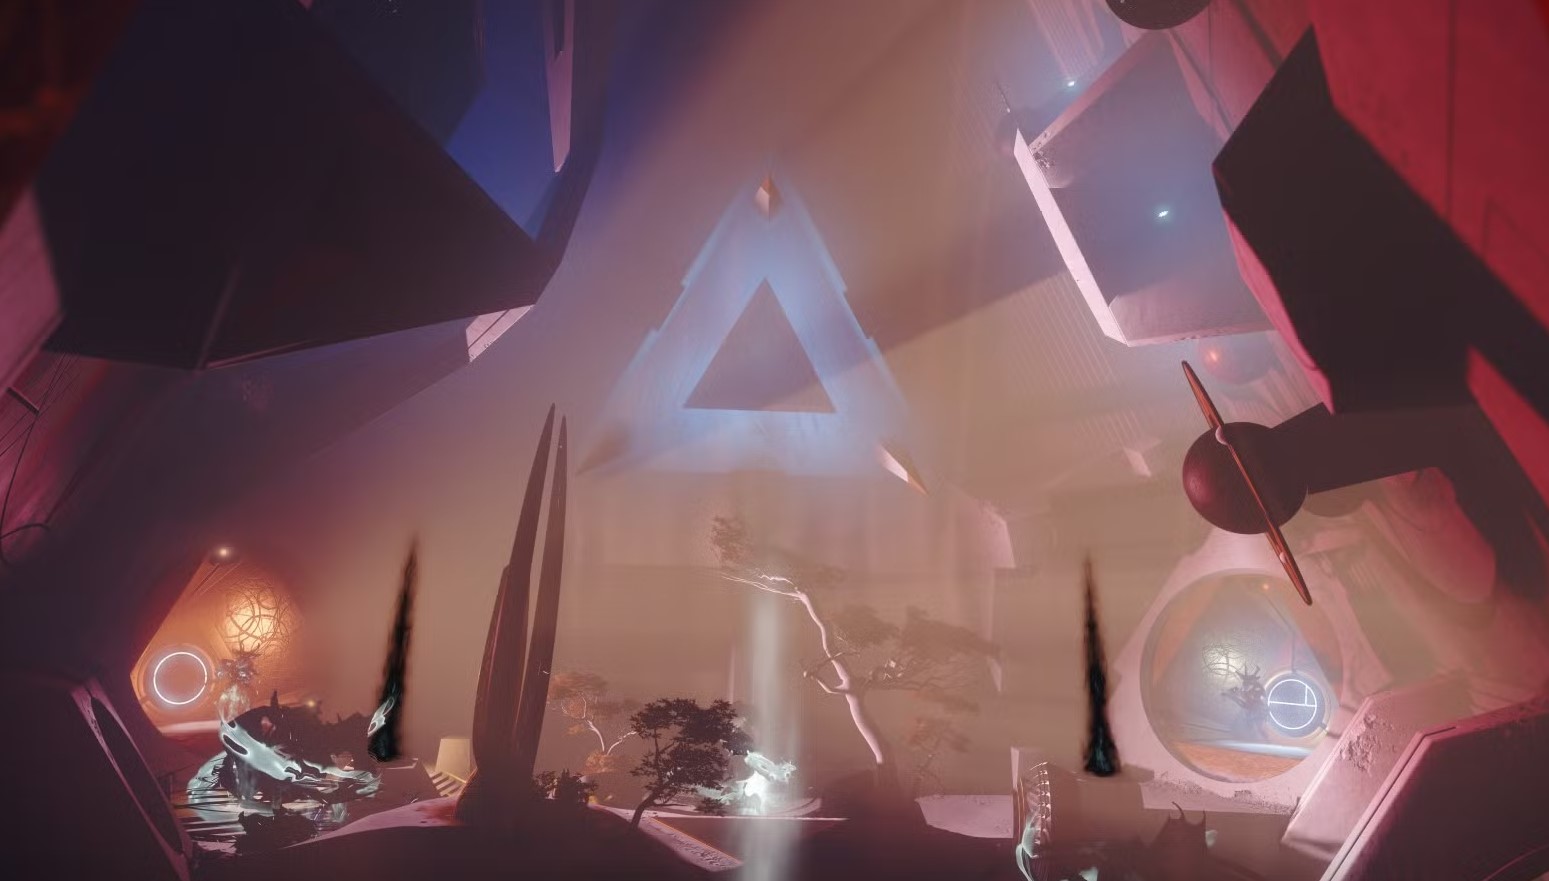
Second Encounter: Hexahedron

General Objective Overview
In this encounter, you will need to once again gather either Light or Dark motes, but you need to dunk the mote on the specific colour that Toland shows (yes, the glowing white ball is back) while also taking care of ads.
Arena & Layout
The arena is basically, like the name says, a geometrical shape called Hexahedron, and your objective is to rotate this arena a few times to complete the encounter. There are big white circles on the walls, on one of them, Toland will spawn. That's where you have to place the mote.
Team Roles & Asignments
Mechanics
NOTE: If you can't find Toland anywhere on the walls, that means you can do a random glowing platform, either white or dark, doesn't matter, and you will advance.
DPS Phase
After doing the mechanic 6 times, you will be teleported into a final room where 2 Taken Centurion bosses will spawn. After killing them, the encounter will end and the door will open behind the loot chest.
Tips & Mistakes to Avoid
✔️ - Use cover well: In this arena there aren't many safe spots, especially from snipers, so you need to keep moving.
✔️ - Watch out for Toland: Keeping track of where Toland spawns is key in completing the encounter fast.
❌ - Don’t ignore ads: Once again, the Taken Thralls can multiply, so make sure you take care of them as soon as they spawn.
❌ - Be consistent: Make sure you know your roles well and don't take motes by mistake from the player tasked with gather motes, or he will have to kill Knights again.
Reaching the boss encounter
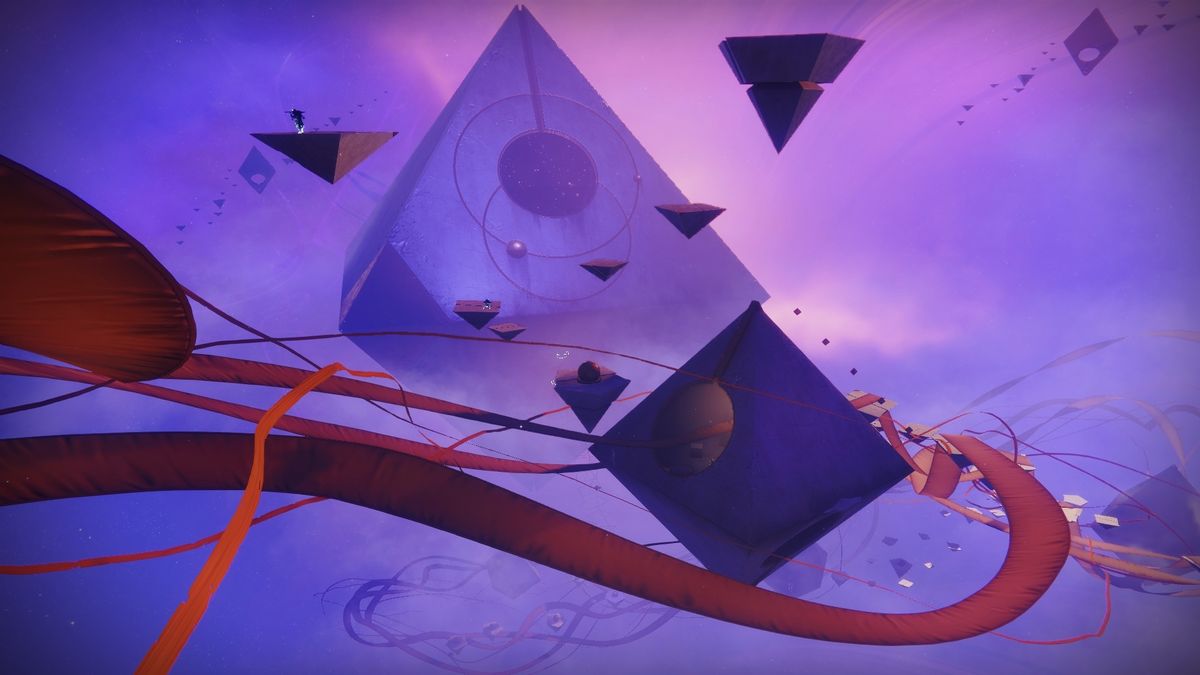
Proceed down the hallway until you reach the intermission called Singularity, where you will have to use your sparrow again to navigate down a fabric-like road to reach a massive structure at the end.
The area can be a bit of a challenge, especially if you happen to fall off the road, as it will instantly kill you. You need to take it slow and follow the road to reach triangle shape structures. These guide you through the intermission.
Also present on this ''racetrack'' are few hazards that can make your life harder, like exploding Taken energy or Taken snipers on some platforms. Just take your time here, there is no rush.
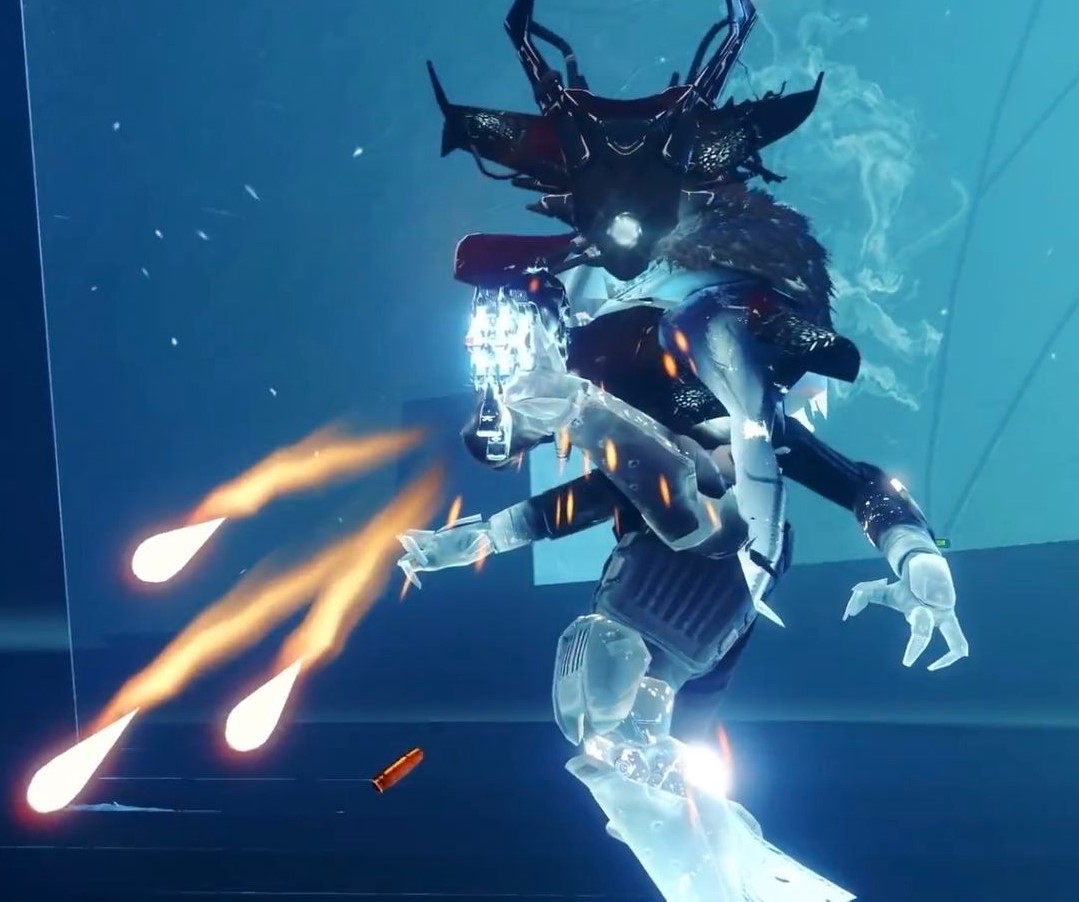
Boss Encounter: Kell Echo
SKIP THE GRIND BUY PROPHECY BOSS KILLS!
General Objective Overview
In the final encounter, you will once again need to deposit motes to remove 3 boss clones on the edges of the arena. Same mechanic applies, with you killing Taken Knights and depositing the corresponding mote on the correct platform. Once all 3 clones are dead, you can start DPS.
Arena & Layout
On all 3 sides of the room, a copy of the Kell Echo boss will stand in front of a pillar. Moving around the arena is very hard because the clones also shoot at you. The good thing is that once you dunk the mote in front of a clone, it will despawn until the next DPS round.
Team Roles & Asignments
Mechanics
DPS Phase
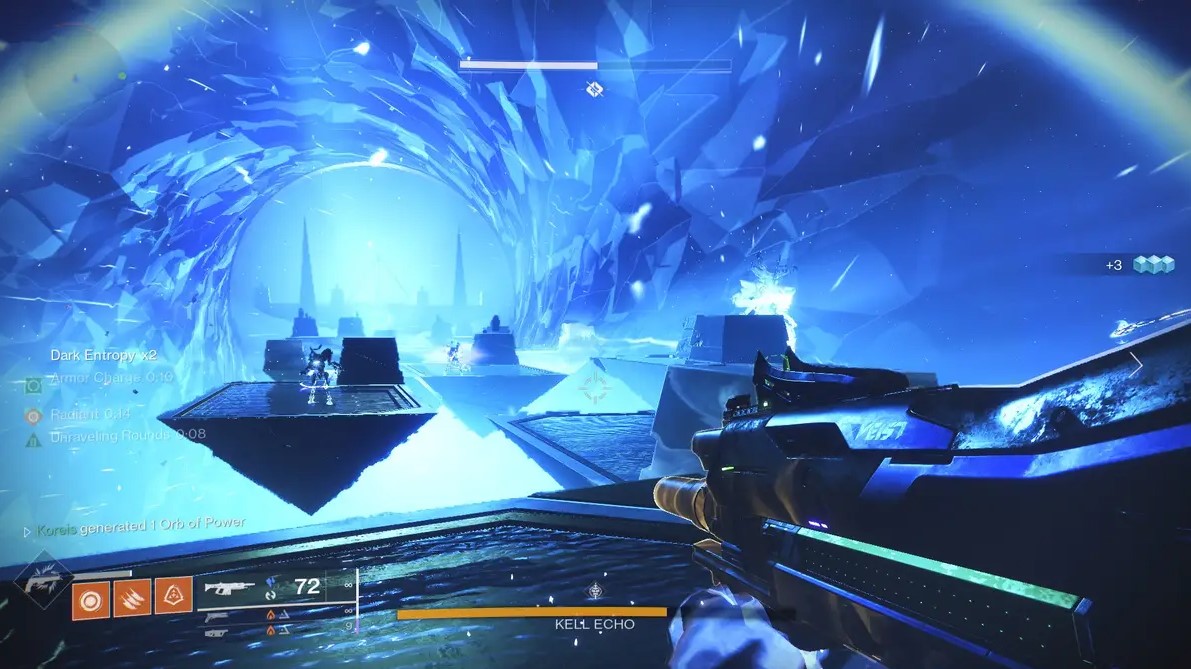
Once all 3 clones are killed, you need to move in the middle of the arena on the purple glowing platform to be teleported into a special boss room. As soon as you enter the room, DPS starts and you can damage the boss.
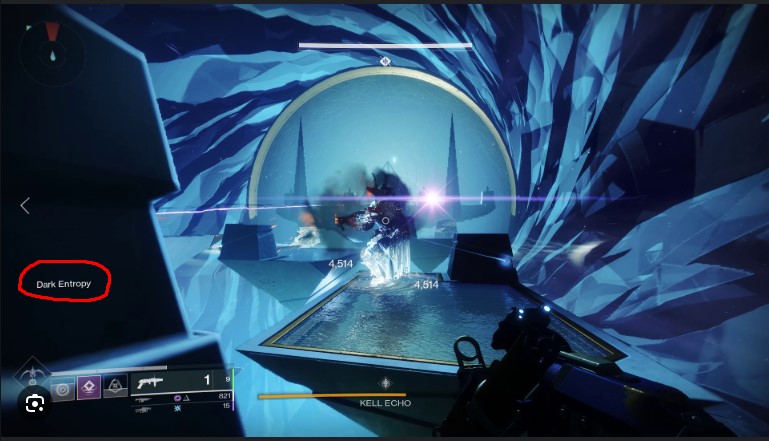
Here, the Kell Echo brings another mechanic to the table: Dark Entropy. The boss will periodically start teleporting backwards, towards the end of the arena. If you are not in his aura, you will get a debuff called Dark Entropy. If this reaches 10, you will be instantly die.
He also has an attack where he throws moving Taken energy at you. If you get hit by it, you will be teleported back to the starting platform in this arena, making your Dark Entropy stack fast and most likely kill you.
Once the boss reaches the back of the arena, it will despawn and you have to get on the purple glowing platform to be teleported back in the main room and repeat the mechanics.
Tips & Mistakes to Avoid
✔️ - Move Fast: Make sure you get rid of at least one copy of Kells Echo boss fast, making your survival easier.
✔️ - Learn cover spots: There are a few cover spots in the arena that can help you out in case you get overwhelmed.
❌ - Don't get hit by the boss attack: When u do DPS, make sure you avoid the Taken energy attack the boss does, or you will be transported to the start of the arena.
❌ - Manage Dark Entropy: Always pay attention to the top of your screen for the Dark Entropy debuff, if it reaches 10, you die.
Loot Table
Here we'll be showing you every piece of loot you can acquire from the dungeon. Prophecy features 6 legendary weapons & 1 normal armour set. Below you will find a list with all the weapons & armour pieces:
SKIP THE GRIND BUY PROPHECY WEAPONS!
| Phalanx Echo (1st Encounter) |
Hexahedron (2nd Encounter) |
Kell Echo (Final Encounter) |
|
Relentless Pulse Rifle 


|
A Sudden Death Shotgun 


|
Judgement Hand Cannon 

|
|
Prosecutor Auto Rifle 

|
Adjudicator SMG 
Kinetic |
|
Darkest Before Pulse Rifle 

|
|
Moonfang-X7 Legs 
|
Moonfang-X7 Arms 
|
Moonfang-X7 Helmet 
|
|
Moonfang-X7 Class Item 
|
Moonfang-X7 Arms
|
|
|
Moonfang-X7 Chest 
|
||
Moonfang-X7 Legs
|
||
Moonfang-X7 Class Item
|
Extras & Challenges
Like in the previous dungeons, Prophecy also has a certain number of collectables, a title (or seal), solo & flawless triumph that awards a unique emblem & special badge on your dungeon report. We’ll be going over each of them and tell you what are the best tips & tricks on acquiring them.
Cosmetics


Solo & Flawless

Conquering Prophecy dungeon solo flawless is a true test of a guardian's skill. Solo flawless demands perfect preparation, from optimizing your build with the right subclass, exotic armor, and weapon loadout to mastering the dungeon's encounters.
Completing the dungeon solo flawless awards you with a unique emblem that you can use to show off to other guardians, while also giving you a special badge on your raid report that you’ve completed the dungeon solo flawlessly.
SKIP THE GRIND BUY PROPHECY DUNGEON SOLO FLAWLESS!
FAQs
The Prophecy dungeon starting location is in the Legends tab, but the actual activity takes place in the Realm of the Nine.
No, the Prophecy dungeon is only farmable if it's on weekly rotation.
Yes, you can solo the dungeon and even solo flawless the dungeon, although it will be very challenging due to encounter mechanics and difficulty.
No, the Prophecy dungeon is free for all players.
Final Thoughts
I hope this guide will ease your experience with the Prophecy dungeon encounters and help you get one step further to success. We did all the research, and now it’s your turn to show your skill. Give it a try, Guardian!
About KBoosting
If you are struggling to find a fireteam or don't have enough time to play yourself, at KBoosting, besides articles & guides, we also provide Destiny 2 boosting services. All you need to do is check our Prophecy boosting services and let us handle everything for you, while you have some fun in the game!
