Root of Nightmares Guide – Complete Destiny 2 Raid Walkthrough

-
Bundle
- Powerful & pinnacle gear with 25% off
- Increase your power level easily
-
Hot


-
-
-
Sale 15%Ends in 11h 36m 11s
-
-
-

-
-
- Root of Nightmares master challenge
- Get adept weapon guaranteed

Introduction
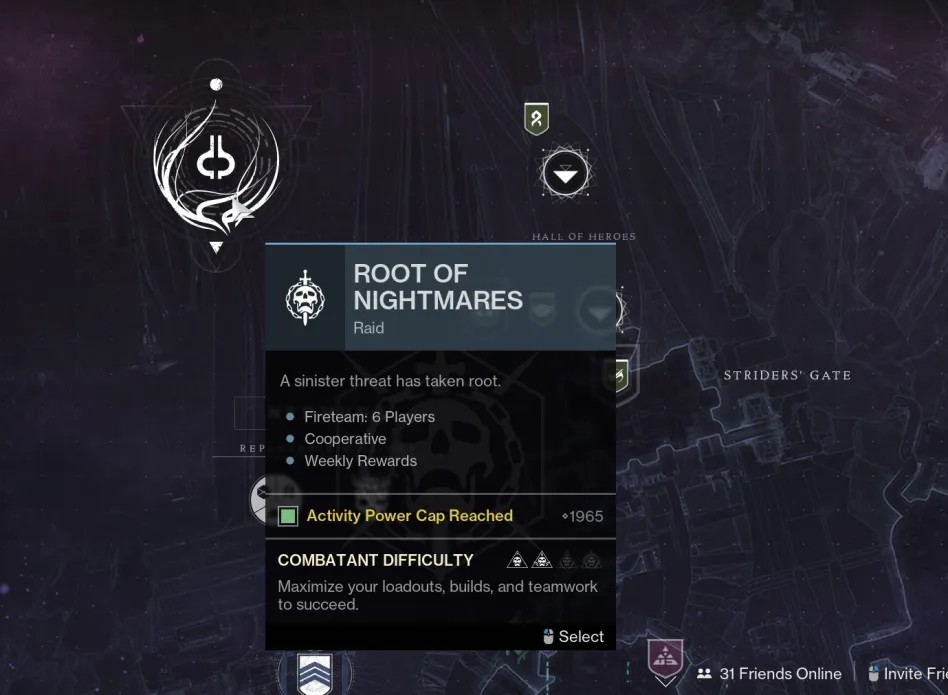
The Root of Nightmares raid was released in Destiny 2 with the Lightfall expansion. The guide will take you through every step needed to complete it, covering all mechanics, strategies, and loadouts.
Table of Contents
In this guide, we will cover the following subjects:
- Raid Preparation
- How to access the raid
- First Encounter
- Second Encounter
- Third Encounter
- Boss Encounter
- Loot Table
- Extras & Challenges
- FAQ
- Conclusion
How to access the raid
To access the Root of Nightmares raid, you need to have the Lightfall expansion expansion purchased on your account.
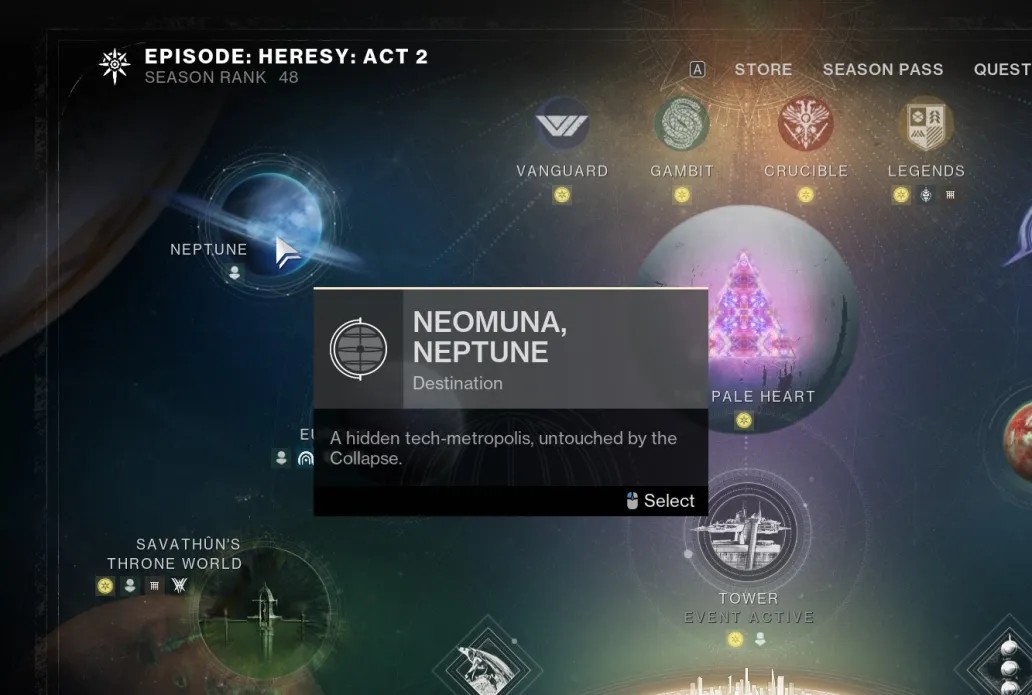
You must open the destination menu and find the activity icon in the Neptune (Neomuna) destination.
Raid Preparation
Root of Nightmares raid features unique mechanics, so being prepared with the best meta loadouts will help you out immensely during each encounter. I’ll be going over some of the best weapons & subclasses that you should be using to ensure your success.
SKIP THE GRIND! BOOST YOUR GUARDIAN NOW!
Best subclasses & builds
Getting started
Once you're ready, navigate to the Neptune (Neomuna) and locate the raid marker in the top right section.
Best weapons loadouts
Here, I’ll be going over some of the best meta weapons to use in the Root of Nightmares raid:
SKIP THE GRIND BUY ROOT OF NIGHTMARES CARRIES!
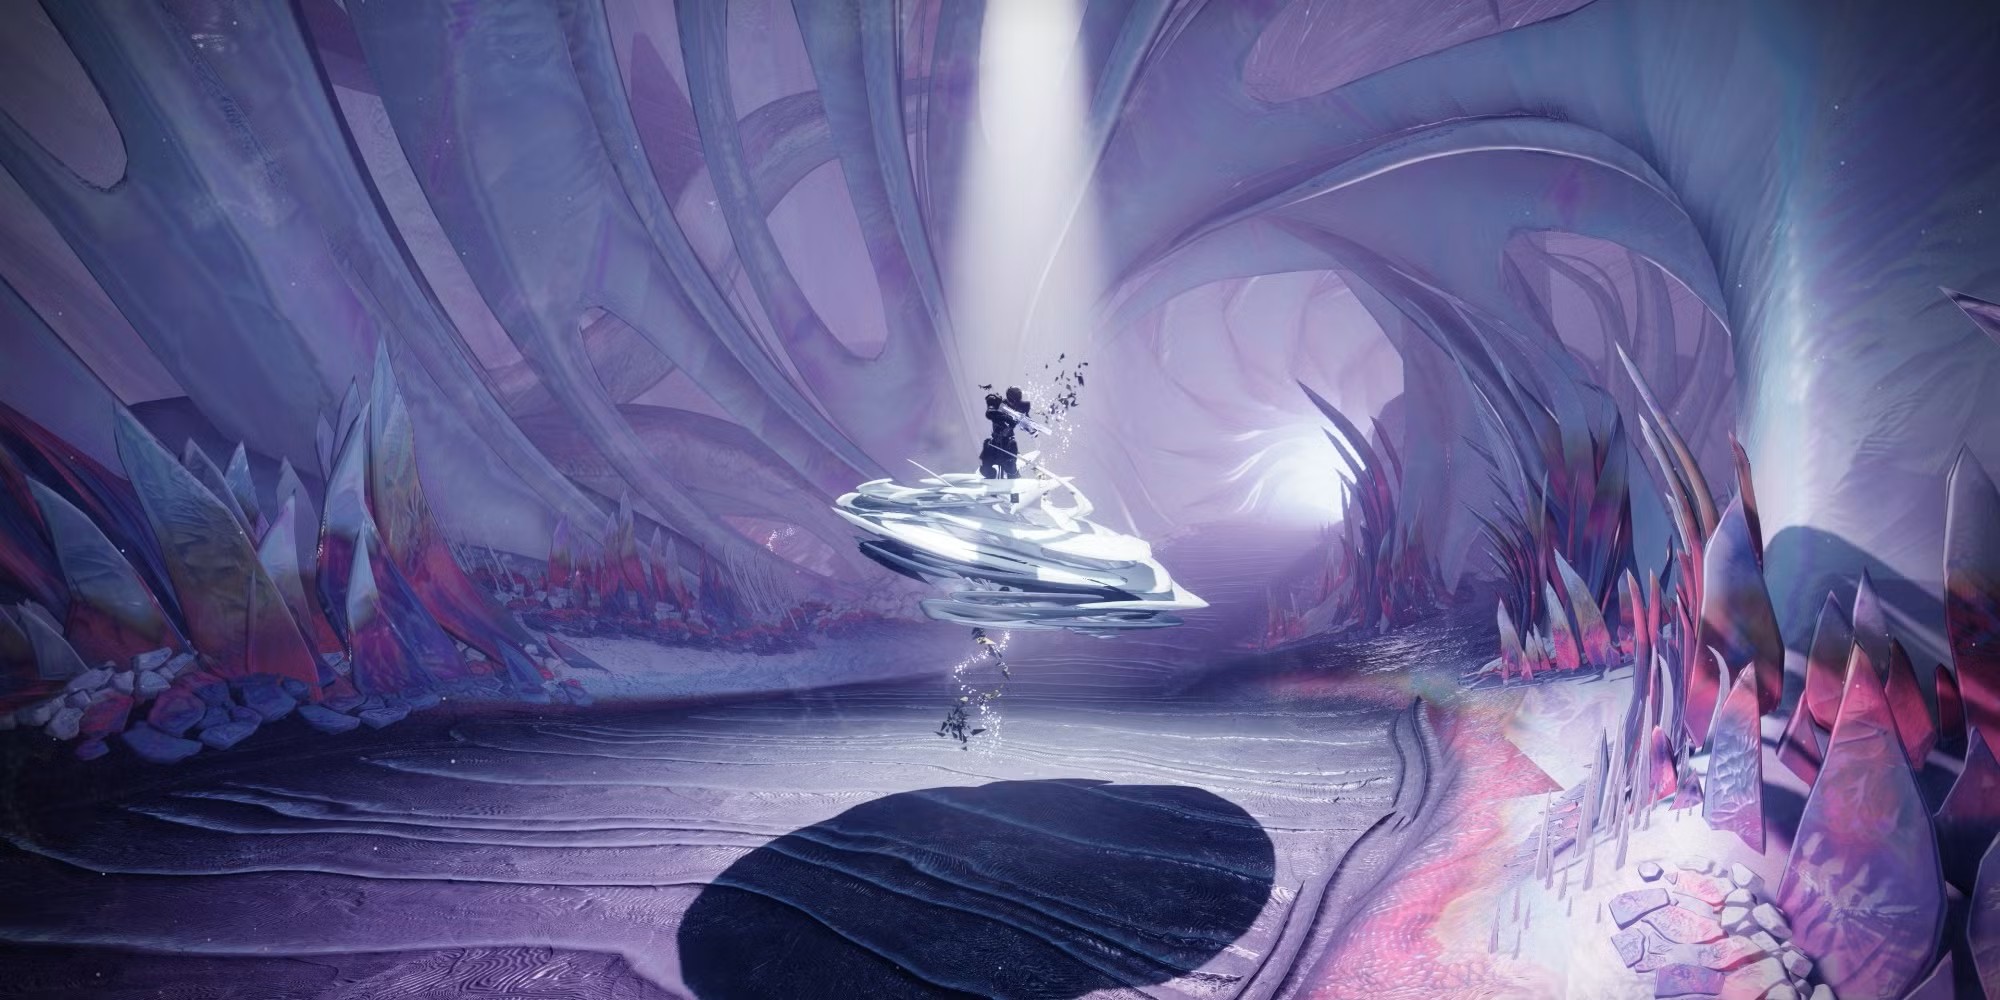
Reaching the first encounter
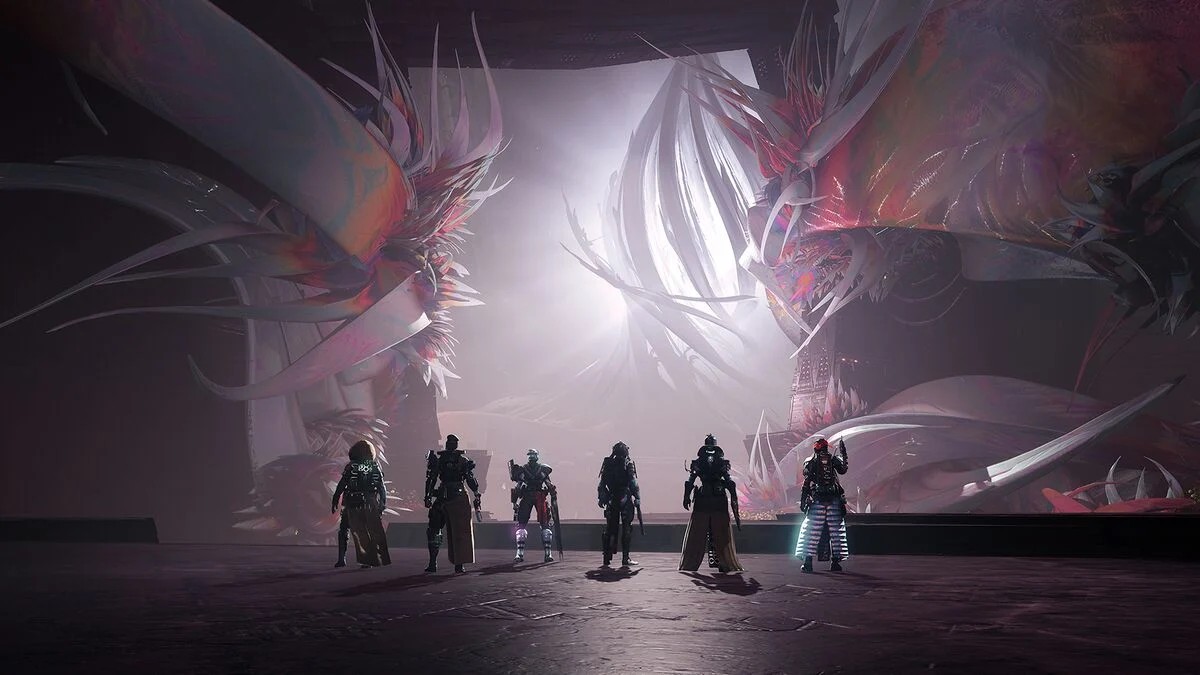
As you step into the Terraformed Pyramid Ship, dark corridors stretch ahead, pulsing with eerie energy. The path is mostly straightforward, but pockets of darkness can drain your life if you linger. A short platforming section follows where careful jumps are needed to avoid falling into the abyss. As you progress, the shifting contrast between Light and Darkness hints at the mechanics ahead.
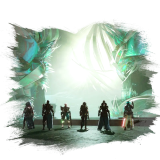
Pushing forward, you enter a massive chamber glowing orange. This is the start of Cataclysm (1st encounter). Glowing nodes mark your path, and enemies wait to engage. The fight revolves around the Field of Light buff and defeating Tormentors to keep the timer going. Now it is time to take on the first encounter.
First encounter
General Objective Overview
The goal of this encounter is to activate and extend the Field of Light buff to progress across the arena while managing a wipe timer. Players must pass the buff between nodes while eliminating Tormentors, who extend the timer when defeated. Successfully linking all nodes leads to the encounter's completion.
Arena & Layout
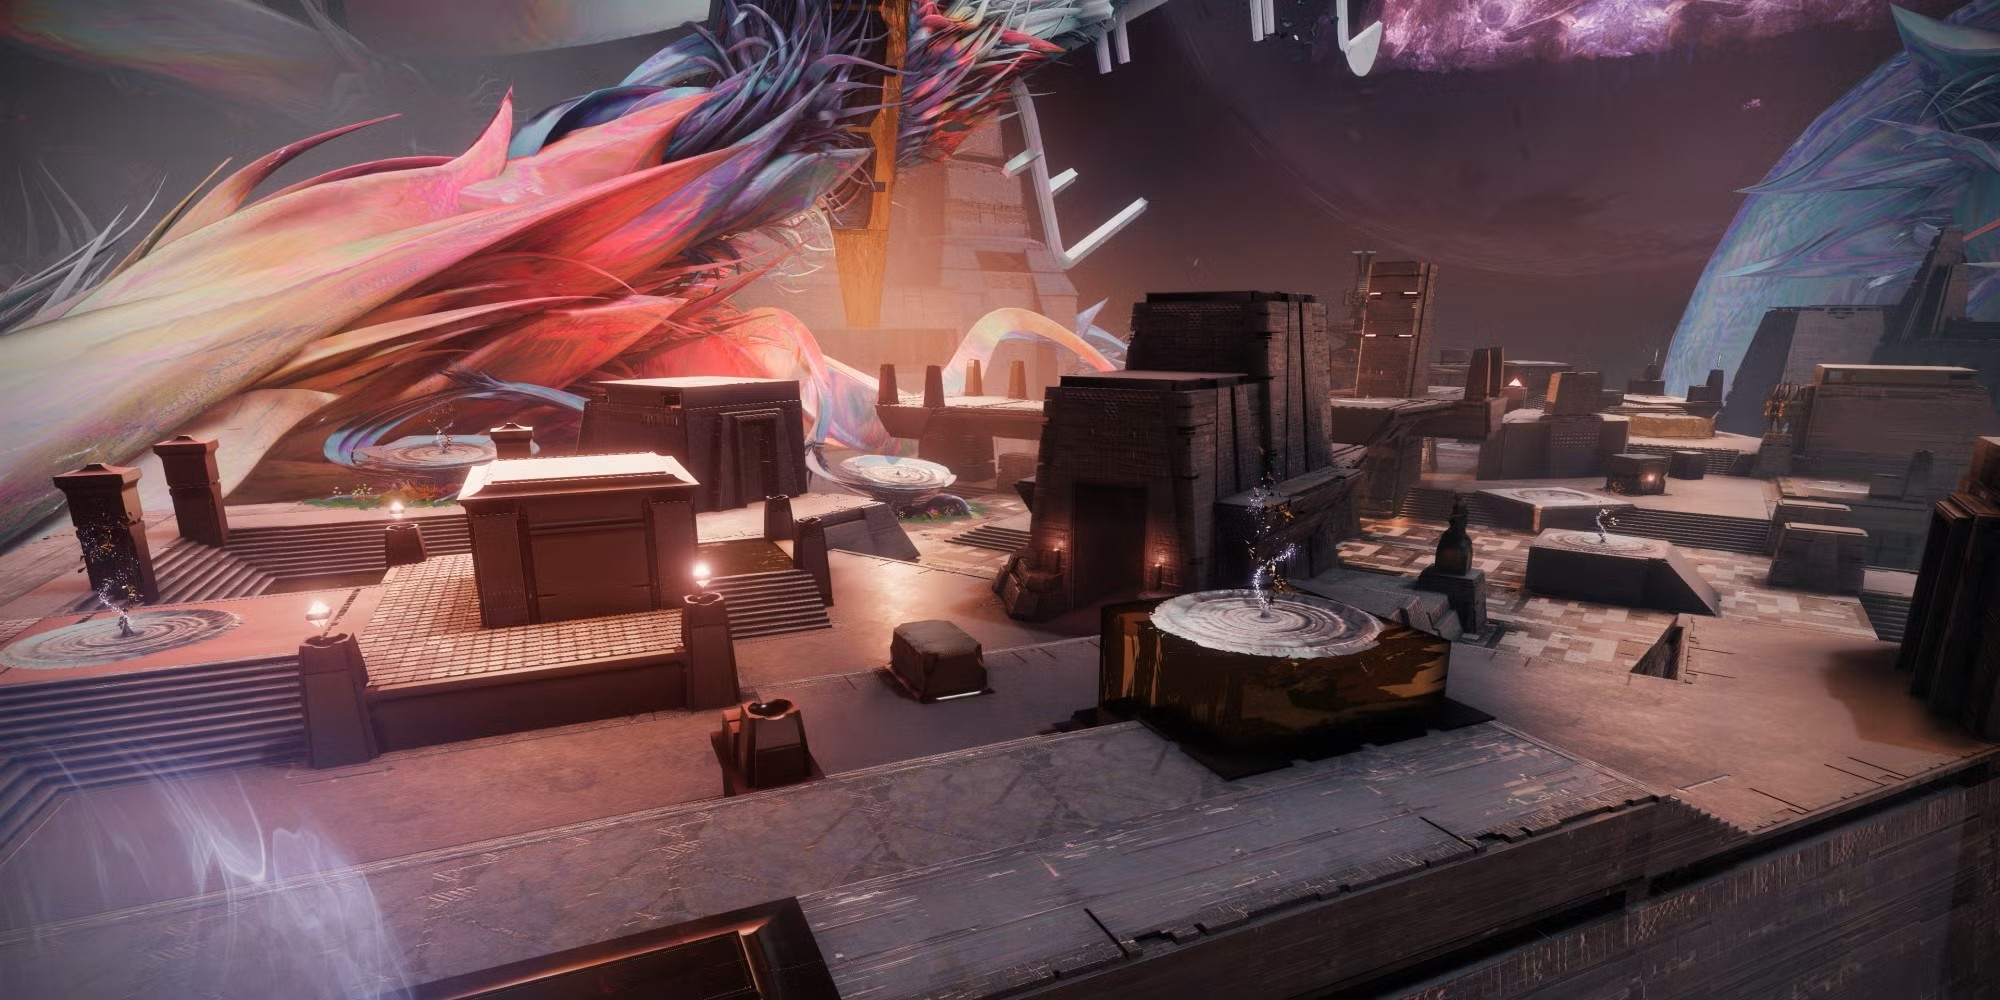
The arena is a large, open space divided into sections, with glowing nodes scattered throughout. A central structure houses the initial Field of Light node. Enemies spawn in waves, including Psions, Colossuses, and the Tormentors, which appear at set intervals.
Team Roles & Asignments
Mechanics
Players must interact with the Field of Light node to gain the buff, then find and activate additional nodes by standing near them. The buff expires after a short time, requiring precise movement and coordination. Killing Tormentors prevents a wipe by refreshing the encounter timer.
DPS Phase
There is no dedicated DPS phase in this encounter. The focus is on completing node activations while keeping enemies under control.
Tips & Mistakes to Avoid
✔️ - Keep communication clear between runners and the team to ensure efficient node activations.
✔️ - Assign a player to call out Tormentor spawn locations to eliminate them quickly.
❌ - Do not ignore Psions, as they spawn bubble shields that can disrupt movement.
❌ - Avoid spreading out too much, as staying grouped helps control enemies and keeps runners safe.
Reaching the second encounter
General Objective Overview
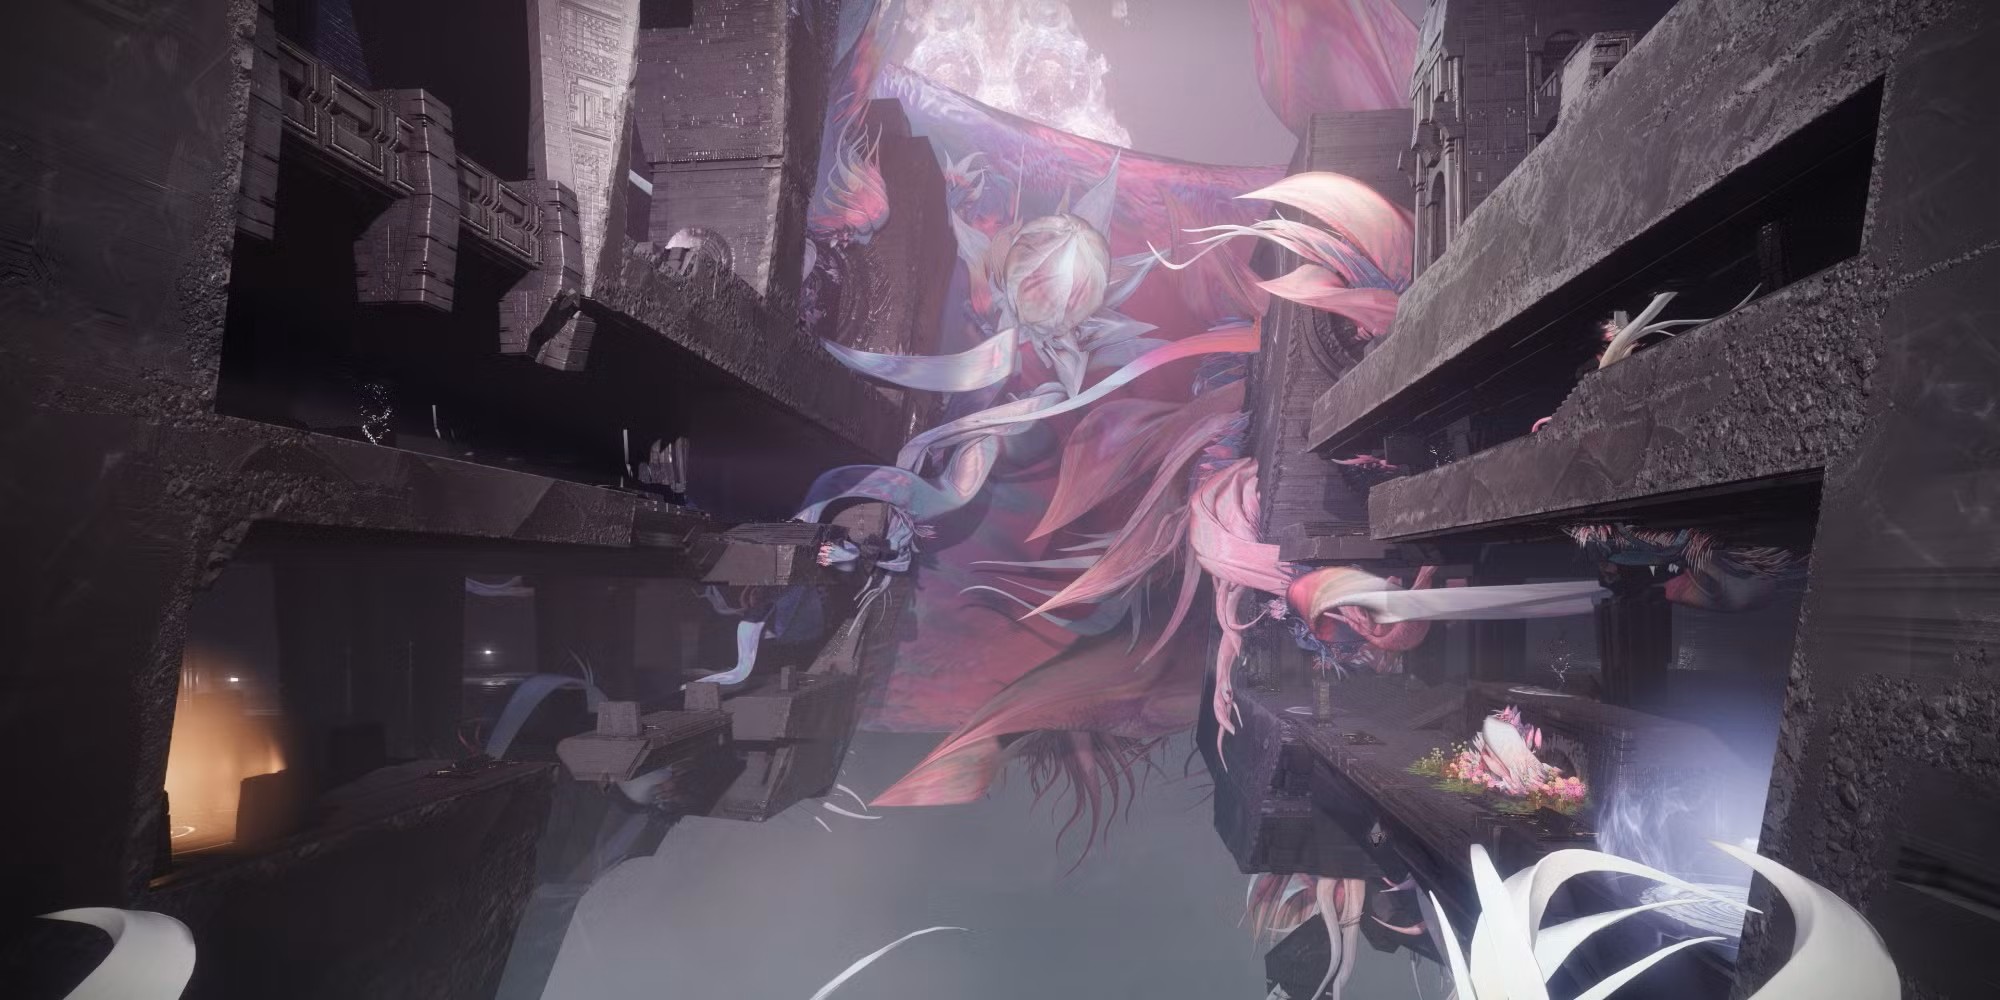
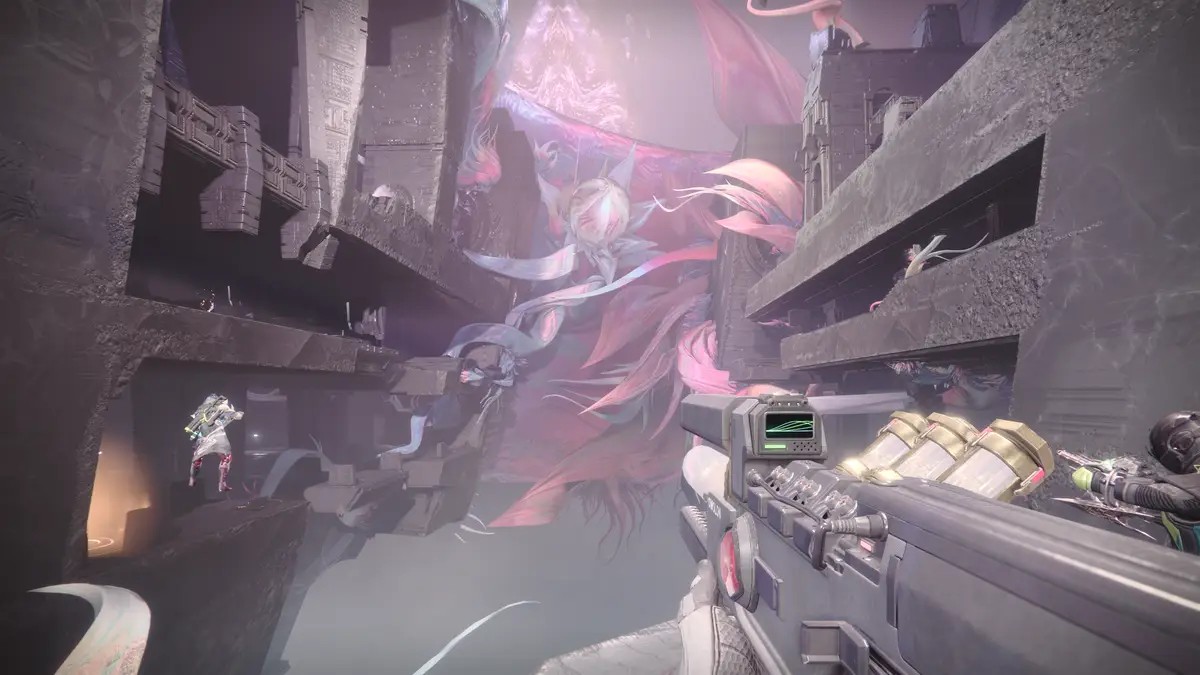
After completing the first encounter, a path forward opens deeper into the Pyramid Ship. Follow the glowing pathways and traverse a series of platforming sections. The architecture shifts, blending Light and Darkness elements as you progress.
Along the way, you will encounter launch pads that propel you across gaps. These pads are key to reaching the next area, so time your jumps carefully. Enemies will appear in some sections, but combat is minimal. Keep moving forward until you enter a new chamber where the Scission encounter begins.
Secret Chest
After completing the first encounter, as you ascend the white tendril platforms, look up and to the right to find an alcove. Enter the hallway, follow the path down a set of stairs, and clear the enemies inside. The chest is located in front of a large statue at the end of the room.
Second Encounter
General Objective Overview
The goal of Scission (2nd encounter) is to move across a split-level arena using launch pads while activating nodes to extend bridges. Players must coordinate Field of Light and Flux of Darkness buffs to progress while managing enemies.
Arena & Layout
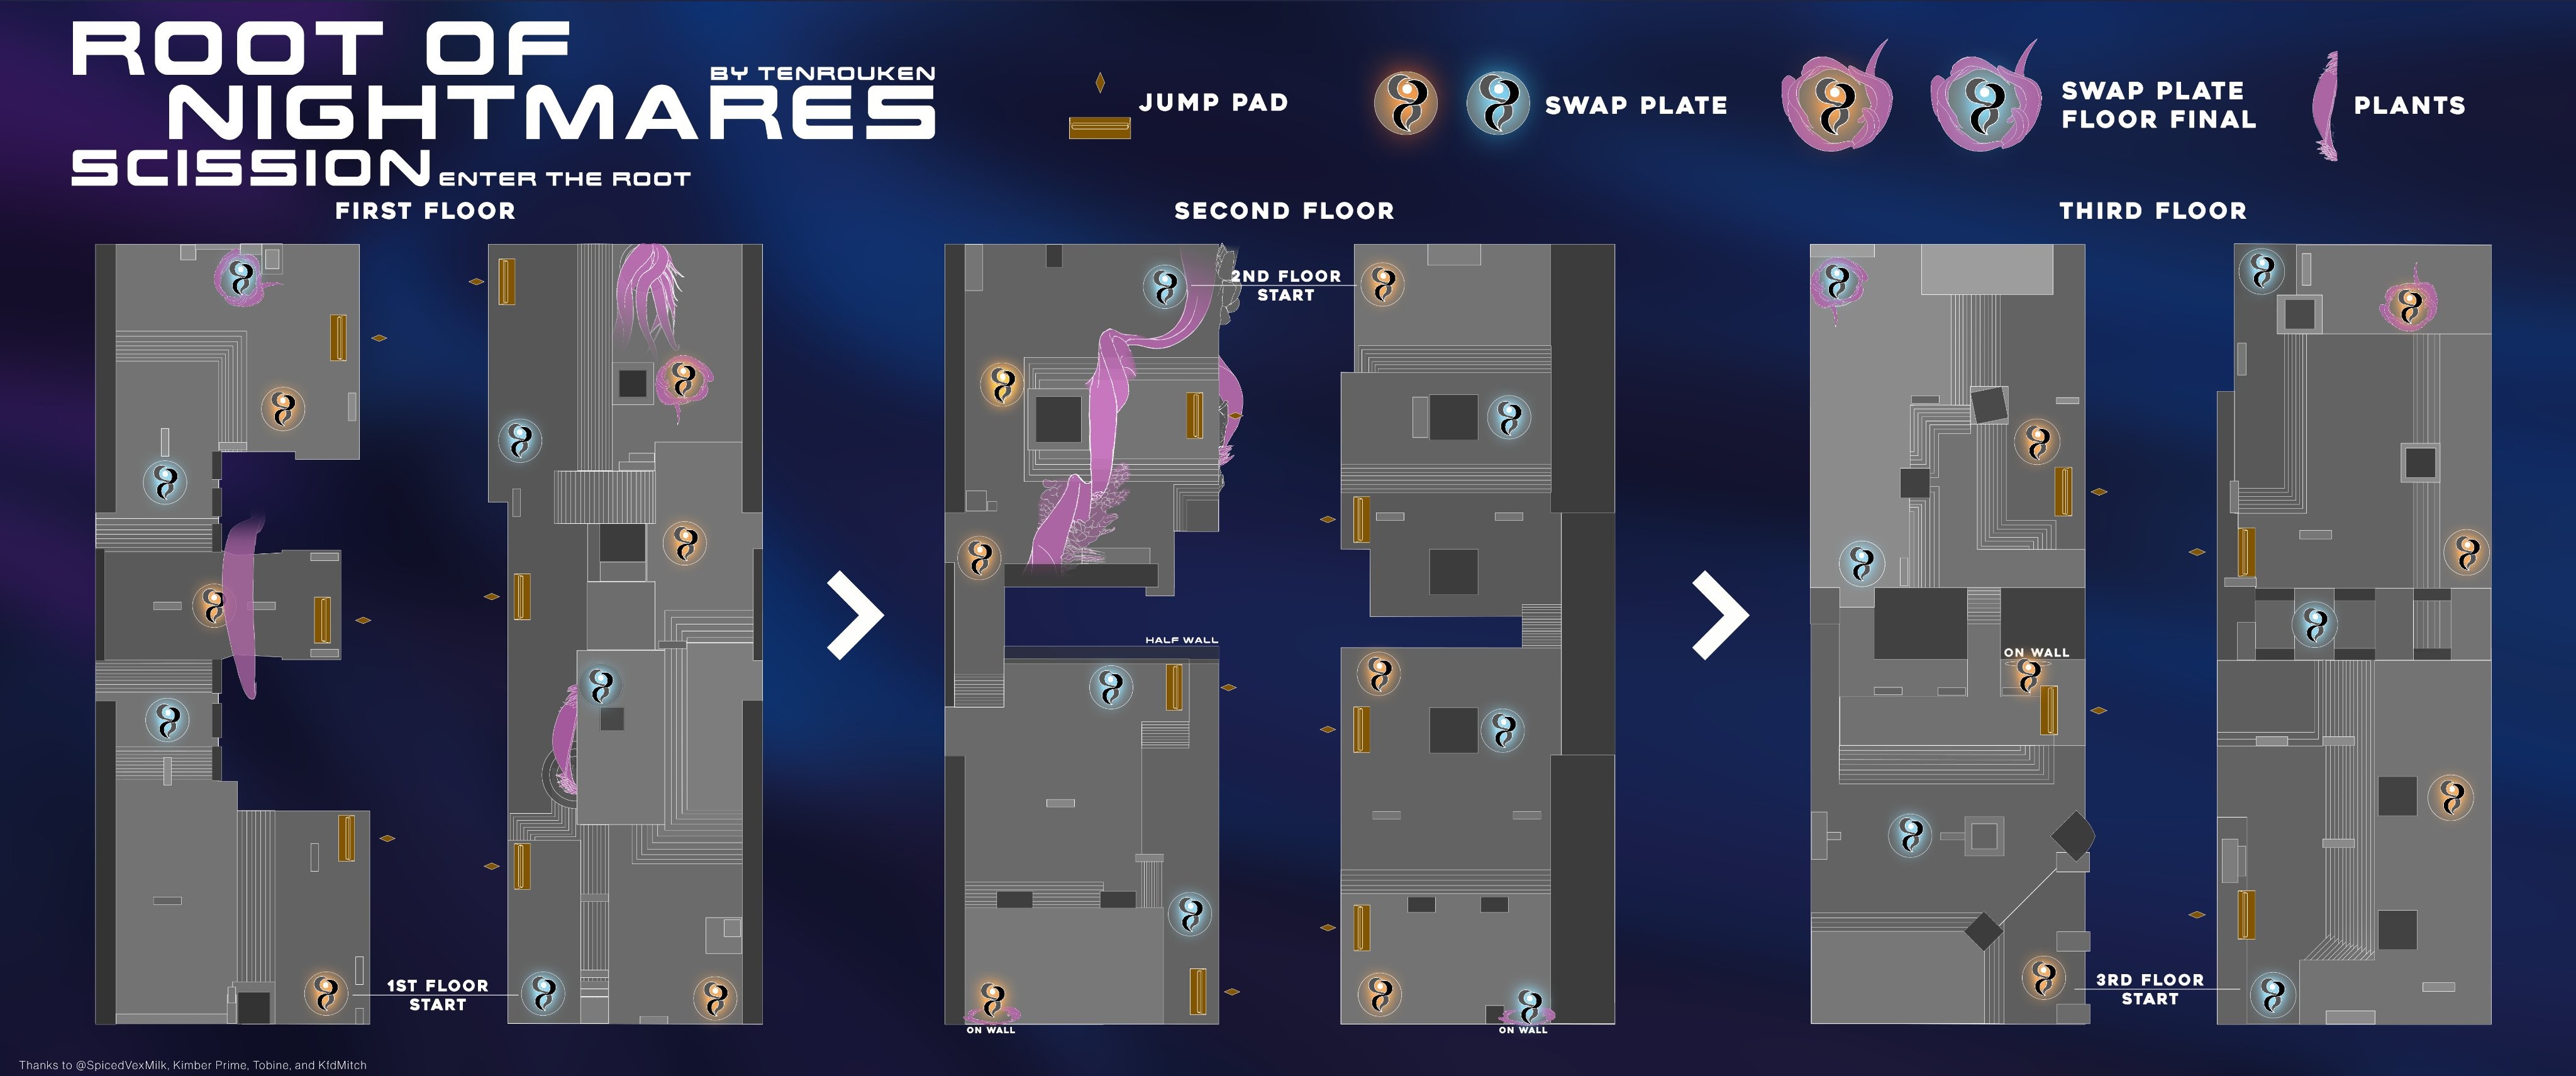
The arena is divided into two levels, separated by a large gap. Players must use launch pads to cross between sides while activating nodes in the correct sequence. Enemies spawn on both levels, including Psions, Colossuses, and Tormentors, which must be eliminated to maintain the encounter timer.
Team Roles & Asignments
Mechanics
DPS Phase
There is no dedicated DPS phase in this encounter. Success depends on efficient node activations and add management.
Tips & Mistakes to Avoid
✔️ - Coordinate launch pad usage to avoid players being stranded or knocked off.
✔️ - Call out Tormentor spawns and eliminate them quickly to keep the timer active.
❌ - Do not activate nodes out of order, as it can disrupt progress.
❌ - Avoid standing too close to the edge of launch pads, as mistimed jumps can send players off the map.
Reaching the third encounter
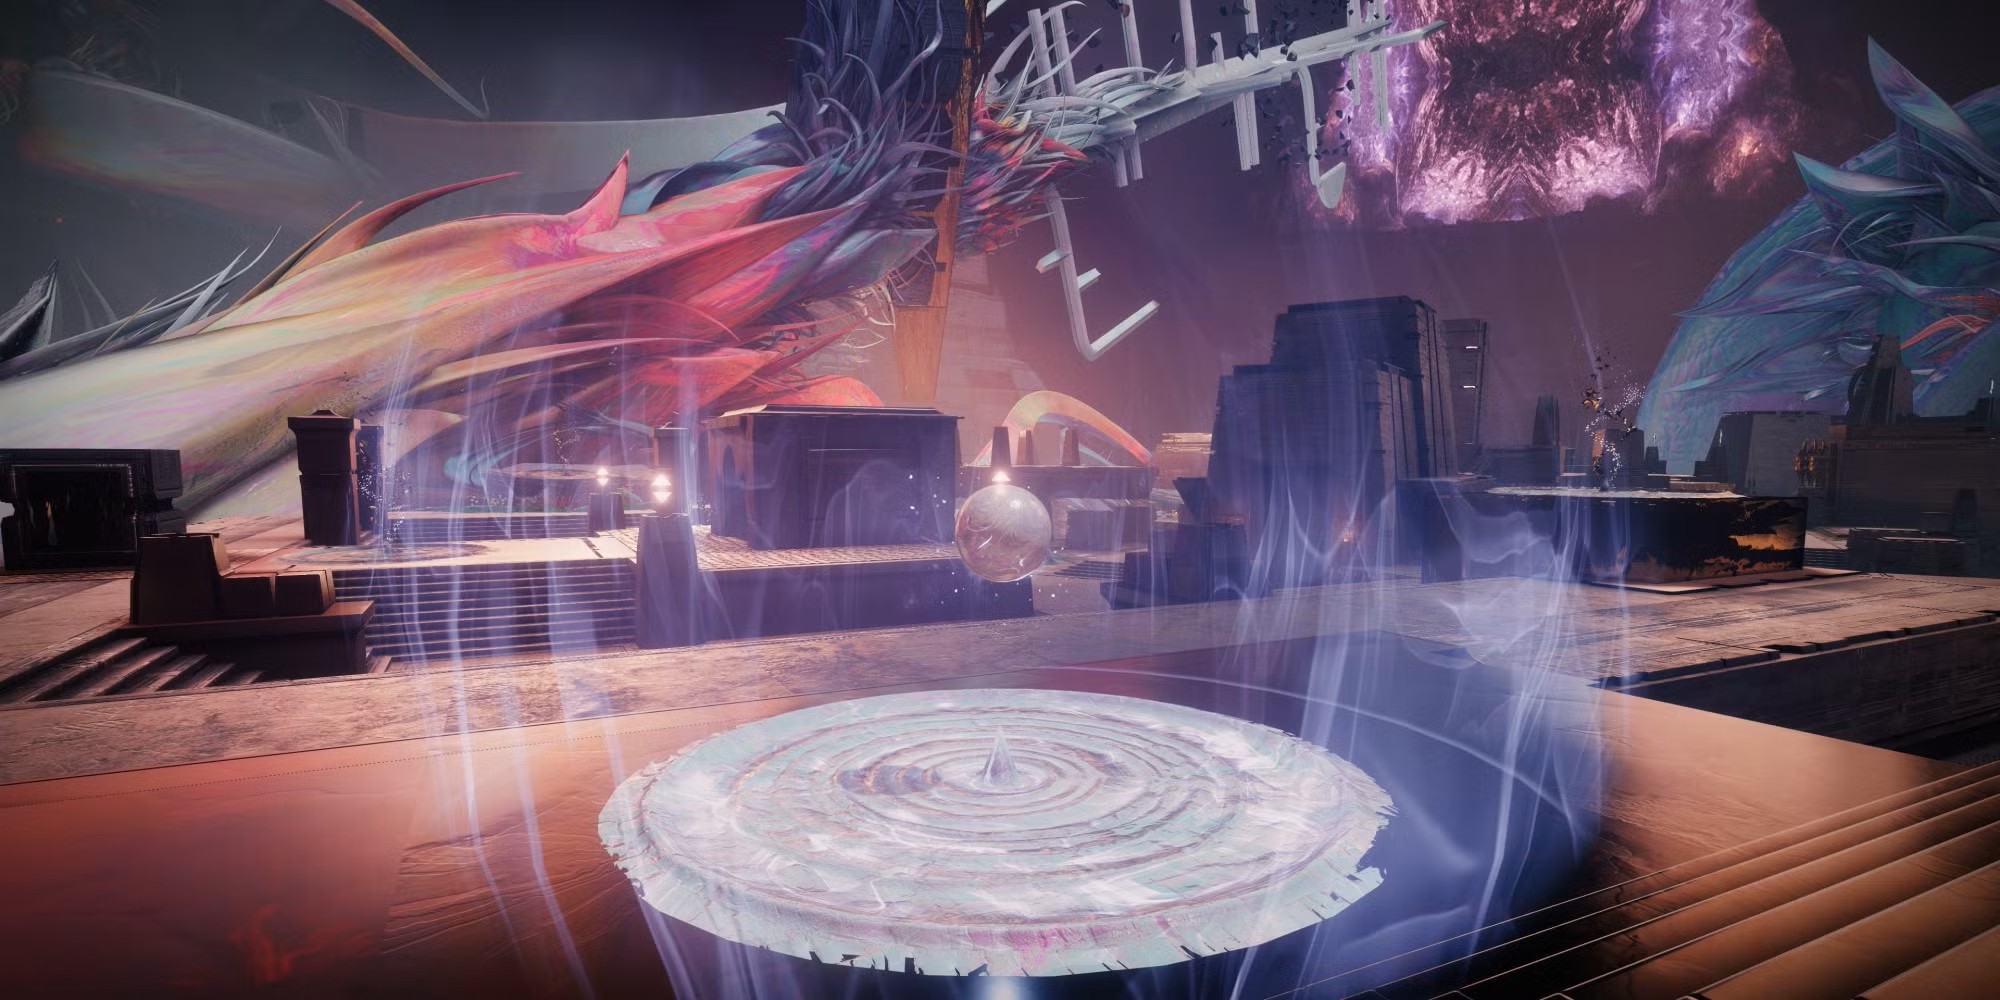
Before reaching the main jumping puzzle, you'll step into a room with a floating disc at its center. To move forward, you’ll need to link the Light and Darkness plates scattered around to this disc. Once both are connected, the real platforming section begins.
General Objective Overview
After completing the plates puzzle, you’ll enter a long traversal section filled with shifting platforms, launch pads, and Light and Darkness nodes that must be activated in sequence to maintain buffs and open the path forward. As you progress, you’ll notice a floating pyramid in the distance, glowing brighter over time. Every 15 seconds, it unleashes a massive explosion that will wipe anyone not under the Refuge of Darkness buff. To survive, one fireteam member must activate Darkness plates, while the rest push forward using gravity cannons and clearing enemies.
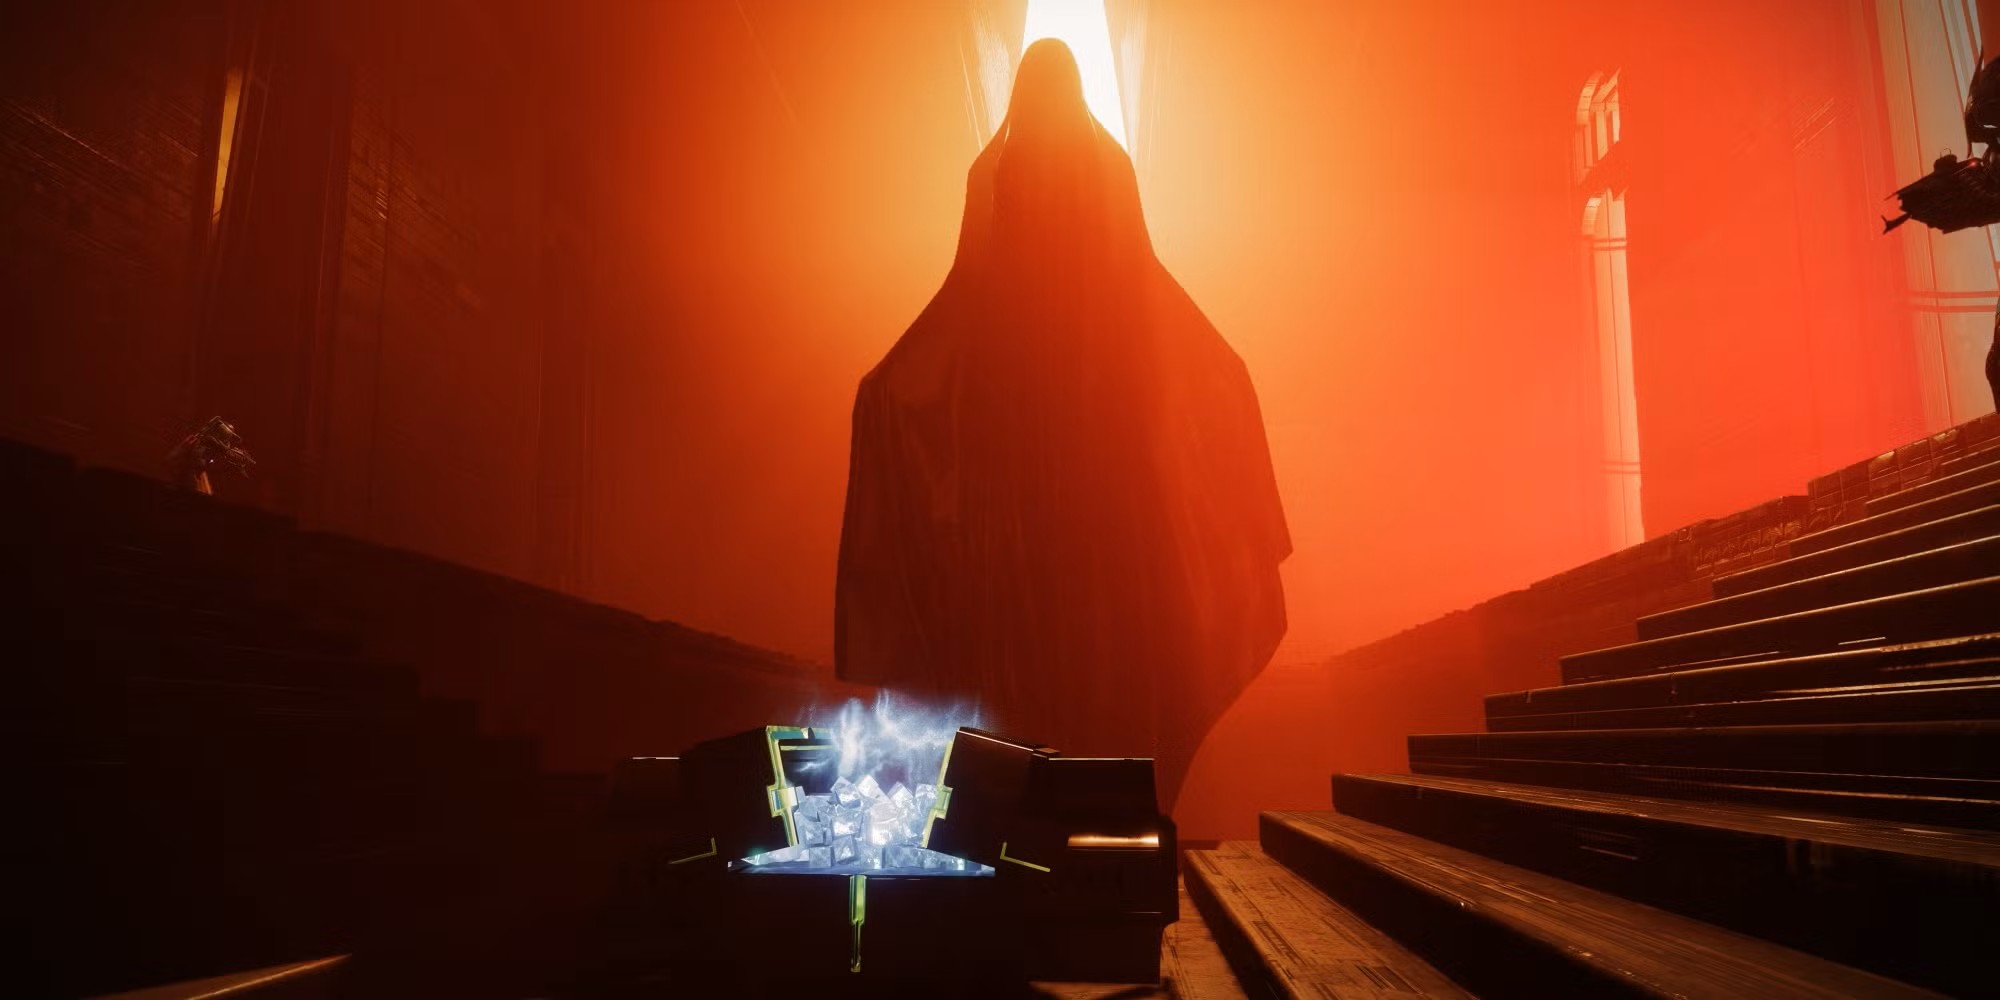
Secret Chest
.jpg)
During the second half of the jumping puzzle, after your fireteam opens a door leading to a staircase, climb up and run slightly to your right. Look over the edge of the structure and spot a Darkness crux below. Shooting it will unlock a hidden room directly behind you, where the second secret chest awaits
Third Encounter
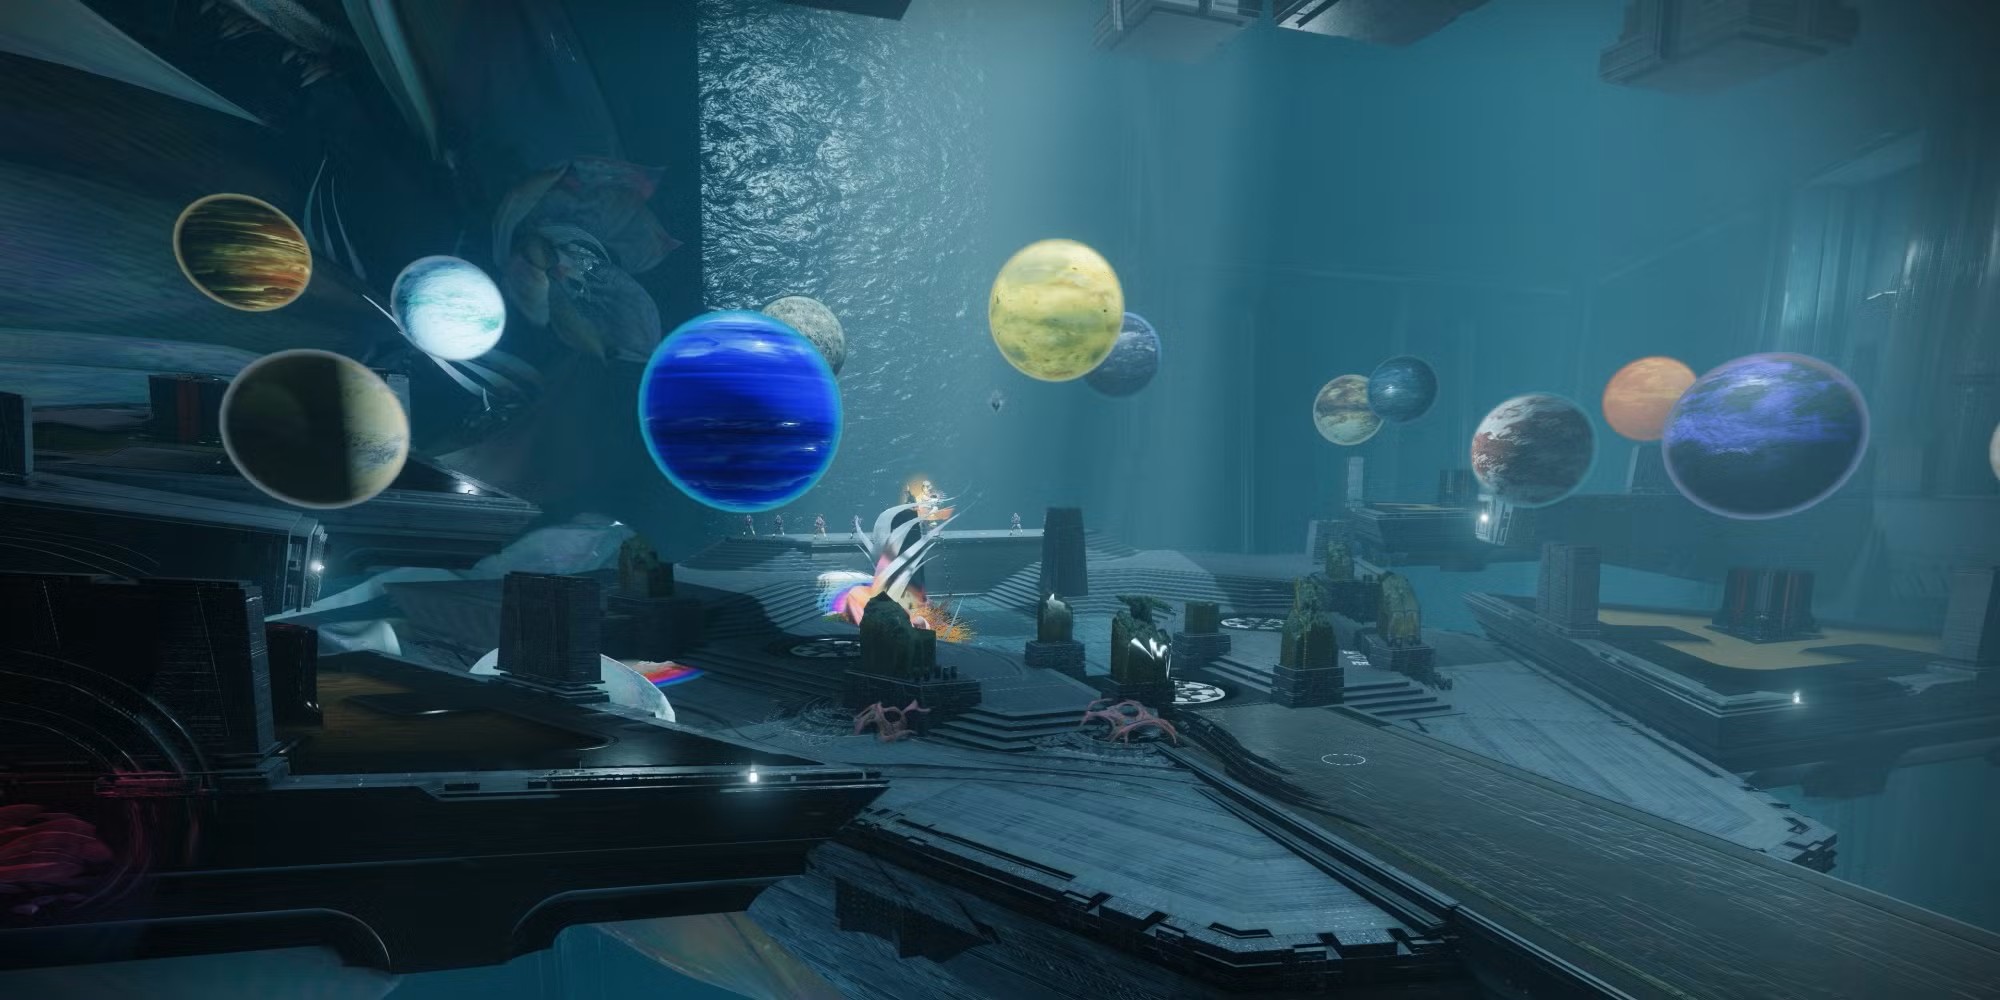
General Objective Overview
Your fireteam faces Zo’Aurc, Explicator of Planets, a powerful Cabal Incendior with the ability to shift planets. The goal is to correctly align Light and Dark planets on designated plates, triggering the DPS phase. Players must coordinate planet swaps, defeat enemies, and stand on the correct plates to deal damage to Zo’Aurc before the timer expires.
Arena & Layout
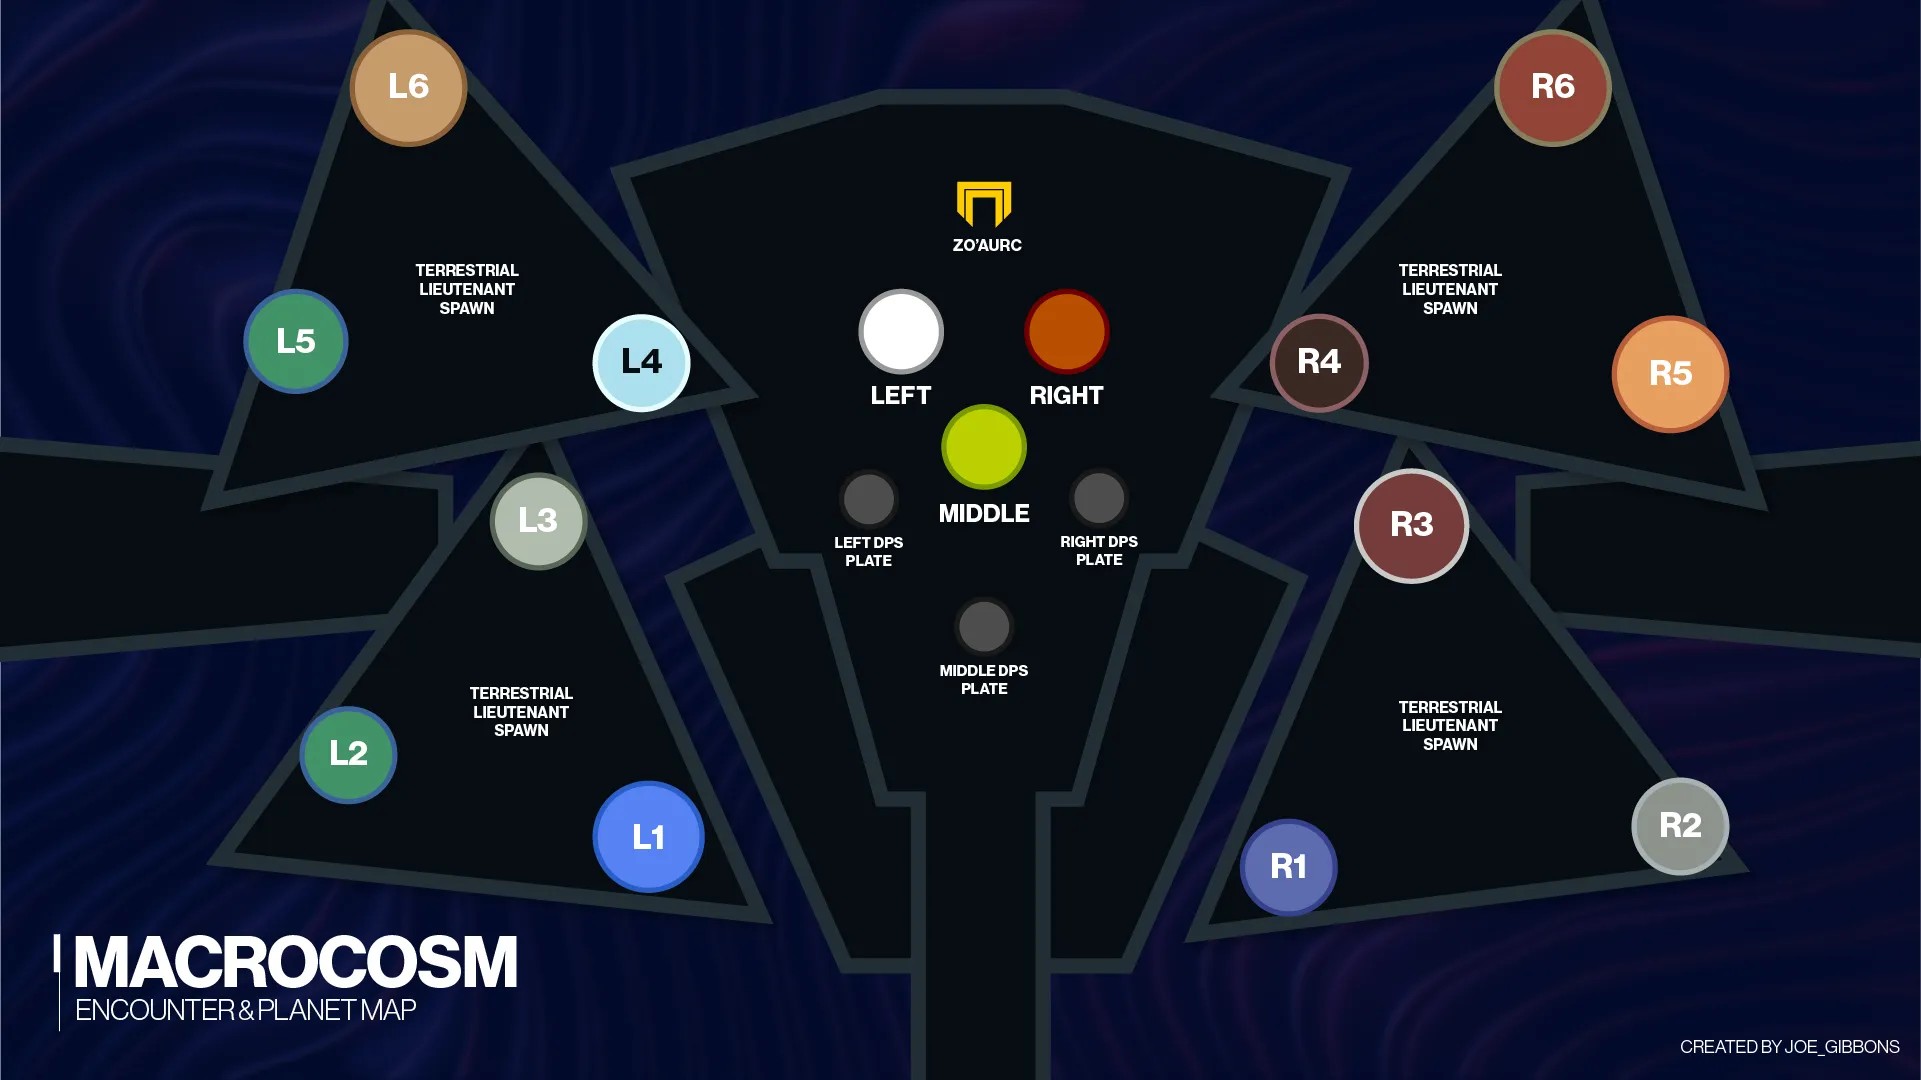
The arena is a massive planetary display chamber with four triangular plates on the ground, one in each corner. Above, eight planets hover, split between Light and Dark alignments. In the center, Zo’Aurc waits, surrounded by three large DPS plates. Lieutenant Colossuses spawn at each plate, and adds flood the arena, making enemy control essential.
Team Roles & Asignments
Mechanics
DPS Phase
Zo’Aurc will glow either white (Light) or orange (Dark). Players must stand on the matching DPS plate to damage him. The boss becomes immune after taking about 10% HP damage, forcing players to quickly swap to the next plate. This repeats across three plates before the encounter resets. If Zo’Aurc is not defeated in three damage cycles, he enrages, wiping the team.
Tips & Mistakes to Avoid
✔️ - Keep clear communication when identifying planets to prevent mistakes.
✔️ - Use Gjallarhorn and Rocket Launchers for efficient burst DPS.
❌ - Do not stand on the wrong DPS plate, as you will be unable to damage the boss.
❌ - Avoid killing Lieutenants if you are not a Planet Shifter, as their buff is required to interact with planets.
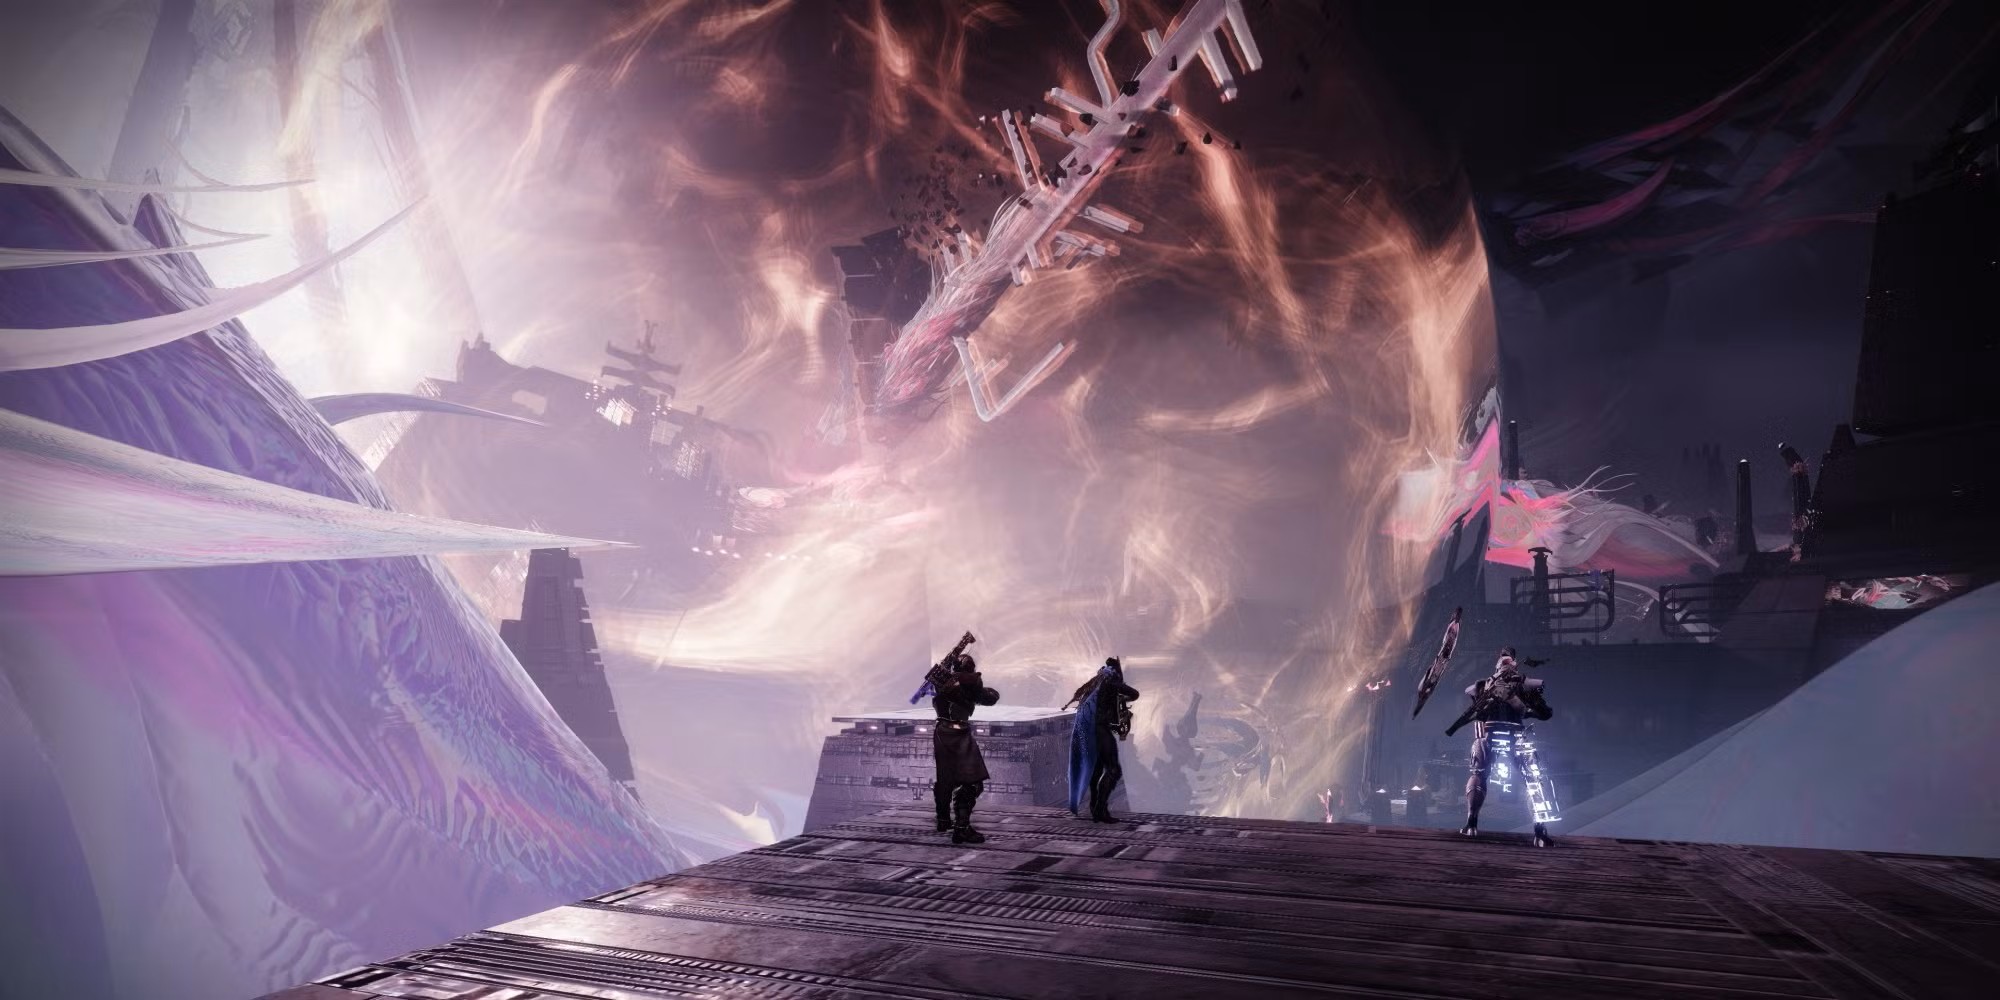
Reaching the boss encounter
As you progress, you'll once again interact with Light and Dark nodes, activating them in sequence to unlock the way forward. Enemies appear sporadically, but the main challenge is navigating the platforming sections. Stay alert for any sudden shifts in terrain and use gravity cannons to launch across large gaps.
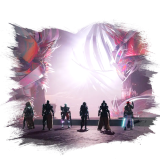
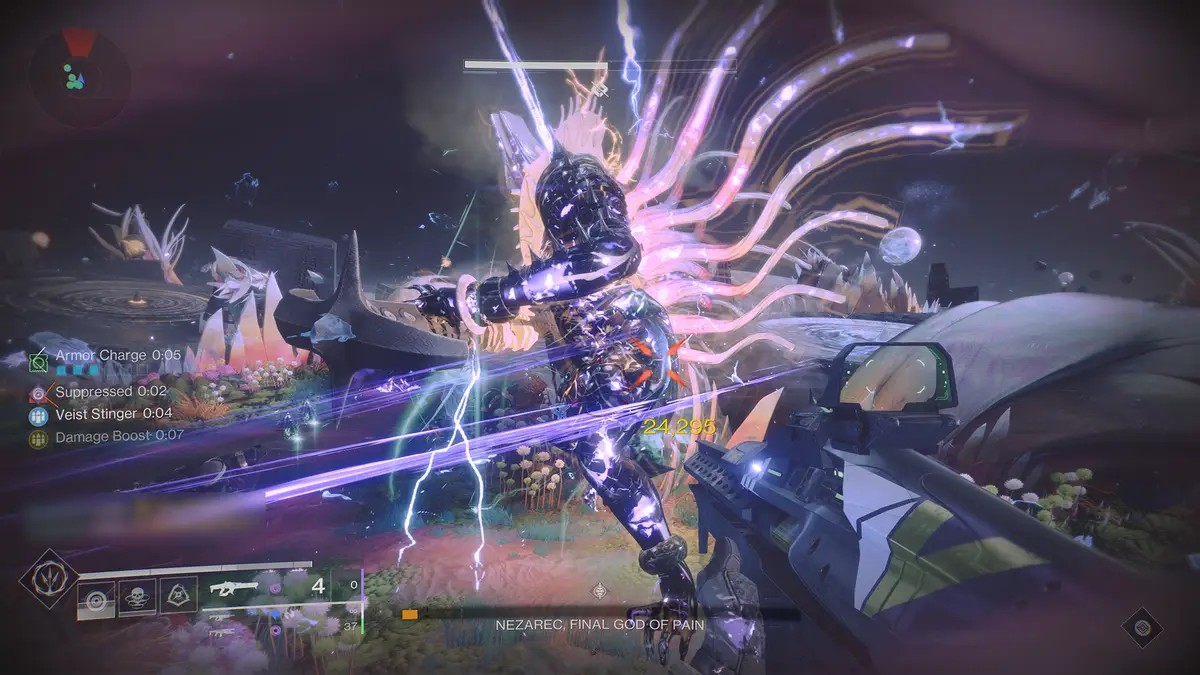
Eventually, you'll reach a towering doorway leading into a vast, dimly lit chamber. This is Nezarec’s lair, the final encounter of the Root of Nightmares raid. His presence fills the room, and the battle is about to begin.
Boss Encounter
SKIP THE GRIND BUY ROOT OF NIGHTMARES BOSS KILLS!
General Objective Overview
The goal of this encounter is to charge Light and Darkness nodes on each side of the arena while managing Nezarec’s Hatred debuff to prevent team wipes. Players must complete six node activations per side, then synchronize the final activation to stun Nezarec and begin the DPS phase. Successfully damaging Nezarec through multiple cycles will lead to victory.
Arena & Layout
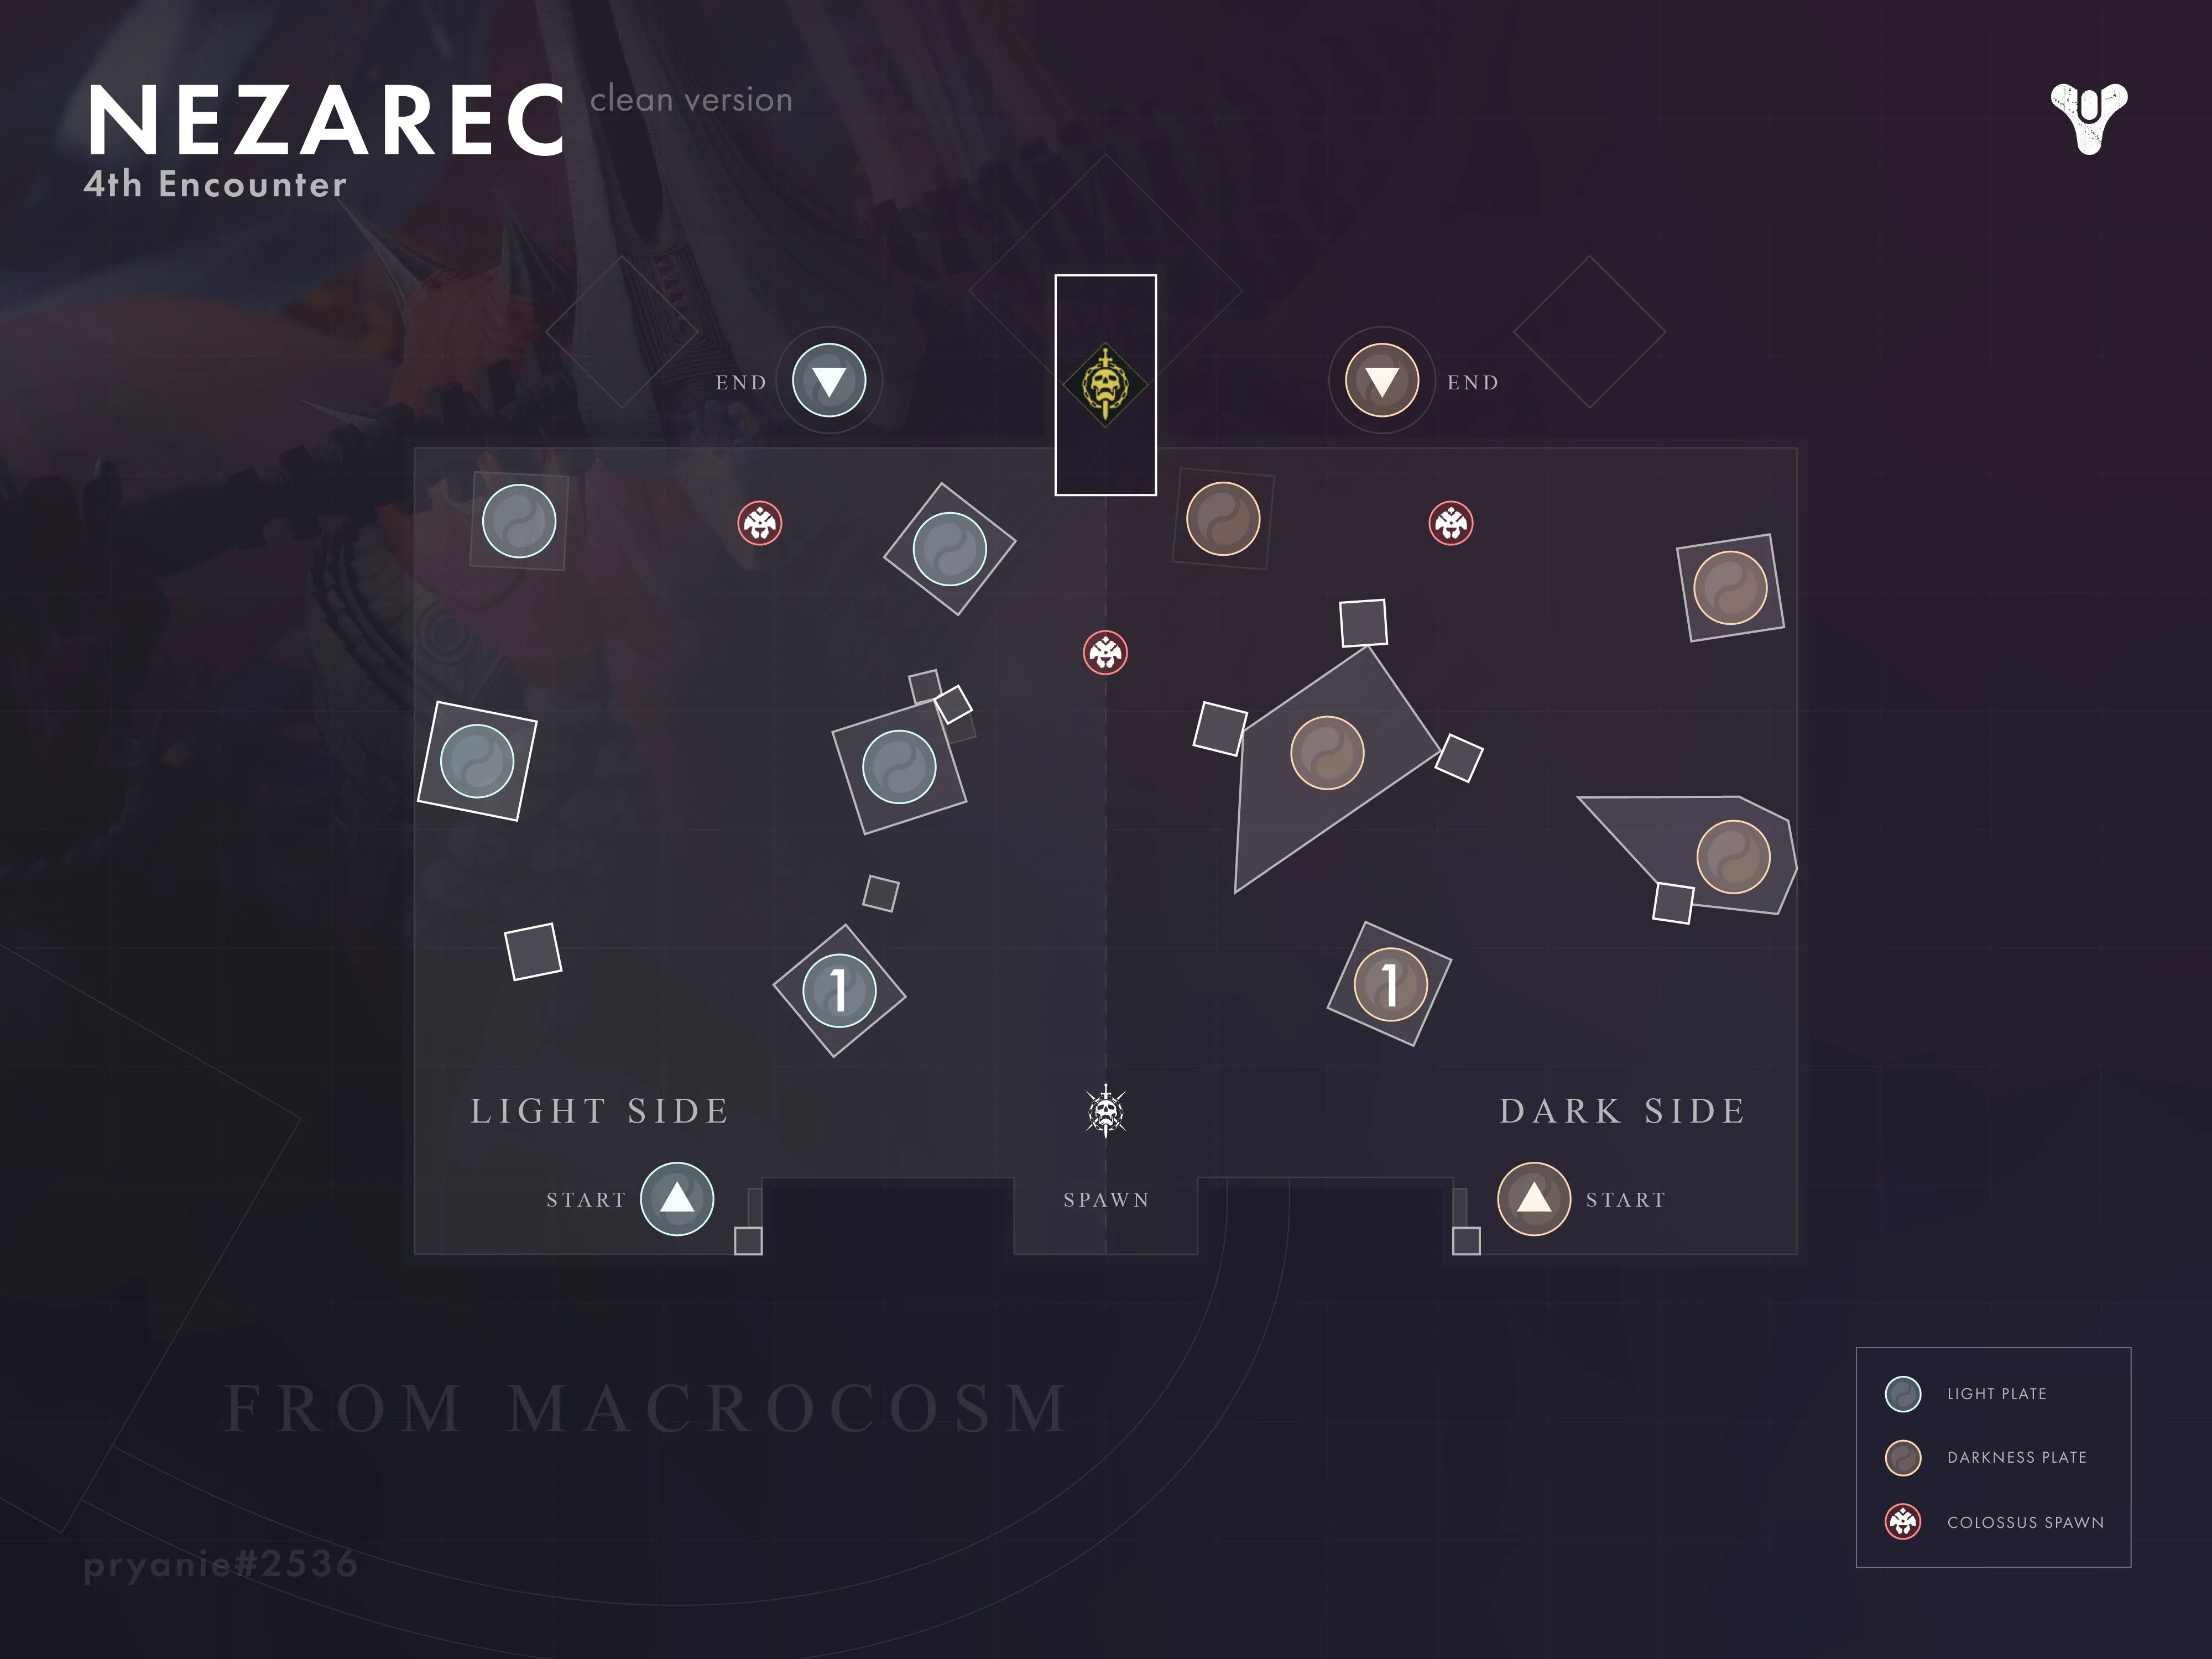
The arena is a large, circular chamber divided into two sides: Light (left) and Dark (right). Nodes are scattered throughout, with one active node per side at any time. Nezarec floats in the center, launching powerful attacks while adds, Colossuses, and Lieutenants, spawn across the arena. Three central DPS plates will be used during the damage phase.
Team Roles & Asignments
Mechanics
DPS Phase
After Nezarec is stunned, players gather on one of the three DPS plates and drop a Well of Radiance.
Nezarec will glow either white (Light) or orange (Dark). Players must stand on the matching plate to deal damage.
Nezarec becomes immune after three DPS plates, resetting the encounter.
If he is not defeated within three damage cycles, he enters Final Stand, requiring a quick burn before triggering a wipe mechanic.
Tips & Mistakes to Avoid
✔️ - Keep communication clear between runners and taunters to prevent delays in node activation.
✔️ - Use Rocket Launchers (Gjallarhorn + Legendary Rockets) for efficient DPS.
❌ - Do not delay activating the final nodes, as Nezarec will wipe the team if they are not synced.
❌ - Avoid standing outside of the correct DPS plate, as only players in the matching aura can damage Nezarec.
DON'T WASTE TIME BUY ROOT OF NIGHTMARES WEAPONS!
Loot Table
Here we'll be showing you every piece of loot you can acquire from the raid. Root of Nightmares features 6 legendary weapons, 1 exotic & 1 normal armour set. Below you will find a list with all the weapons & armour pieces:
| Survive the Onslaught (1st Encounter) |
Enter the Root (2nd Encounter) |
Zo’aurc (3rd Encounter) |
Nezarec (Final Encounter) |
|
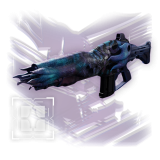
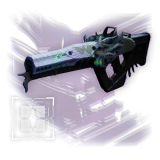
Briar's Contempt Linear Fusion Rifle 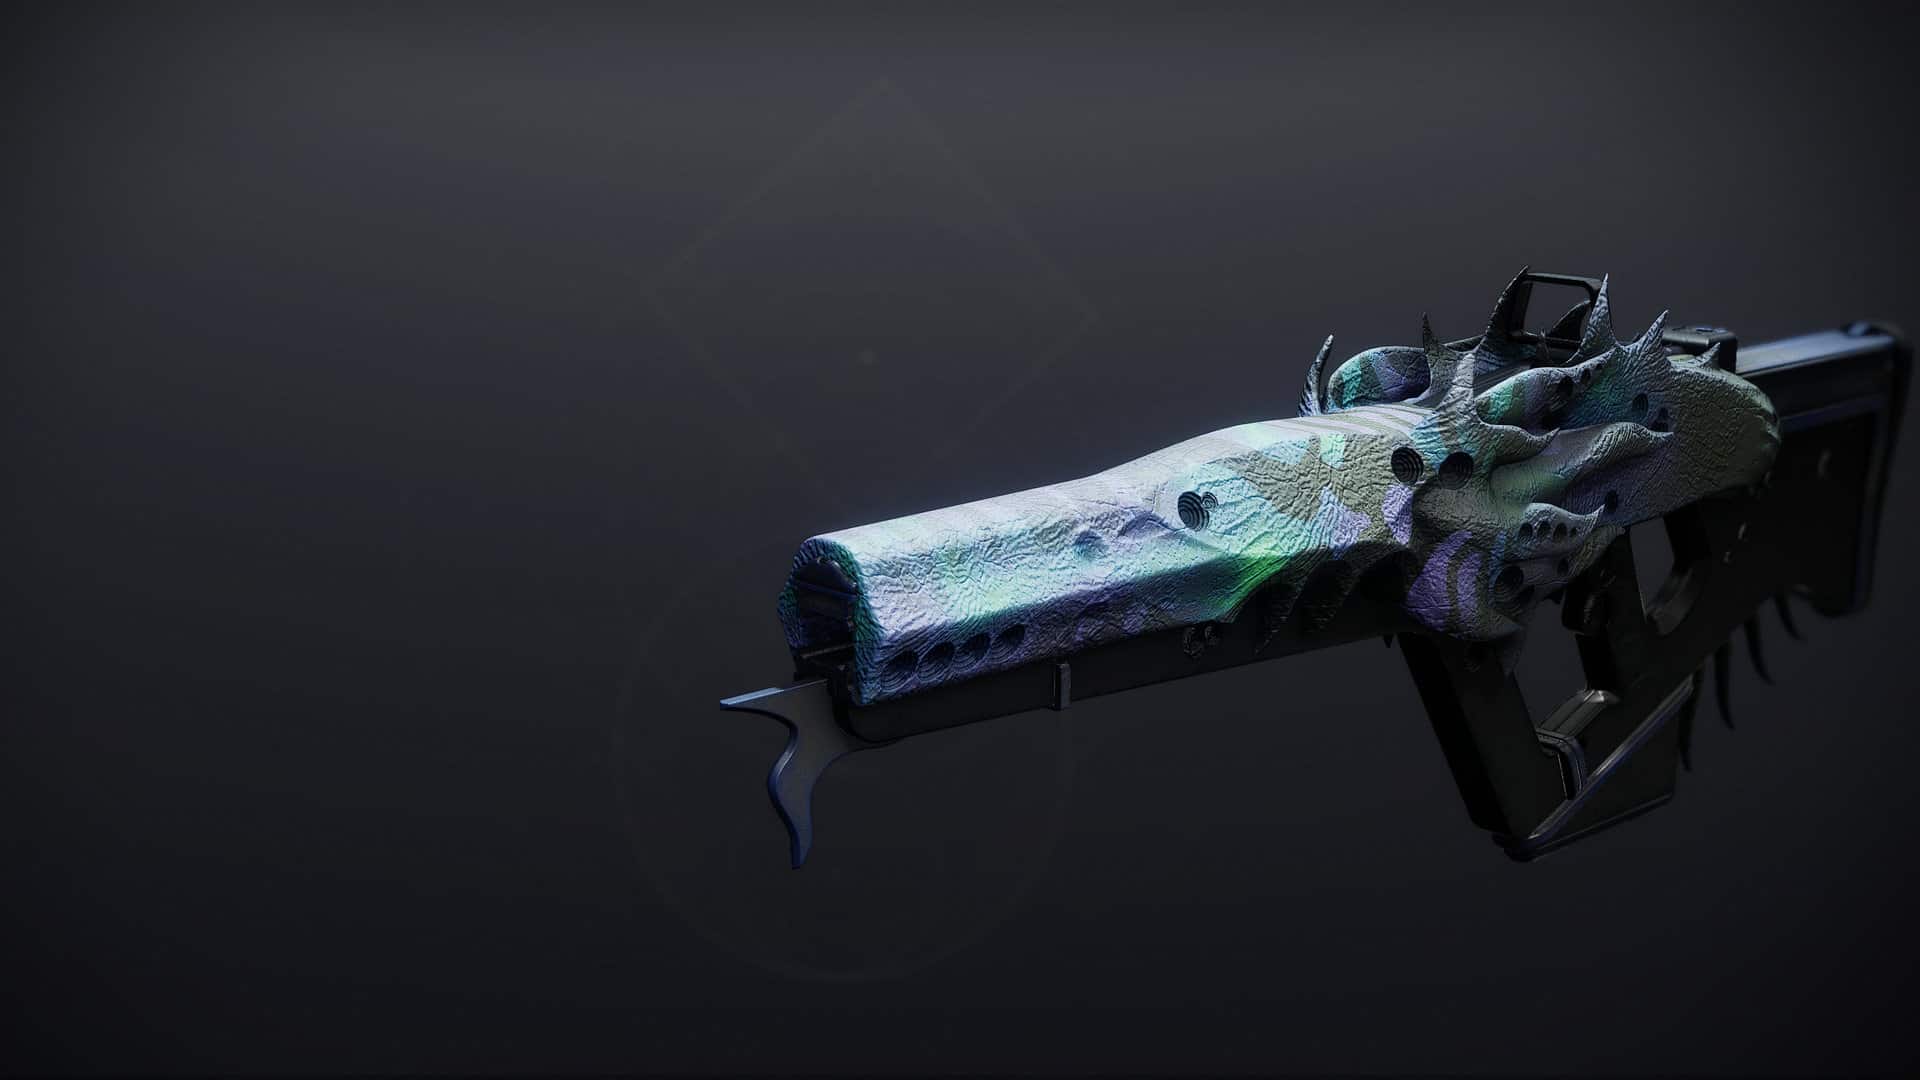


|
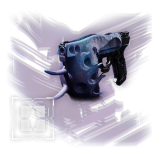
Mykel's Reverence Sidearm 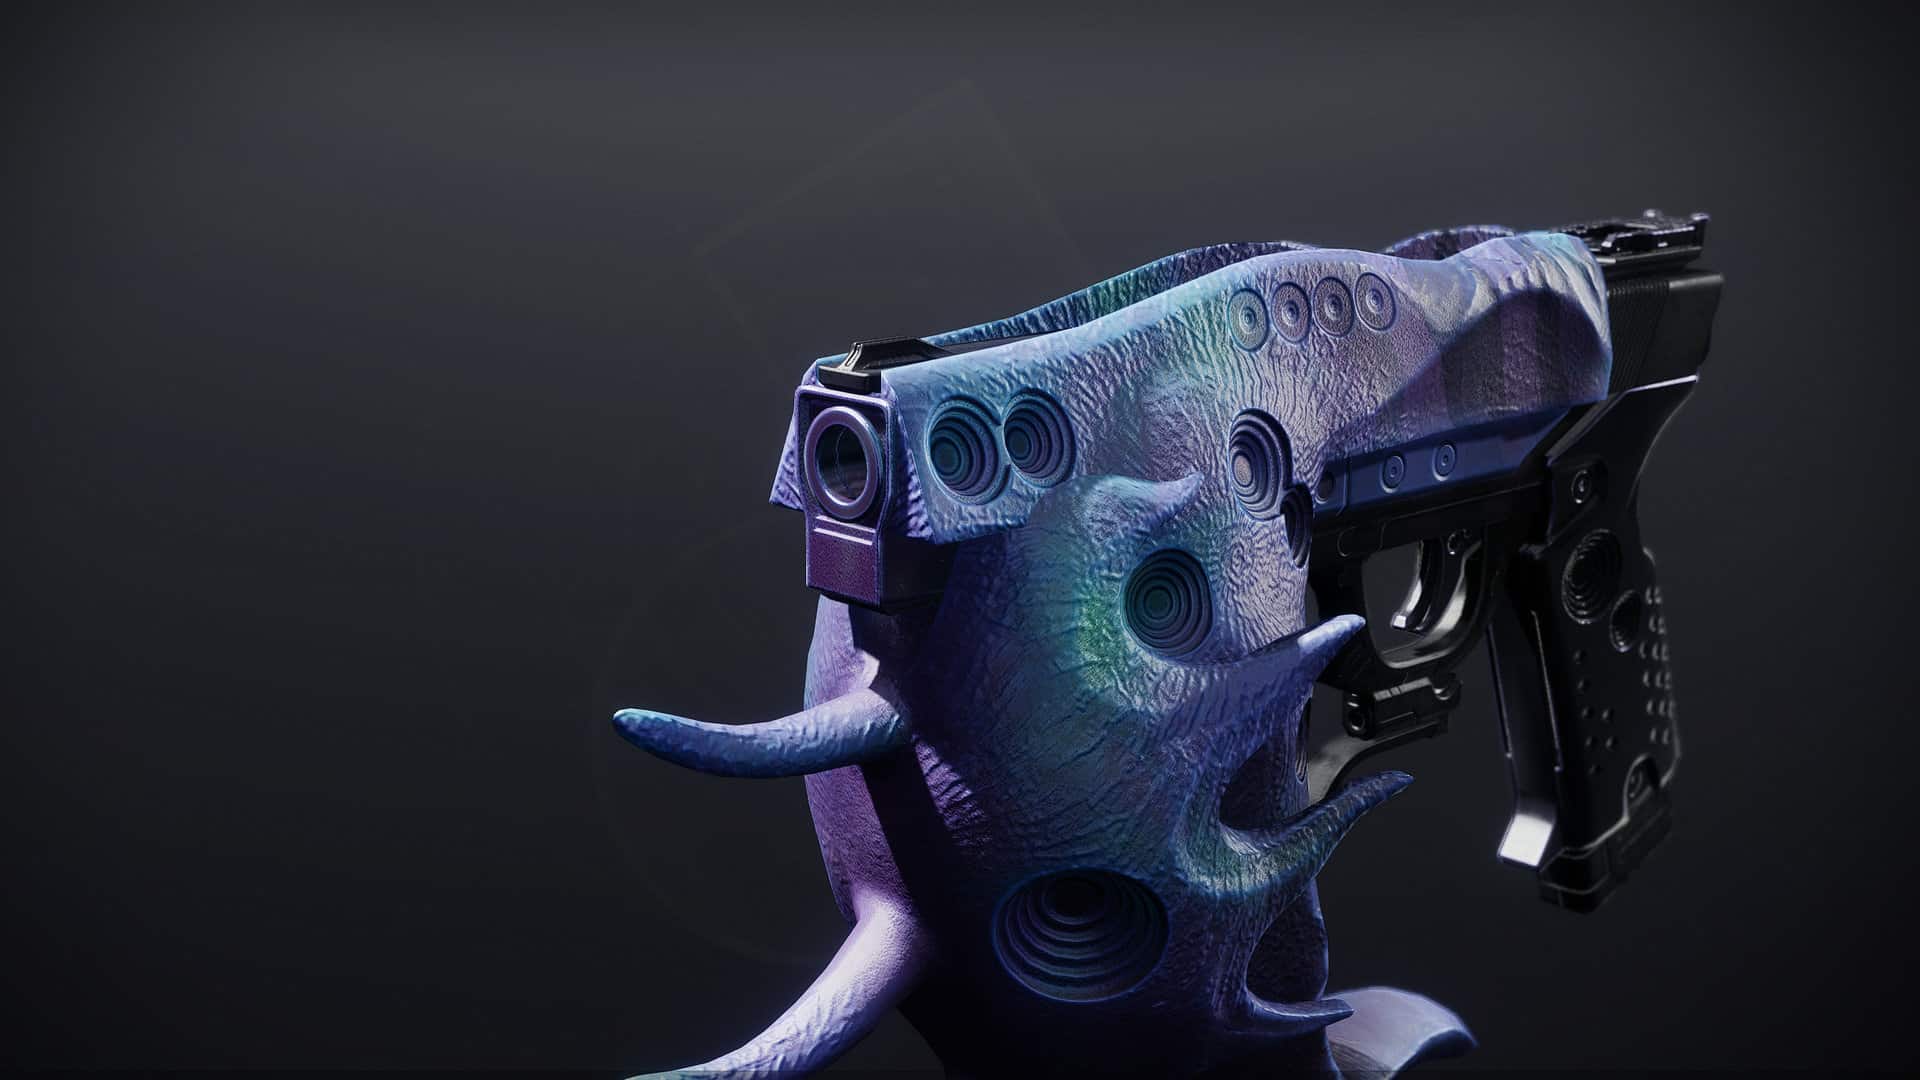

.jpg)
|
Mykel's Reverence Sidearm
|
Conditional Finality Shotgun 

|
|
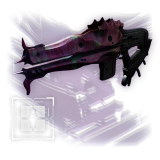
Koraxis's Distress Scout Rifle 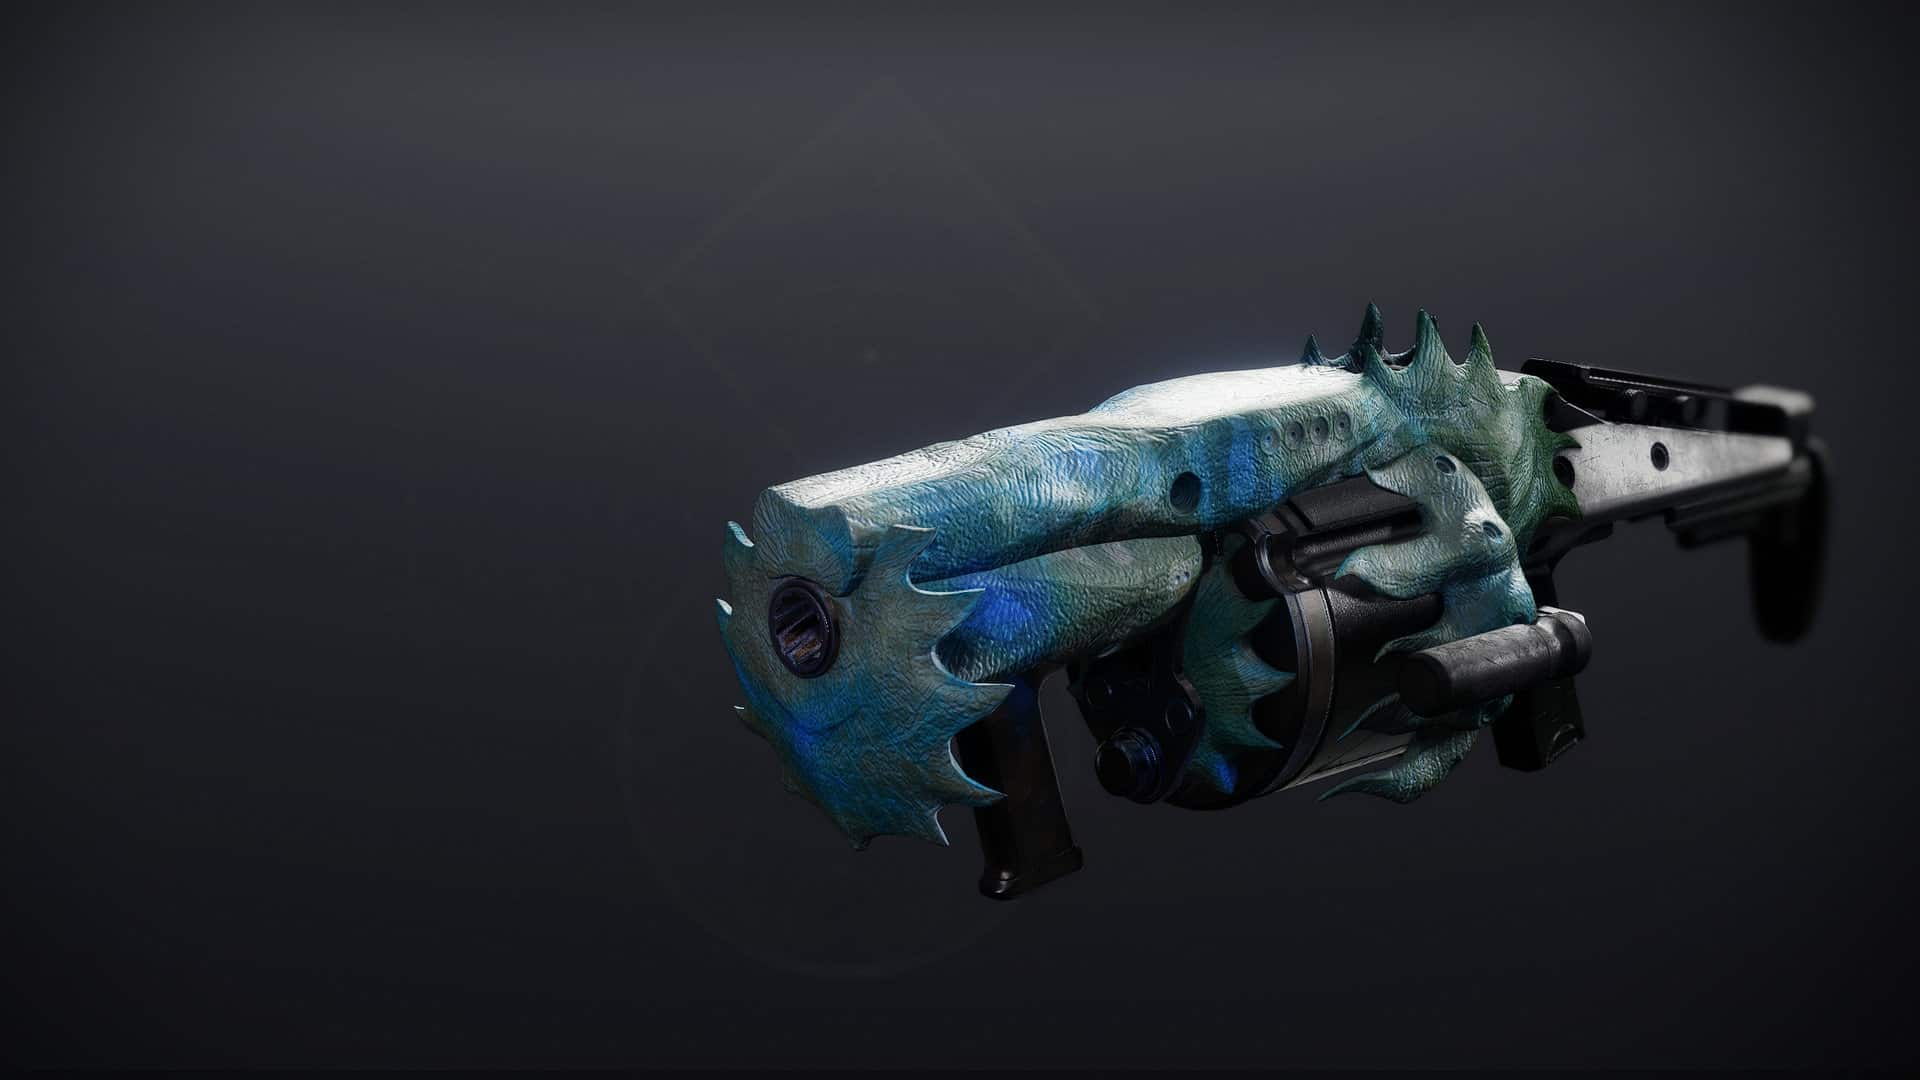

|
Koraxis's Distress Scout Rifle
|
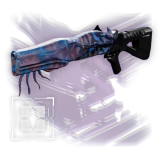
Rufus's Fury Auto Rifle 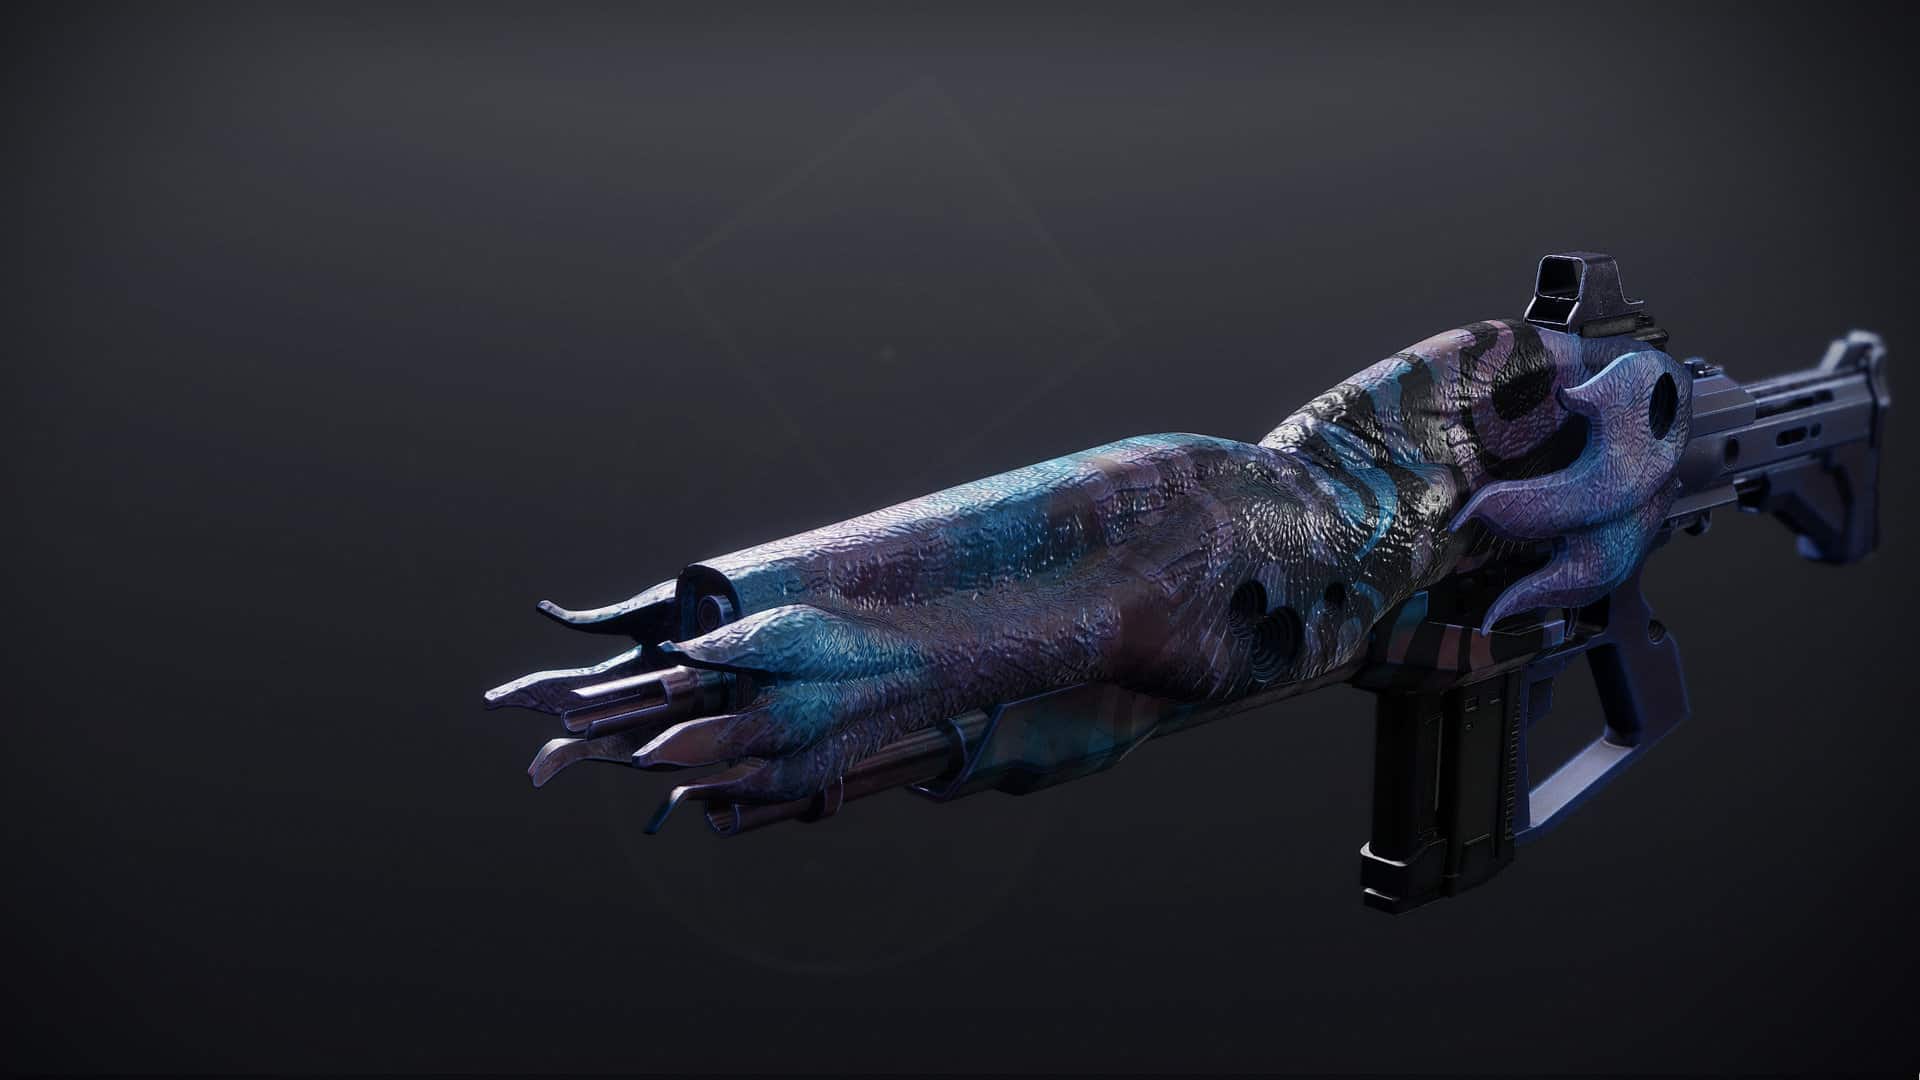

|
Rufus's Fury Auto Rifle
|
|
Nessa's Oblation Shotgun 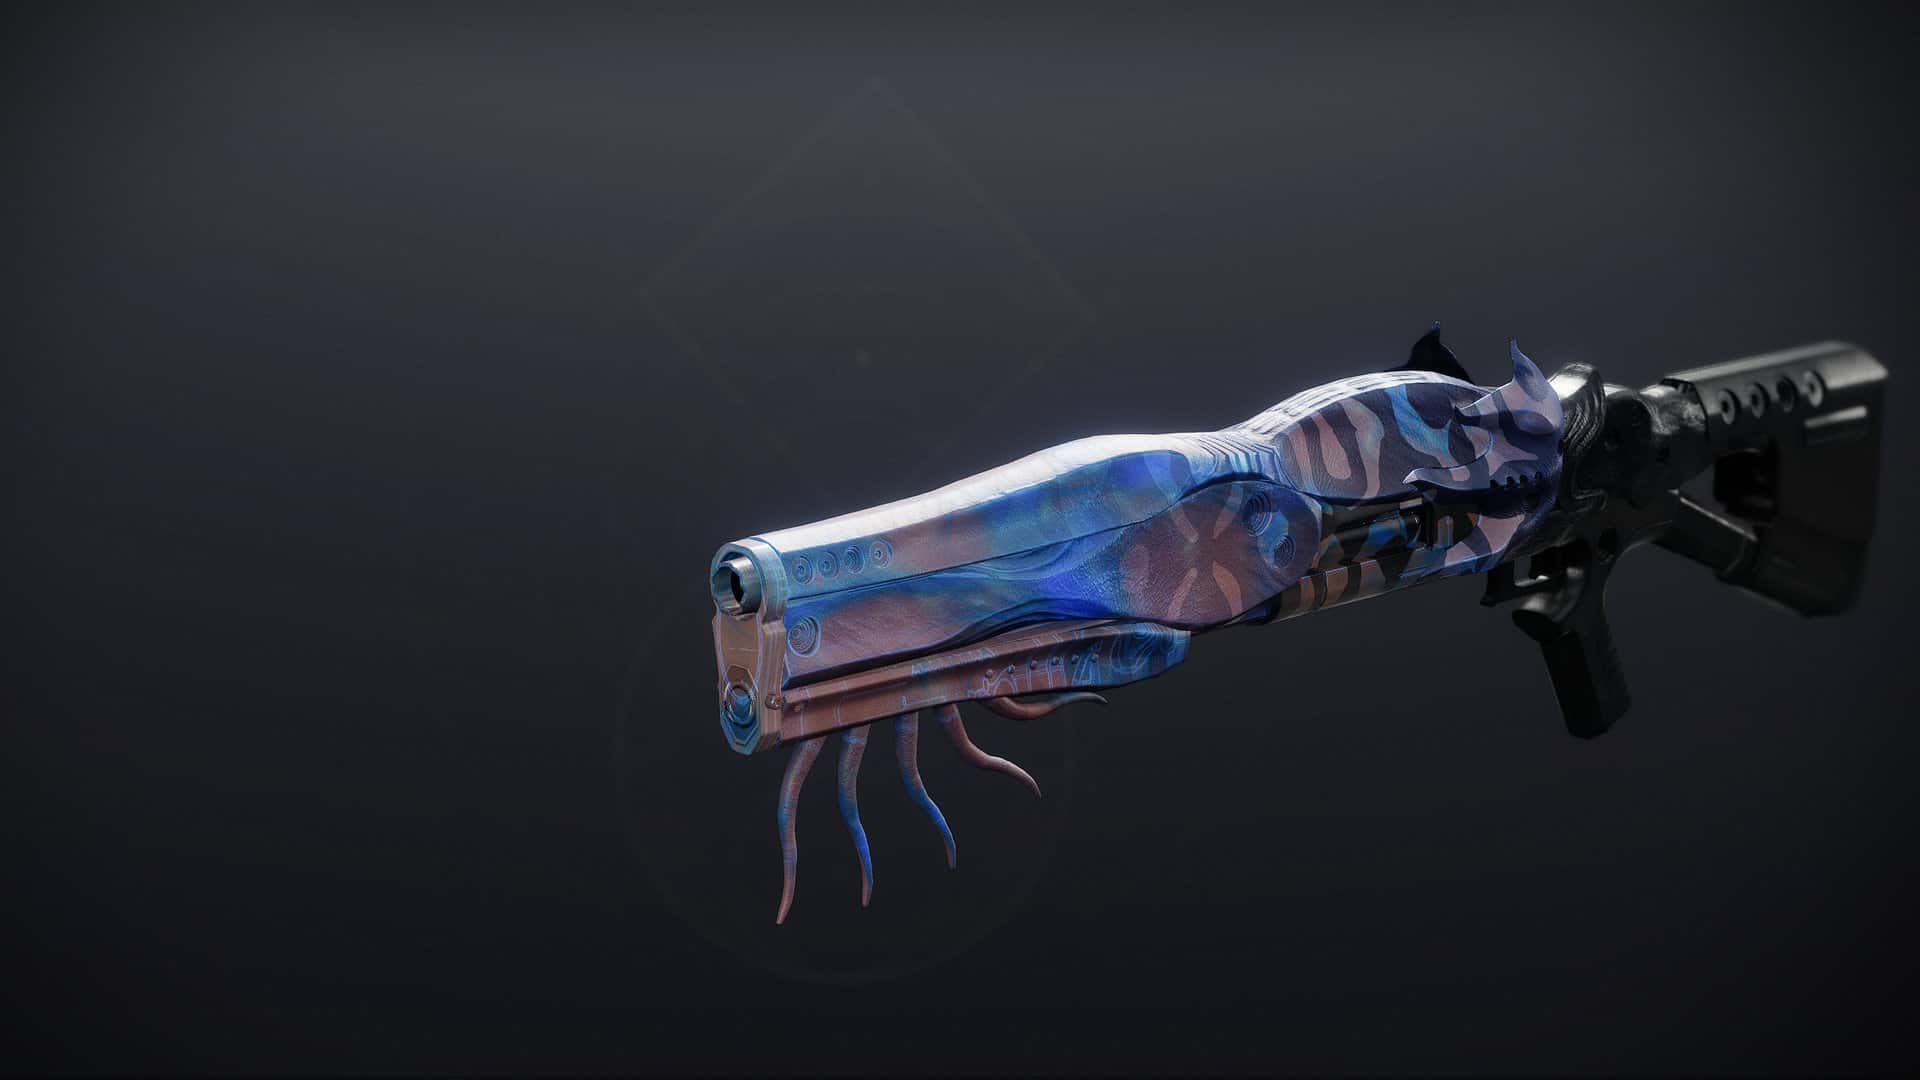

|
Acasia's Rejection Trace Rifle 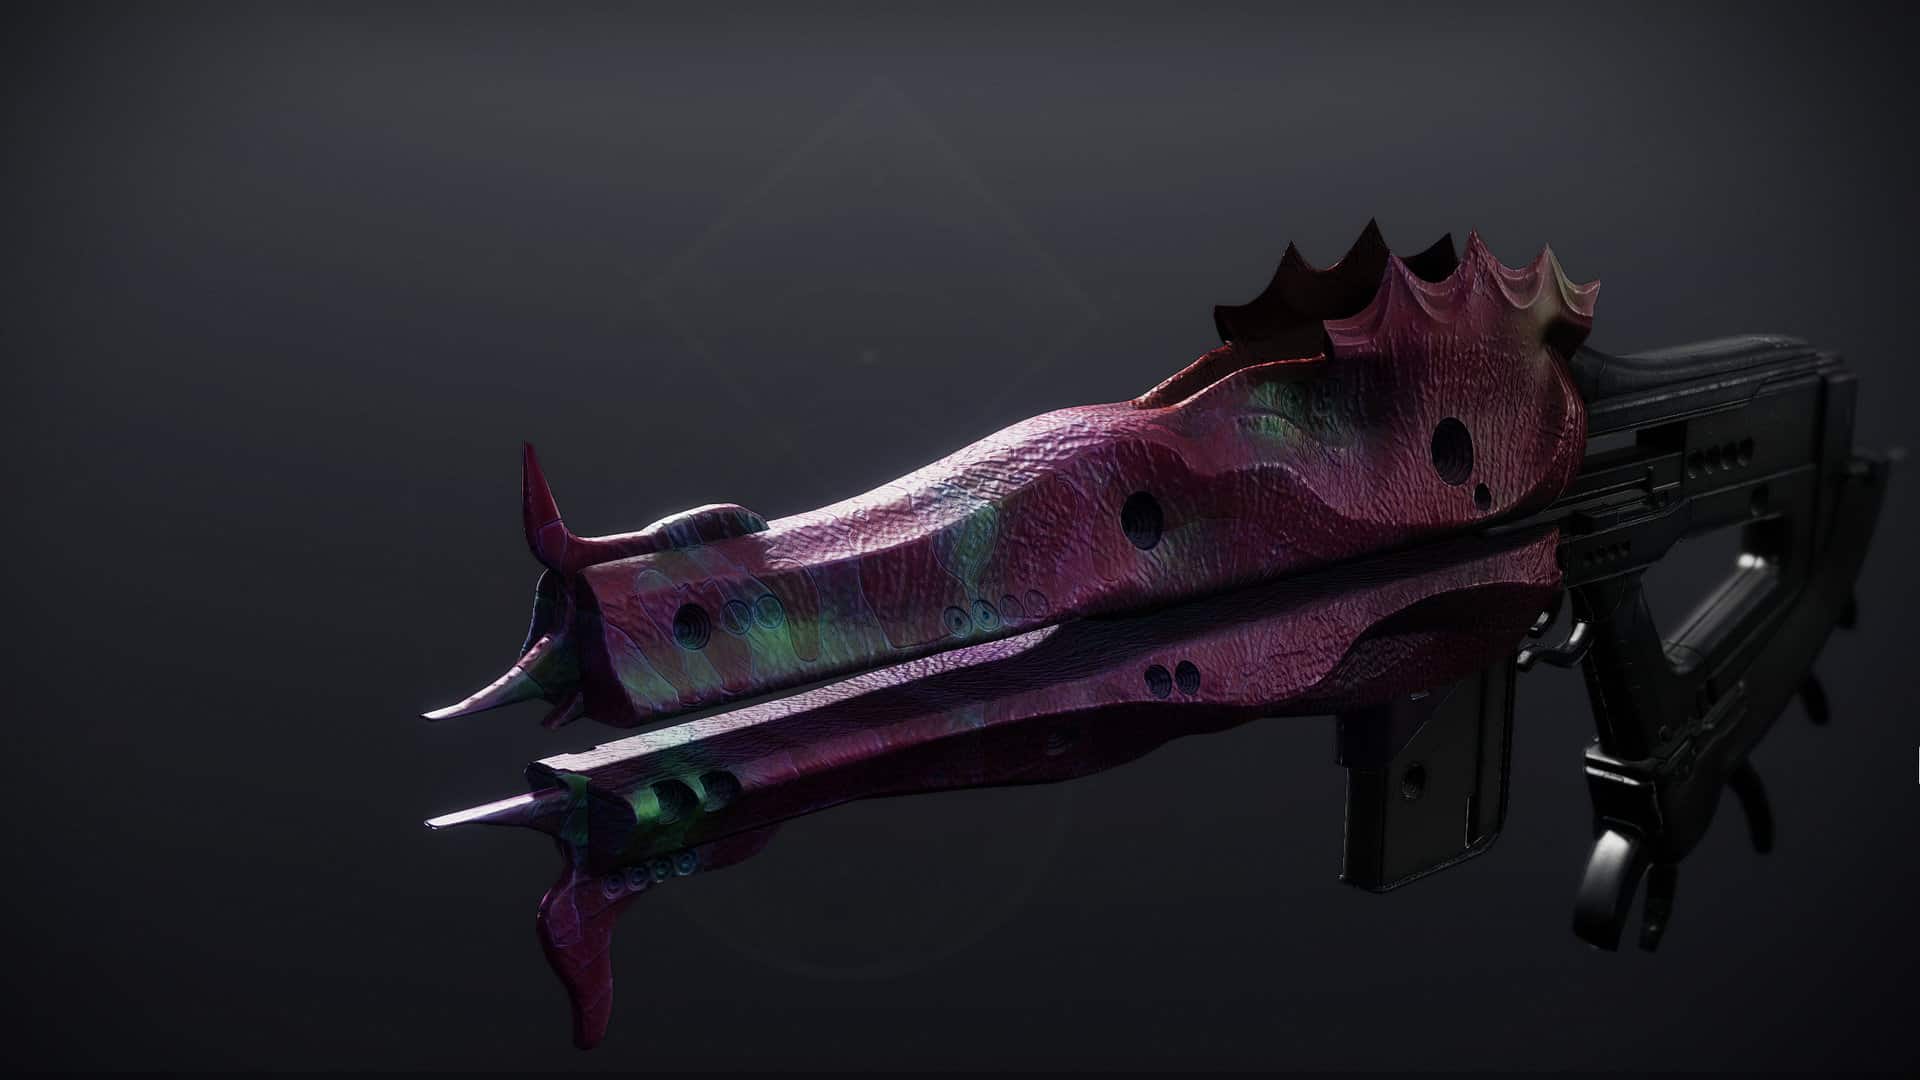
|
Acasia's Rejection Trace Rifle
|
Acasia's Rejection Trace Rifle
|
|
Nessa's Oblation Shotgun
|
Koraxis's Distress Scout Rifle
|
Koraxis's Distress Scout Rifle
|
|
|
Briar's Contempt Linear Fusion Rifle
|
|||
|
Mykel's Reverence Sidearm
|
|||
|
Nessa's Oblation Shotgun
|
|||
|
Robes of Detestation 
|
Robes of Detestation
|
Robes of Detestation
|
Mask of Detestation 
|
|
Wraps of Detestation 
|
Wraps of Detestation
|
Bond of Detestation 
|
Boots of Detestation 
|
|
Mask of Detestation
|
Boots of Detestation
|
Boots of Detestation
|
Bond of Detestation
|
These are all the possible loot that can drop from each encounter in Root of Nightmares raid.
SKIP THE GRIND BUY ROOT OF NIGHTMARES EXOTIC NOW!
Extras & Challenges
Like in the previous raids, Root of Nightmares also has a certain number of collectables, a title (or seal), specific triumphs that awards a unique special badges on your dungeon report. We’ll be going over each of them and tell you what are the best tips & tricks on acquiring them.
Cosmetics
Sparrow
The exotic sparrow is called Dream Demon, and you can acquire it by completing all encounter challenges on Master difficulty.
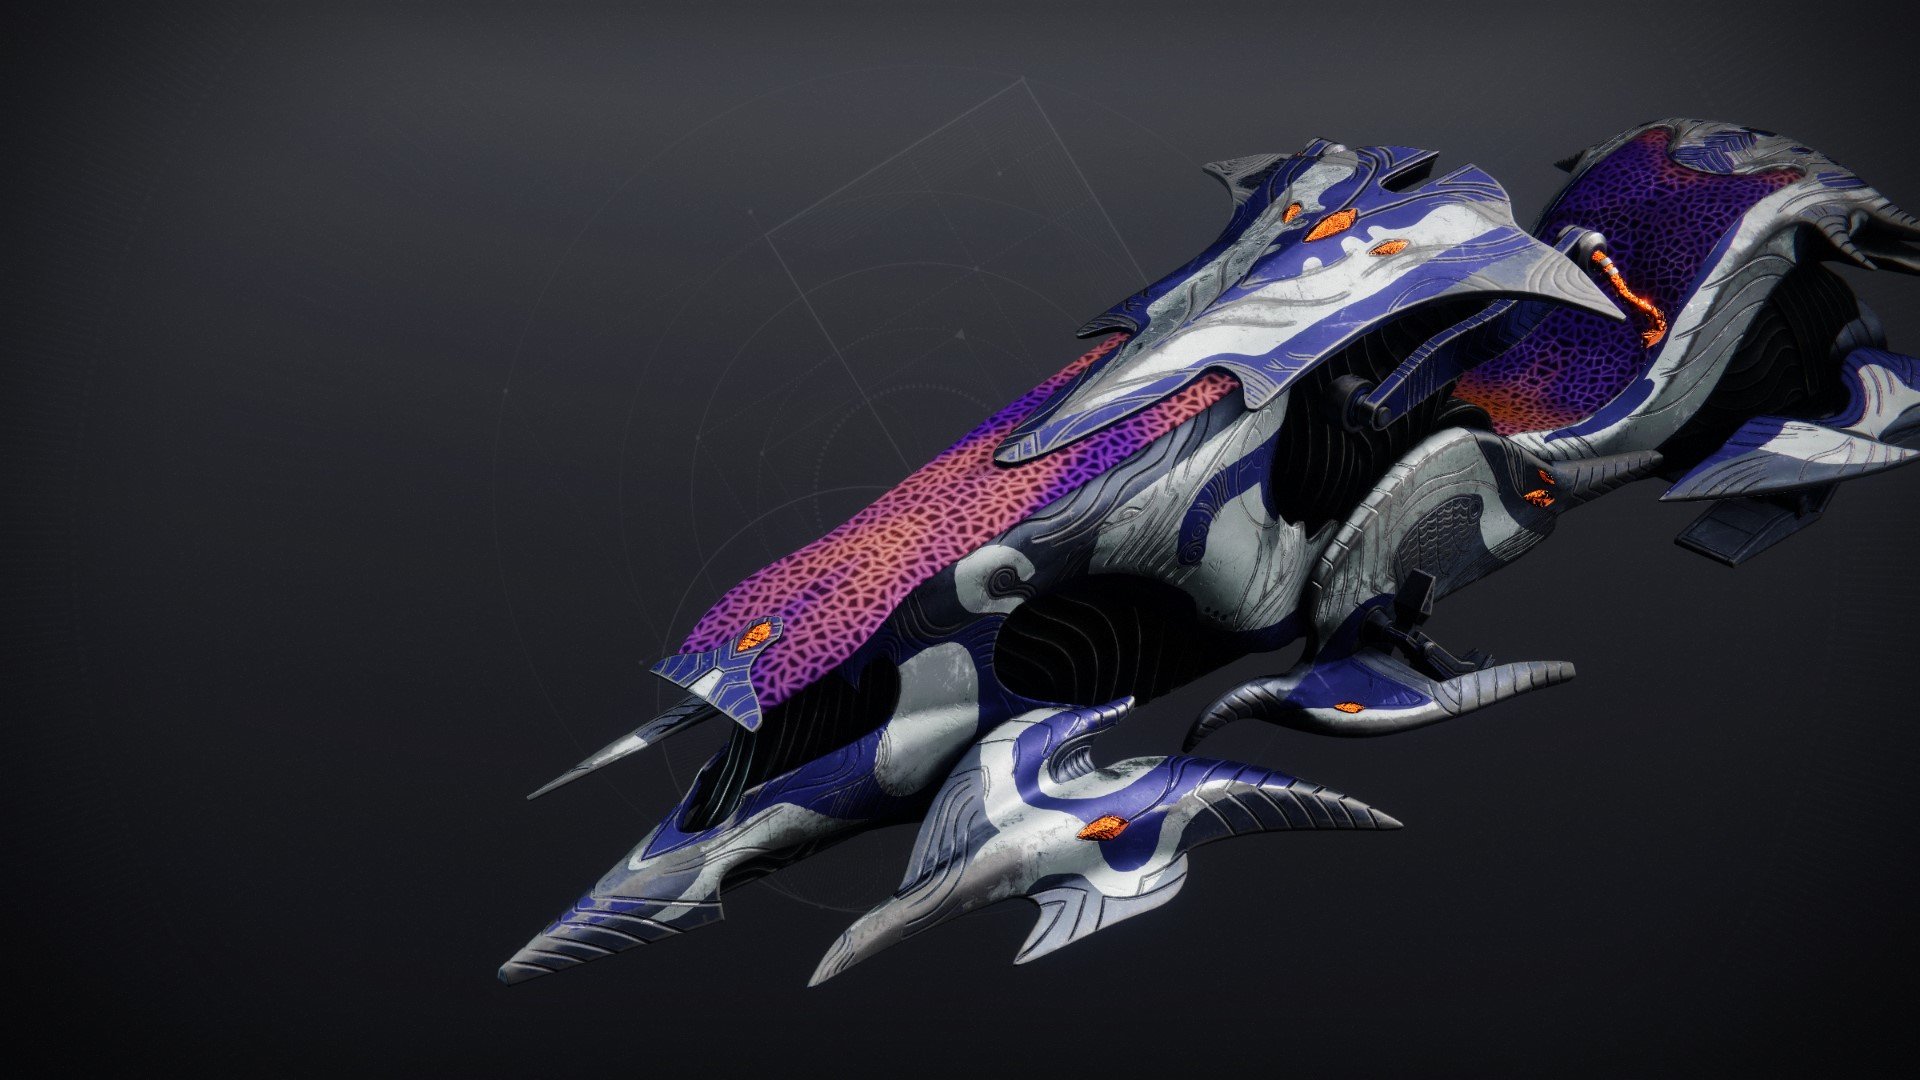
Ship
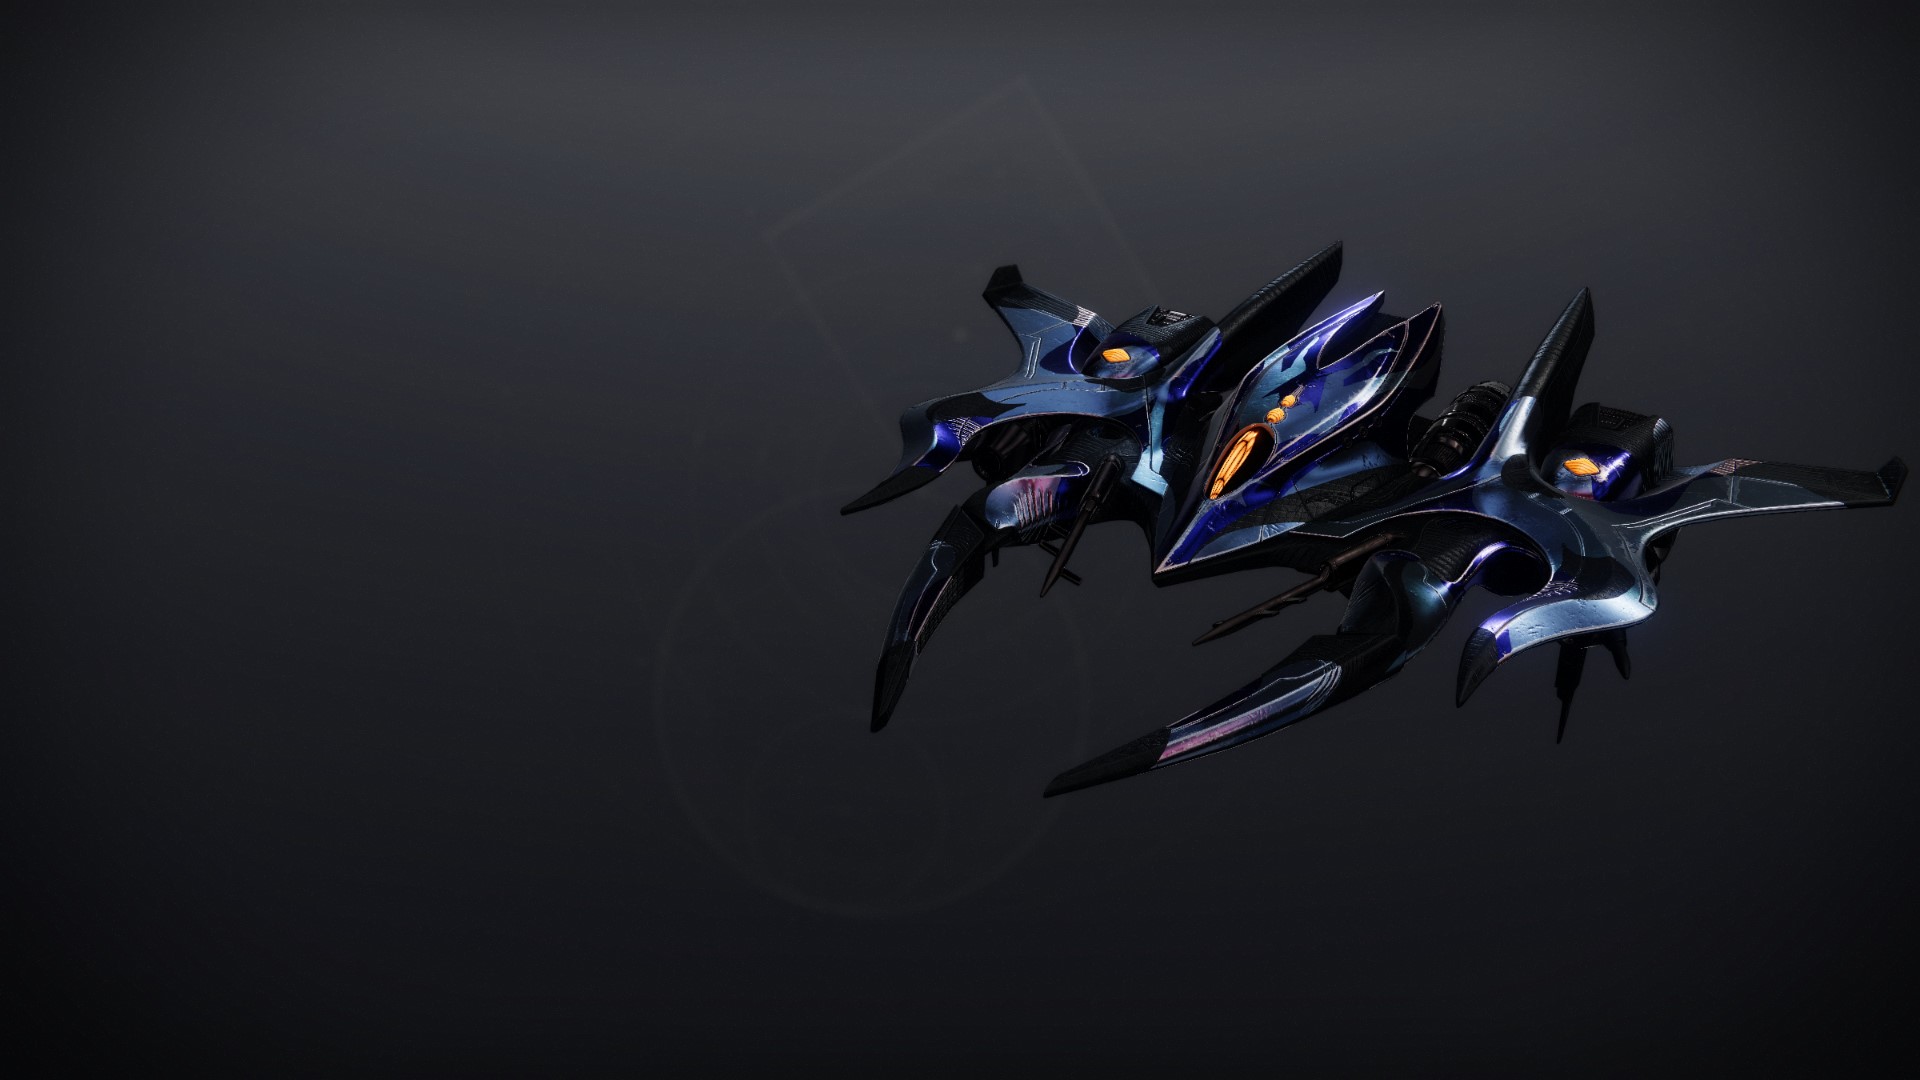
The exotic ship is named Gift of Cruelty, and you can acquire it by completing the Root of Nightmares raid on Master difficulty.
Shaders
Opaline Shatter - you can acquire this shader by completing all encounters in "Root of Nightmares" without any member of your fireteam dying.
Oxidized Lead - you can acquire this shader by looting all hidden chests in the "Root of Nightmares" raid.
Emblems

A Good Night's Sleep - you can acquire this emblem by completing the "Root of Nightmares" raid and all encounter challenges within the first 48 hours.
Terrors Uprooted - you can acquire this emblem by completing any version of the "Root of Nightmares" raid.
DON'T WASTE TIME BUY ROOT OF NIGHTMARES FLAWLESS RUN!
Master Difficulty
The Root of Nightmares raid has normal & master difficulties to choose from. Completing the raid on master difficulty is required to complete the Dream Warrior title (seal). There are certain modifiers that makes the Master difficulty hard to complete:
Title & Triumphs Seal
The title for the Root of Nightmares is called Dream Warrior. Below you will find the list with all the required triumphs needed to acquire your seal:
After you complete all 20 triumphs, the Dream Warrior seal will be unlocked so you can equip it on all your guardians.
DON'T WASTE TIME BUY ROOT OF NIGHTMARES TITLE & SEAL!
FAQs
The Root of Nightmares raid is located inside the Terraformed Pyramid Ship orbiting Neptune. You can access it from the Destinations menu in Destiny 2, under the Neptune location. The raid takes place within the Pyramid Ship that was altered by the Traveler's Light during the events of the Lightfall expansion
No, the Root of Nightmares raid can only be farmed when it is part of the active raid rotation
Root of Nightmares is one of the easiest raids in Destiny 2, featuring simple mechanics, forgiving encounters, and a low difficulty curve compared to other endgame activities.
Yes, Root of Nightmares requires the Lightfall expansion in Destiny 2.
Final Thoughts
I hope this guide will ease your experience with the Root of Nightmares raid encounters and help you get one step further to success. We did all the research, and now it’s your turn to show your skill. Give it a try, Guardian!
About KBoosting
If you are struggling to find a fireteam or don't have enough time to play yourself, at KBoosting, besides articles & guides, we also provide Destiny 2 boosting services. All you need to do is check our Root of Nightmares boosting services and let us handle everything for you, while you have some fun in the game!
