Salvation's Edge Guide – Complete Destiny 2 Raid Walkthrough

-
Bundle
- Powerful & pinnacle gear with 25% off
- Increase your power level easily
-
Hot

-
-
-
-
Sale 15%Ends in 3h 54m 26s
-
-
-
Sale 15%Ends in 3h 54m 26s
-
Bundle

- Salvation's Edge bundle with 40% off
- Get everything from Salvation's Edge raid
Introduction
The Salvation's Edge raid was released in Destiny 2 with The Final Shape expansion. The guide will take you through every step needed to complete it, covering all mechanics, strategies, and loadouts.
Table of Contents
In this guide, we will cover the following subjects:
- Raid Preparation
- How to access the raid
- First Encounter
- Second Encounter
- Third Encounter
- Fourth Encounter
- Boss Encounter
- Loot Table
- Extras & Challenges
- FAQ
- Conclusion
How to access the raid
To access the Salvation's Edge raid, you need to have The Final Shape expansion purchased on your account and the Final Shape campaign finished.
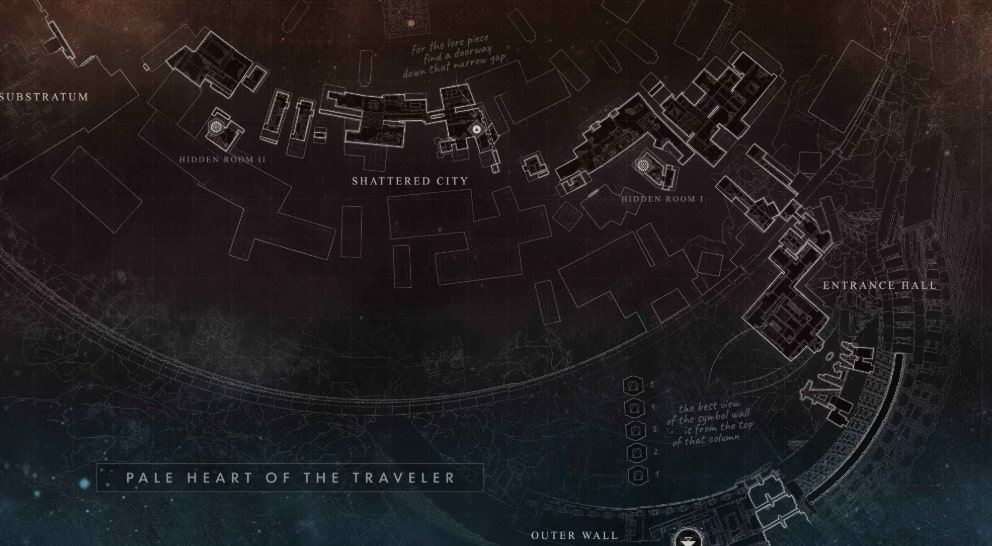
You must open the destination menu and find the activity icon in the Pale Heart destination.

Raid Preparation
Salvation's Edge raid features unique mechanics, so being prepared with the best meta loadouts will help you out immensely during each encounter. I’ll be going over some of the best weapons & subclasses that you should be using to ensure your success.
SKIP THE GRIND! BOOST YOUR GUARDIAN NOW!
Best subclasses & builds
Getting started
Once you're ready, navigate to the Pale Heart and locate the raid marker in the far right side of the map.
Best weapons loadouts
Here, I’ll be going over some of the best meta weapons to use in the Salvation's Edge raid:
- Primary slot: Tinasha's Mastery, Adamantite, The Mountaintop.
- Energy slot: Lord of Wolves, Forbearance, Ikelos SMG.
- Heavy slot: The Queenbreaker, Thunderlord, Scintillation.
SKIP THE GRIND! COMPLETE THE RAID!
Reaching the first encounter
From the Outer Wall zone, climb up the ramp in front of you, close to the top take a left into one of the doors that are highlighted with a white light. From there, continue forward and look for a small entrance on the right side, marked with a red light.
Crouch to pass through that entrance then go diagonally and exit through a similar way. From there just follow the route, since the way is highlighted with stripes on the walls or mobs along the way.
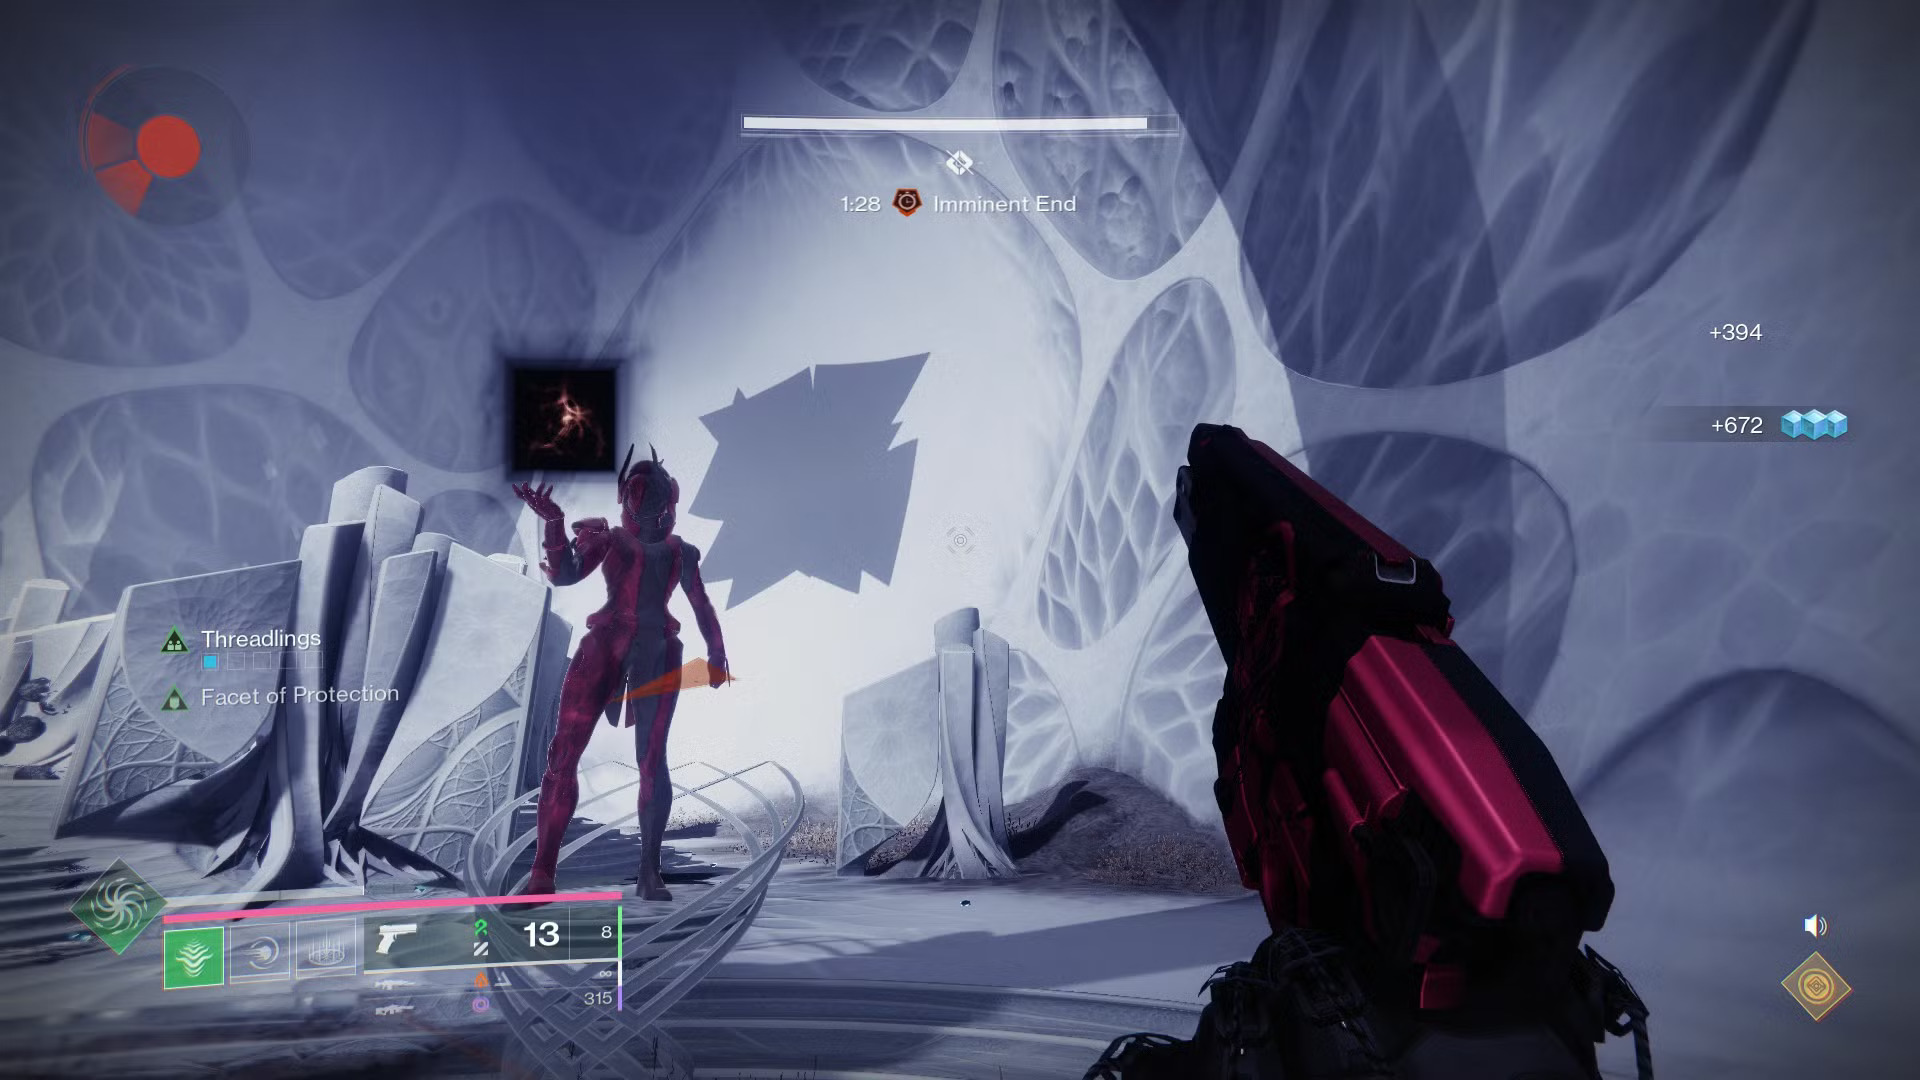
First encounter
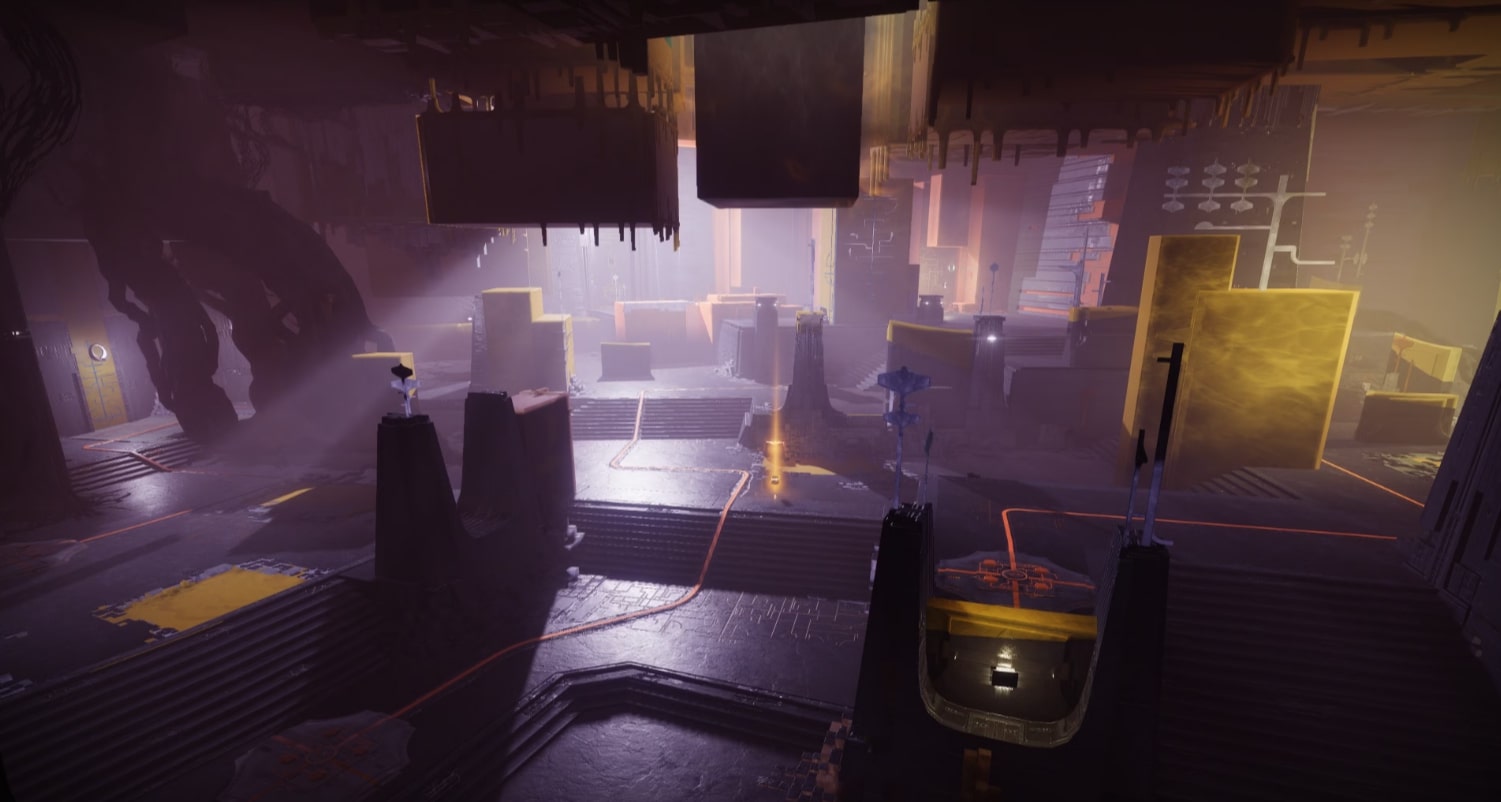
Substratum
General Objective Overview
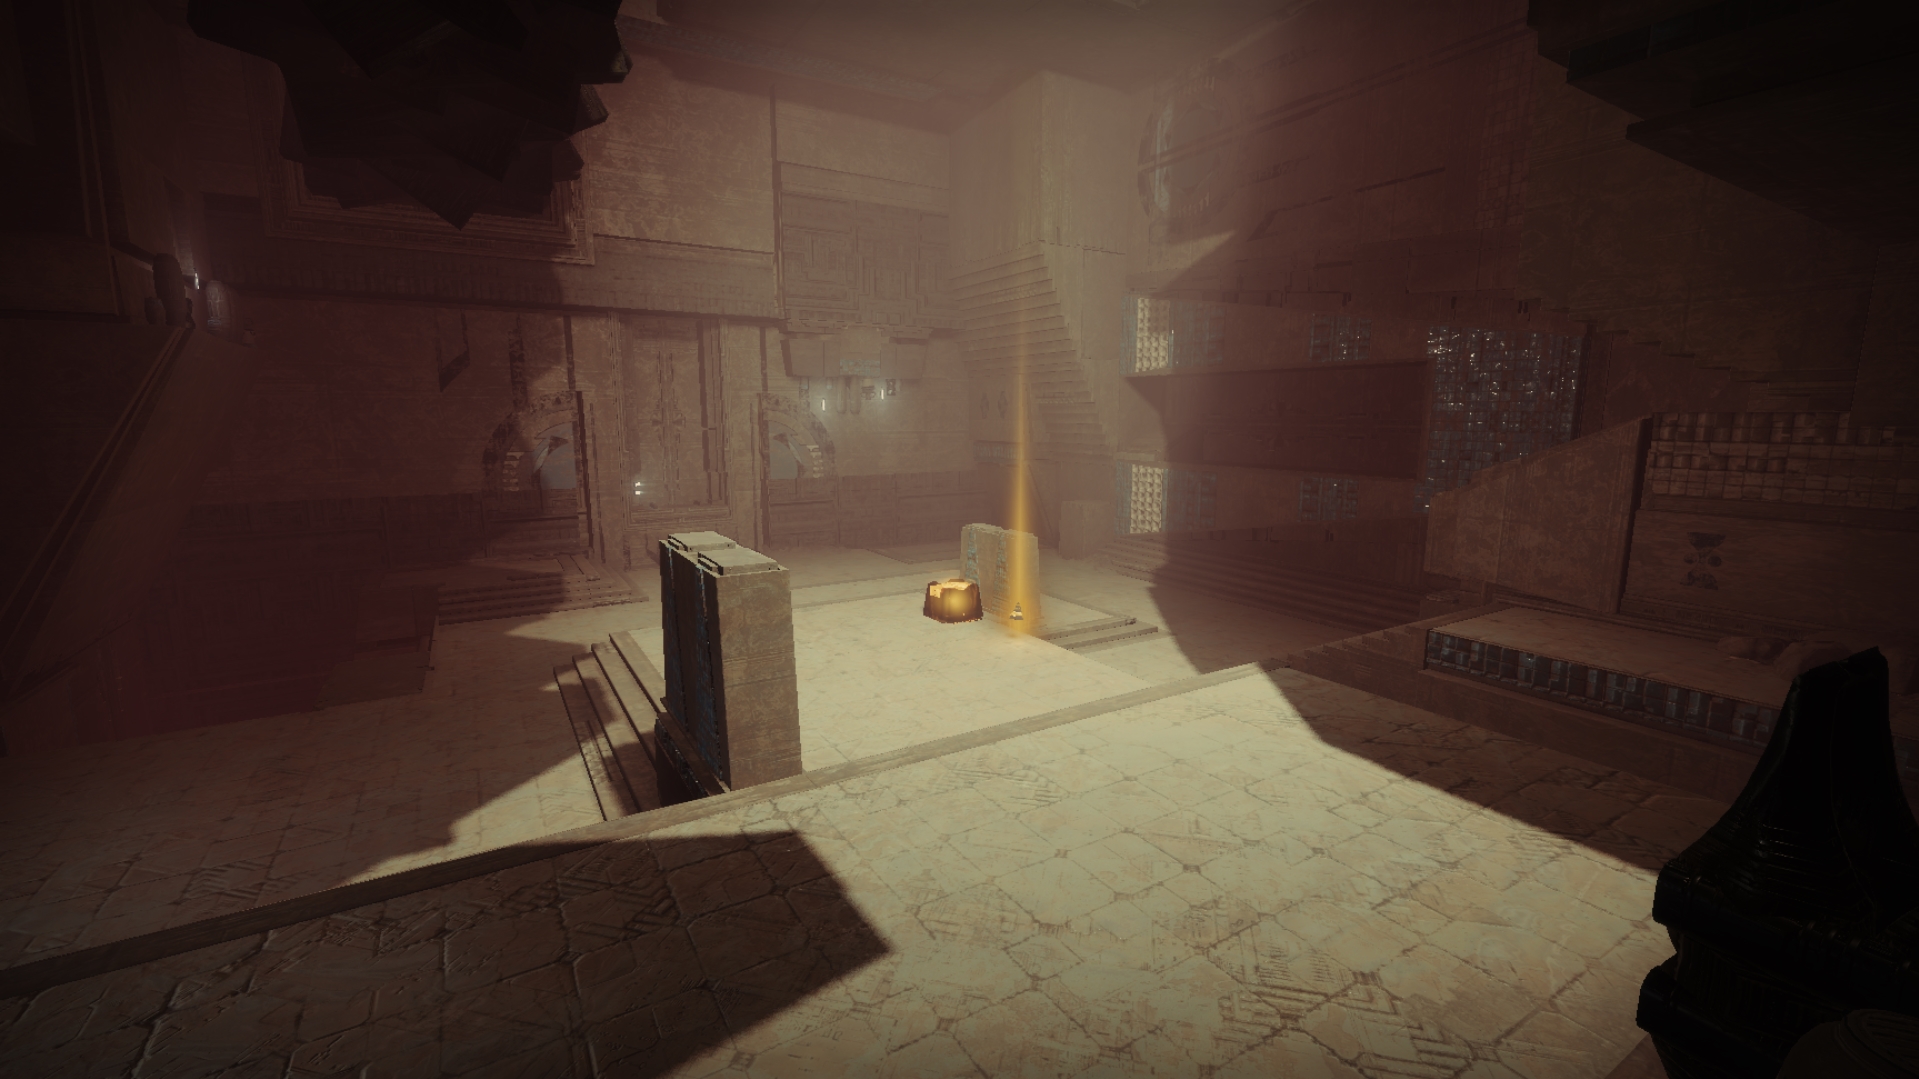
The first encounter introduces the Pyramidical (Triangle) Resonance, the primary goal is to run through the rooms, bounce the pulse to spawn resonances, collect resonances, close Totems, and deposit the resonances in the middle room.
Arena & Layout
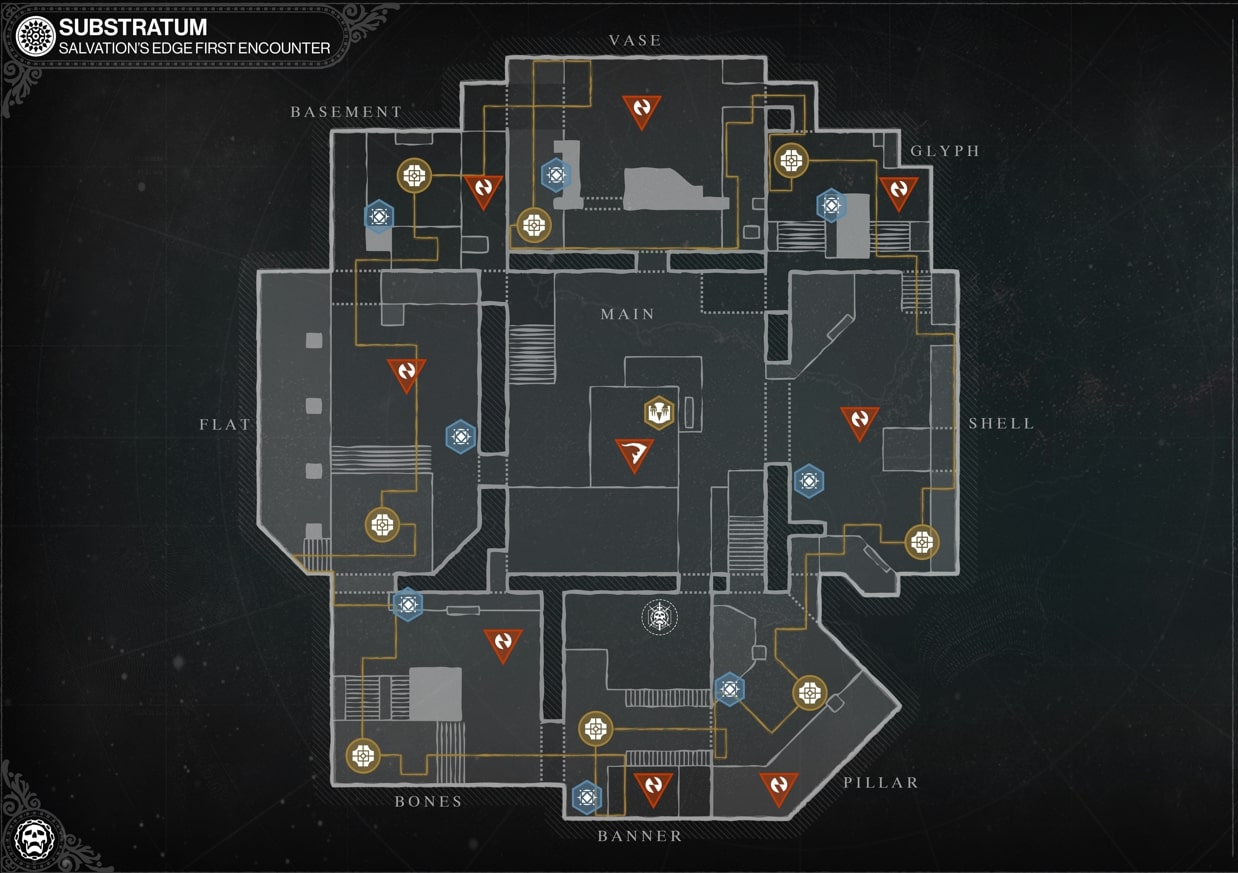
Arena is a square, with 9 rooms, 4 walls and 4 corners, and 1 central room. All the rooms are connected via doors that open up by defeating Hydras.
Team Roles & Asignments
- Have you fireteam split into 2 teams of 3 players, one team corner, one team walls.
- Each team will have: Sender, Closer, Ad-Clear.
Mechanics
- Start: Deposit the Pyramidical Resonance.
- Rooms: Clear ads, prioritize Overload Champions and Hydras. Tormentor spawns after an Overload Champion dies in the middle; kill it fast and wait for the doors to open again.
- Progression: Proceed through the opened doors until the final 2 rooms for each team, that contains the Sender/Closer plates and a glowing totem.
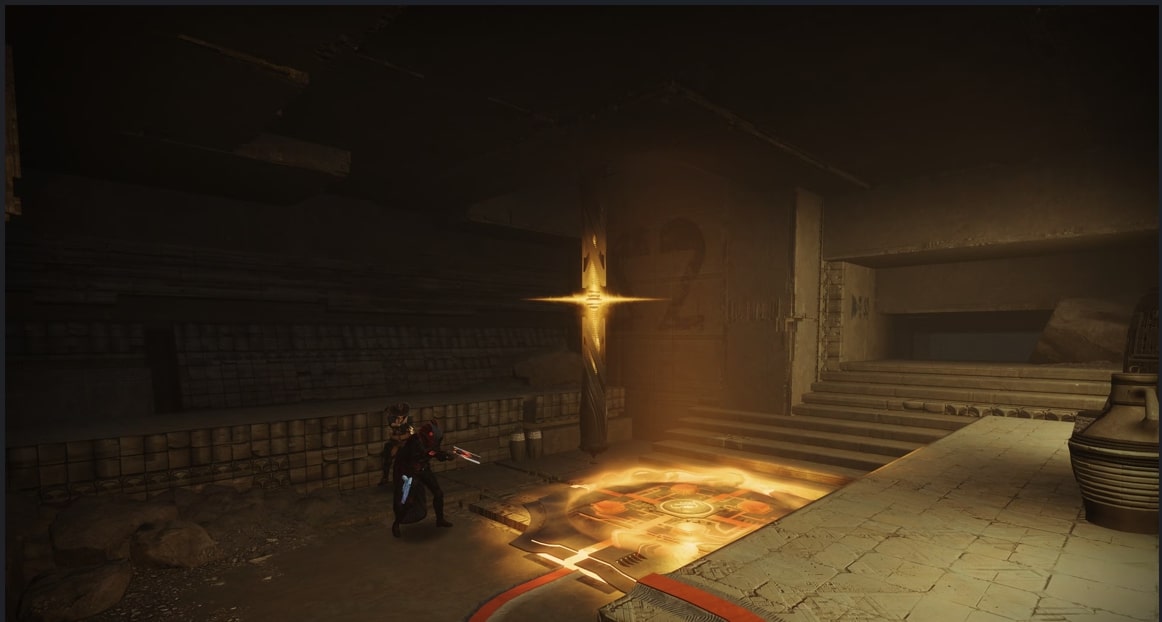
- Pulse Transfer:
- Sender activates plate, sending a pulse.
- Closer activates plate when the pulse arrives (halo appears on plate).
- Each bounce spawns Pyramidical Resonances (collect 3 per player).
- Totem Closure:
- Sender sends a final pulse.
- Closer shoots the totem, then activates the plate when the pulse arrives.
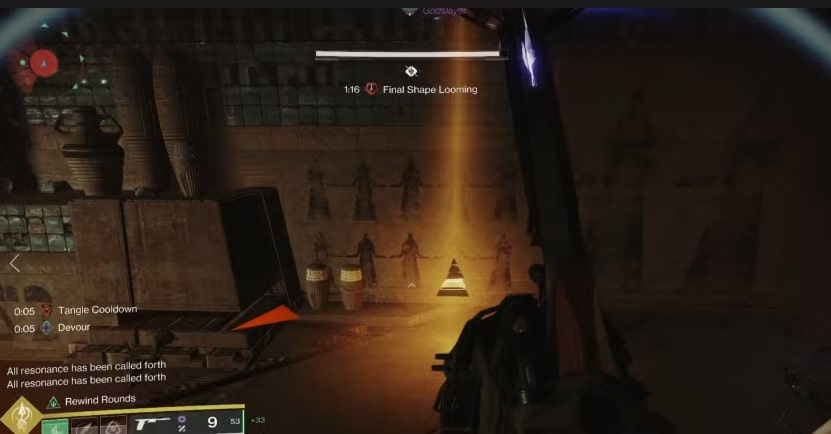

- Deposit: Return to the middle, clear ads, and deposit the collected resonances.
- Repeat: To complete the encounter players must repeat the mechanics 2 more times.
Tips & Mistakes to Avoid
✔️ Look out for Hydras and Overload Champions, killing them open the door for the other team and enables the plates for the pulse bouncing.
✔️ The Sender and Closer rooms are always next to each other.
❌ Don't let the pulse expire on the closer plate, otherwise a subjugator will spawn and block the plate untill it is slain.
❌ While bouncing the pulse, make sure to clear the ads that spawn, these ads include Adherents which will pull you from the plate and will make you miss the bounce.
❌ Make sure the closer shoots the totem before stepping on the plate.
Reaching the second encounter
Take the stairs that dropped after finishing the first encounter, and follow the path. The way to the second encounter si very straight forward and simple with no hidden passages.
Second Encounter
Dissipation
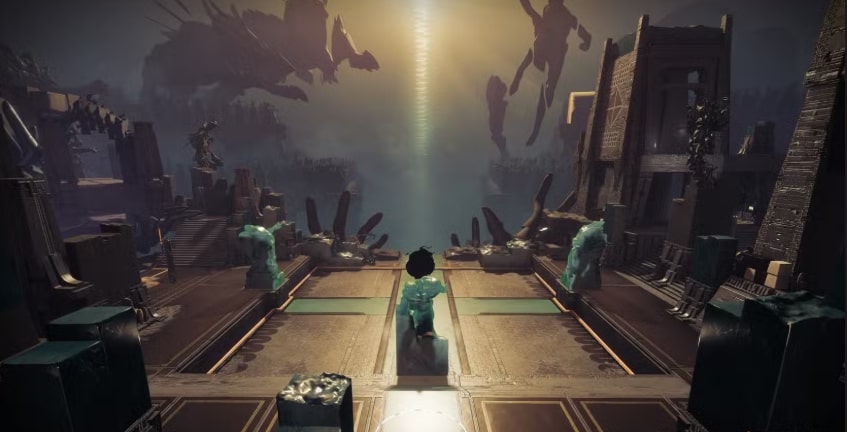
General Objective Overview
The second encounter introduces the Spherical (circle) Resonance, our primary objective here is to bounce the pulse to spawn Resonance buffs, get called into the boss arena to obtain the new buff "Stolen Favor", destroy blights, close totems and kill the boss.
Arena & Layout
The arena for the second encounter is very simple, being divided into 3 parts, left, middle and right, each side has a sending and closing plate, and a totem.
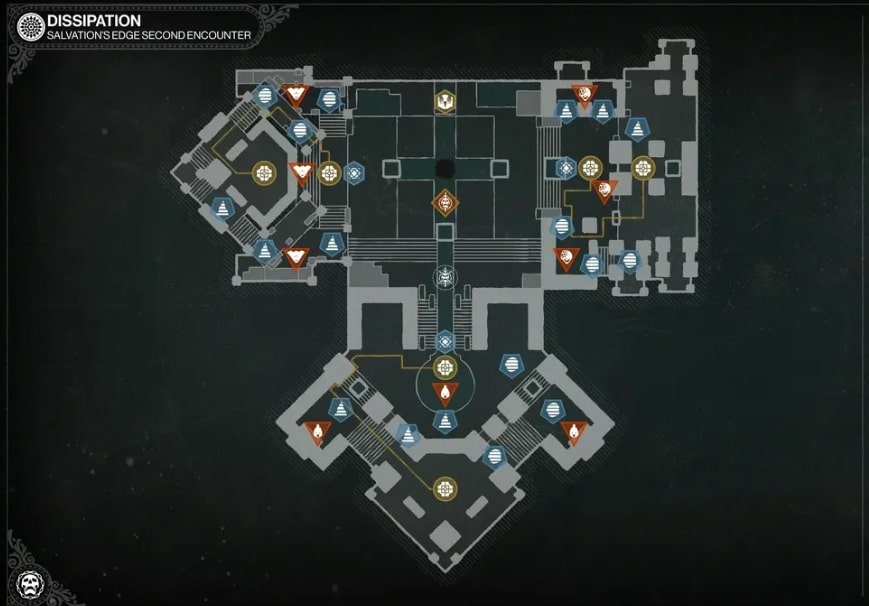
On all 3 sides, the totem and closing plates are towards the boss, while the sending plate is in the back.
Team Roles & Asignments
- Have your fireteam split up into 3 teams of 2.
- One Sender and One Closer.
- The roles are the same as in the first encounter, but this time everyone does ad-clear.
Mechanics
- Initiate: Shoot the central blight to spawn the boss and adds.
- Mini-Bosses: Defeat the tough yellow-bar mini-bosses on each side to activate Sender plates.
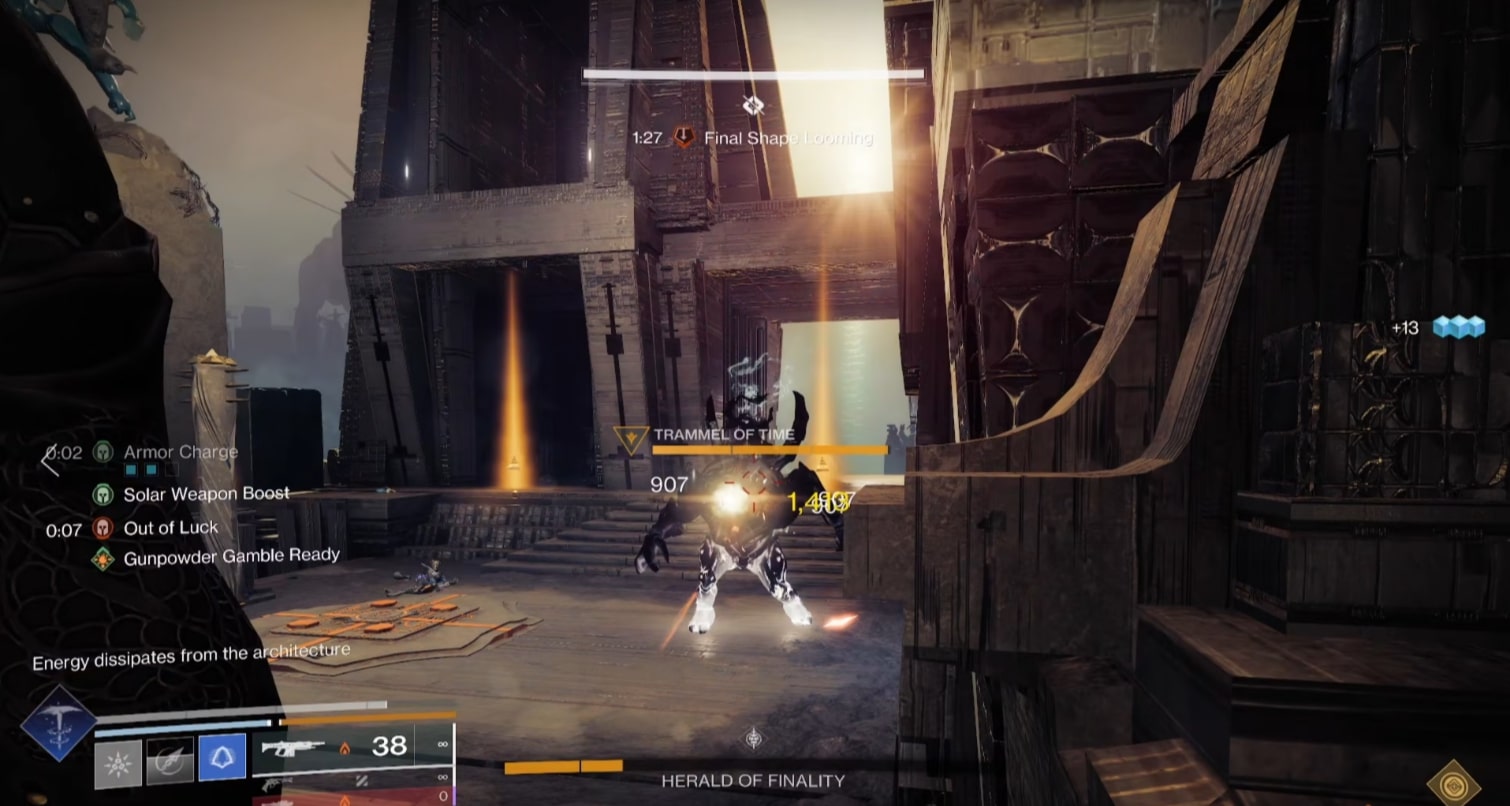
- Pulse & Resonances: Bounce the buff 3 times, spawning 1 pyramidical and 1 spherical resonance per bounce (do not collect yet).
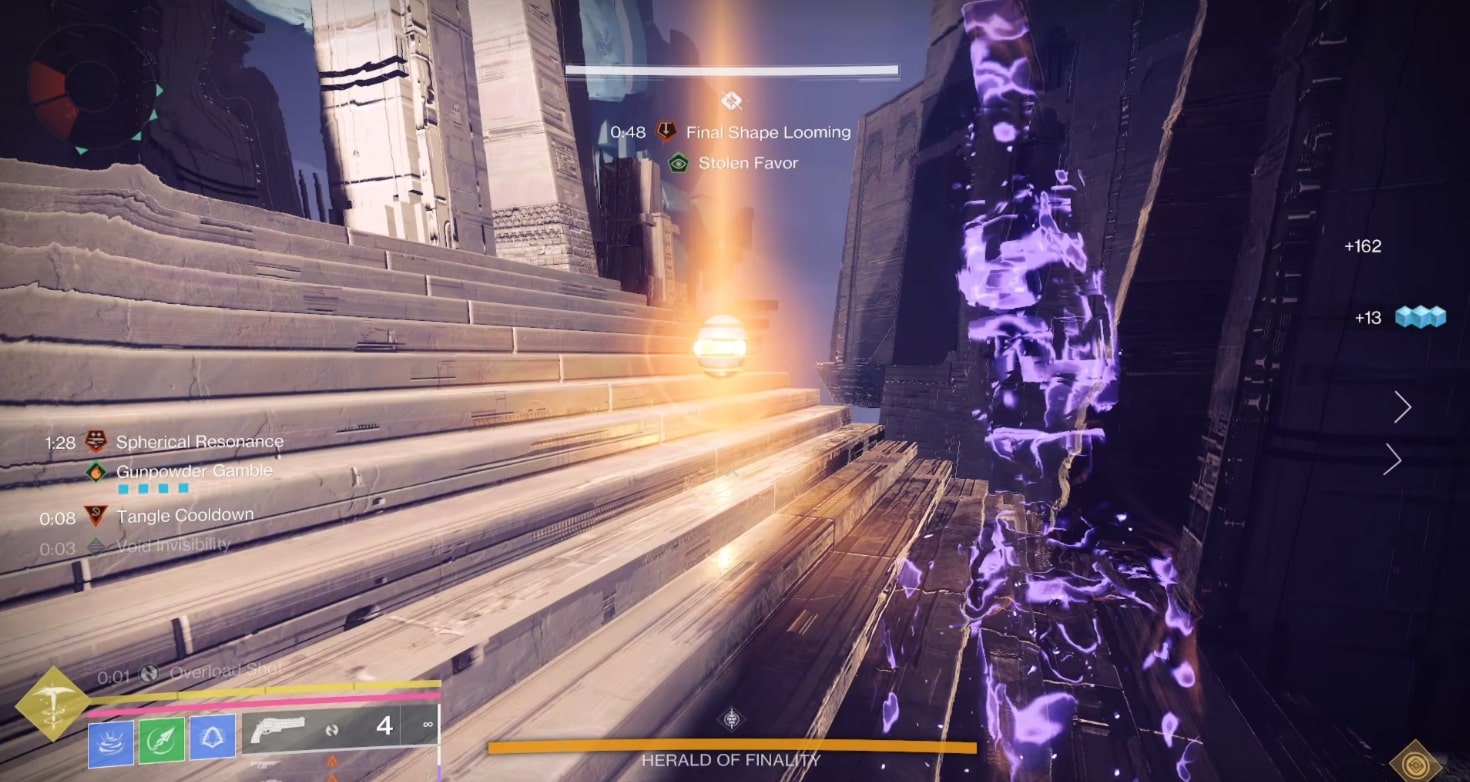
- Call to Reckoning: Players with "Call to Reckoning" enter the boss arena.
- Shoot the boss's head.
- Clear spawned blights.
- Shoot the boss's head again to gain "Stolen Favor."
- Totem Closure:
- "Stolen Favor" reveals totem closure shapes.
- Players collect matching resonances.
- Senders activate plates, Closers shoot totems with correct resonances.
- Damage Phase: Once all totems are closed, deposit resonances in the rear box for damage phase.
DPS Phase
- High DPS: Use swords, shotguns, or grenade launchers.
- Survival: Utilize healing grenades, Speaker's Sight, or Well of Radiance to survive boss damage.
- Final Stand: Wait 3-4 seconds after the boss enters final stand for immunity to drop, then burst DPS to finish.
Tips & Mistakes to Avoid
✔️ Call out the right shapes, if a totem is closed with the wrong shape the team will wipe.
✔️ If you picked up the wrong resonance, picking up the other resonance will change all your resonances to the last one picked up (having a triangle resonance and you pick up a circle you will end up with x2 circle resonances).
❌ Do not let the ads move around, especially the mini-bosses, bring strong loadouts, most wipes are happening because of the mobs in this encounter.
❌ Do not be afraid to switch roles, anyone can close and send on all 3 sides, and you can have as low as 1 player with "Stolen Favor" to call out the shapes on all 3 sides.
Reaching the third encounter

Reaching the 3rd encounter is the first hard traversal of the raid, between ad-clearining sections to difficult jumps and resonance beams killing you instantly, the main focus in this traversal is to finish it fast, since the mobs are optional, you can ignore them and just run to the end.
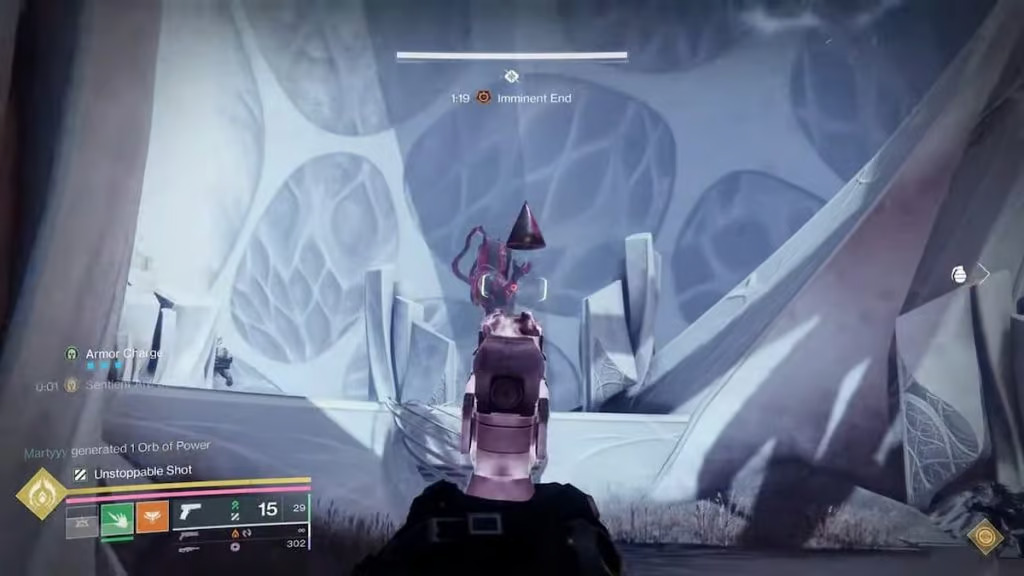
Third Encounter
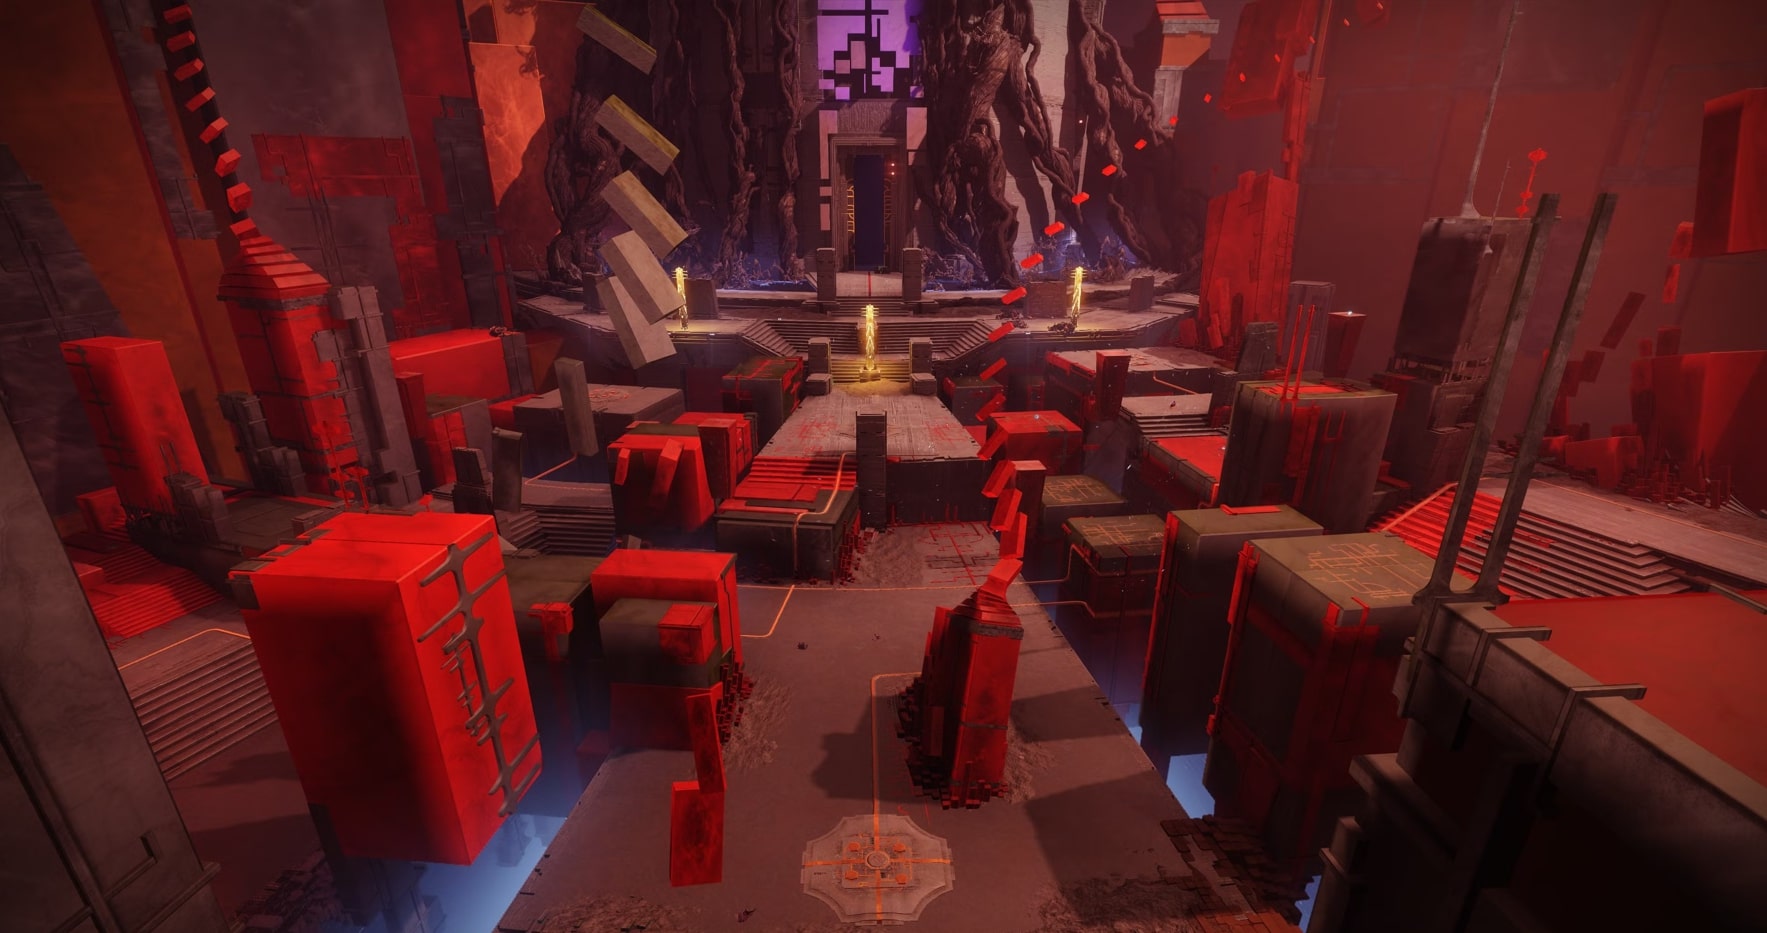
Repository
.jpg)
General Objective Overview
The third encounter introduces the Hexahedron (Square) Resonance. The primary objective here is to run the 3-room gauntlet as fast as possible, killing ads, tormentors, cabal turrets, bouncing the pulse, getting the buffs and depositing the resonance in the box in every room.
Arena & Layout
The arena for the third encounter is a long corridor separated in 3 rooms, each room has 3 totems, 3 plates for senders and 3 plates for closers, additionally there are so gaps where you have to be careful not to fall to your death.
Room 1

Room 2
Room 3
Team Roles & Asignments
- Have your fireteam split in 3 gropus of 2 just like in the second encounter
- Senders in the back of the room and closers in the front of the room.
Mechanics
- Tormentor Takedown: Closers kill 3 Tormentors to gain "Stolen Favor" and reveal totem closure shapes (e.g., "CST").
- Resonance Collection: Bounce the buff, collecting 3 of the correct resonances on each side (resonance pattern is fixed per room).
- Plate Swap & Totem Closure: Closers swap plates and close the totems with the resonances from their side.
- Deposit & Advance: Deposit resonances, kill the Unstoppable Champion, and continue.
- Plate Shifts: Sender plate connections change in each room (room 2: Left->Middle, Right->Left; room 3: Left->Middle, Middle->Right, Right->Left).
- Encounter End: Deposit final resonances in room 3 and clear ads.
Tips & Mistakes to Avoid
✔️ This encounter is very focused on speed, be fast, and the encounter will go very smooth.
✔️ Have a call out for the senders to send the pulse at the same time, this strategy bypasses the shifting of plates from room to room.
✔️ Senders can help killing the Tormentors as long as they don t land the finishing blow.
❌ Do not let the buff die on the closer plate, always bounce it back to the sender and let it die there, otherwise a strong Subjugator will spawn that will block the plate.
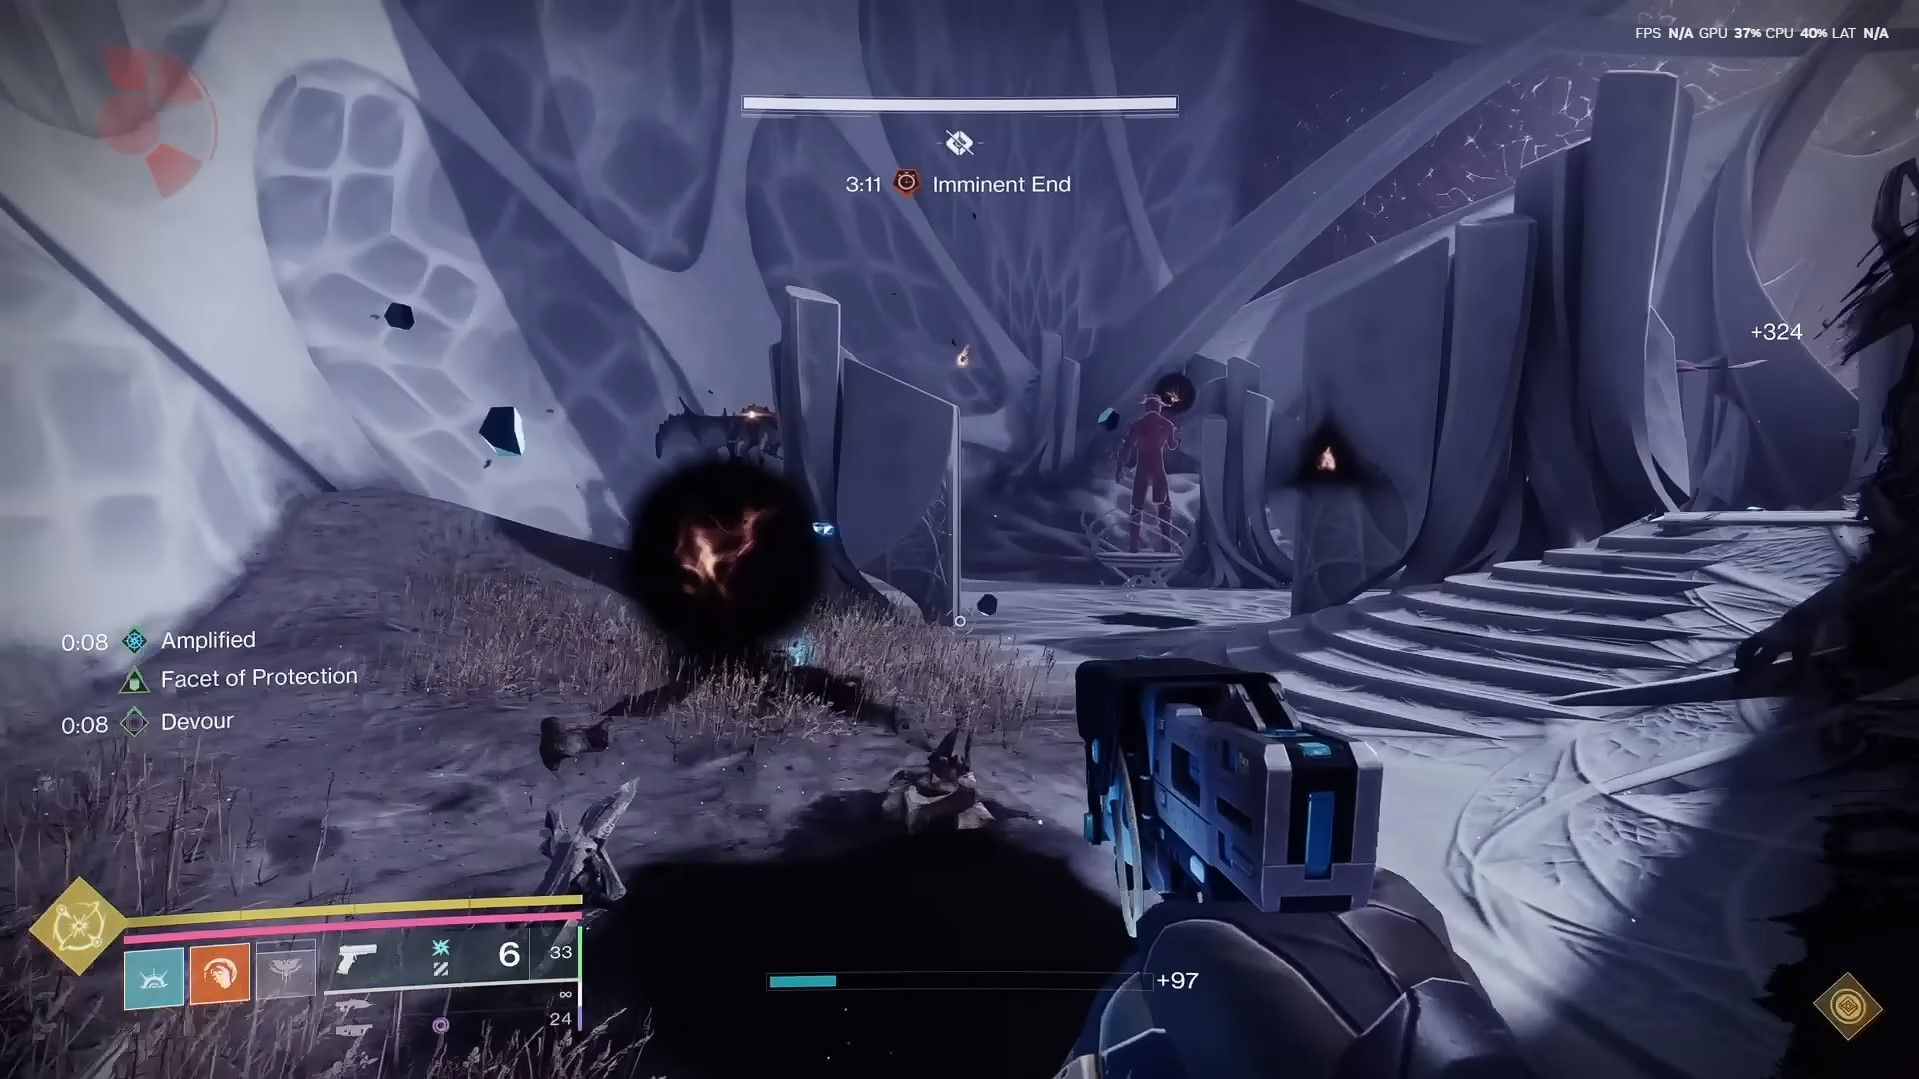
Reaching the fourth encounter
The fourth encounter is just up ahead where the 3rd ended, just walk through the door, keep the path and you will reach the Verity encounter.
Fourth Encounter
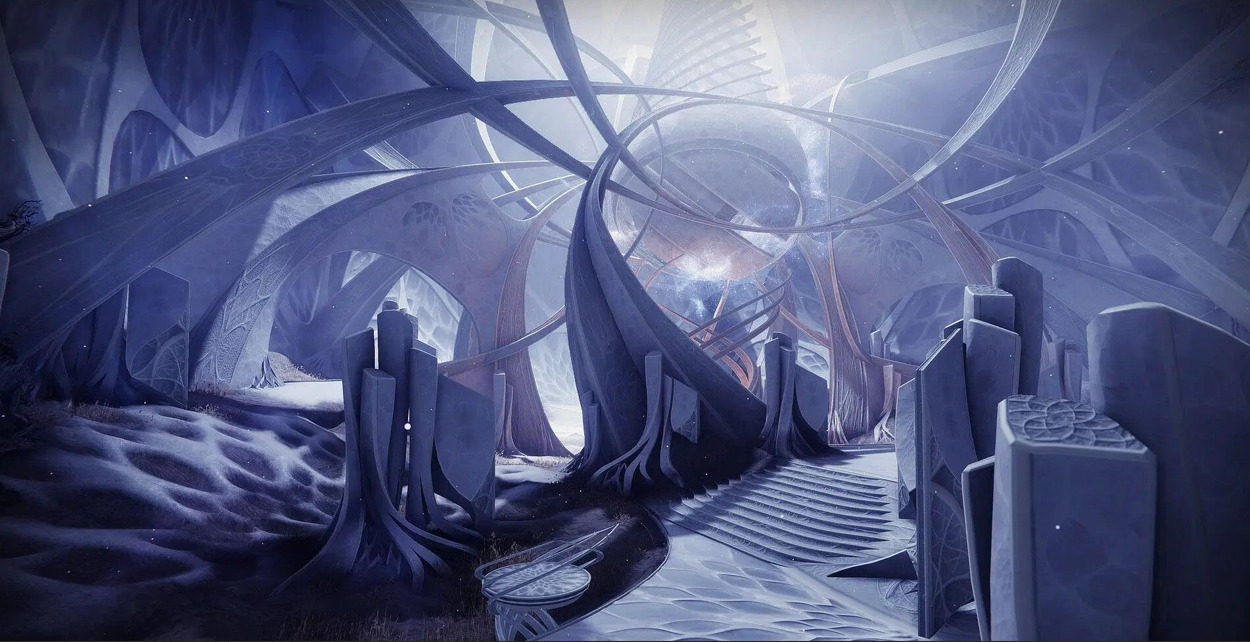
Verity
General Objective Overview
The fourth encounter changes completly how the raid works, no more bouncing the pulse and closing totems. In this encounter the focus shifts to 2D and 3D shapes, dissection and distribution of these shapes.
Arena & Layout
The arena for the 4th encounter is made up of 4 rooms, 1 main room where the dissection happens and 3 subrooms where the distribution happens.
Team Roles & Asignments
People on the inside are Distributors. People on the outside Dissectors.
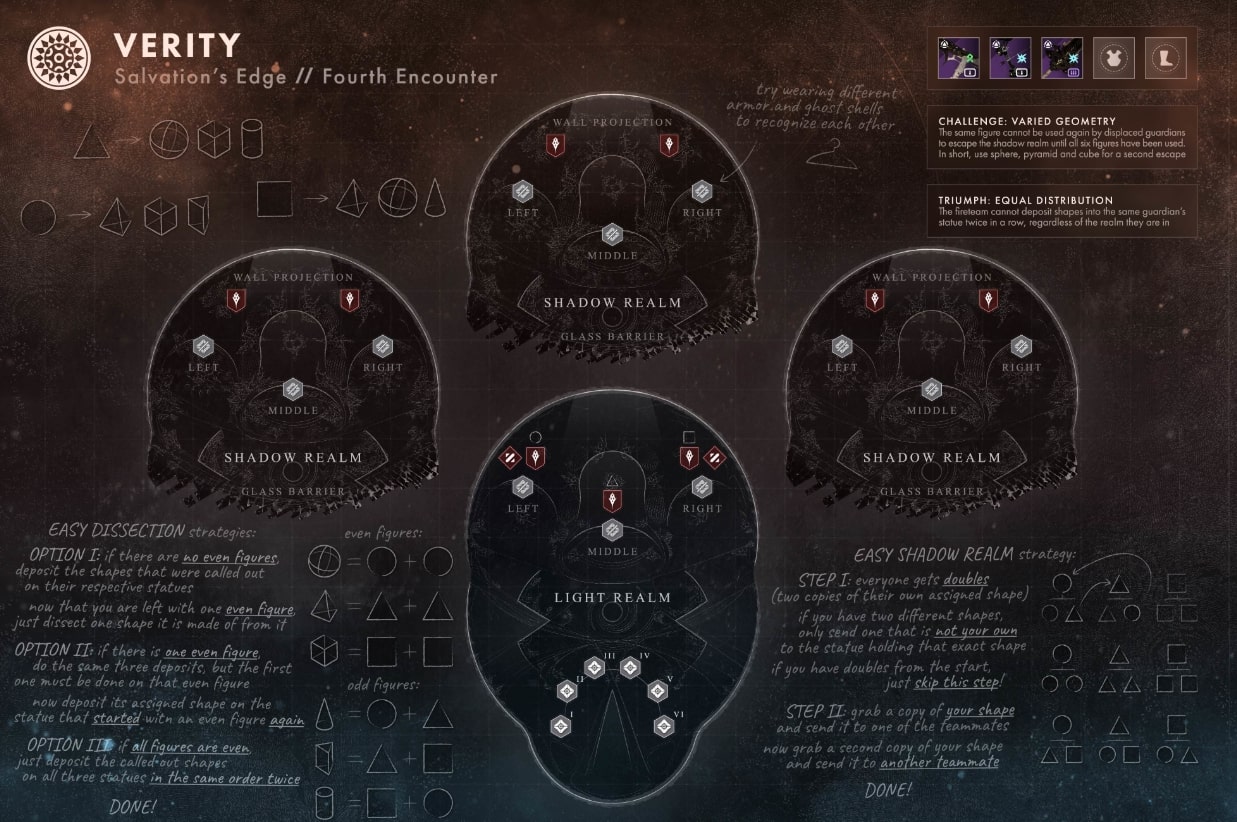
Mechanics
- Initial Setup: Three players are dragged into inside rooms, while others remain outside. Statues outside display three 3D shapes.
- Callouts: Inside players call out the statue order from left to right (e.g., TSC).
- Shape Types:
- "Single Shapes": Cube, Sphere, Pyramid (result of 2 of the same 2D shapes).
- "Double Shapes": Any other shape (result of 2 different 2D shapes).
- Encounter Types:
- "All Single": All three are Single Shapes.
- "One Double": Two are Single, one is Double.
- "All Double": All three are Double Shapes.
- Dissection Process:
- Kill knights outside to obtain shape drops.
- Dunk shapes on statues based on the encounter type and 2D callouts.
- All Single: Dunk 2D callouts, knights spawn, dunk the new double.
- One Double: Dunk the double, then the two 2D callouts, knights spawn, kill and take the shapes, dunk the double again.
- All Double: Dunk all 2D callouts, knights spawn, dunk middle, then left, then right.
- Goal is to get: Cone with Square, Prism with Circle, Cylinder with Triangle.
- Phase 2: Ghost Dunking (False Wipe)
- Inside players "die," leaving ghosts for the players on the outside.
- Inside players call out which statue their ghost belongs to.
- Outside players pick up and dunk the correct ghosts on the called-out statues. Wrong dunk = instant death.
- Phase 3: Distribution (Key Acquisition)
- Key: Each player needs the two shapes that are not their own to create a key.
- "Double Up" Method:
- Send each player their own shape.
- Once everyone has 2 of their own shape, send one to each statue.
- Grab the 2 shapes that have been sent to you and exit through the glass wall.
- Final Phase: Revive
- Enemies spawn; kill them quickly.
- Another "false wipe" leaves one player alive.
- "Dead" players call out their podium locations.
- The alive player revives them one by one by placing their ghosts on the podium.
Repeat 2 more times and the encounter will be over.
Tips & Mistakes to Avoid
✔️ Make sure to have good ad-clear weapons since the rooms will be filled with ads.
✔️ If you picked up a wrong shape, in order to delete it, pick another shape up, then dunk it on any statue, it won't affect anything in the encounter and you will get rid of the shape.<
❌ Do not panic if a mistake happens, the timer is enough to repair almost any mistake.
❌ Do not wear similar armor or similar ghosts, it will make identifying who's who impossible, wear armor that stands out as much as possible.
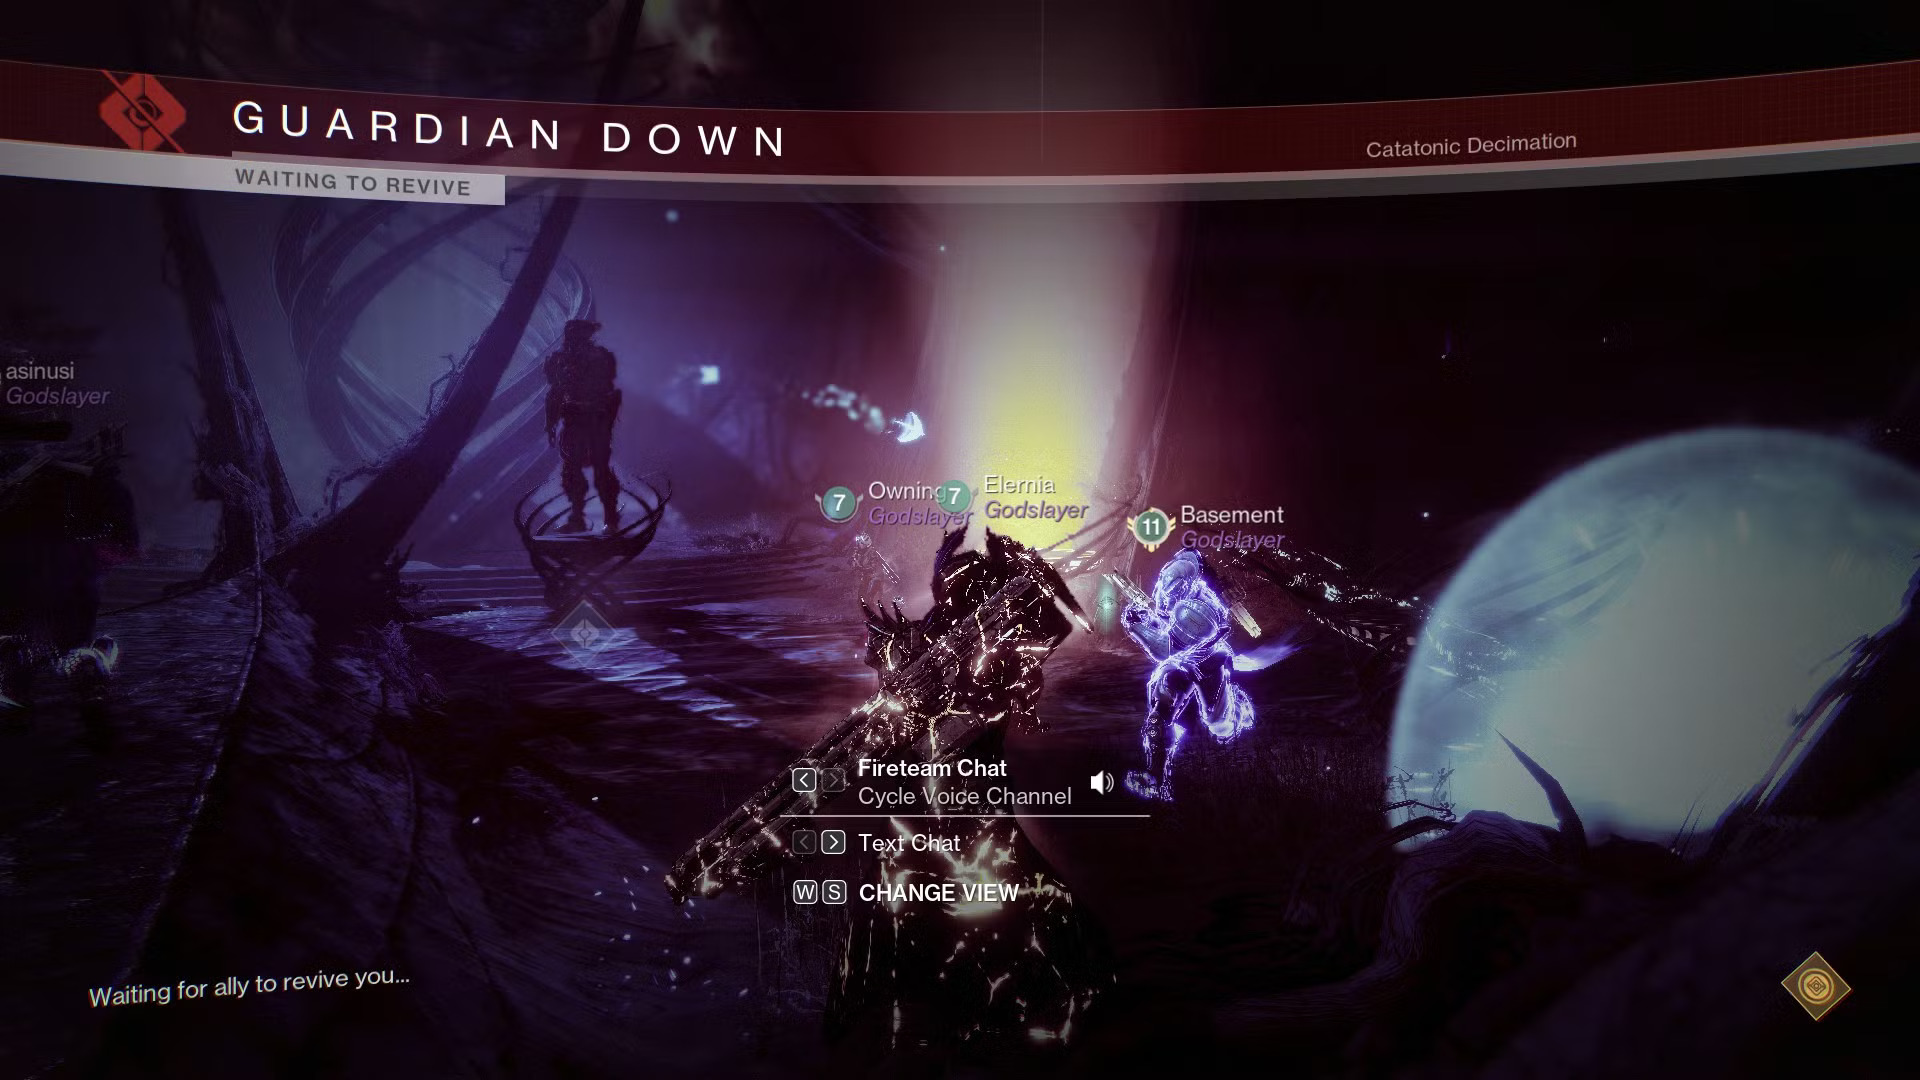
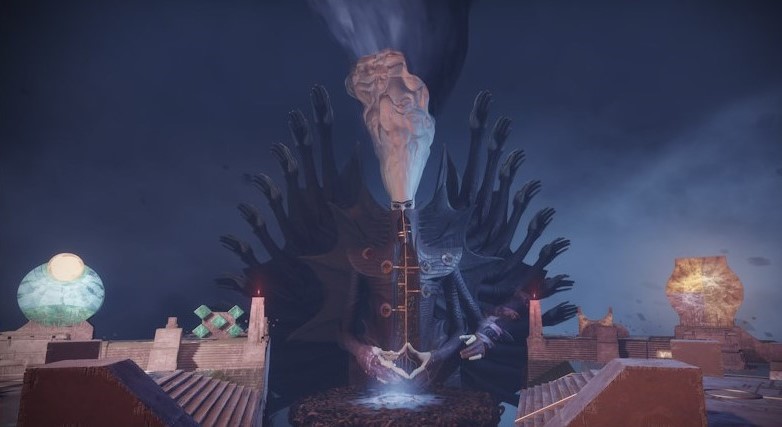
Reaching the boss encounter
Reaching the boss encounter will be the second hard traversal, having players climb up on platforms and roots, while the areas contain a large number of ads. Once players have reached the door with the guardian, turn around jump on a pillar then over the door will be the Witness waiting for you.
Boss Encounter
Zenith
SKIP THE GRIND! GET SALVATION'S EDGE BOSS KILL!
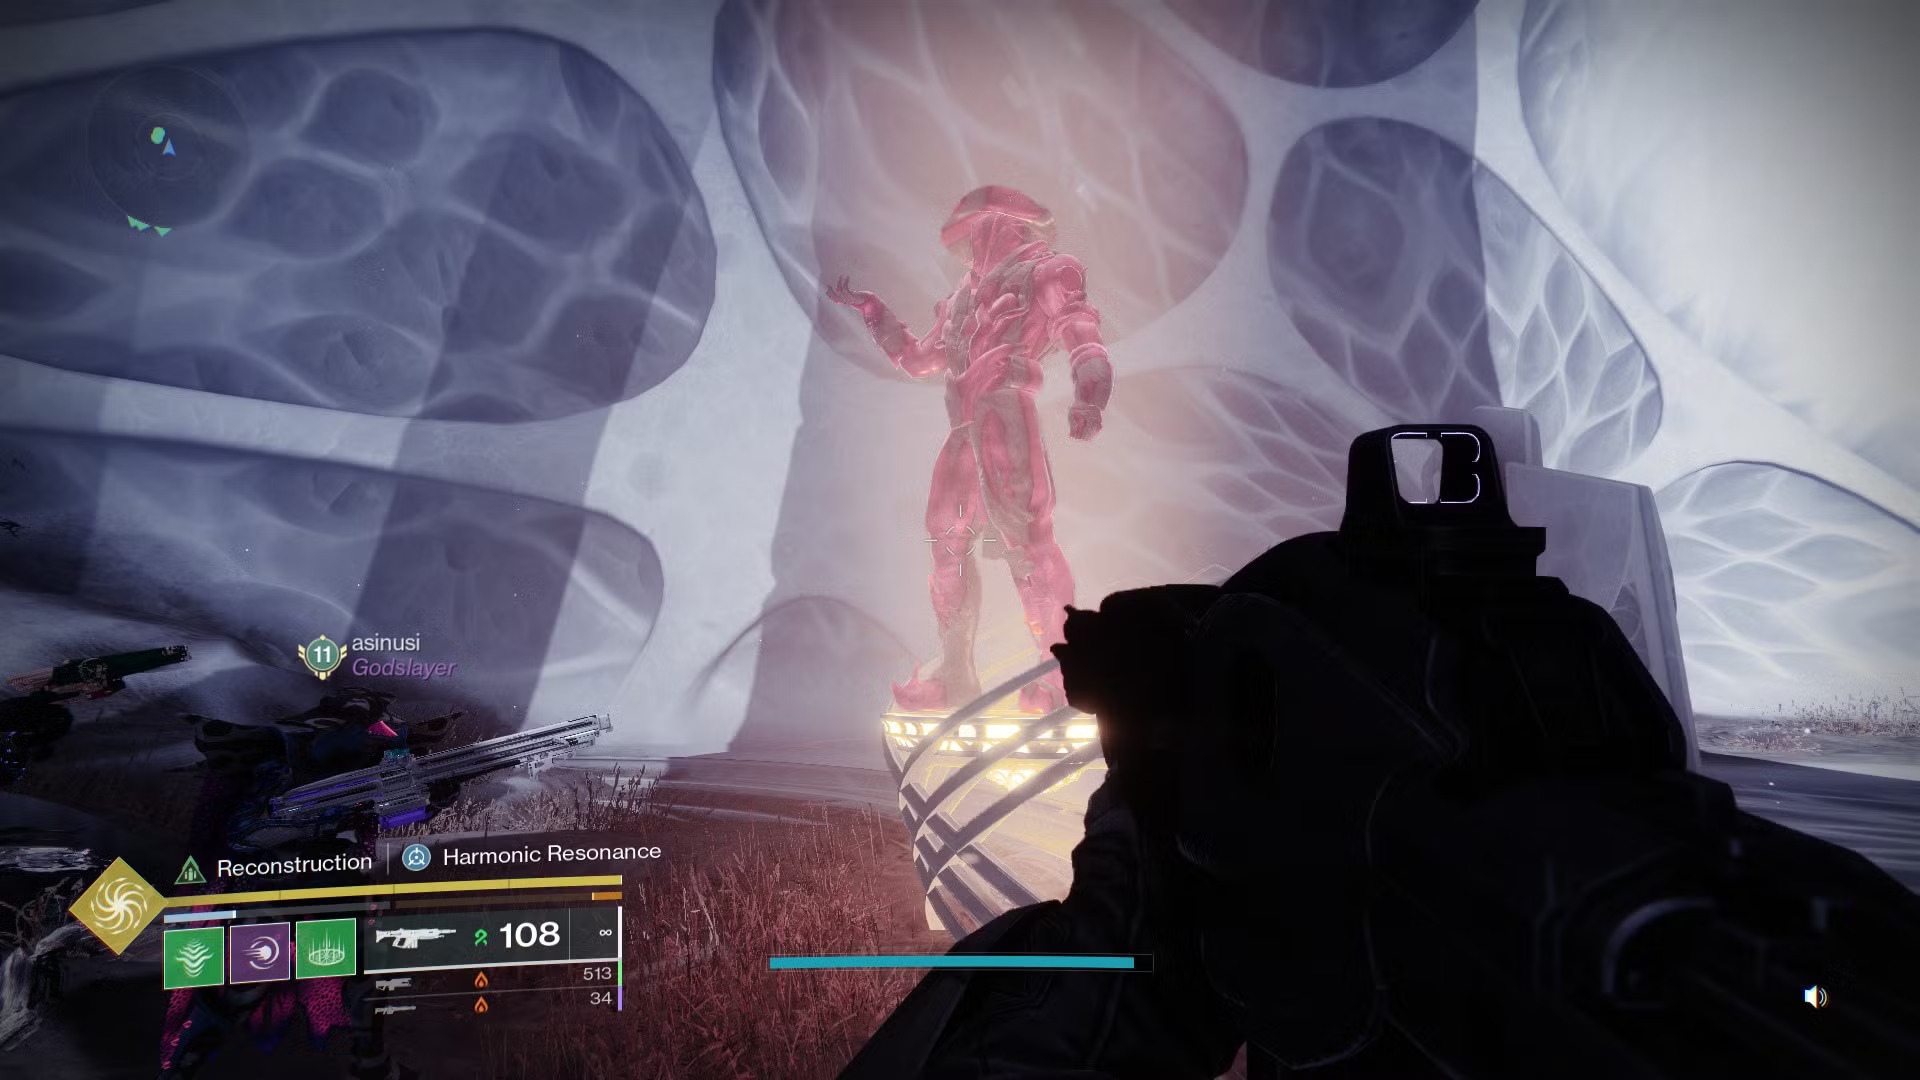
General Objective Overview
For the final encounter the mechanics of the raid will change once more, this time we will stand in the Witness's attacks to obtain resonance, we are introduced to a new buff called "Glyphbreaker", and we have to destroy crystals to form shapes on the Witness to prevent a wipe then destroy the buttons to reveal the weakspot.
Arena & Layout
Arena is small and simple, having 2 sides with ads, and a floating island in the middle for button breaking and DPS phase.
Team Roles & Asignments
Mechanics
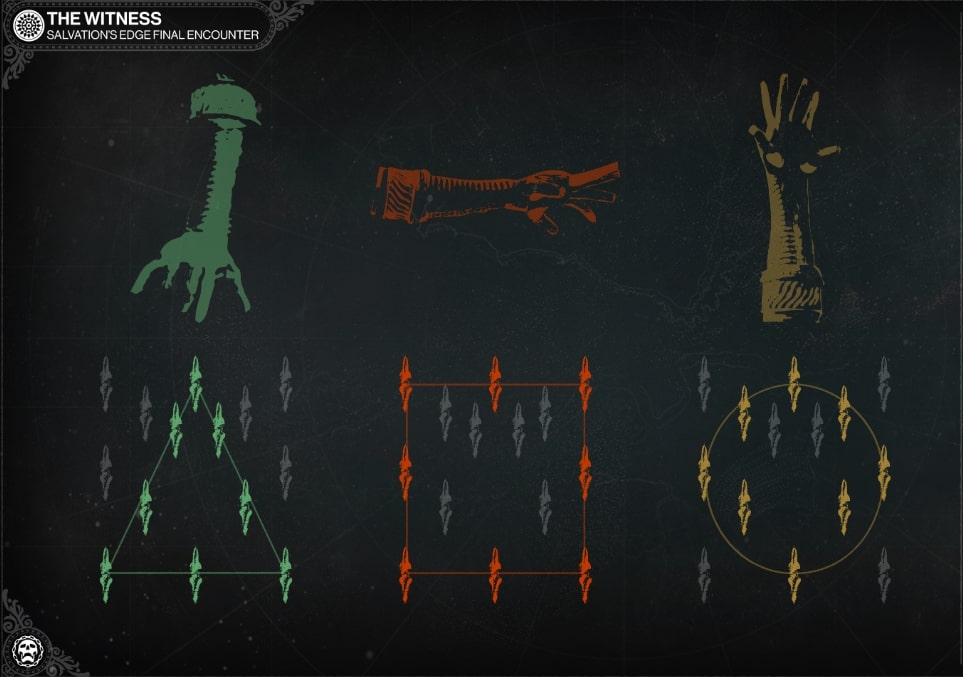
- The encounter revolves around manipulating "Resonance" types (Pyramidal, Spherical, Hexahedron) and corresponding shapes (Triangle, Circle, Square).
- Players must interact with these resonances to counter the Witness's attacks.
- The Witness uses arm attacks, stand in their attacks to identify what shape you need for it by shooting the band around the hand until it pops and look at the color.
- Green = Pyramidical Resonance
- Red = Hexahedron Resonance
- Yellow = Spherical Resonance
- Players must absorb the correct Resonance to counter these attacks.
- Once all 3 players have "Glyphbreaker" jump on the middle platform and destory a button.
- Doing so the resonance will be cleansed giving a fresh start for the next set of hands.
- After the 6th button is destroyed the damage phase wil begin.
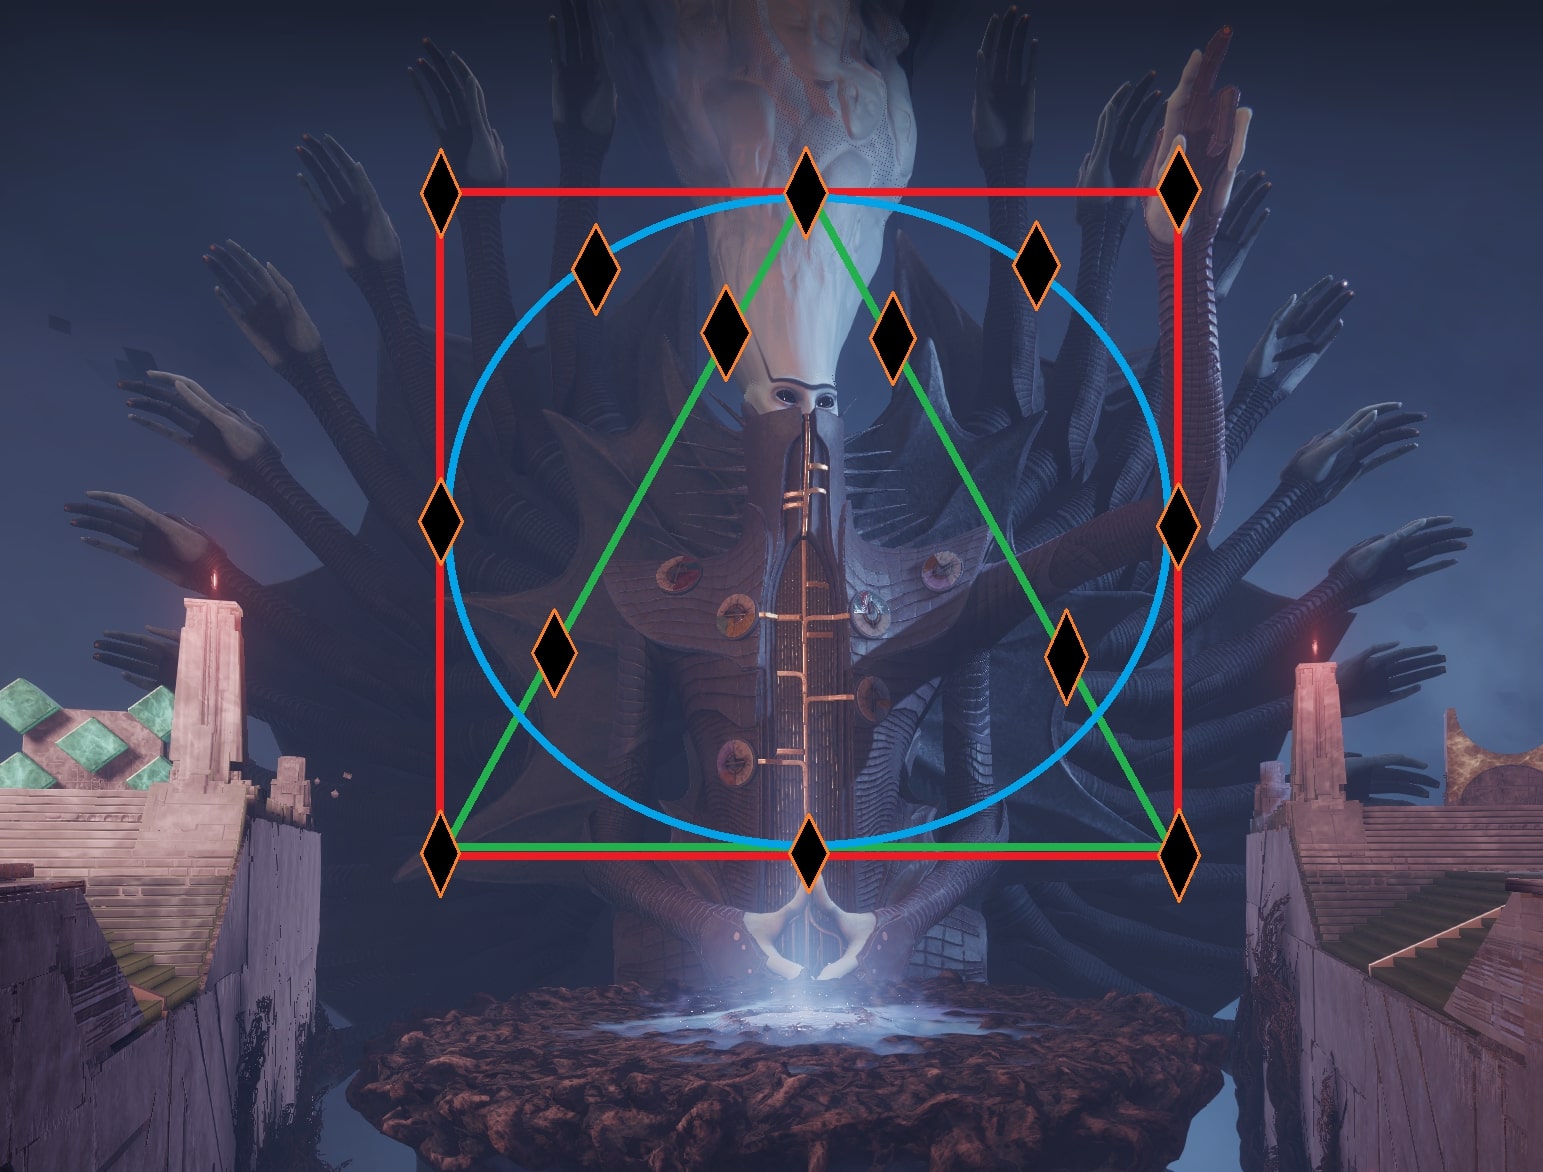
- Once per phase, The Witness will test you when you pop a hand indicated by a message in the left corner of the screen.
- Make sure to pay attention when breaking the arm band that triggers the trap and which resonance it needs.
- Have the "Glyphbreaker" go to the middle platform and shoot the crystals in front of The Witness forming the shape from the arm band's resonance that triggered the trap.
- After preventing the wipe mechanic, The Witness will launch a shockwave across the entire arena that will kill anyone that is touching the ground, make sure to jump high.
DPS Phase
The Witness DPS phase is the hardest in the game so be prepared to deal good damage, and have the best survivability.
- The objective of the damage phase is to survive and have as few deaths as possible.
- It is very important to have 100 resilience and x3 solar resists.
- Jump on the middle platform, wait for it to ascend, use a Well of Radiance, Speaker's Sight, Healing Rifts with The Stag exotic helmet and any other sustain / damage reduction that players may have, and start shooting The Witness's chest.
- The Witness will launch a relentless barrage of solar attacks, in straight, wide lines across the platform.The players will be able to see where he will attack before he launches it.
- During the damage phase, The Witness will send a shockwaves across the platforms, indicated by a sound cue, player will need to jump otherwise the shockwave will kill you.
- Once the damage phase is over, make sure to jump from the platform quick, because The Witness will slam it down and kill everyone on it.
Final Stand
- The Witness has a final stand.
- The final stand is almost the same as a normal damage phase, only the speed of The Witness's attacks increases.
- The final stand is very short, so have some high-burst damage available.
- If players fail to kill The Witness during the final stand the team will wipe.
Tips & Mistakes to Avoid
✔️ Being in a Well of Radiance with 100 resilience and x3 solar resists will let you tank 1 attack of the witness, if 2 attacks one after another hits, you will die.
✔️ Strafing is very good here to dodge the attacks, but make sure to coordinate with your team in order to attain good damage numbers, and do not jump in front of each other.
❌ Standing in your own hand too long can get you a stack of its buff, which you don’t want, so be quick when checking the band.
❌ If you take too long and your hand leaves and re-enters somewhere else in the arena, its bangle will change and you’ll need to start again.
❌ Only stand in an enemy hand’s attack aura to get the buff if they’re not about to attack. These attacks can kill you.
❌ Destroying a hand will give you a stack of that hand’s buff, and you can’t ever have more than three Resonance at once.
DON'T WASTE TIME BUY SALVATION'S EDGE WEAPONS!
Loot Table
Here we'll be showing you every piece of loot you can acquire from the raid. Salvation's Edge features 6 legendary weapons, 1 exotic & 1 normal armour set. Below you will find a list with all the weapons & armour pieces:
| Substratum (1st Encounter) |
Herald of Finality (2nd Encounter) |
Repository (3rd Encounter) |
Verity (4th Encounter) |
The Witness (Final Encounter) |
|
Nullify Pulse Rifle 

.jpg)
|
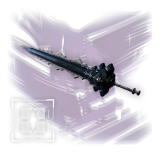
Summun Bonum Sword 


|
Nullify Pulse Rifle
|
Summun Bonum Sword
|
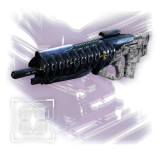
Euphony Fusion Rifle 


|
|
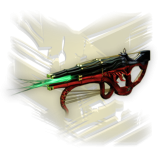
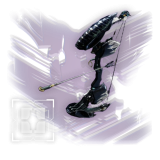
Non-Denouement Combat Bow 
|
Non-Denouement Combat Bow
|
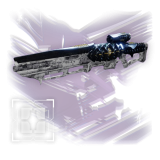
Critical Anomaly Sniper Rifle 

|
Non-Denouement Combat Bow
|
Summun Bonum Sword
|
|
Imminence Submachine Gun 
|
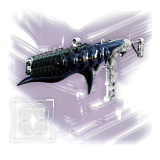
Forthcoming Deviance Glaive 

|
Forthcoming Deviance Glaive
|
Imminence Submachine Gun
|
Nullify Pulse Rifle
|
|
Promised Reunion Gauntlets 
|
Imminence Submachine Gun
|
Promised Reunion Gauntlets
|
Promised Reunion Legs 
|
Critical Anomaly Sniper Rifle
|
|
Promised Reunion Chest 
|
Promised Reunion Helmet 
|
Promised Reunion Helmet
|
||
|
Promised Reunion Class Item 
|
Promised Reunion Legs
|
Extras & Challenges
Like in the previous raids, Salvation's Edge also has a certain number of collectables, a title (or seal), specific triumphs that awards a unique special badges on your raid report.
Cosmetics
How to Obtain: Complete the Salvation's Edge on Master difficulty.
How to Obtain: Complete the Salvation's Edge on Master difficulty and complete all the challenges.
SKIP THE GRIND BUY SALVATION'S EDGE COSMETICS!
Master Difficulty
The Salvation's Edge raid has normal & master difficulties to choose from. Completing the raid on master difficulty is required to complete the Iconoclast title (seal). There are certain modifiers that makes the Master difficulty hard to complete:
Title & Seal
The title for the Salvation's Edge is called Iconoclast. Below you will find the list with all the required triumphs needed to acquire your seal:
- Raid: Salvation's Edge - Trophies from the Salvation's Edge raid.
- Salvation's Edge - Complete any version of the Salvation's Edge raid.
- Master Difficulty Salvation's Edge - Complete the Salvation's Edge raid on Master difficulty.
- Once More, Together - Complete all encounters of the Salvation's Edge raid with a full fireteam of clanmates.
- United Front - Complete all encounters in the Salvation's Edge with a fireteam made entirely of the same guardian subclass.
- Electrostatic Force - Complete all encounters in the Salvation's Edge with a full fireteam of Arc subclass.
- Scorched Grasp - Complete all encounters in the Salvation's Edge with a full fireteam of Solar subclass.
- Endless Abyss - Complete all encounters in the Salvation's Edge with a full fireteam of Void subclass.
- Kaleidoscopic - Complete all encounters in the Salvation's Edge with a full fireteam of Prismatic subclass.
- Fragmented Truths - Loot all hidden chests in the Salvation's Edge raid.
- Scenic Route - Complete the ''Scenic Route'' challenge.
- At Capacity - Complete the ''At Capacity'' challenge.
- Balanced Diet - Complete the ''Balanced Diet'' challenge.
- Varied Geometry - Complete the ''Varied Geometry'' challenge.
- Coordinated Efforts - Complete the ''Coordinated Efforts'' challenge.
- Touch and Go - In Substratum, complete the encounter without any player acquiring an additional stack of Resonance before the rest of the fireteam has gained a stack of Resonance.
- Changing Tactics - In Dissipation, complete the encounter while only using Resonance from alternate wings to charge conductors.
- Singular Torment - In Repository, complete the encounter with only one player killing Tormentors.
- Equal Distribution - In Verity, complete the encounter without depositing on the same statue twice in a row.
- Careful Calculation - In Zenith, complete the encounter without any player exceeding 2 stacks of any Resonant energy.
- Ignited Light - Complete all encounter challenges on Master difficulty.
- Salvation's Edge Lore Book Unlocks - Unlock the Salvation's Edge lore book.
After you complete all 22 triumphs, the Iconoclast seal will be unlocked so you can equip it on all your guardians.
SKIP THE GRIND BUY SALVATION'S BUNDLES!
FAQs
The Salvation's Edge Raid is located on the Pale Heart location on the very right side of the map.
No, the Salvation's Edge is not farmable since it is the latest raid.
Yes, Salvation's Edge is the hardest raid in Destiny 2 so far, having the most complex mechanics and the only raid to completly change mechanics for the last two encounters.
Yes, Salvation's Edge requires the Final Shape expansion.
Final Thoughts
I hope this guide will ease your experience with the Salvation's Edge raid encounters and help you get one step further to success. We did all the research, and now it’s your turn to show your skill. Give it a try, Guardian!
About KBoosting
If you are struggling to find a fireteam or don't have enough time to play yourself, at KBoosting, besides articles & guides, we also provide Destiny 2 boosting services. All you need to do is check our Salvation's Edge boosting services and let us handle everything for you, while you have some fun in the game!
