Sundered Doctrine Guide – Complete Destiny 2 Dungeon Walkthrough

-
Bundle
- Powerful & pinnacle gear with 25% off
- Increase your power level easily
-
Hot


-
Sale 15%Ends in 14h 7m 36s

-
Hot
-
-
-
-
Sale 15%Ends in 14h 7m 36s
-
- SD dungeon solo flawless guaranteed
- Earn exclusive emblem & report badge

-
-
Bundle
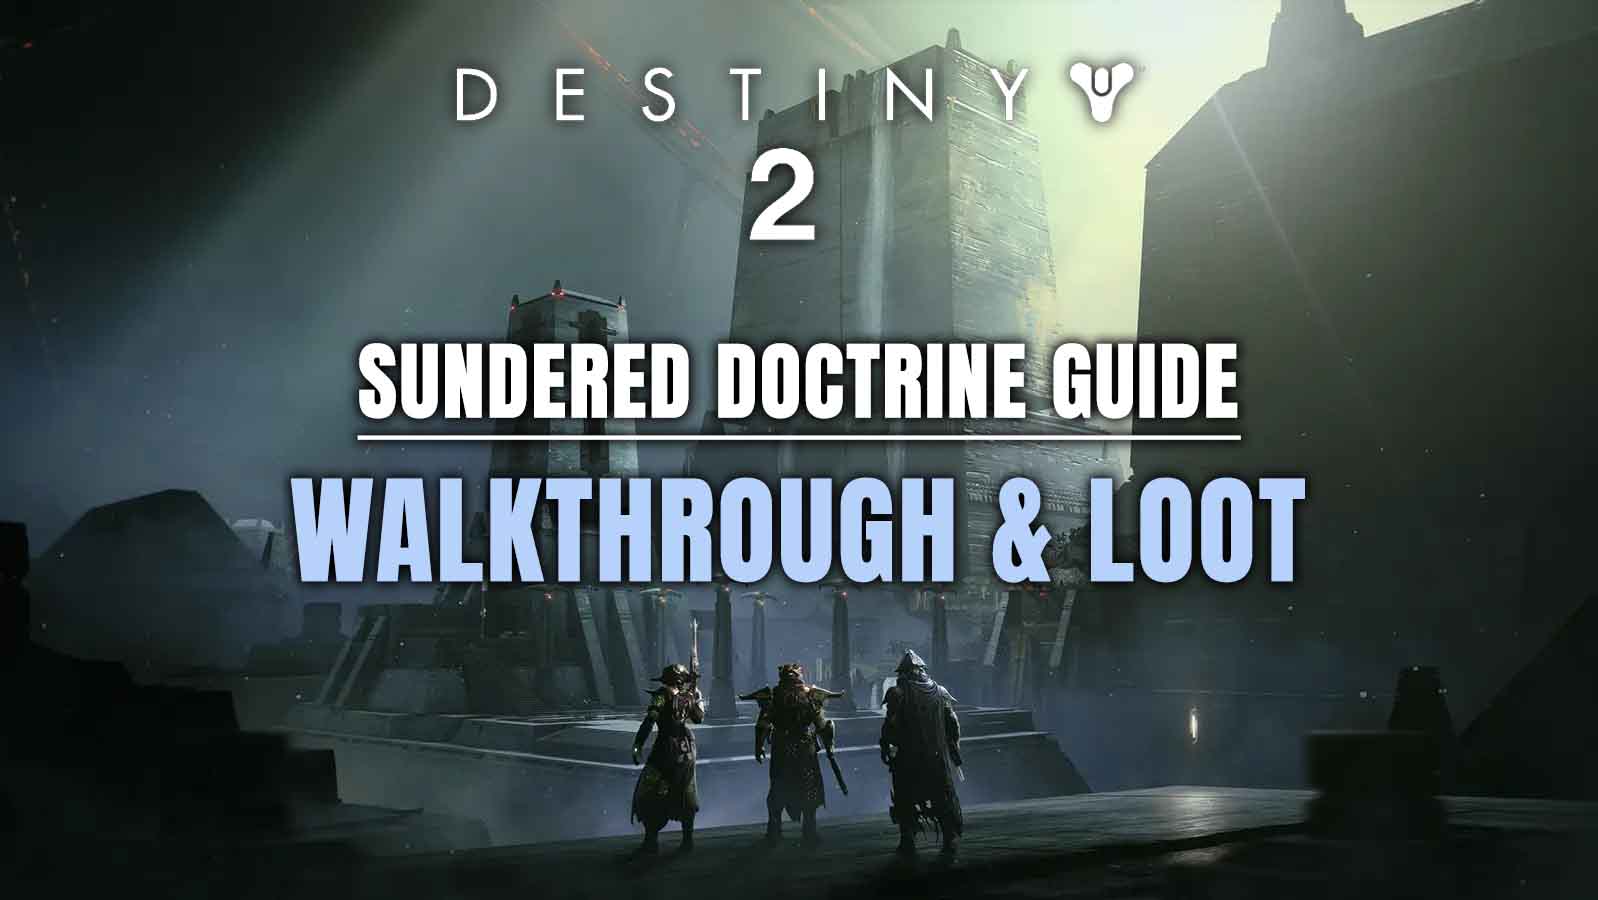
Introduction
Bungie has just released the new Sundered Doctrine dungeon in Destiny 2. The guide will take you through every step needed to complete it, covering all mechanics, strategies, and loadout. We'll also include traversal tips for the platforming sections, secret chest locations, and suggested loadouts for maximum efficiency.
Table of Contents
In this guide, we will cover the following subjects:
- Dungeon Preparation
- How to access the dungeon
- First Encounter
- Second Encounter
- Boss Encounter
- Loot Table
- Extras & Challenges
- FAQ
- Conclusion
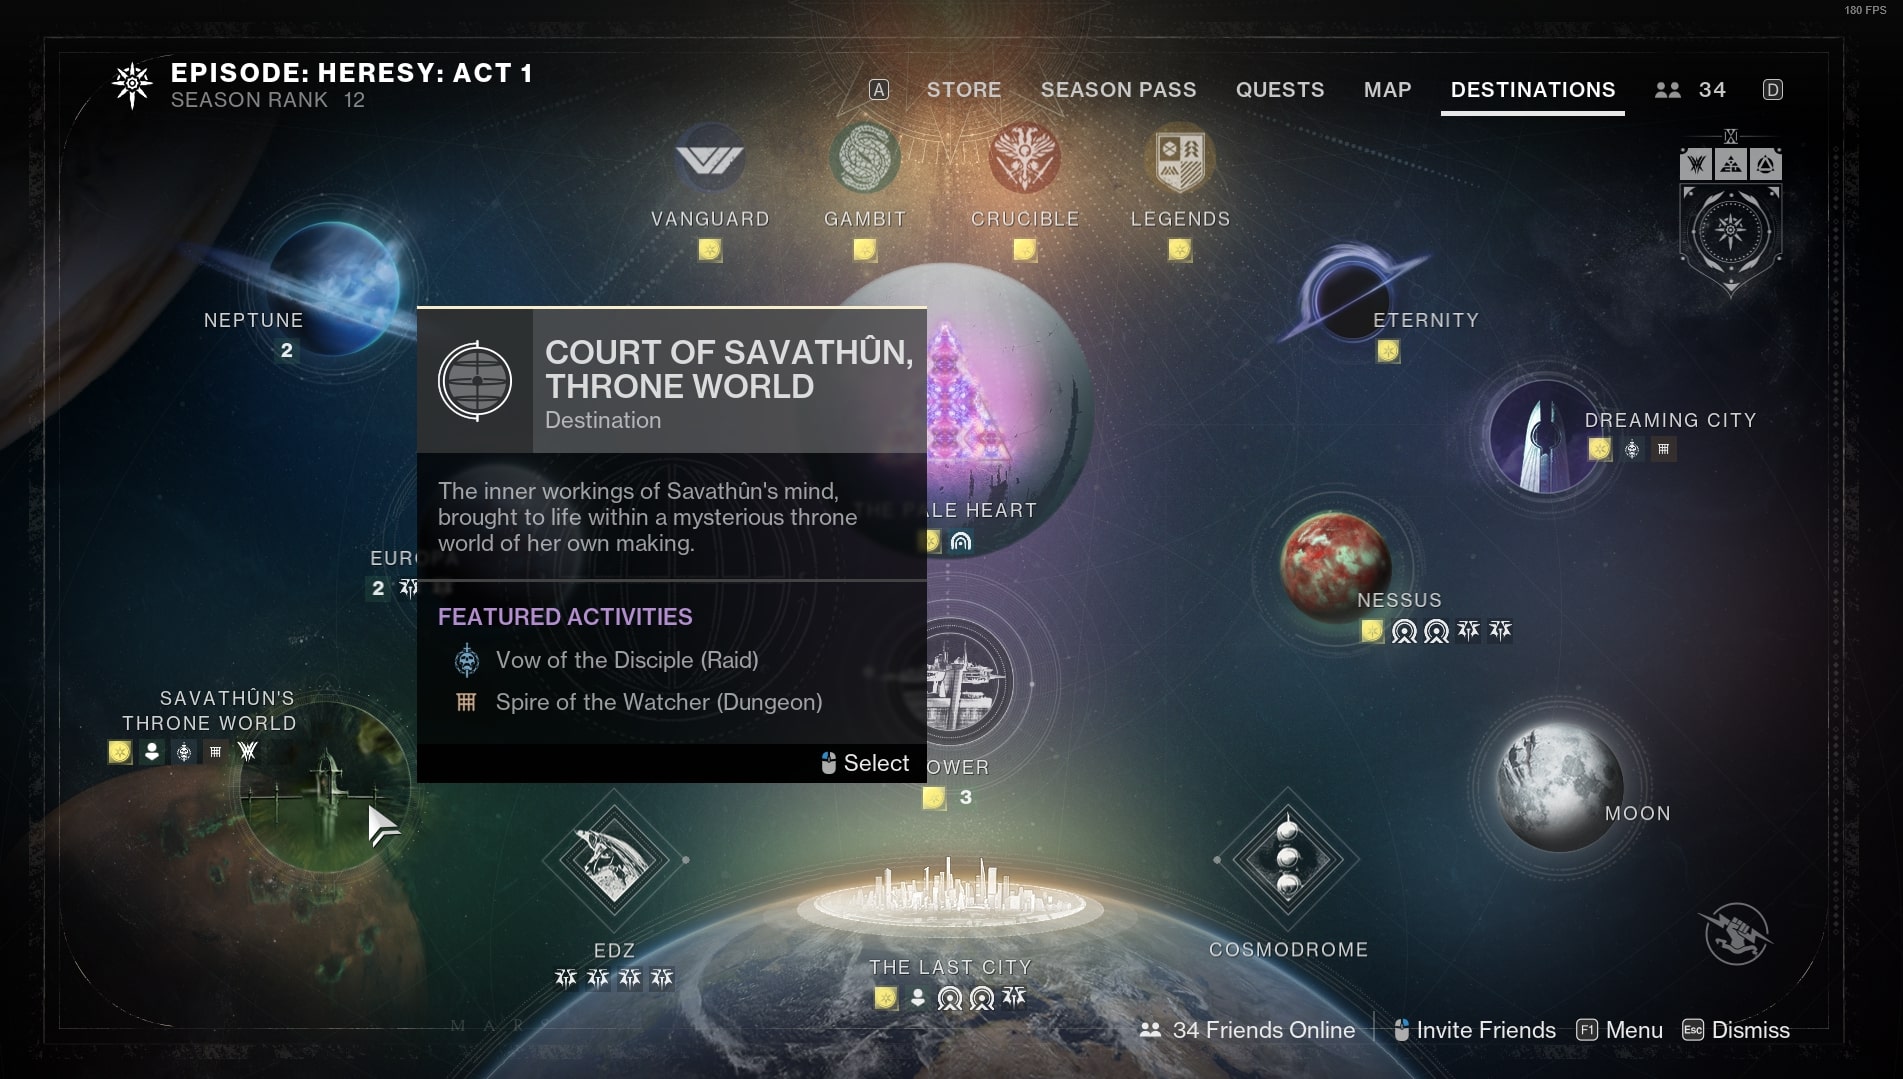
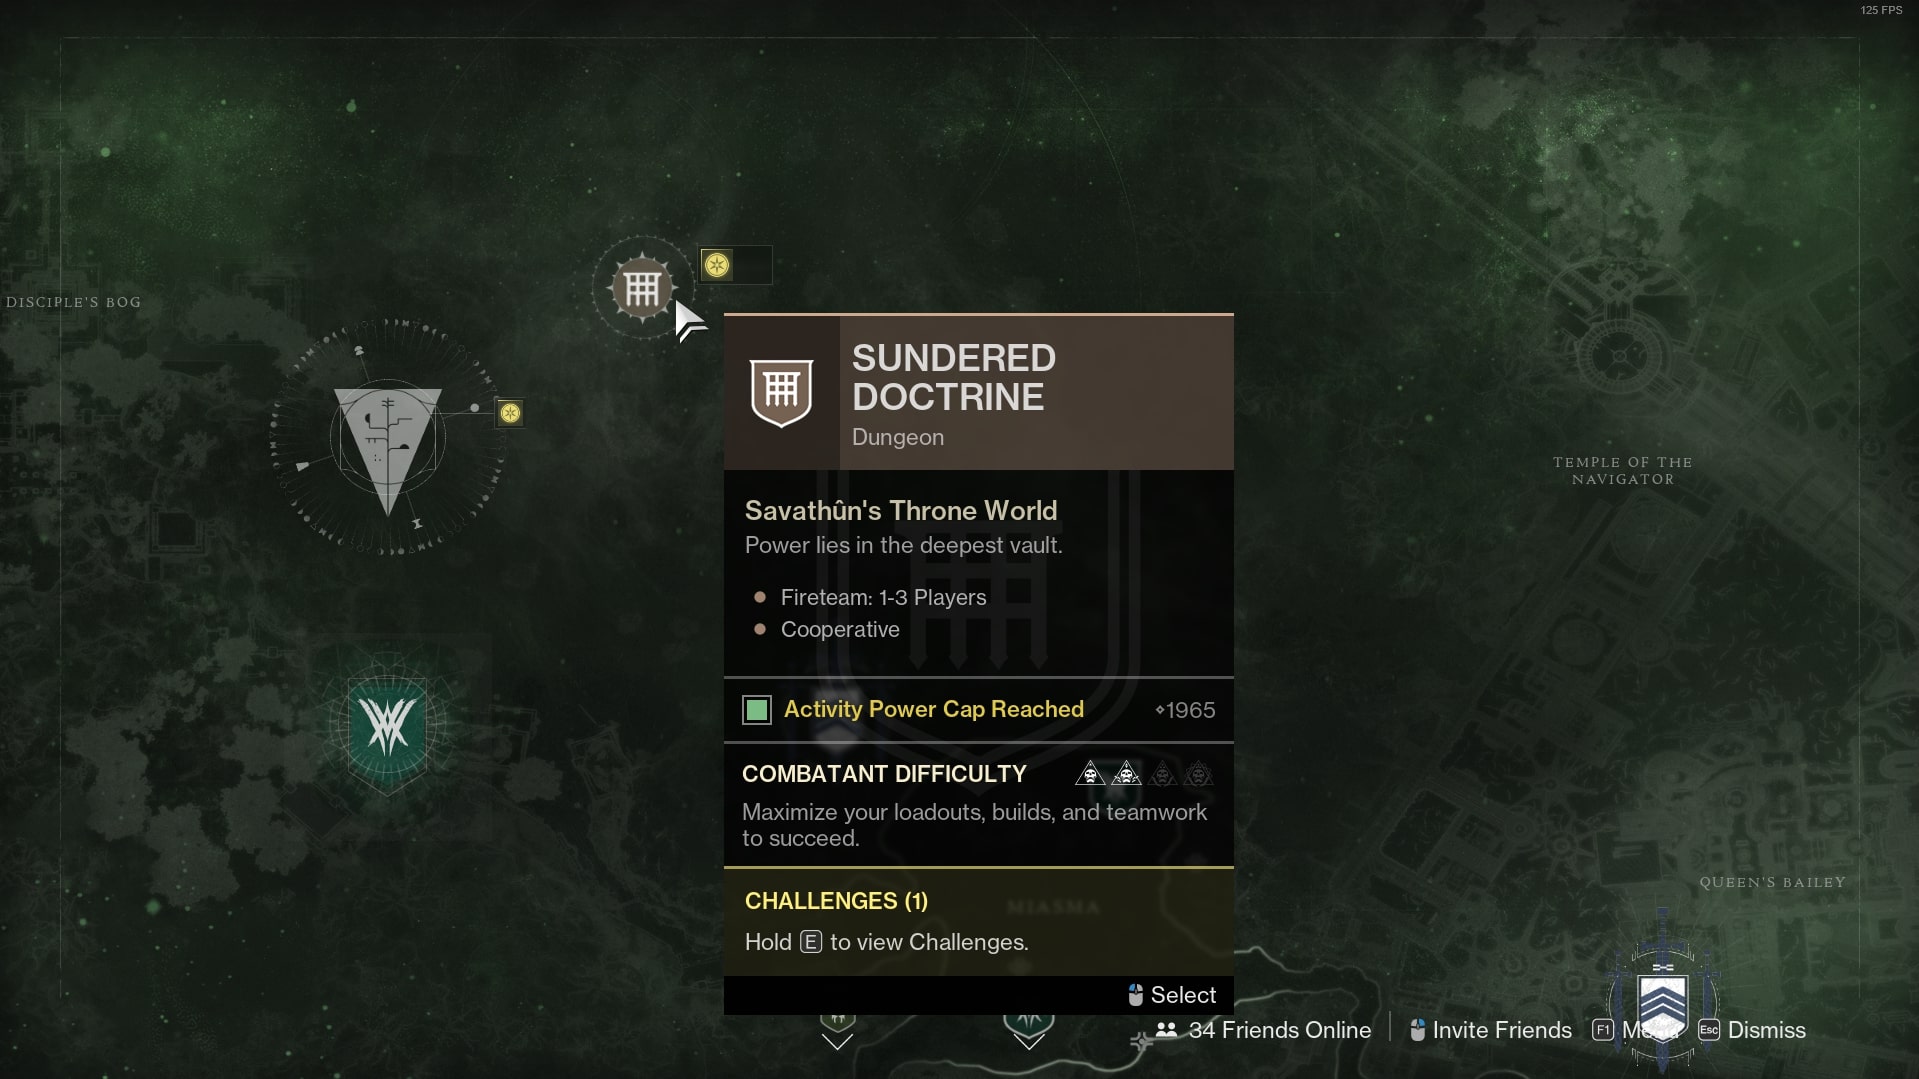
How to access the dungeon
Before heading into the Sundered Doctrine dungeon, you must meet the required prerequisites to be able to launch the activity:
You must open the destination menu and find the activity icon on Savathun’s Throne World.
Dungeon Preparation
Sundered Doctrine is the latest dungeon released in Destiny 2, so being prepared with the best meta loadouts will help you out immensely during each encounter. I’ll be going over some of the best weapons & subclasses that you should be using to ensure your success.
Best subclasses & builds
SKIP THE GRIND! BOOST YOUR GUARDIAN NOW!
Getting started
Before launching the dungeon, head to The Tower and talk to Ikora Rey. Pick up the Drowning Labyrinth Quest. The quest explains that a faction of Dread has infiltrated the ruins of Rhulk’s Pyramid Ship, and your task is to eliminate them.
Once you’ve obtained the quest, navigate to Savathûn's Throne World and locate the dungeon marker in the top left corner.
Best weapons loadouts
Here, I’ll be going over some of the best meta weapons to use in the Sundered Doctrine dungeon:
SKIP THE GRIND BUY SUNDERED DOCTRINE CARRIES!
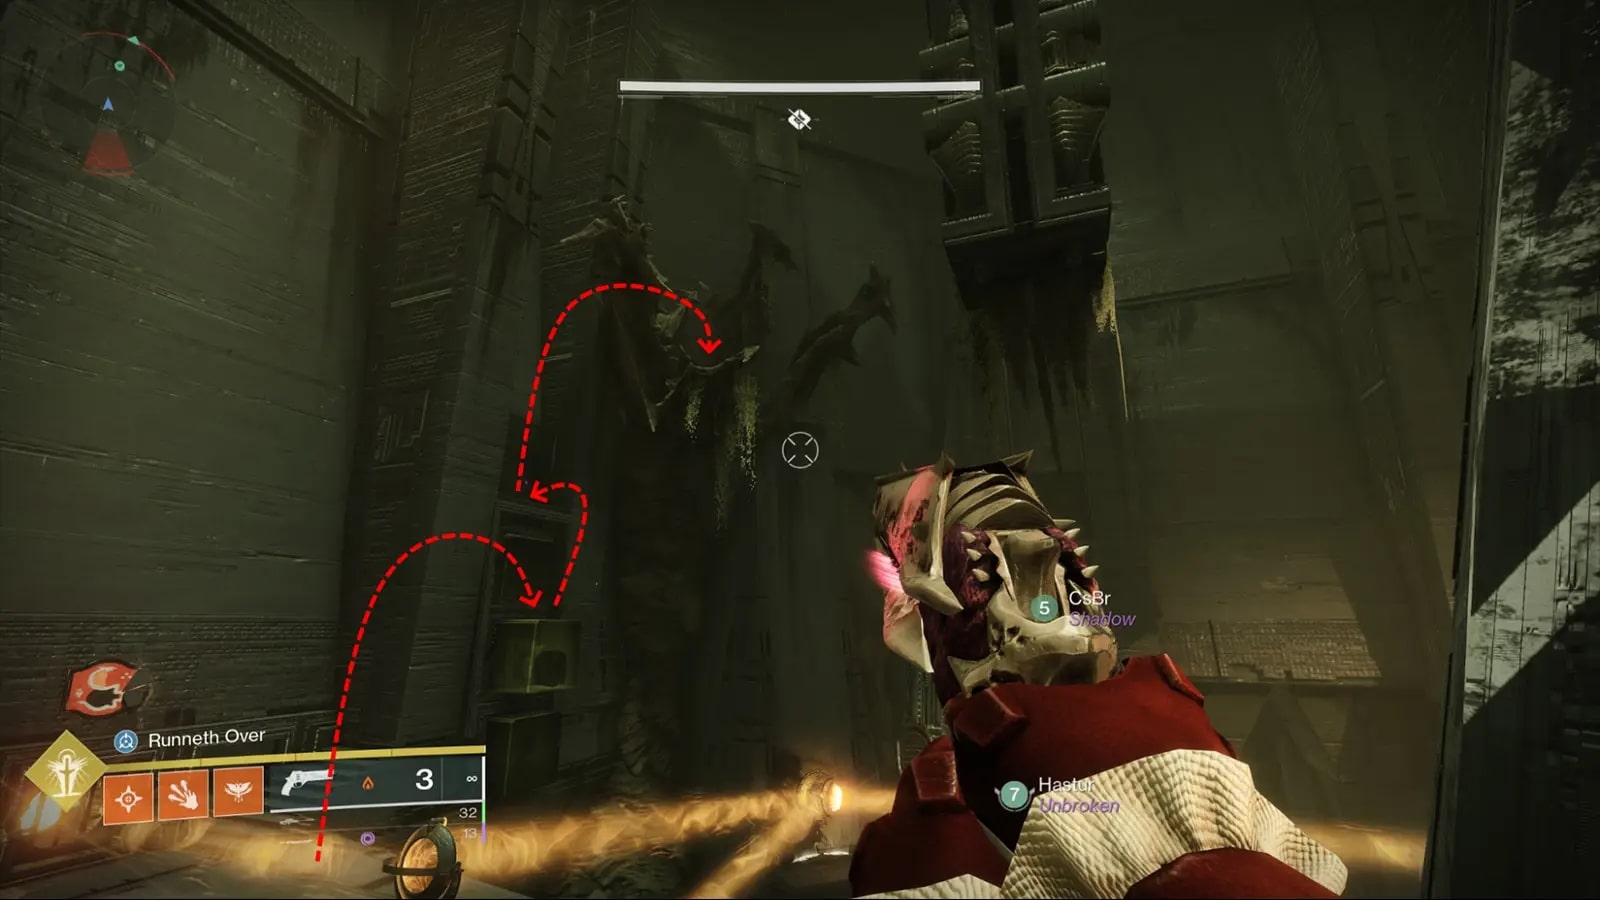
Entering the first encounter
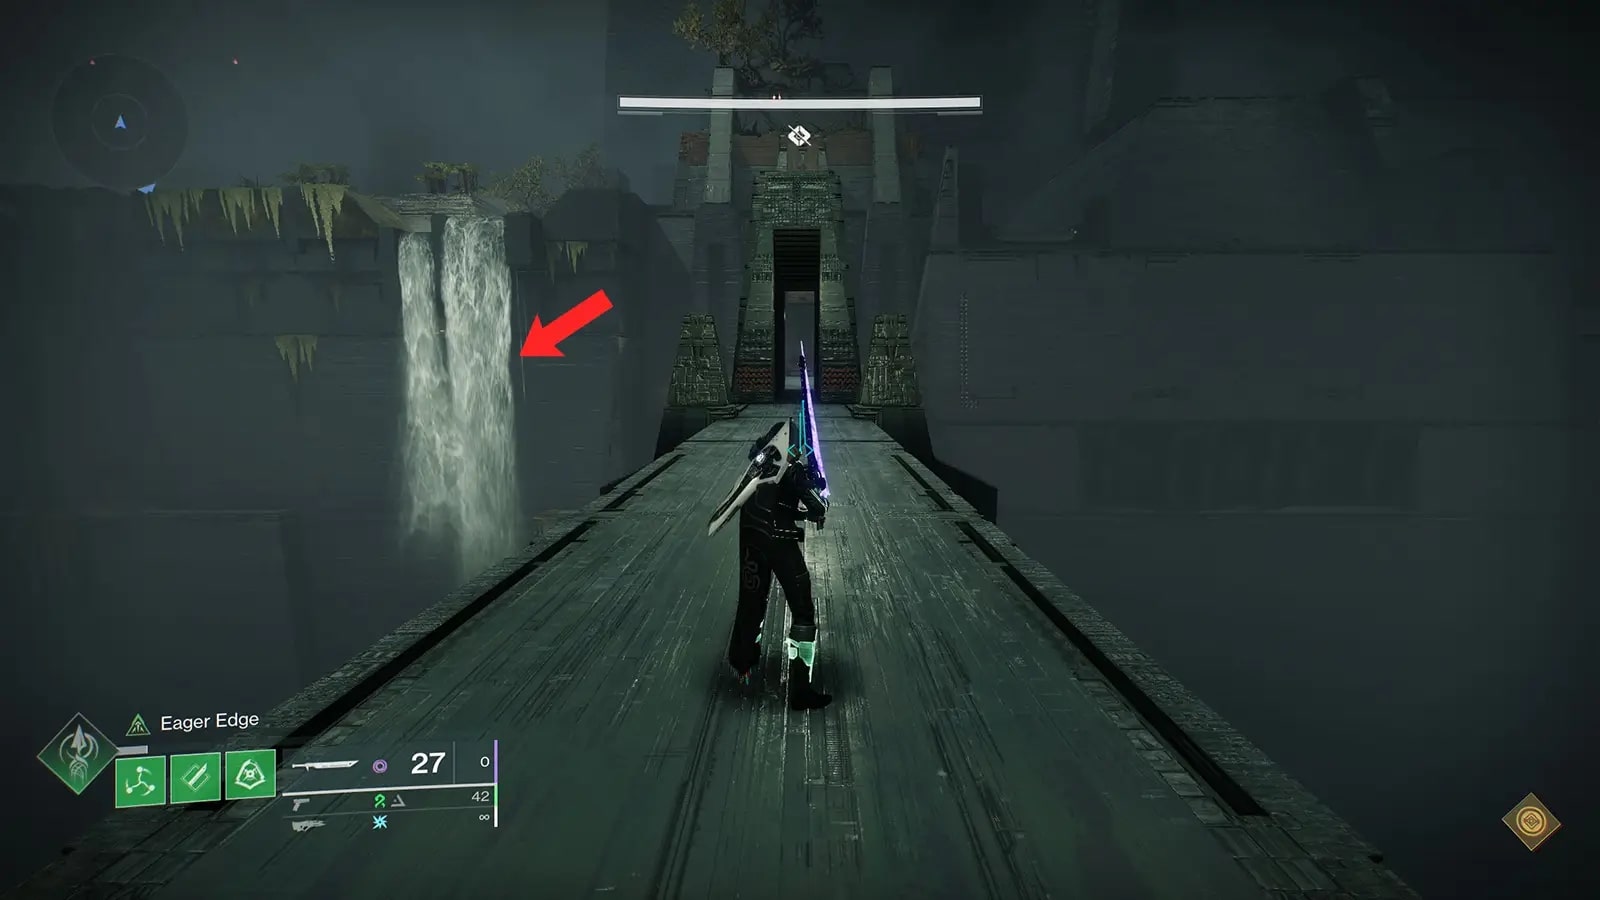
After spawning, drop down the ledge in front of you. Look for a long bridge, cross it, turn left, and jump to the nearby ledge. Follow the path, take a right, and fall through the hole ahead. You'll enter a room filled with enemies, including Subjugators. Eliminate all of them to unlock a small hole in a nearby wall—jump through to proceed.
You'll continue falling into the next area, defeat another set of enemies, and look for a small waterfall. Behind it is a hidden passage leading to the next area. Drop down another hole and find a small grate opening to pass through. This brings you to the first encounter.
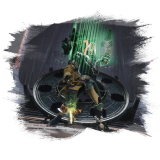
First encounter: Light Reflection Puzzle

Objective
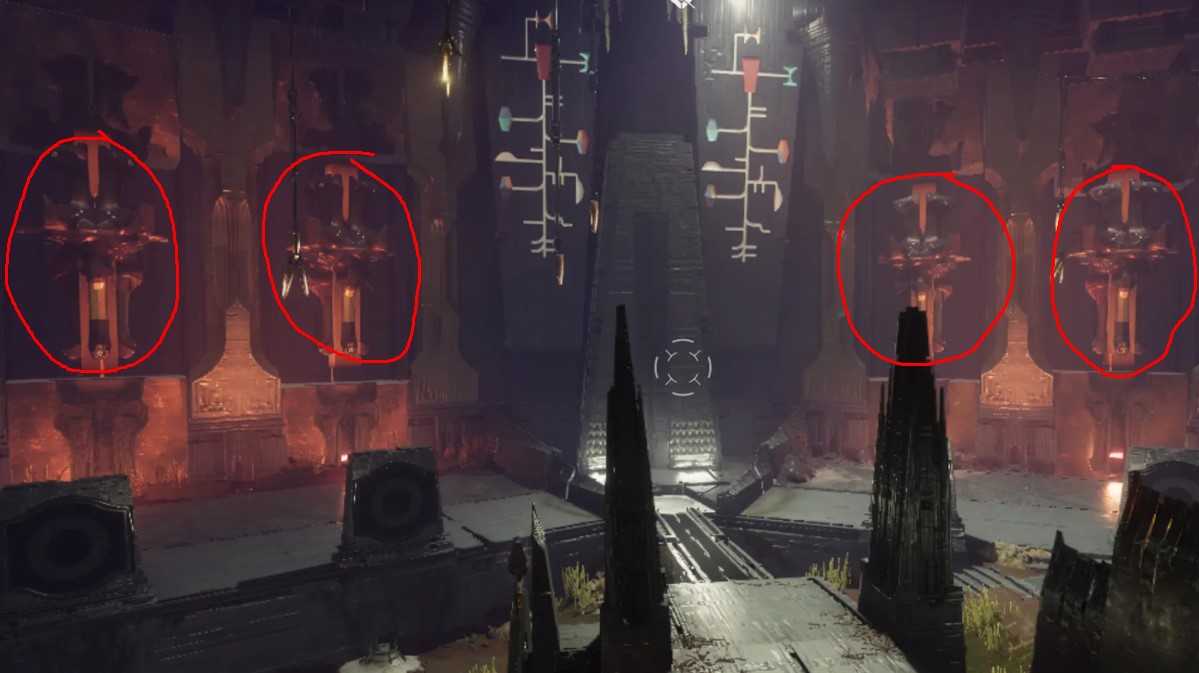
Your goal is to solve a puzzle by directing beams of orange light into the correct wheels located in different rooms.
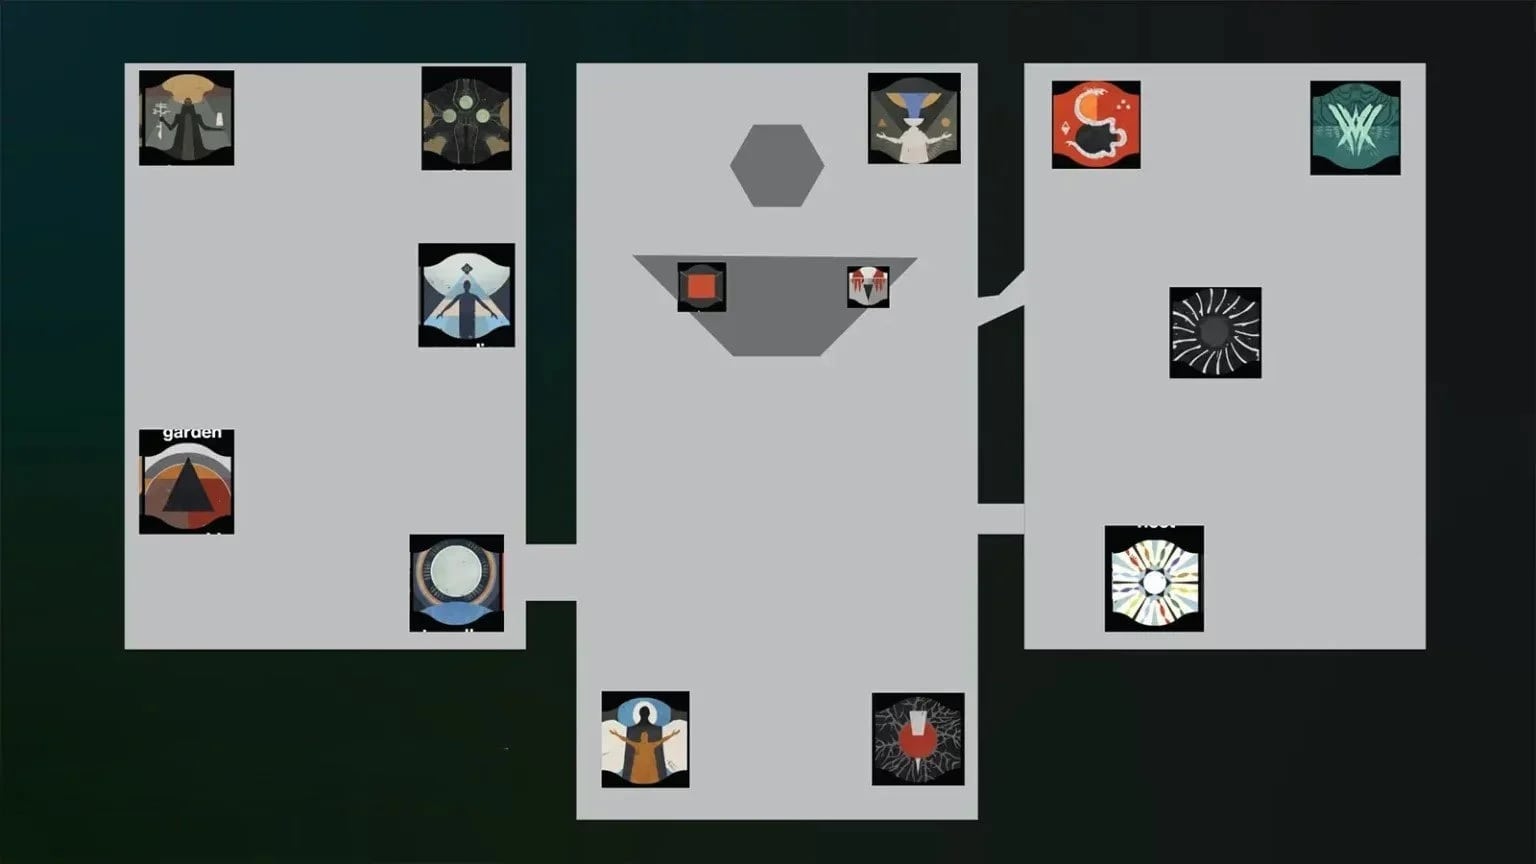
Room Layout
.jpg)
How to solve the puzzle
1. Identify the correct room: Kill a Truthspeaker in one of the four side rooms. It will drop a symbol on the ground.
2. Match the symbol: Find the wheel in a side room displaying the same symbol.
3. Direct the light: Adjust lenses in the main room to reflect light into the correct wheel. Defeating Subjugators in side rooms will drop lenses that can be used to complete the light path.
4. Repeat three times: Each wave adds an extra round of light reflection.
Key Tips
Once three rounds are complete, the door will open, leading to the next area.
Entering the second encounter
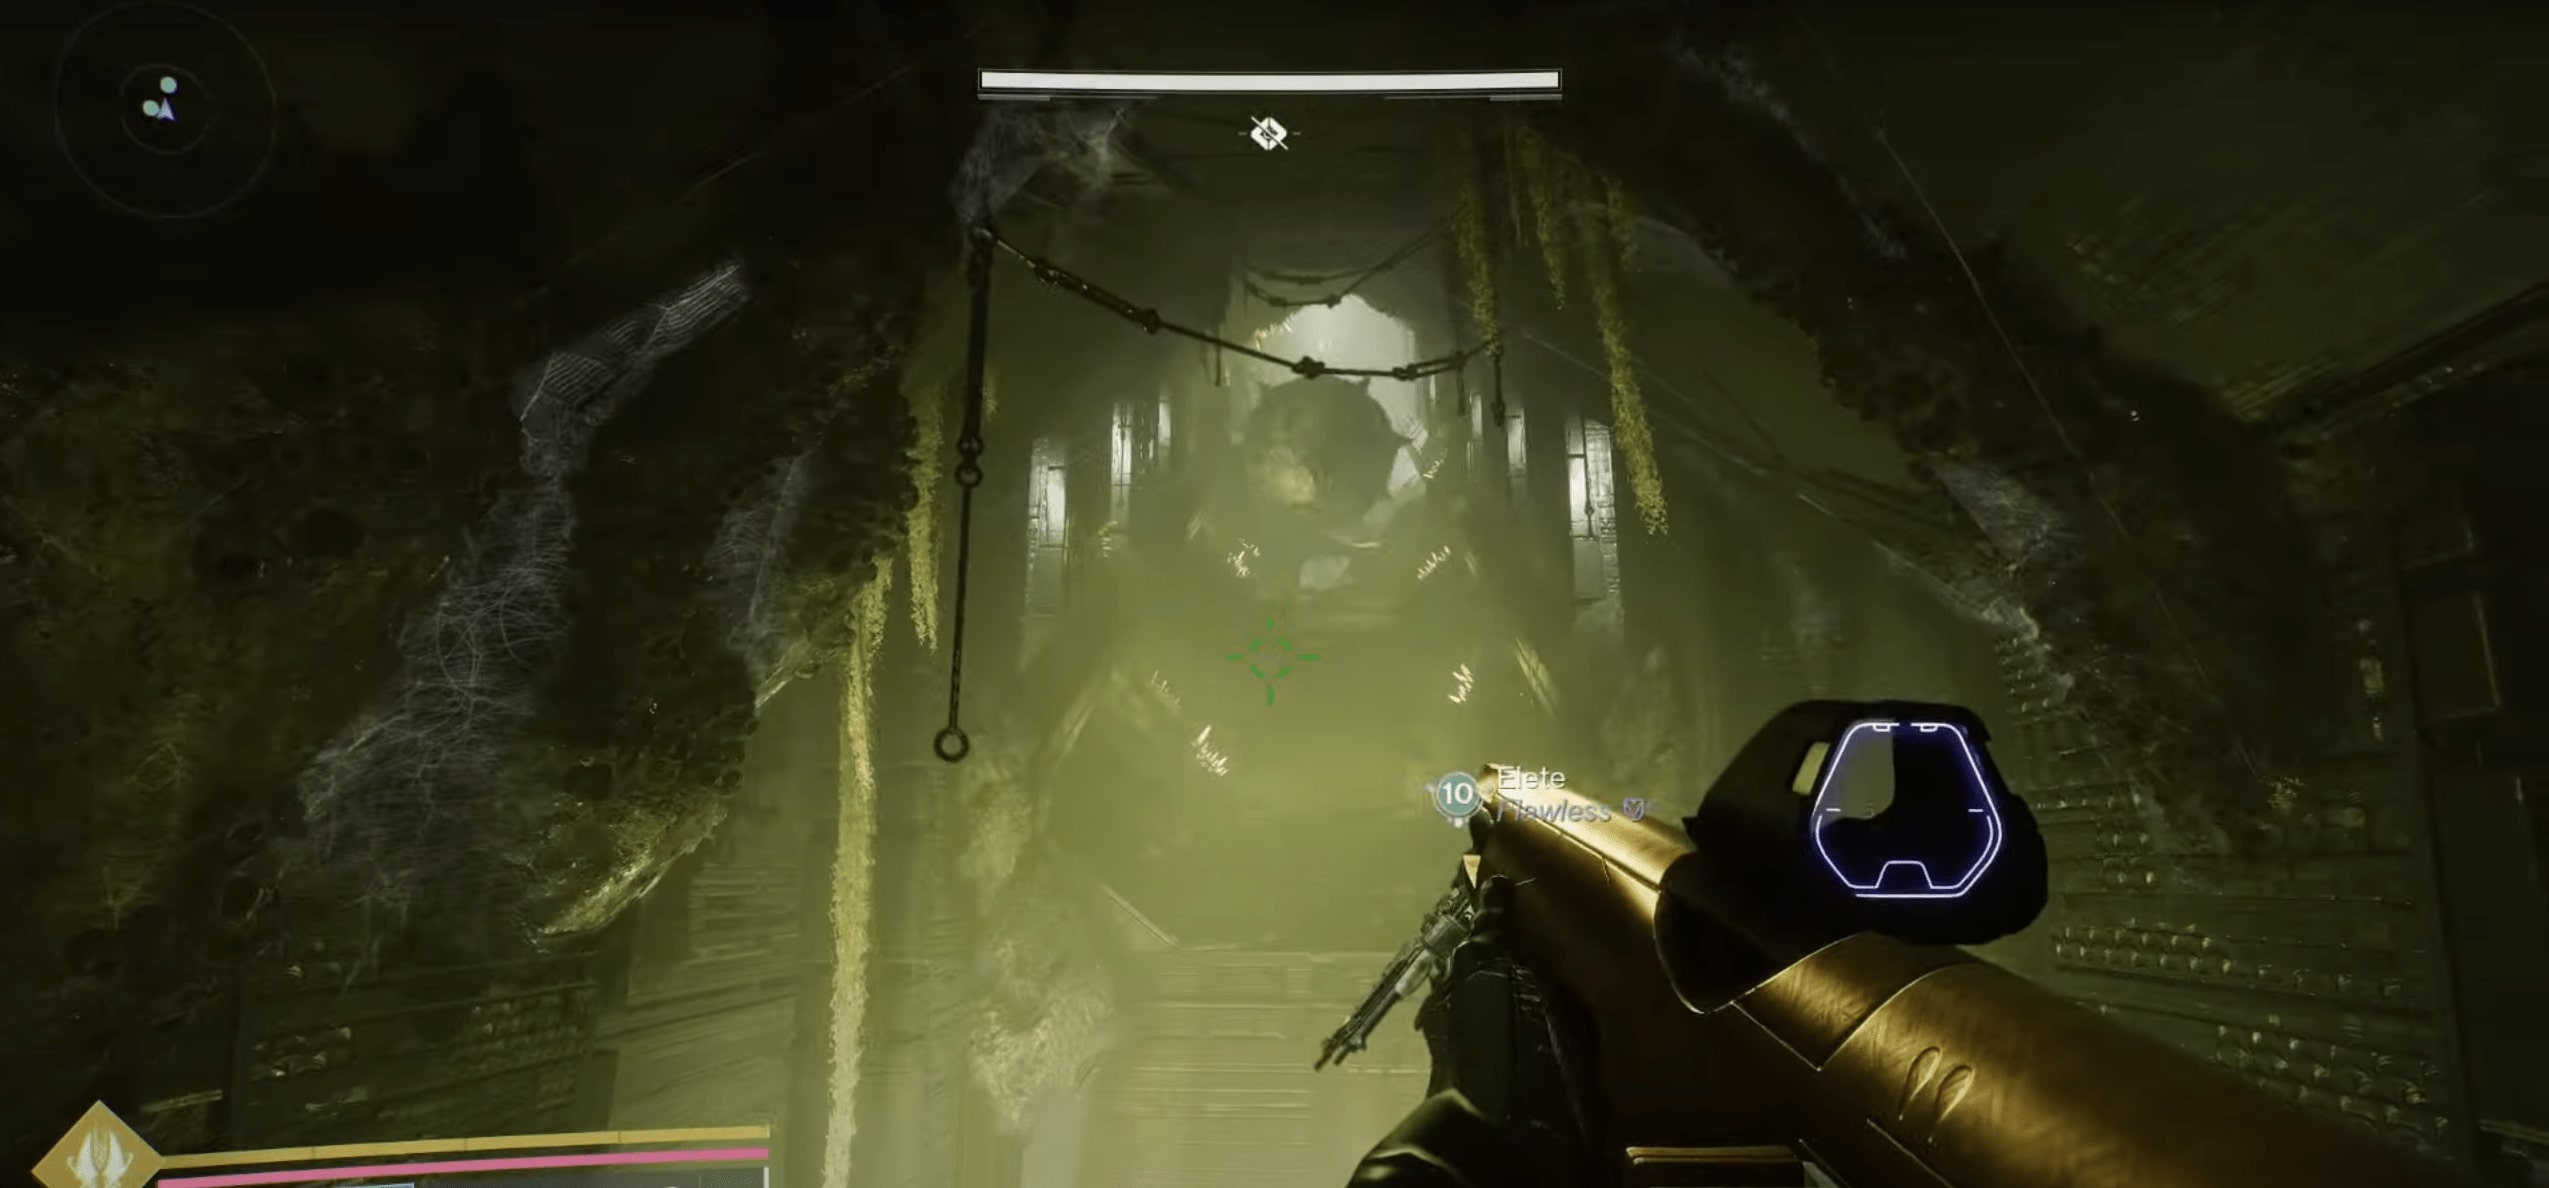
After completing the puzzle, descend through a new stairway, falling into a swampy labyrinth. Follow these steps to escape:
1. Turn right, go straight, and fall down a ledge.
2. Head toward a red glowing light and jump over it to a staircase.
3. Turn left twice, fall down another hole, and exit.
You'll reach an open area with Dread enemies. Either fight them or run past them. Locate a bridge with a glowing yellow crystal near a doorway—this leads to the next challenge.
Secret Chest #1
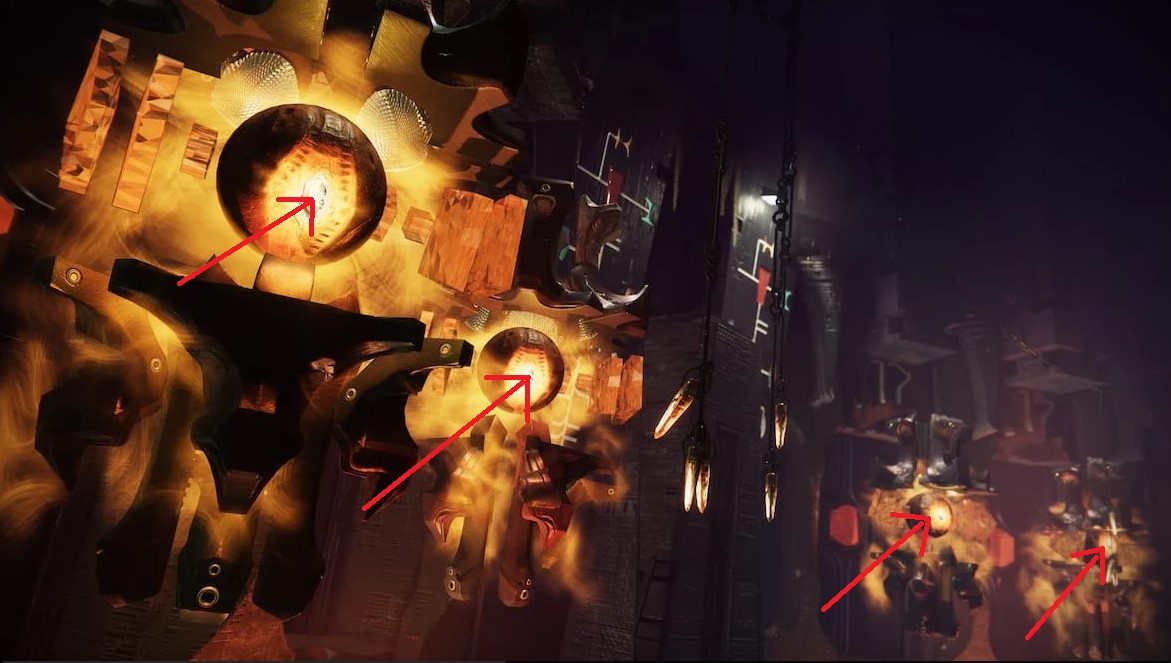
Inside the labyrinth, shoot three Darkness objects scattered around the area. This will spawn a hidden chest in the center.
Second encounter: Shrieker Boss
Objective
This encounter relies on the four wheels scattered throughout the arena. On each wheel is a glowing symbol and a rotating device at the center which indicates which way you can rotate the glowing symbol. You can shoot the small object over the wheel to change the rotation direction. Your objective is to activate all four wheels with different symbols to start the DPS phase.
Mechanics
Kill Perceptor Wizards that spawn in the left, middle, and right sides of the arena. They will drop an object called Resonance Splinter that will give you a buff. Each stack allows you to move different spaces on the wheels:
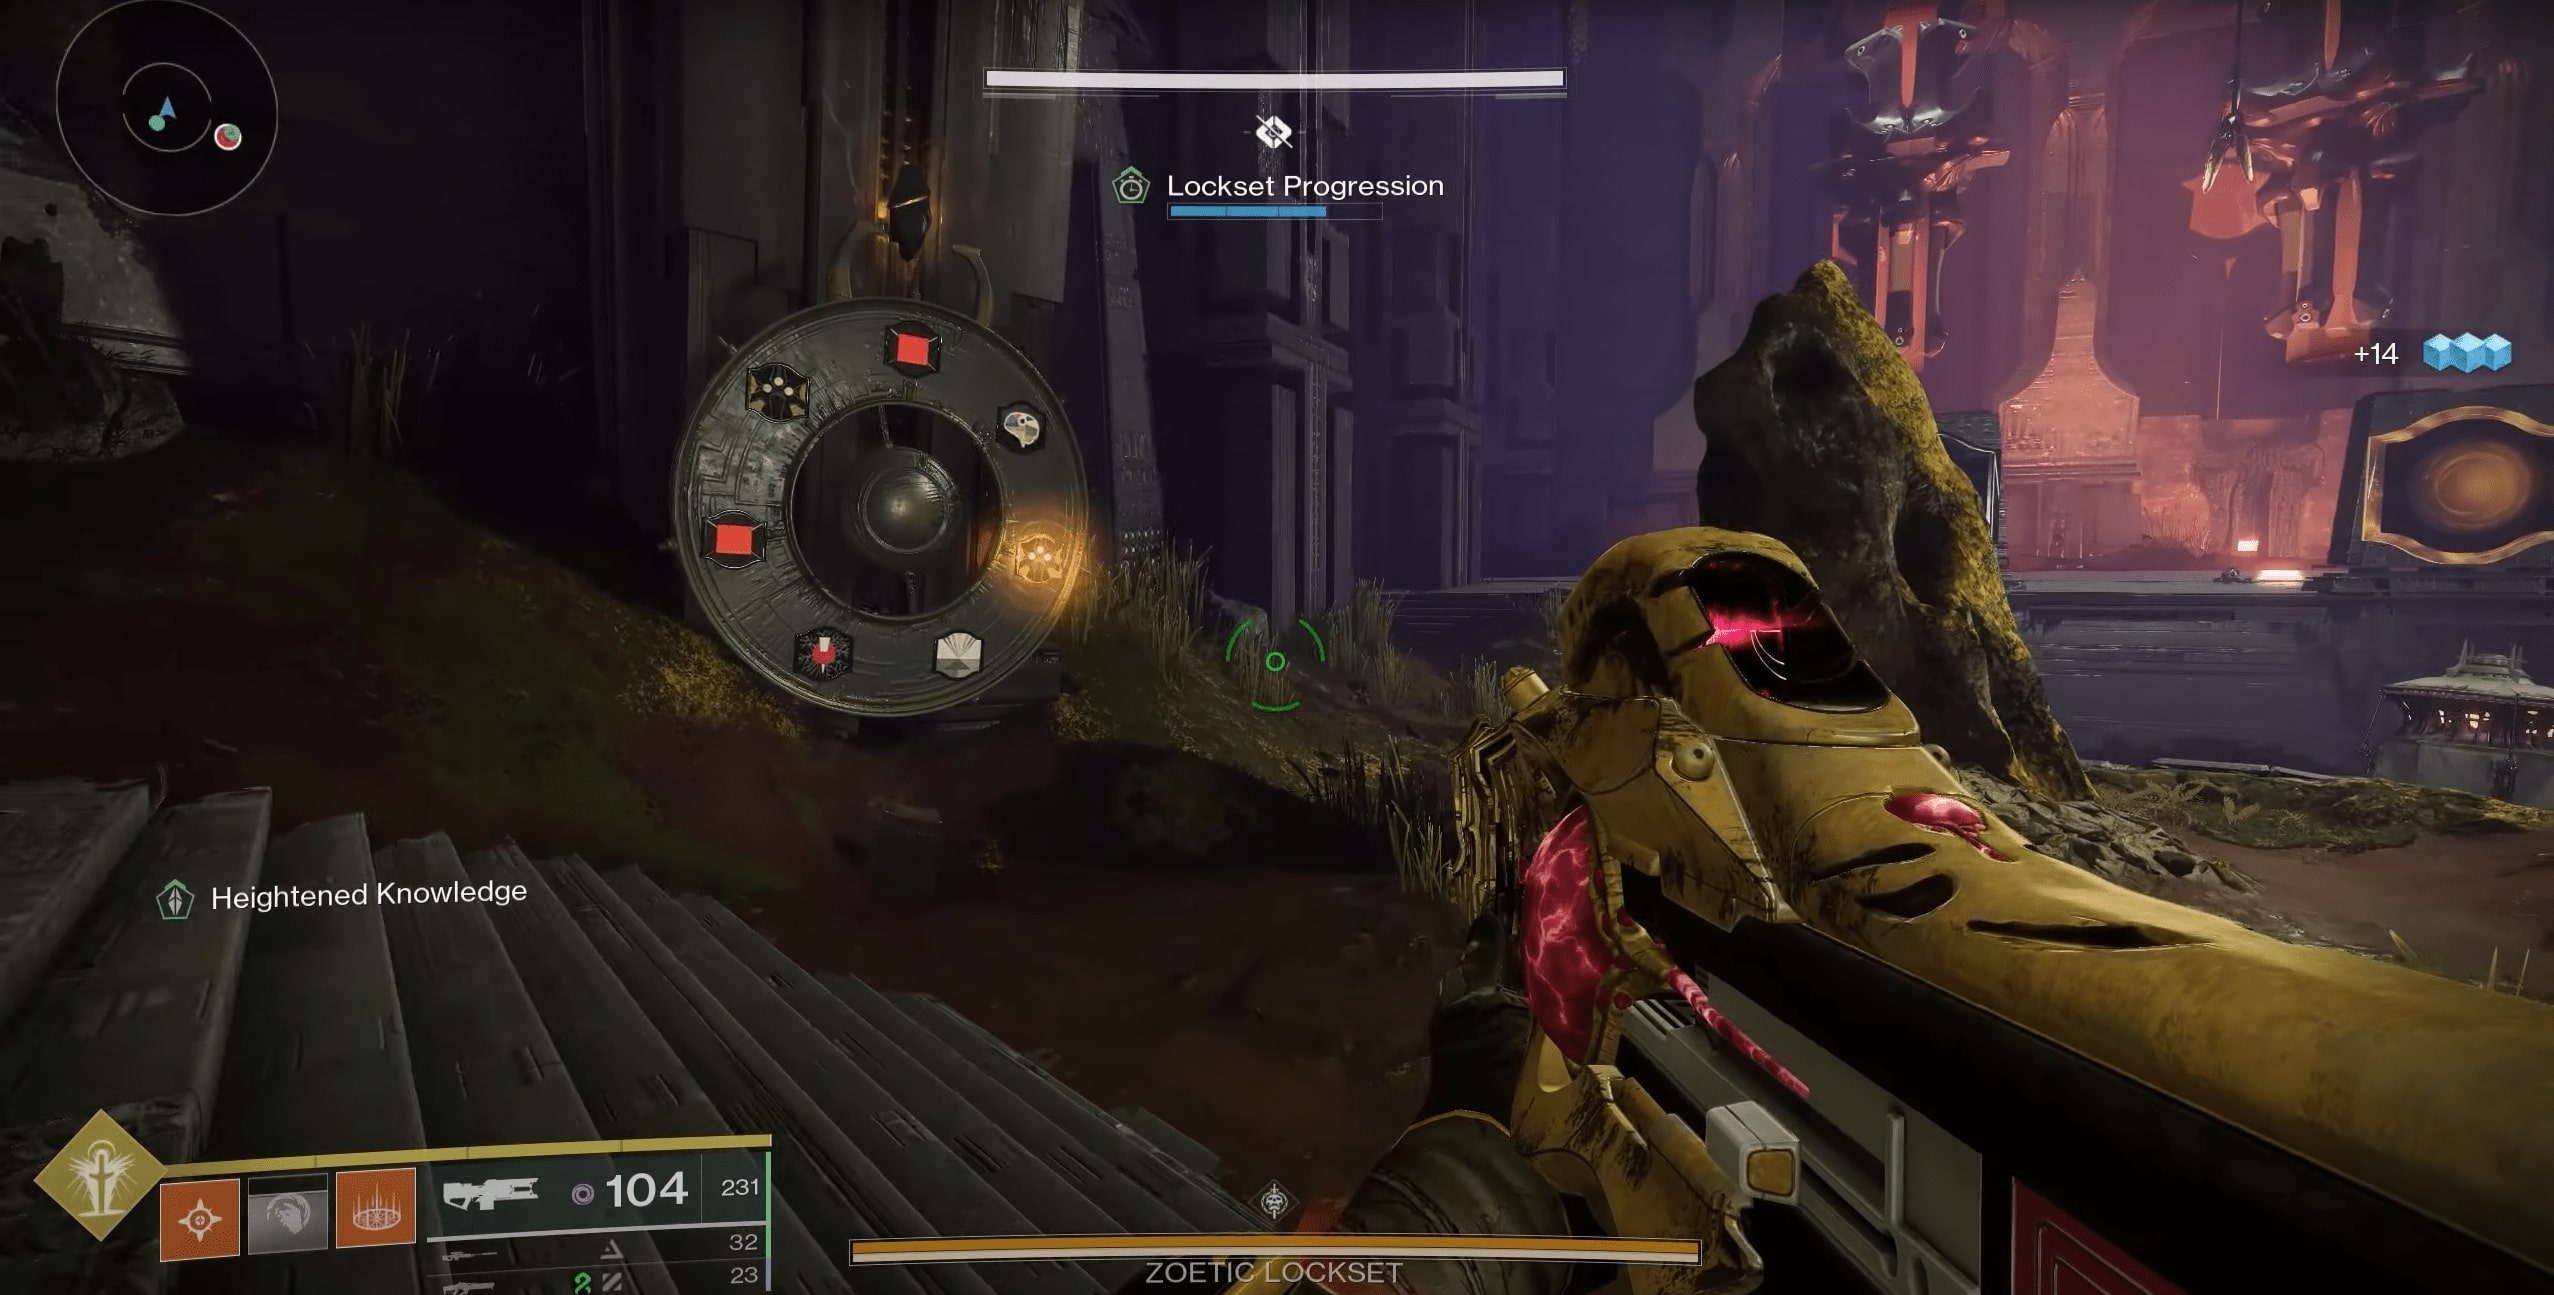
You can only carry a maximum of 3 Knowledge. You have to dunk those in front of the wheels to move it to the symbol of your choosing. Here is the symbol list and what they do:
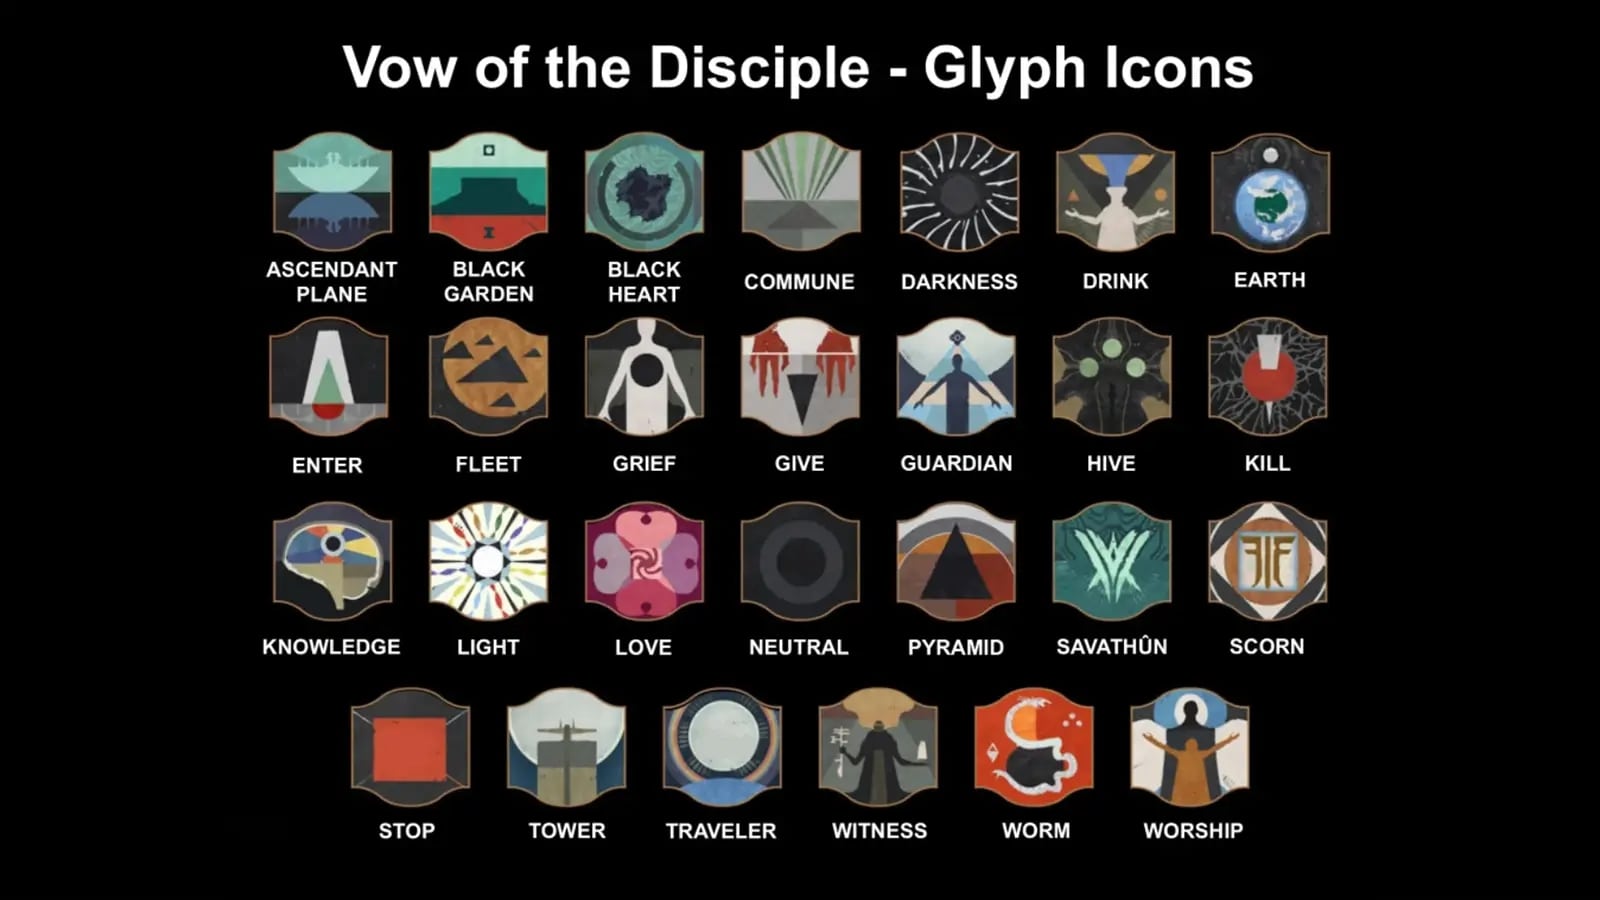
There are various strategies you can employ here, but generally, the easiest path forward is to set the symbols in the following order: STOP, STOP, STOP, KILL. Doing this will give you as much breathing room as possible, and having Kill in the final slot (the one on the far left) seems to grant the most time for the damage phase.
Doing DPS is quite simple, as you can attack any of the four Shriekers, so pick a target and focus all your fire there. A good strategy for not getting killed is to hang back near the stairs at the centre of the room, which you can use for cover.
Best weapons to use for DPS are: Sleeper Simulant, Queensbreaker (with catalyst), Grand Overture, or any other good linear fusion rifle you have.
Key Tips
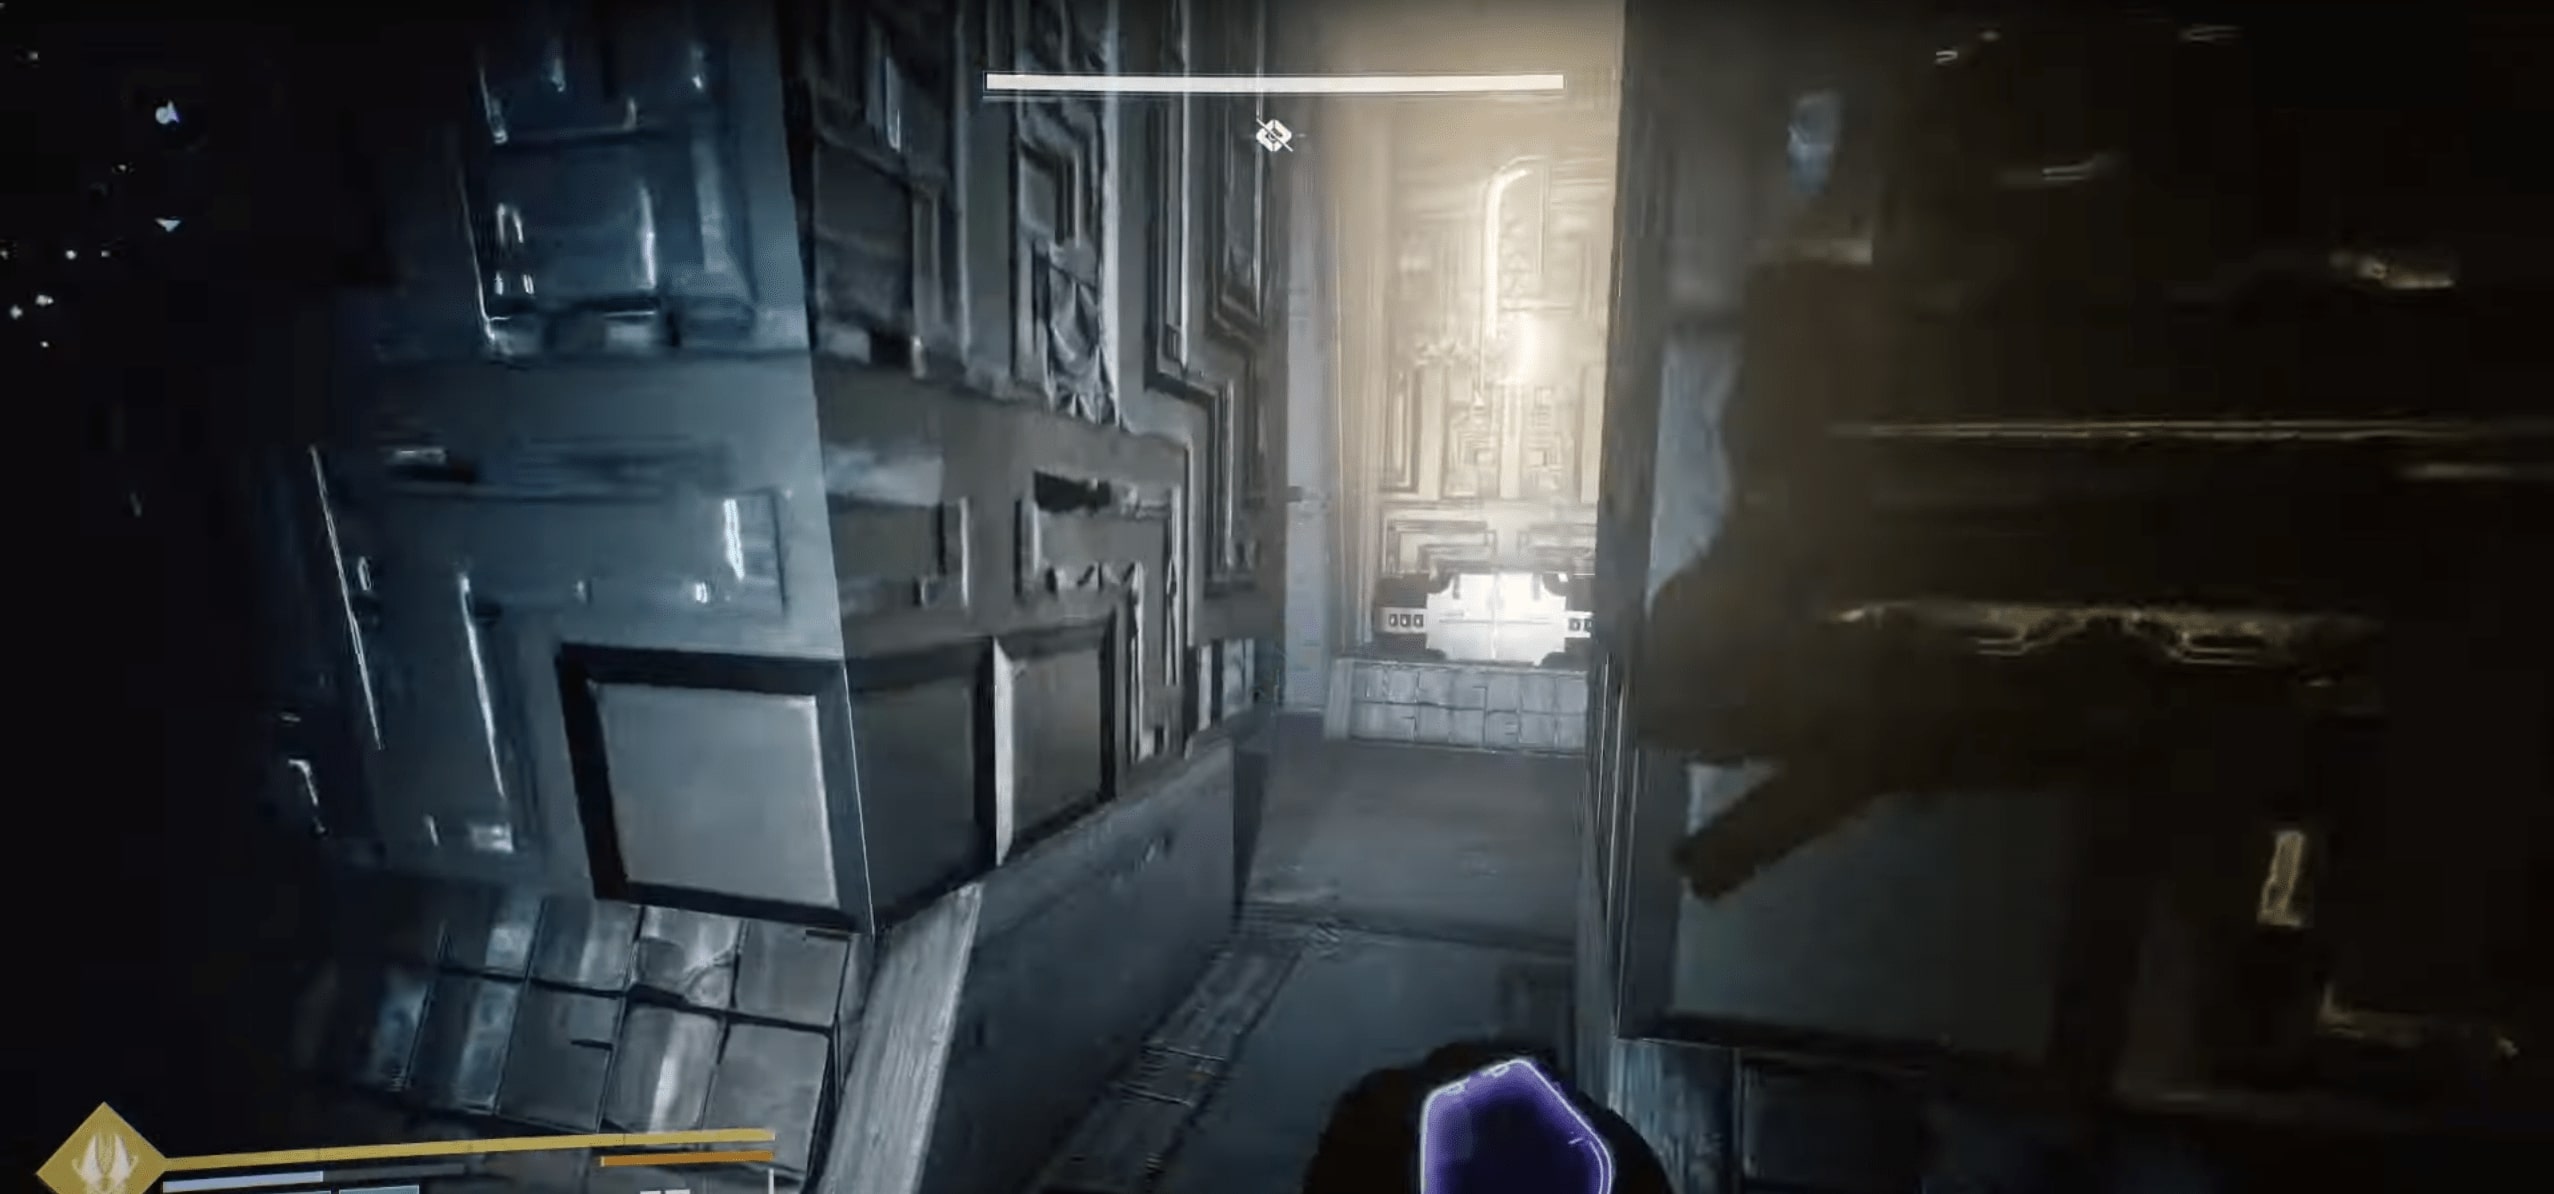
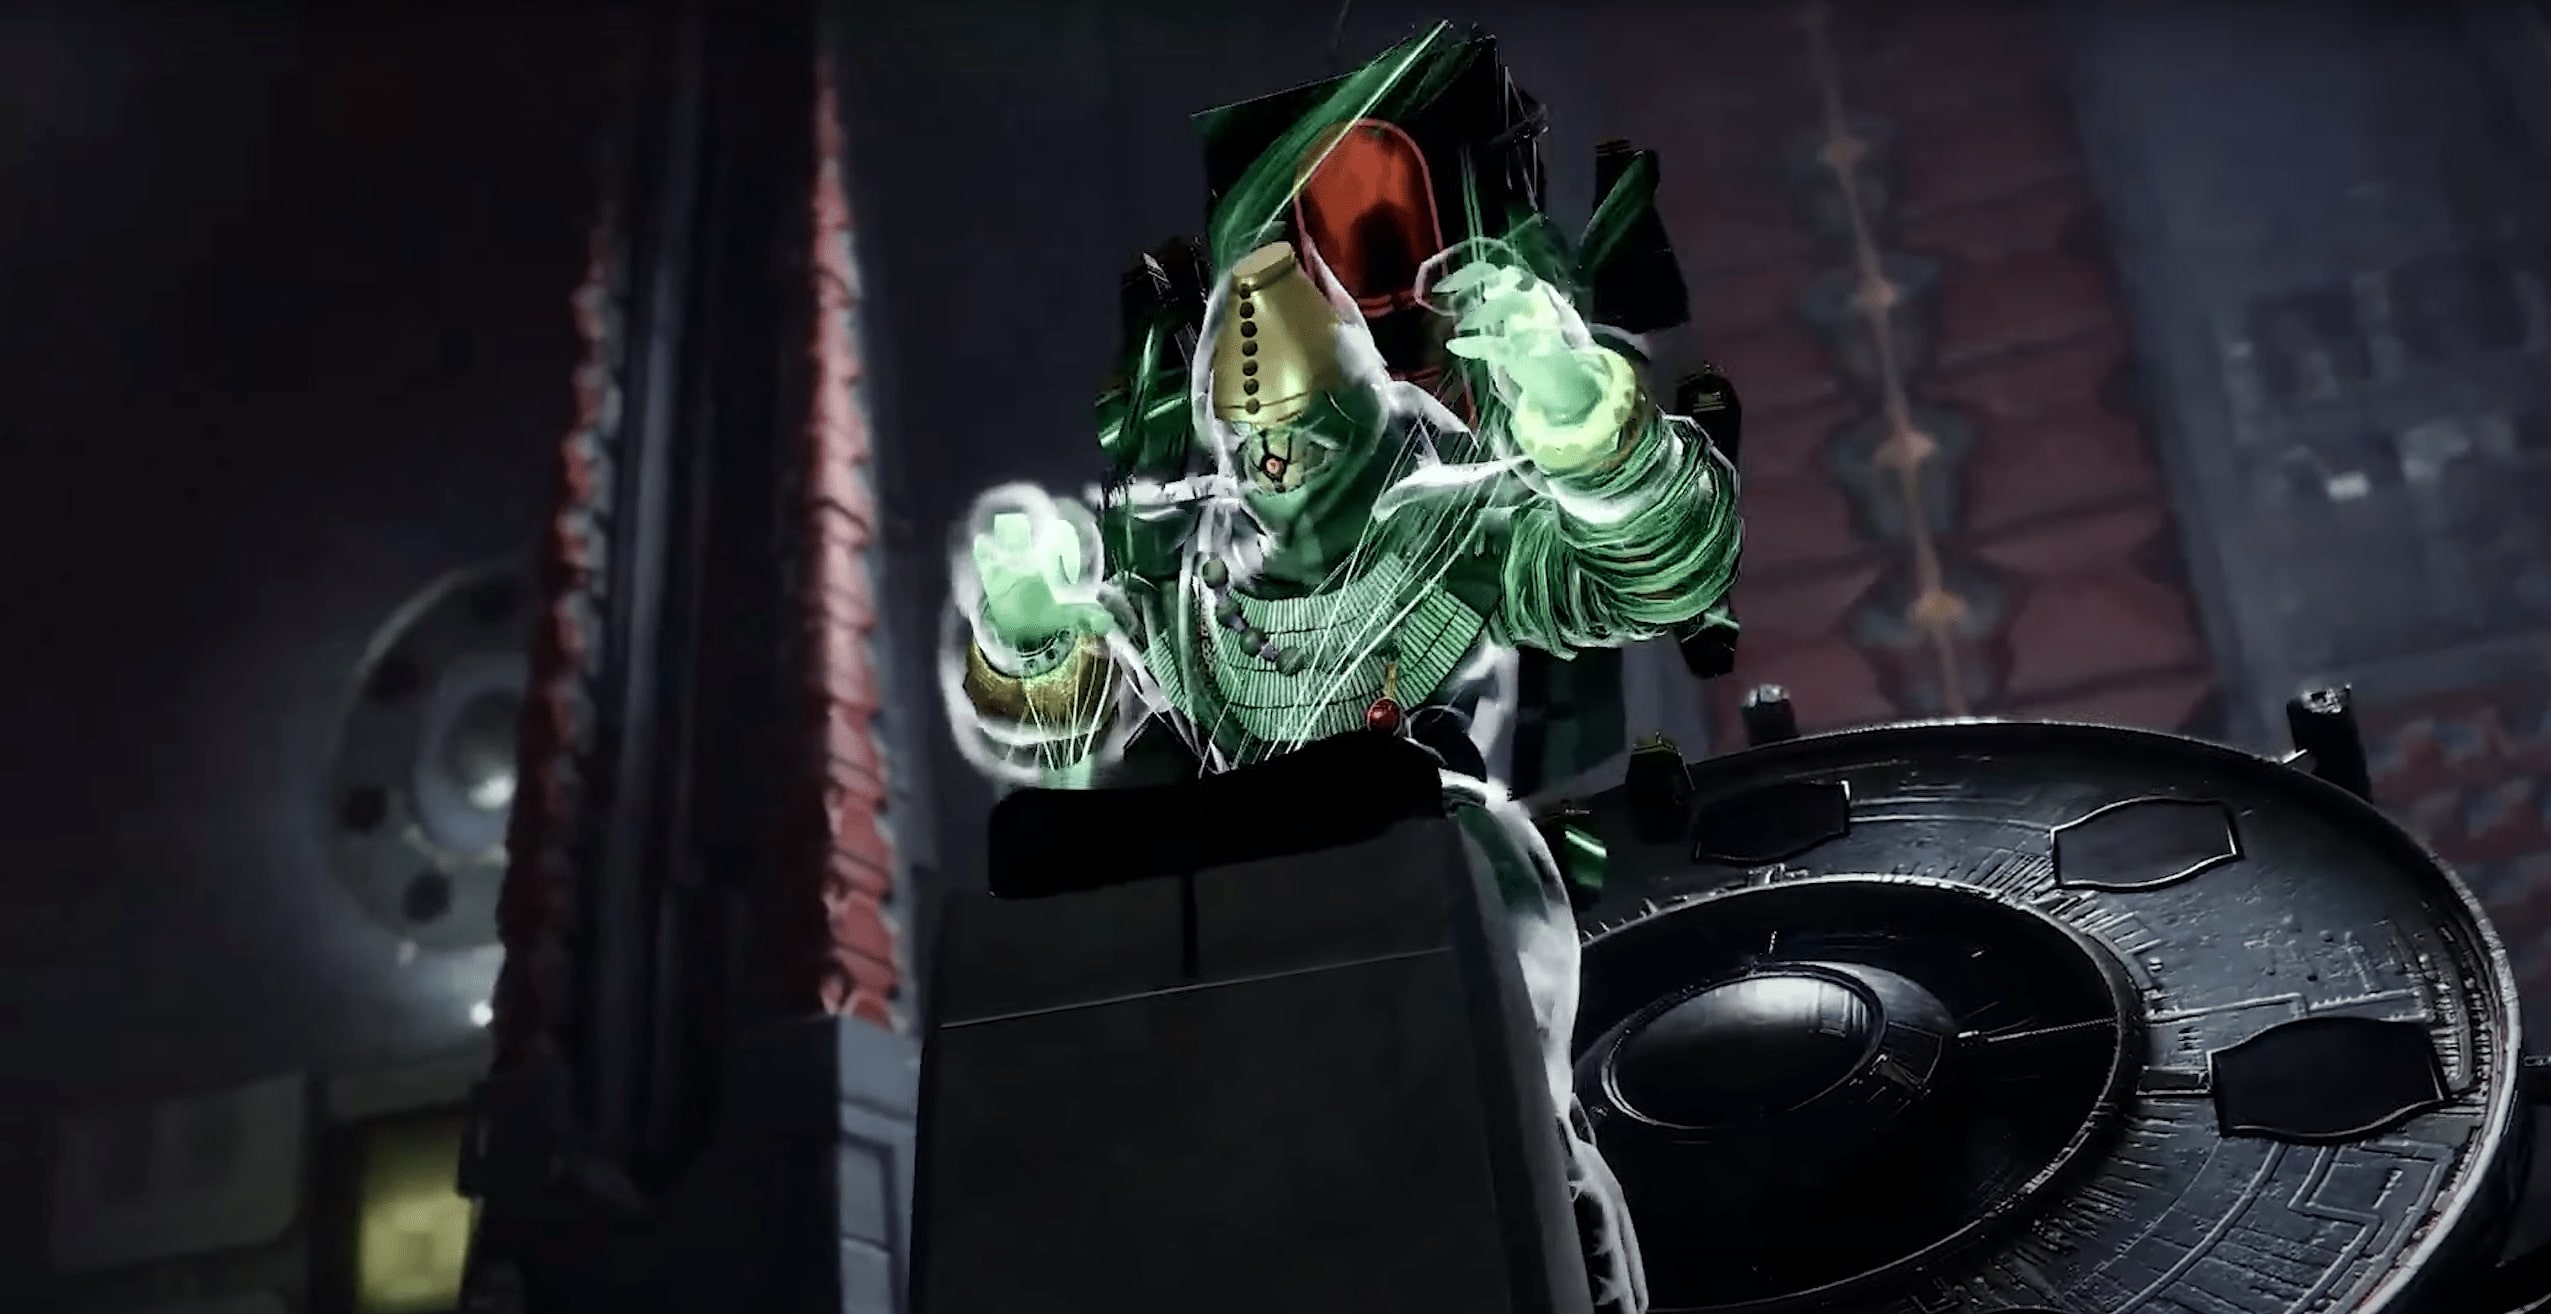
Entering the boss encounter
After the Shriekers, shoot and move a large dead sphere into a designated dish to unlock the next passage.
Proceed through a waterfall, a skull-shaped doorway, and red-lit tunnels until you reach a worm skeleton. Pass through its ribcage tunnel to progress.
You'll enter another light-reflection puzzle room. Guide the Enter and Worm beams into their corresponding wheels. Once aligned correctly, the path forward unlocks.
Secret Chest #2
Before proceeding, check inside the bones of the worm skeleton; a second hidden chest can be found here.
Boss Encounter: Kerrev, The Erased
Objective
The final boss arena consists of a large central room, with side rooms on the left and right. Here, we will have to take down the last boss of the dungeon, Kerrev The Erased.
The final boss has an invincibility shield, which we will need to use certain mechanics to bring it down. You will have to use light beams again to illuminate specific symbols, just like in the first encounter, but now there's a twist.
SKIP THE GRIND BUY SUNDERED DOCTRINE BOSS KILL!
Mechanics
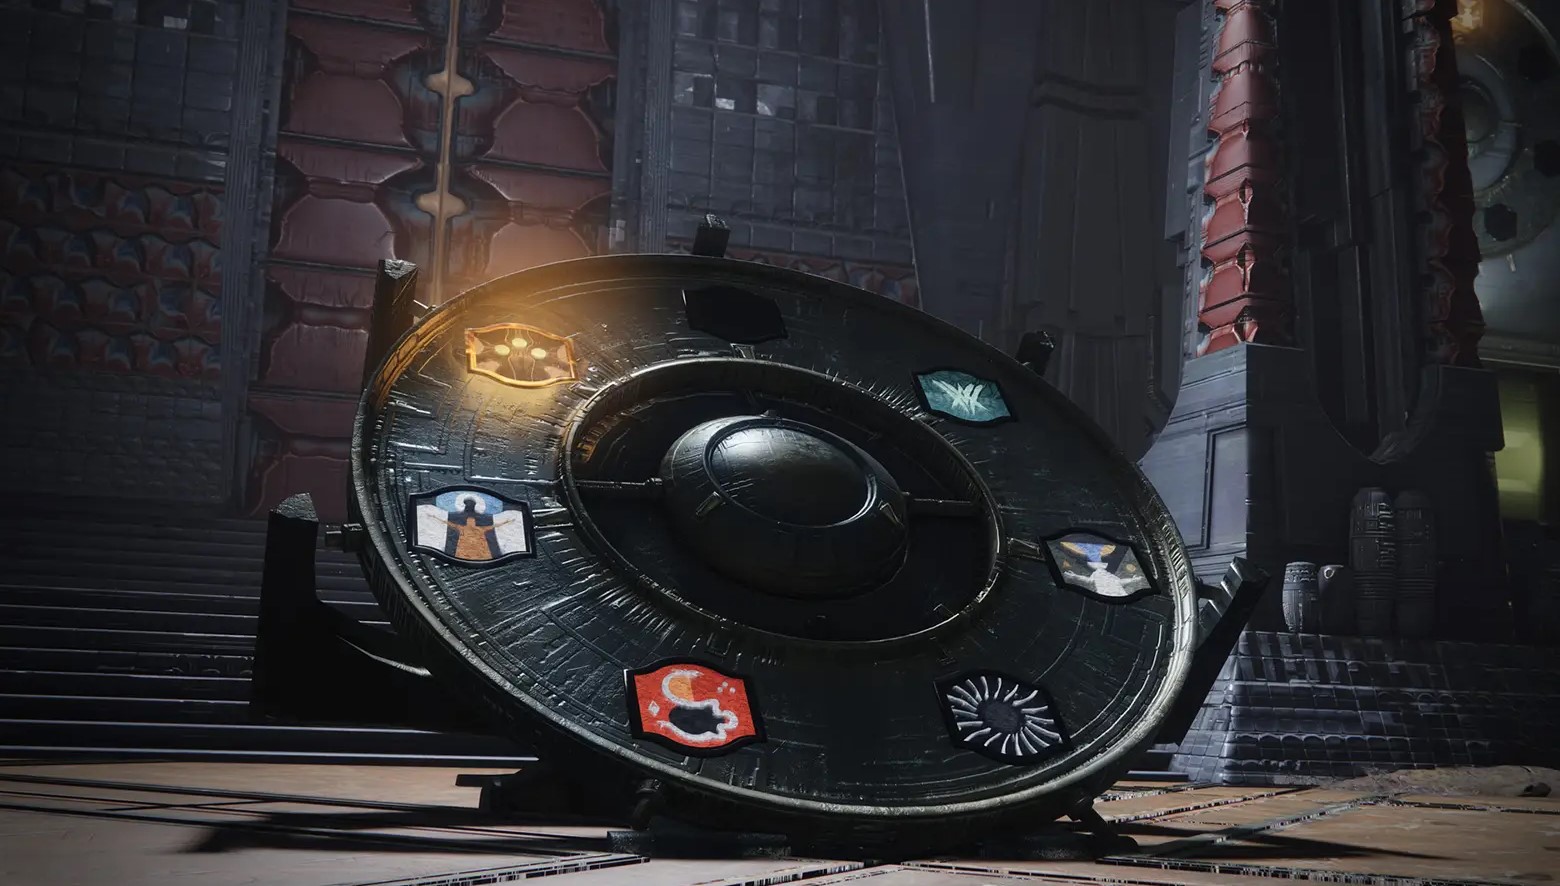
In the back of the room, behind the boss, you will find a symbol wheel. There are six symbols on it, three on the left and three on the right. First thing to do is write them in the chat so you don't have to memorize them.
You will need to find a Truthseeker enemy in one of the rooms. He can only spawn in either the left or the right room, never in the middle one. To enter the left room, you will have to shoot it with a fast-firing weapon, like an LMG. To enter the right room, you need to jump on the rectangular structure.
Kill the Truthseeker and see what symbol he drops. Whichever side of the wheel the Truthspeaker symbol is on, you must darken the symbols on that side, and illuminate the symbols on the opposite side.
Each of the symbols you need can be found in one of the three rooms, with a lens nearby that you can use. Many of the lenses will be locked with Strand energy, and to destroy them you need to kill Unwritten Attendants enemies to gain the Unwritten Empowerment buff. Be careful, as each one you destroy will spawn Threadlings that will lock on you and can kill you.
Once you are certain that you chose the correct three symbols, you can go and interact with the main symbol wheel in the main room. As soon as you do that, you will trigger a massive burning effect in the entire arena that will lower the boss shield, so you need to go and hide behind one of the four pillars in the room or you will die.
Once his shield is down, DPS starts. I recommend you to move to the left side of the room, right before the left room door, since it can provide good cover from the ads. A great way to deal damage is to have someone use Divinity, letting the rest hit critical hits much easier. Sleeper Simulant, Grand Overture, Linear Fusion Rifles & Sniper Rifles are all great for doing damage.
Key Tips
Loot Table
SKIP THE GRIND BUY SUNDERED DOCTRINE WEAPONS!
Here we'll be showing you every piece of loot you can acquire from the dungeon. Just like previous dungeons, Sundered Doctrine features 4 legendary weapons, 1 exotic, 1 normal armour set & 1 artifice armour set (for a complete Loot Pool guide, click here). Below you will find a list with all the weapons & armour pieces:
| Puzzle (1st Encounter) |
Zoetic Lockset (2nd Encounter) |
Kerrev, The Erased (Final Encounter) |
|
Unsworn Trace Rifle 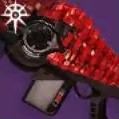


|
Unworthy Scout Rifle 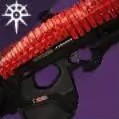

.jpg)
|
Finality's Auger Trace Rifle .jpg)


|
|
Unloved Hand Cannon 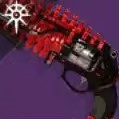
|
Unsworn Trace Rifle
|
Unworthy Scout Rifle
|
|
Unworthy Scout Rifle
|
Unvoiced Shotgun 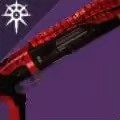

|
Unsworn Trace Rifle
|
|
Flain Helmet 
|
Flain Helmet
|
Unloved Hand Cannon
|
|
Flain Arms 
|
Flain Arms
|
Unvoiced Shotgun
|
|
Flain Legs 
|
Flain Legs
|
Flain Helmet
|
|
Flain Arms
|
||
|
Flain Chest 
|
||
|
Flain Legs
|
SKIP THE GRIND BUY SUNDERED DOCTRINE EXOTIC!
Extras & Challenges
Like in the previous dungeons, Sundered Doctrine also has master difficulty, a certain number of collectables, a title (or seal), solo & flawless triumph that awards a unique emblem & special badge on your dungeon report. We’ll be going over each of them and tell you what are the best tips & tricks on acquiring them.
Cosmetics
Solo & Flawless
Conquering Sundered Doctrine dungeon solo flawless is a true test of a guardian's skill. Solo flawless demands perfect preparation, from optimizing your build with the right subclass, exotic armor, and weapon loadout to mastering the dungeon's encounters.
Completing the dungeon solo flawless awards you with a unique emblem that you can use to show off to other guardians, while also giving you a special badge on your raid report that you’ve completed the dungeon solo flawlessly.
Master Difficulty
The Sundered Doctrine dungeon has normal & master difficulties to choose from. Completing the dungeon on master difficulty is required to complete the Delver title (seal). There are certain modifiers that makes the Master difficulty hard to complete:
DON'T WASTE TIME! BUY SUNDERED DOCTRINE PRODUCTS!
Title & Seal

The title for the Sundered Doctrine Doctrine is called Delver. Below you will find the list with all the required triumphs needed to acquire your seal:
After you complete all 10 triumphs, the Delver seal will be unlocked so you can equip it on all your guardians.
SKIP THE GRIND BUY SUNDERED DOCTRINE TITLE & SEAL!
FAQs
The Sundered Doctrine dungeon starting location is on Savathun’s Throne World, but the actual activity takes place on Rhulk’s pyramid ship.
Yes, being the most recent dungeon released, the Sundered Doctrine dungeon is farmable. However, if you want to farm for the exotic, you can only do 3 weekly runs, one on each character.
Yes, you can solo the dungeon and even solo flawless the dungeon, although it will be very challenging due to encounter mechanics and difficulty.
Yes, you need to have either the Final Shape Deluxe Edition or the Final Shape Dungeon Key purchased.
Final Thoughts
I hope this guide will ease your experience with the Sundered Doctrine dungeon encounters and help you get one step further to success. We did all the research, and now it’s your turn to show your skill. Give it a try, Guardian!
About KBoosting
If you are struggling to find a fireteam or don't have enough time to play yourself, at KBoosting, besides articles & guides, we also provide Destiny 2 boosting services. All you need to do is check our Sundered Doctrine boosting services and let us handle everything for you, while you have some fun in the game!
