Vesper's Host Guide – Complete Destiny 2 Dungeon Walkthrough


-
Bundle

- Powerful & pinnacle gear with 25% off
- Increase your power level easily
-
Hot


-
Sale 15%Ends in 13h 39m 56s
-

-
-
-
Hot
- Get random rolls or the desired god roll
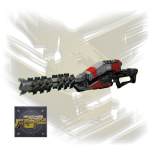
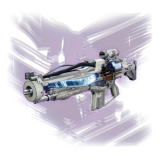
- Vesper's Host dungeon auto rifle
-
-
-

- Vesper's Host quest with 45% discount
- Unlock Icebreaker catalyst & secret chests
- Weapon & armor targeting

-
-
Bundle

- Vesper's Host bundle with 30% discount
- Get all Vesper's Host dungeon loot
Introduction
The Vesper's Host dungeon was released in Destiny 2 during Episode: Revenant. The guide will take you through every step needed to complete it, covering all mechanics, strategies, and loadouts.
Table of Contents
In this guide, we will cover the following subjects:
- Dungeon Preparation
- How to access the dungeon
- First Encounter
- Second Encounter
- Boss Encounter
- Loot Table
- Extras & Challenges
- FAQ
- Conclusion
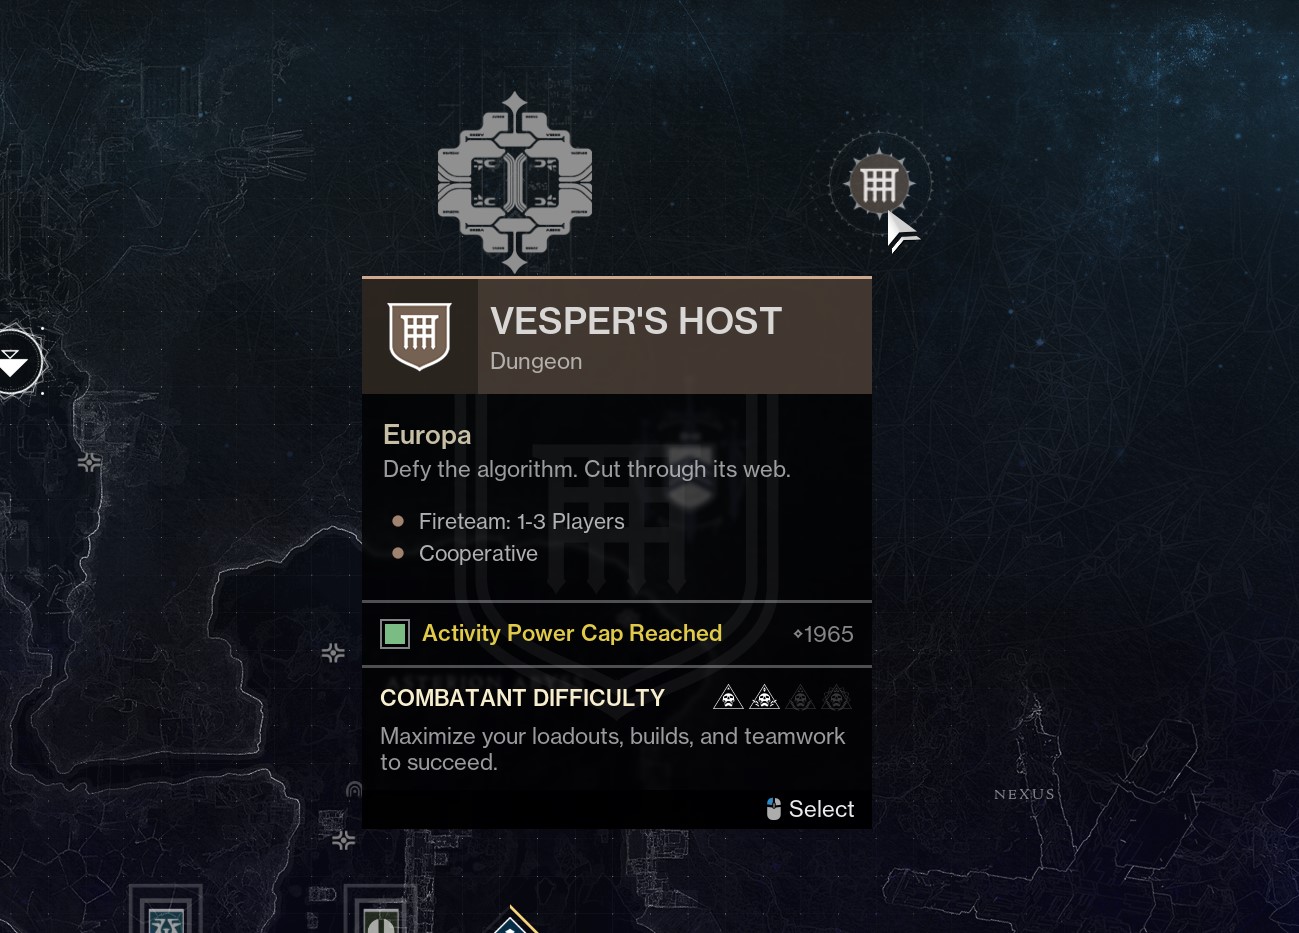
How to access the dungeon
Before starting the Vesper's Host dungeon, you must meet the required prerequisites to be able to launch the activity:
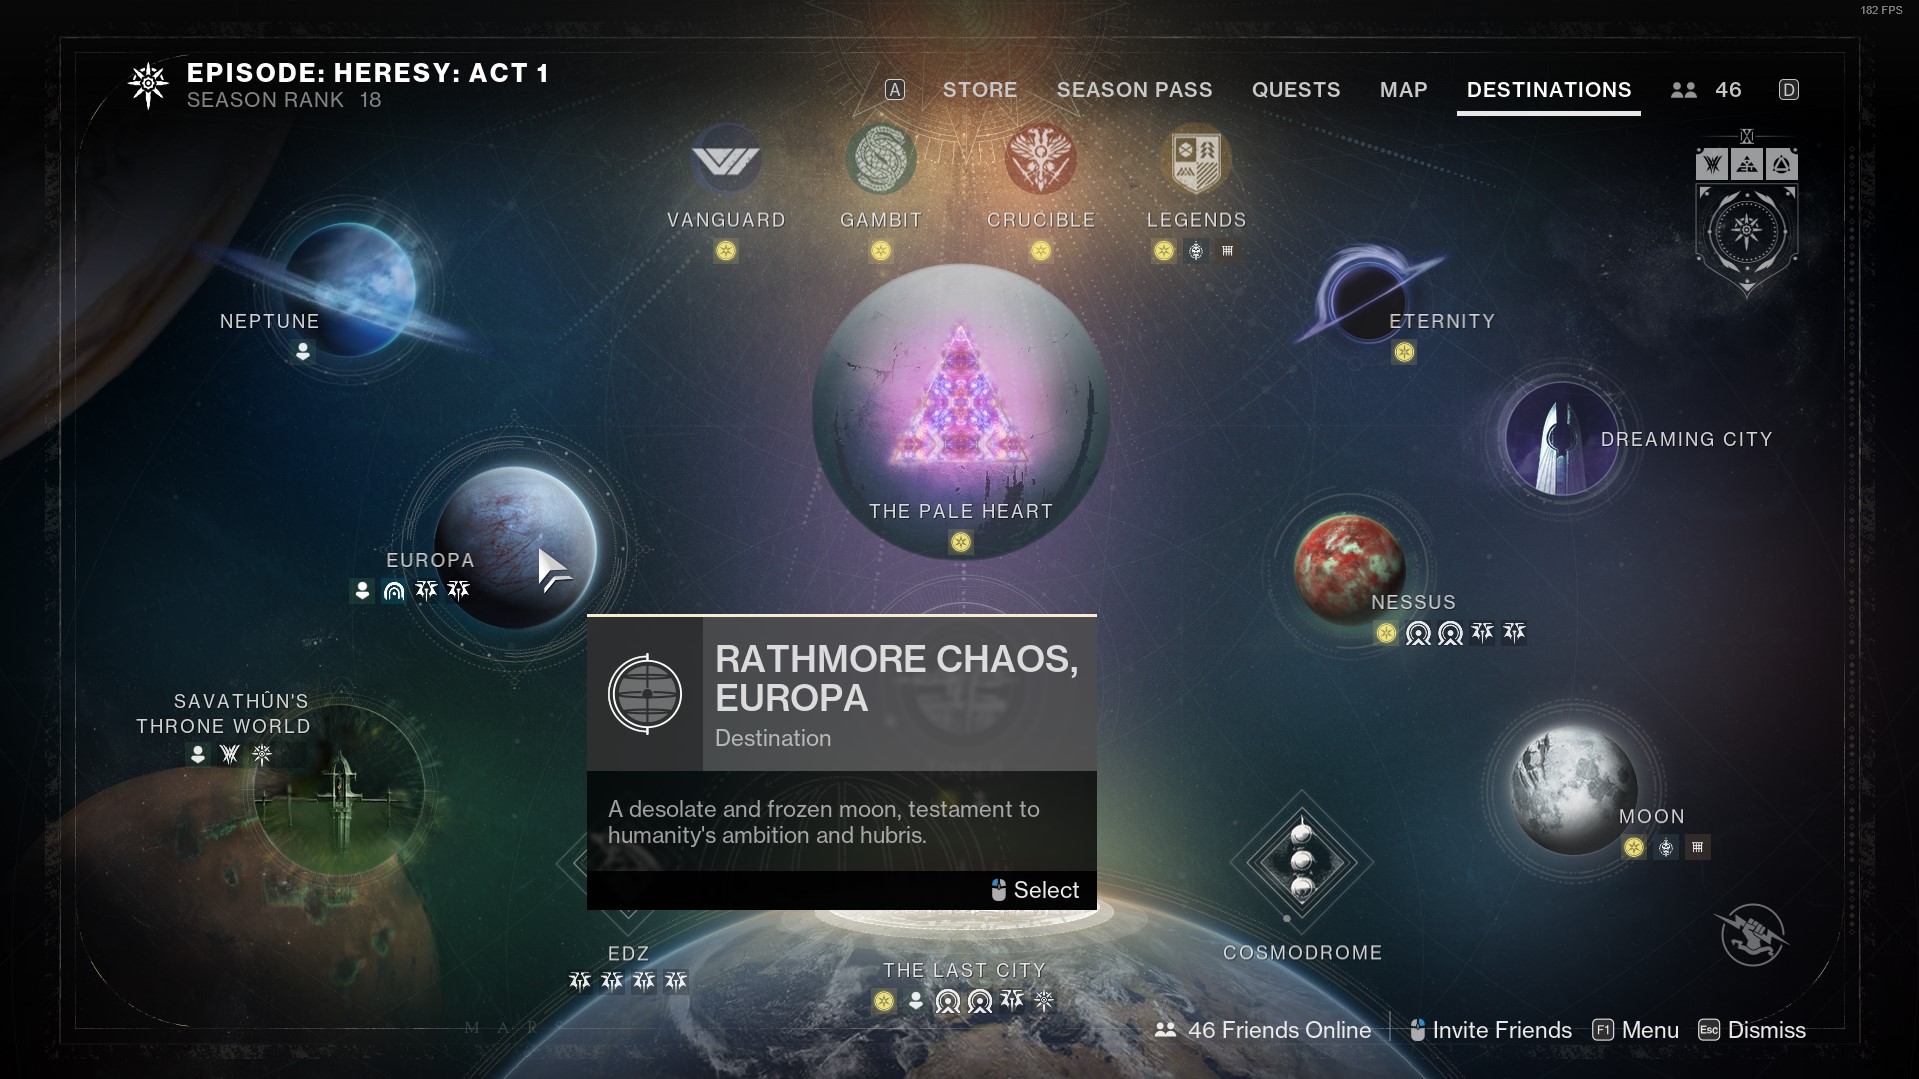
You must open the destination menu and find the activity icon on Europa.
Dungeon Preparation
Vesper's Host is one of the hardest dungeons in Destiny 2, so being prepared with the best meta loadouts will help you out immensely during each encounter. I’ll be going over some of the best weapons & subclasses that you should be using to ensure your success.
Best subclasses & builds
SKIP THE GRIND! BOOST YOUR GUARDIAN NOW!
Getting started
Before launching the dungeon, head to the Last City and talk to The Spider. Pick up the Rogue Network quest. The quest tasks you with completing the dungeon a few more times & grab certain collectables on the way, and completing it lets you focus weapons & armor from the Vesper's Host dungeon.
Once you’ve obtained the quest, navigate to Europa and locate the dungeon marker in the top right corner.
Best weapons loadouts
Here, I’ll be going over some of the best meta weapons to use in the Vesper's Host dungeon:
SKIP THE GRIND BUY VESPER'S HOST CARRIES!
Reaching the first encounter
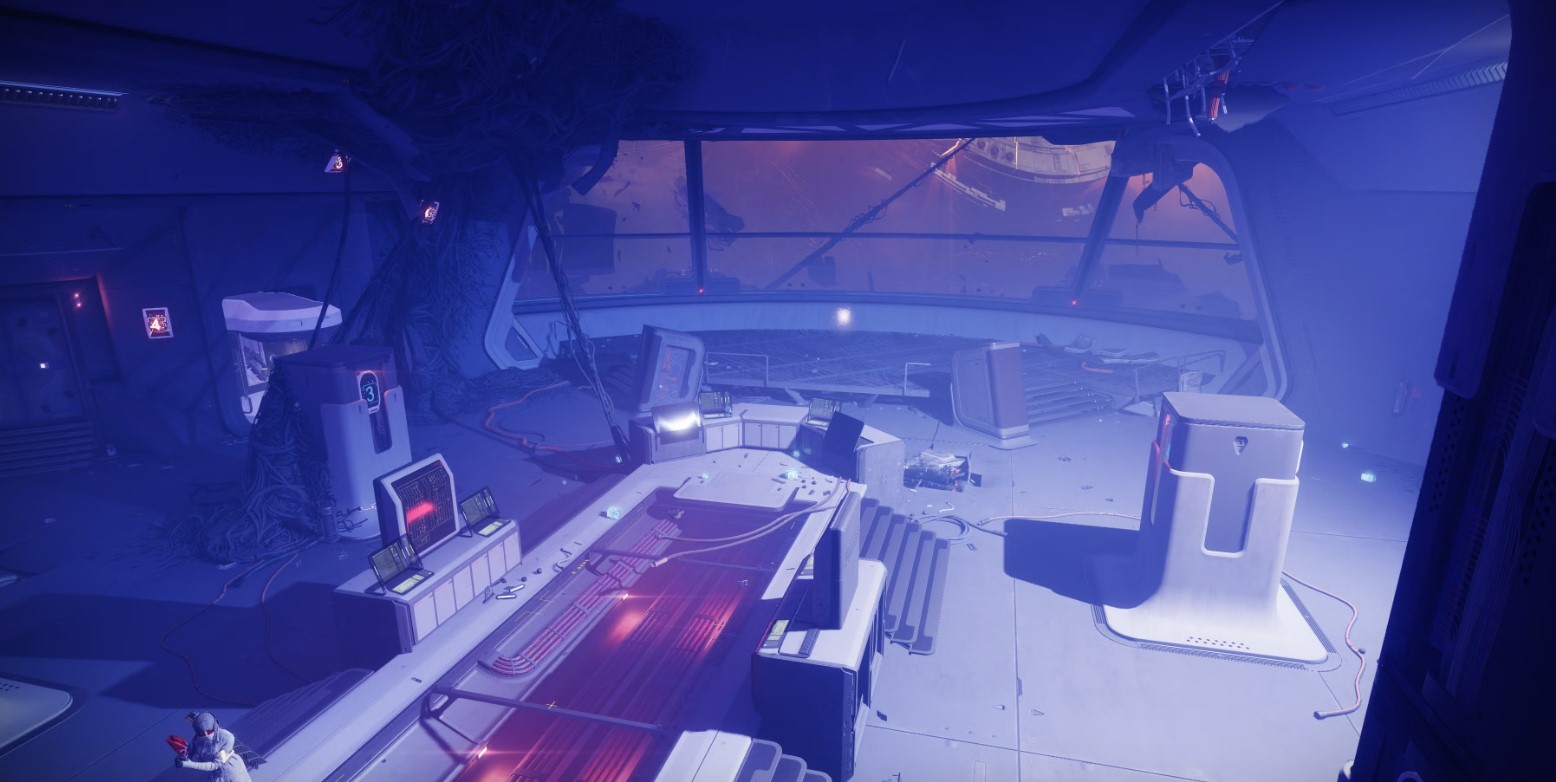
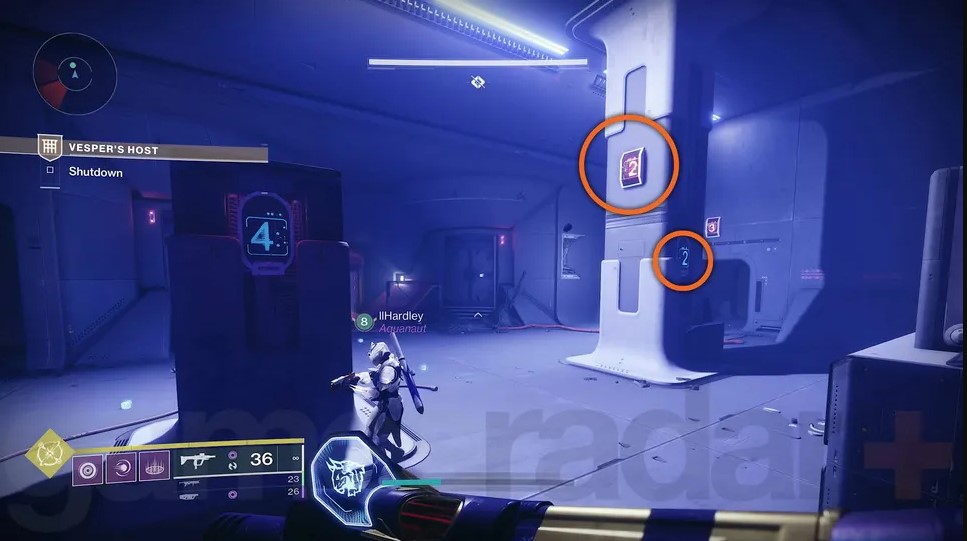
After spawning, follow the bridge until you reach a room filled with tall containers. Here you will learn the main mechanic of the dungeon. If you ever played the Deep Stone Crypt raid, it's basically the same. There are 3 main augments that can be picked up by killing the corresponding Fallen enemy:
The Scanner augment is used to identify what panels need to be shot by the Operator. You will have to approach the panels and the icon on your radar will either dissapear or turn white. If it dissapears, it's not the correct pannel. If it turns white, it's the correct one and you can call it out to the Operator.
The Operator augment is used to shoot the correct panels that the Scanner indicates.
When you have the Suppressor augment, you can press your grenade button to generate a hologram. This will be used in sections where you must deal with invulnerable enemies. Drop a hologram next to them and they will start attacking it. You can either let them destroy it or you can shoot the hologram so it blows up and it makes them vulnerable to damage.
All those augments come with timers. Once you pick up an augment, a timer will be shown on top of your screen. If timer reaches 0 and you still have the augment on you, you will die. But don't worry, you can place your augment into special augments stations. If you pick it up again, your timer resets.
First encounter: Activation
General Objective Overview
Once you start the encounter, there is a large sphere in the middle of the room, with 3 deposit boxes behind it. Your goal is to grab 3 Nuclear Cores from the 3 open rooms in the arena and dunk them in the 3 deposit boxes, one for each Nuclear Core.
Arena & Layout
There are 3 main rooms in the arena:
Team Roles & Asignments
Mechanics
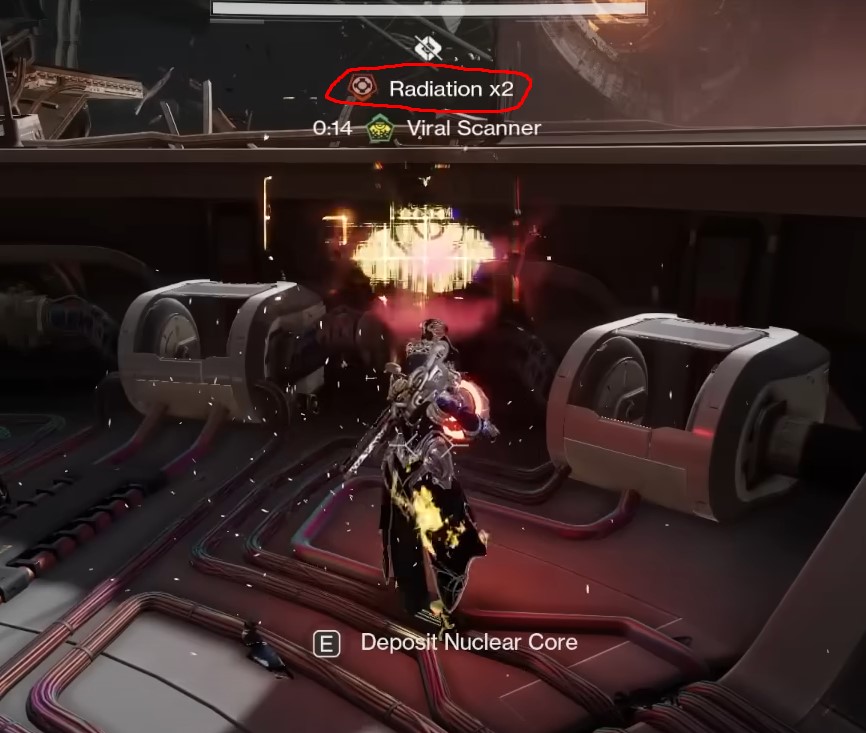
NOTE: Carrying a Nuclear Core will give you a debuff called Radiation. When this debuff reaches 10, it insta-kills you. You can either drop it on the ground and let your Radiation wear off, or get another player to pick it up from your hands.
DPS Phase
There is no exact DPS phase in this encounter. Once you place all 3 Nuclear Cores from the 3 different rooms in the deposit boxes, the encounter ends and you can grab your sweet loot.
Tips & Mistakes to Avoid
✔️ - Communicate constantly: Scanner and Operator must coordinate properly to activate the correct panels.
✔️ - Manage augment timers: Don't forget that Augments have a cooldown. Either deposit them in terminals or drop & pick them back up to reset.
❌ - Don’t ignore enemies: Clearing ads is crucial to avoid overwhelming the team.
❌ - Don't die with the core: If you somehow die with a Nuclear Core by missing a jump & falling off the map, you will need to do the acquire mechanic all over again, so be careful.
Reaching the second encounter
This intermission is called Infiltration, and requires you to once again deposit Nuclear Cores in deposit boxes, only this time they need to be in a specific order, and you need to navigate a maze while a giant Servitor follows you.
While you navigate the maze looking for Nuclear Cores, you will see that you need Power Reserves to manually open and close doors. It costs 1 Power Reserve to open a door, and you receive 1 for closing a door. This means that once you open a door and get through it, you will have to close it behind you.
General Objective Overview
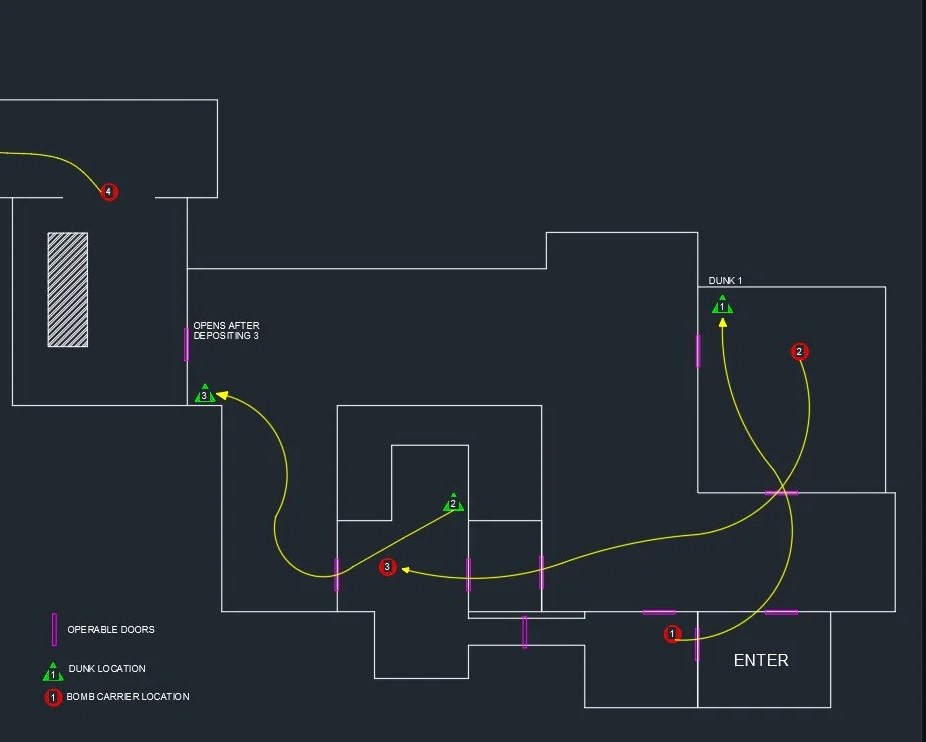
The objective here is to grab 5 Nuclear Cores and deposit them in the correctly numbered locations. You’ll get cores by defeating Captains, most of which will appear next to where you deposit a core.
Once you deposit the 5th core, a large door next to you will open. The Servitor is just outside and will begin pouring explosives into your room. Stay back to avoid them, wait for your break. You just need to run into this room a little to the left and drop down into a hole, so once the boss stops dropping bombs, make a run for it to complete this intermission.
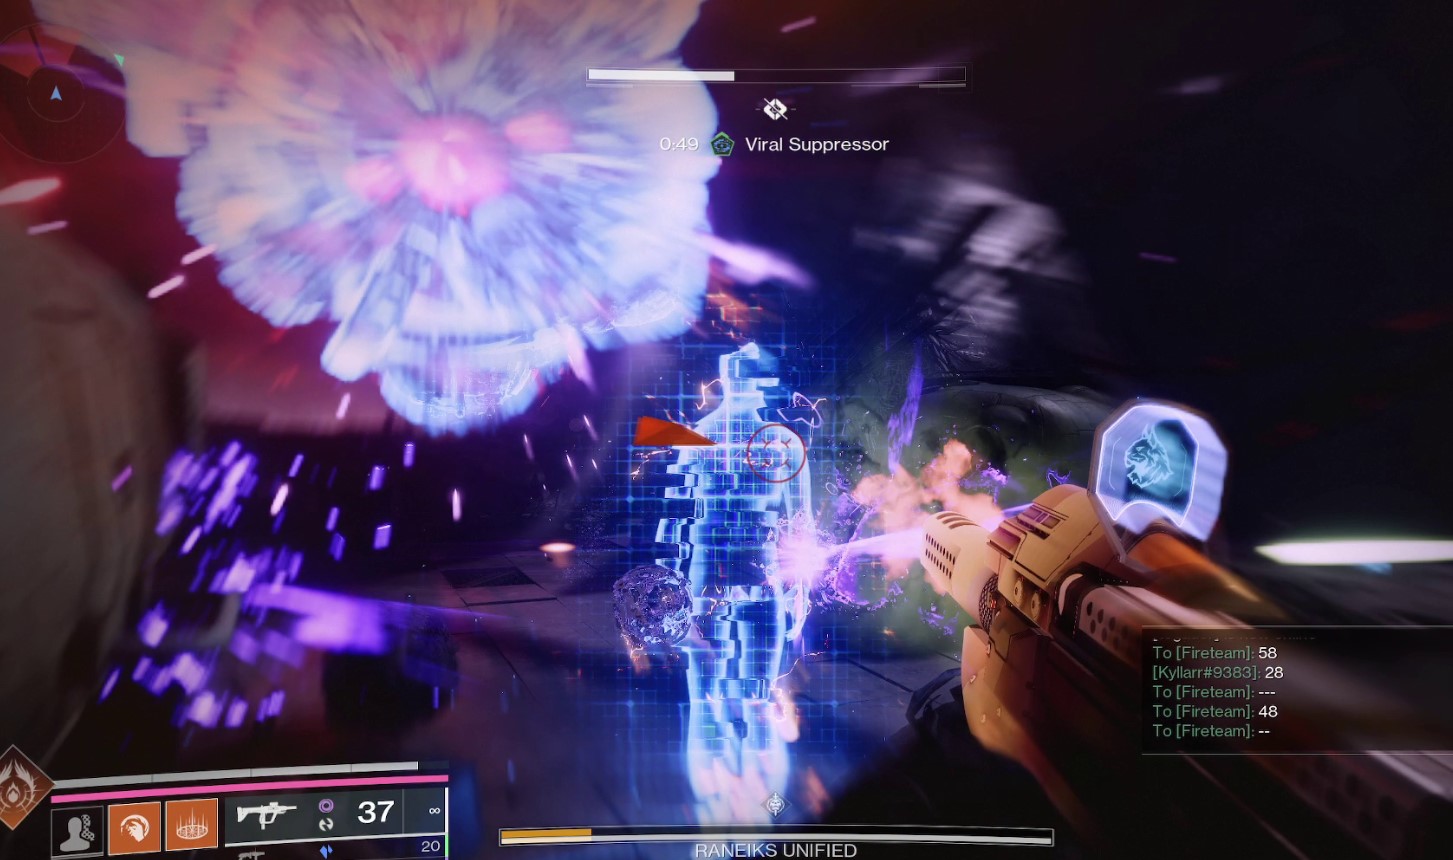
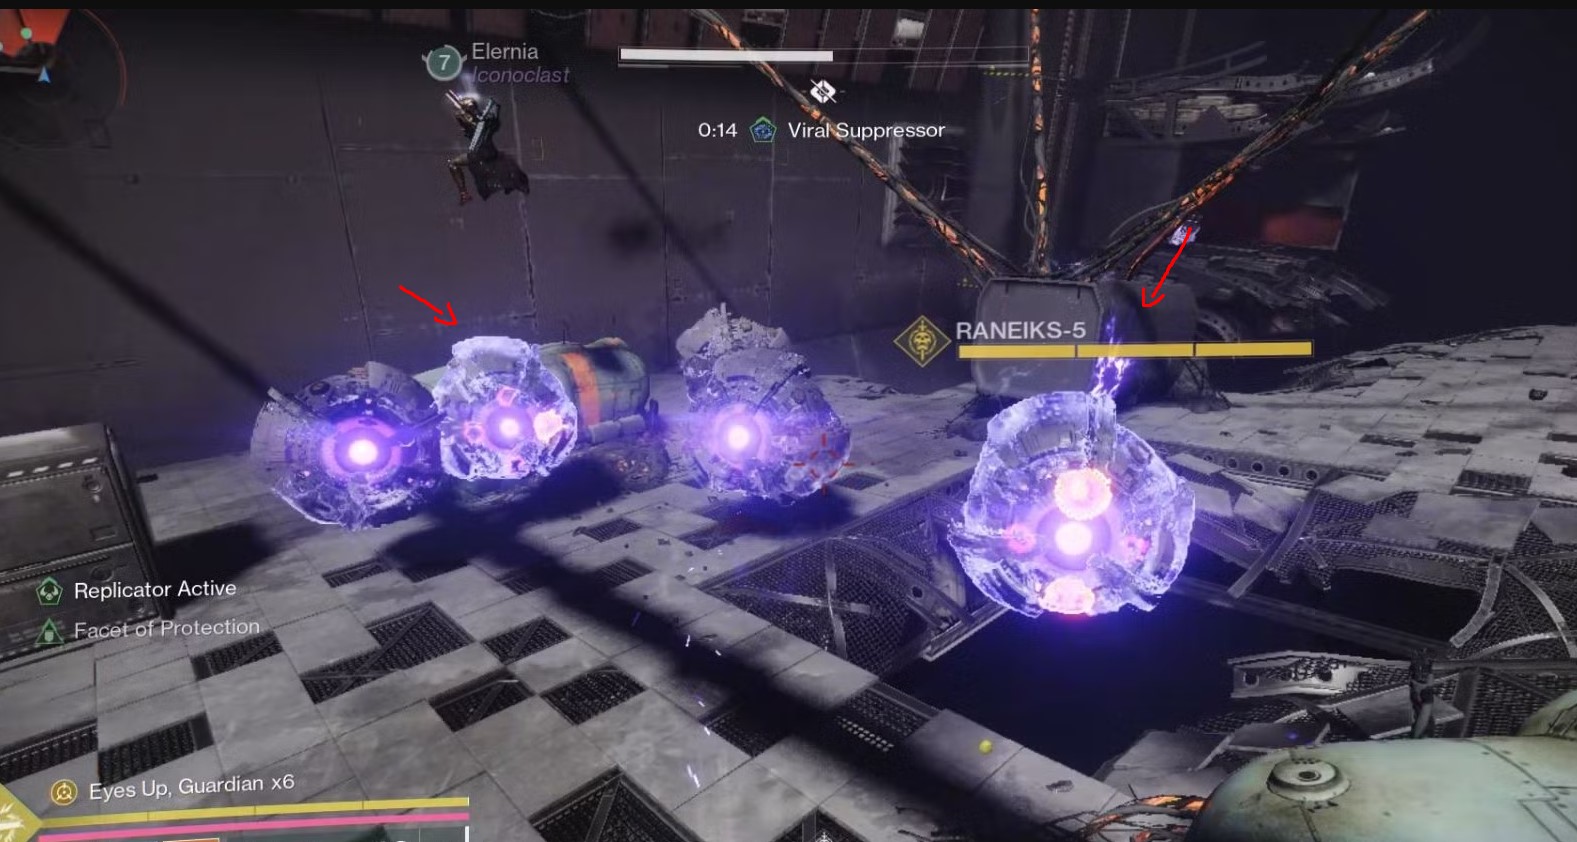
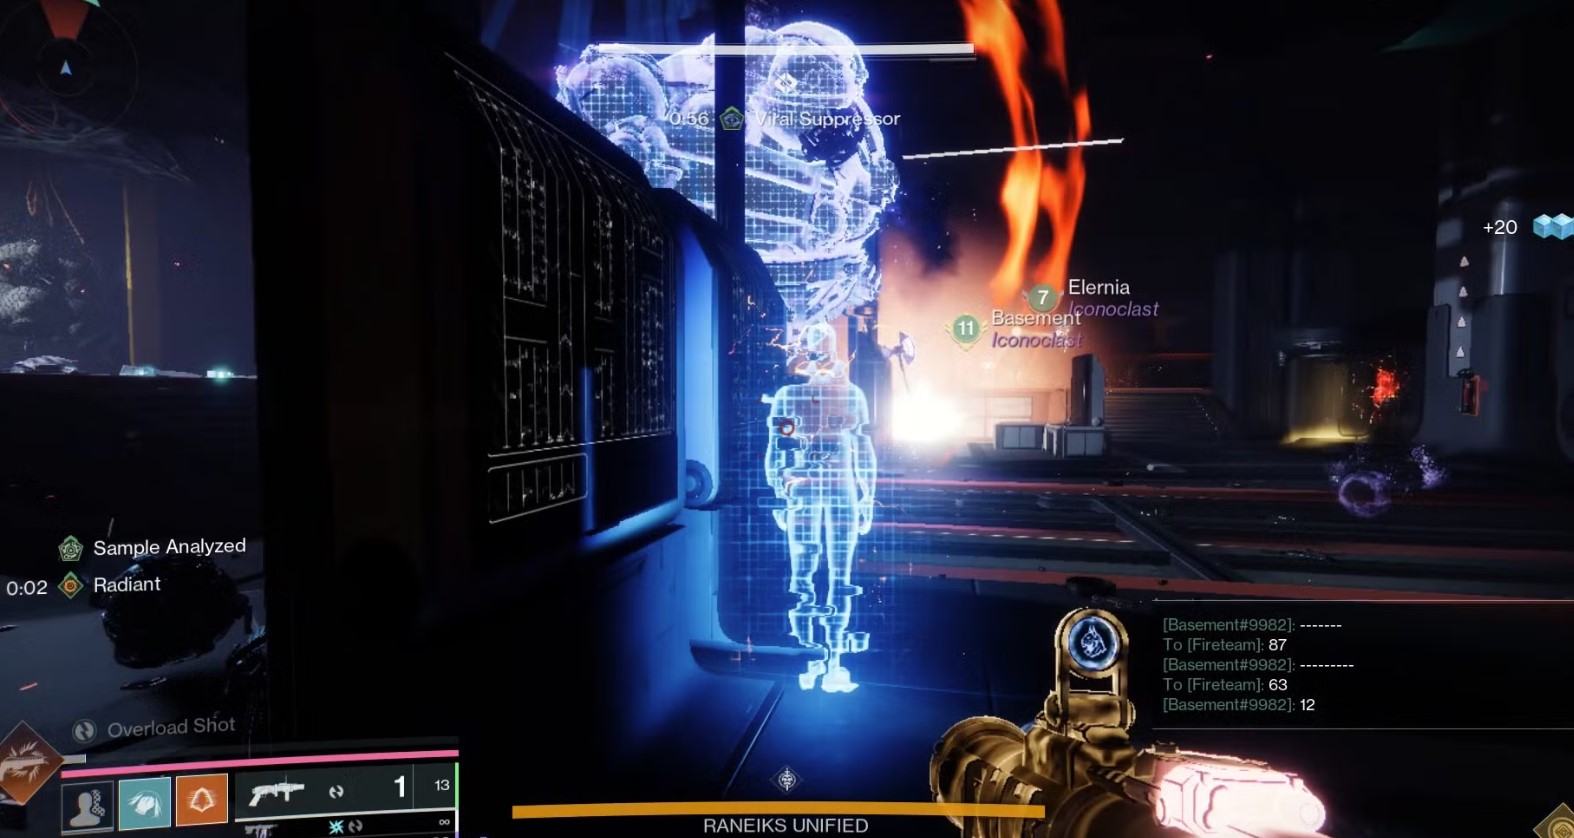
Second Encounter: Raneiks Unified
General Objective Overview
Once you enter the boss room, you will notice 9 panels all over the walls, numbered 1 through 9. You will need to shoot 4 numbers in a specific order to activate the DPS phase.
Arena & Layout
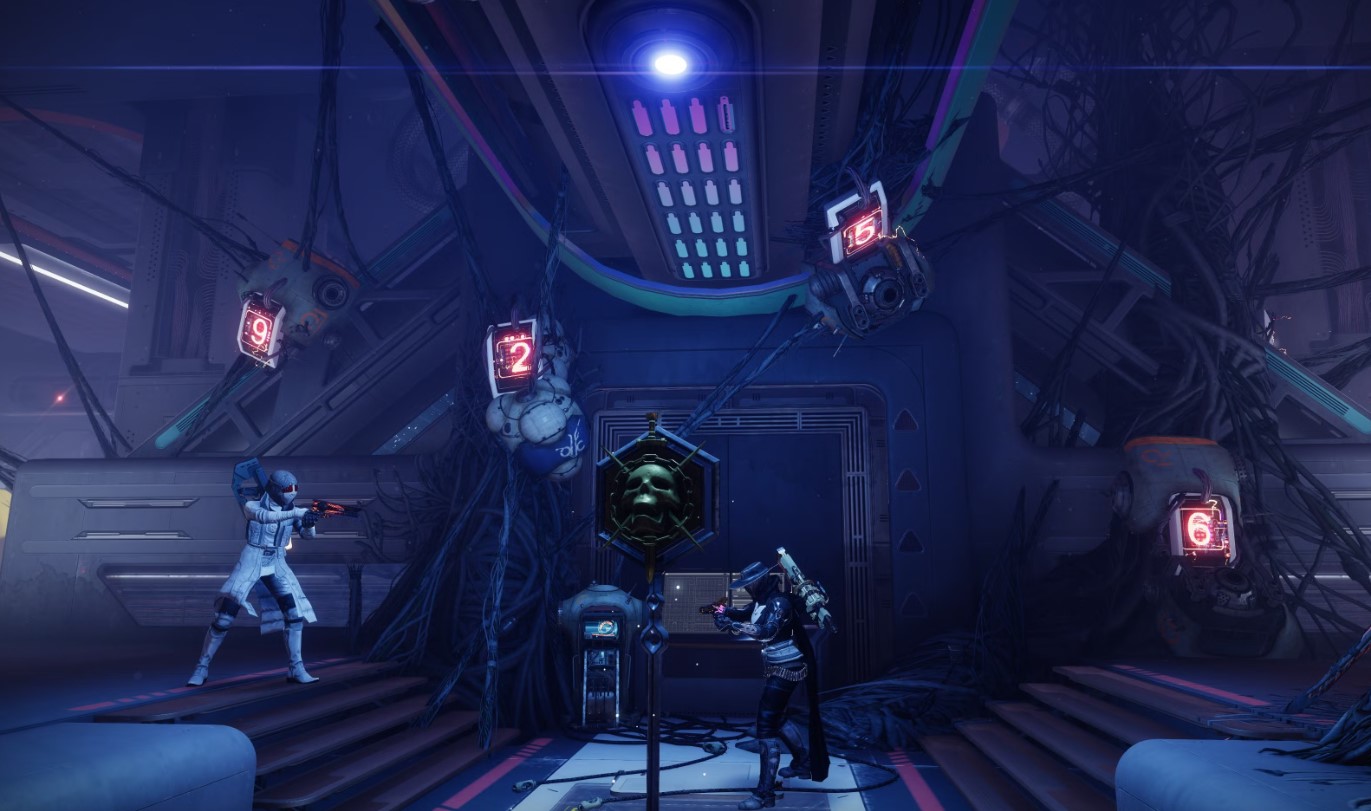
The arena is very similar with a spider lair, being a large circular room with platforms surrounding a central reactor where Raneiks hovers over the arena. There is also an Augment Terminal where you can place the Operator augment if needed.
Team Roles & Asignments
Mechanics
DPS Phase
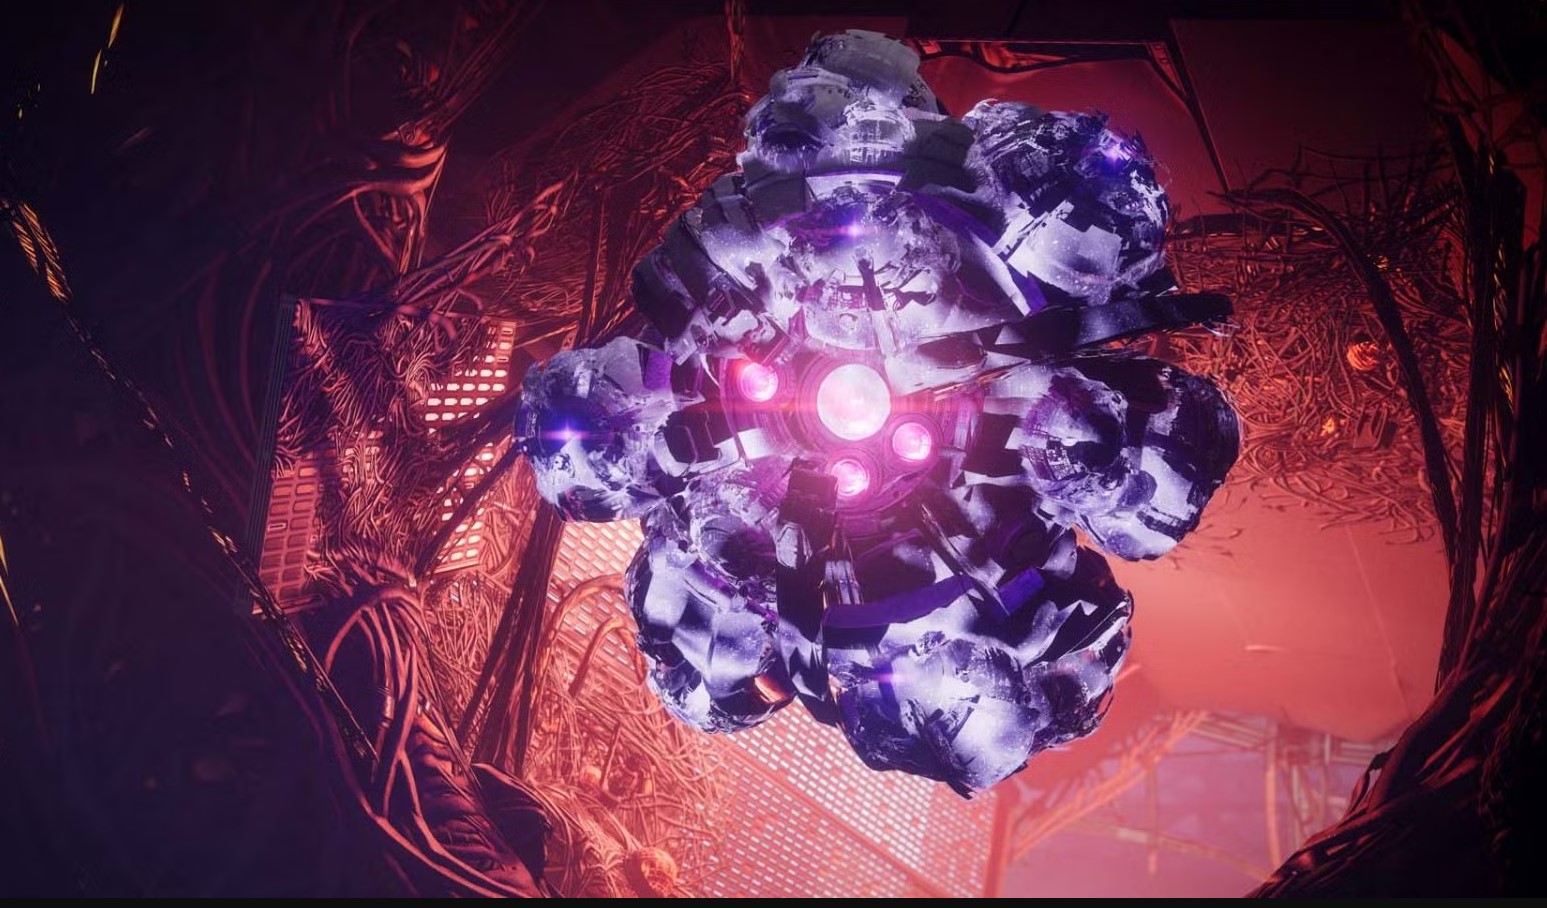
After you have all 4 numbers, grab the Operator augment and shoot the correct numbers written in chat. Once this is done, a small Shank carrying the Suppresor augment will spawn in the middle and the boss will appear behind him.
Use the Suppressor in front of the boss, that will make him split into multiple smaller Shanks. Use things that deal massive AOE damage, like the Parasite or Wardcliff Coil rocket launcher, Grand Overture, or a super like the Behemoth for Titan. Repeat the previous mechanics to reach another DPS phase and kill Raneiks.
Tips & Mistakes to Avoid
✔️ - Know the panels locations: You need to be quite comfortable with where the numbered panels are on the walls, it will make it much easier to start the DPS phase.
✔️ - Put the Operator in the terminal: After you use the Operator, you can place it in the Augment terminal to have it for the next DPS phase.
❌ - Don’t ignore the exploding Shanks: They can easily overwhelm you and your fireteam and wipe all of you, so make sure you kill them fast.
❌ - Always write the numbers: Make sure you write those Servitor numbers in chat so you don't mess up the sequence.
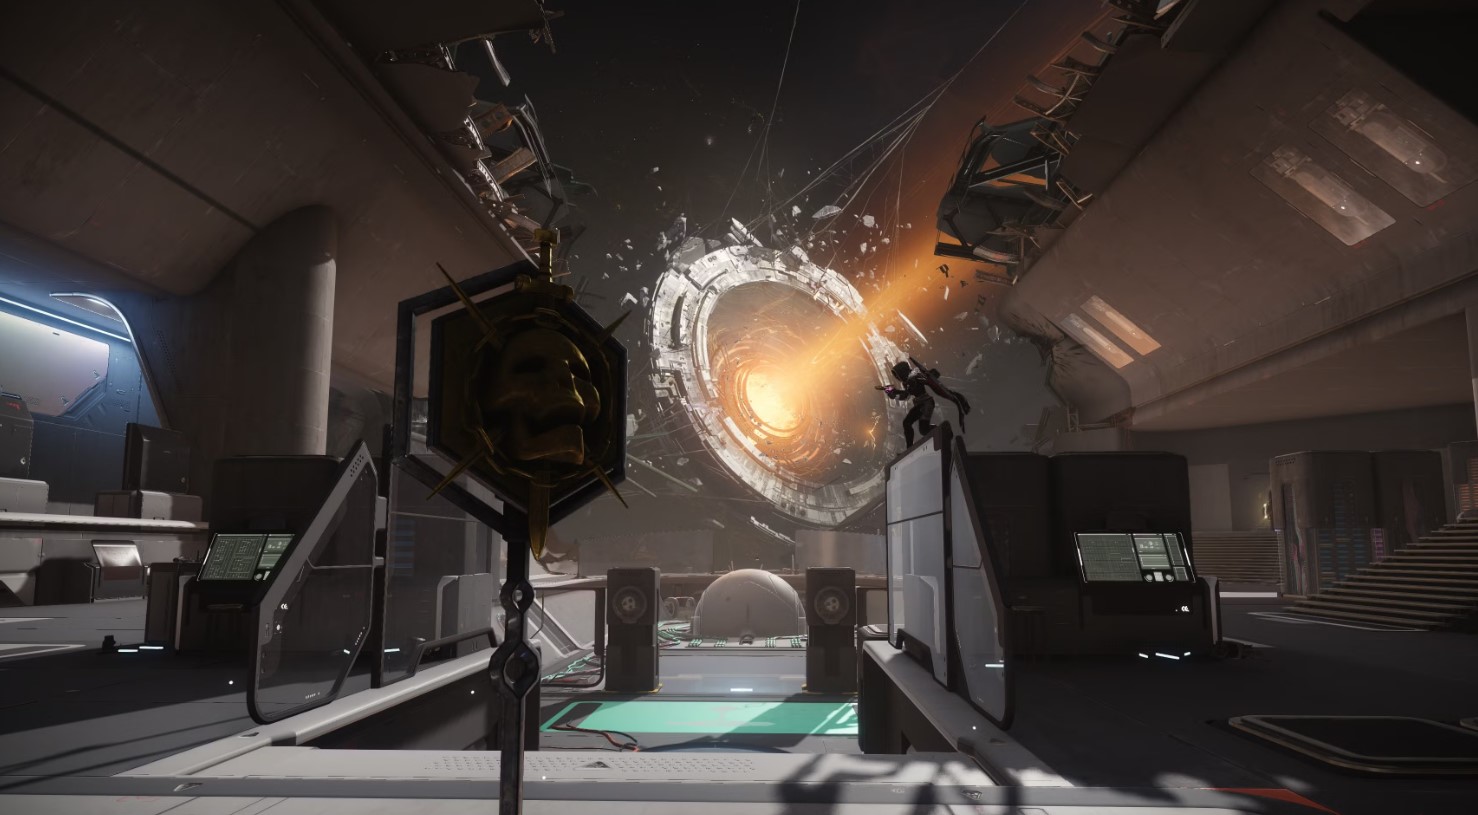
Reaching the boss encounter
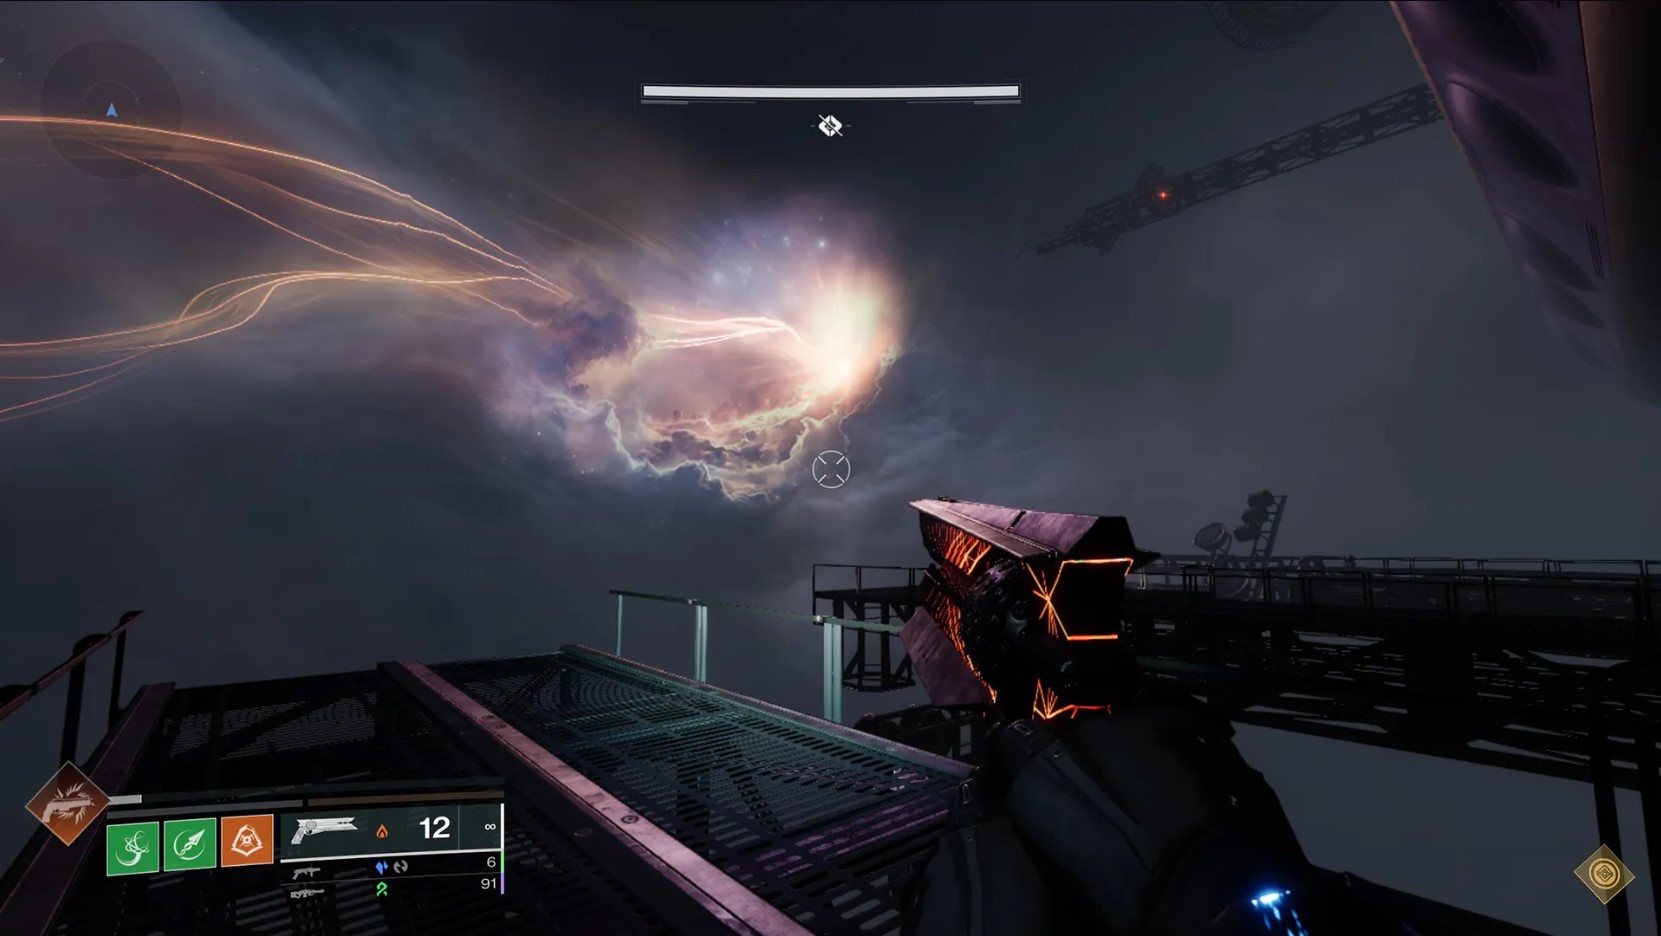
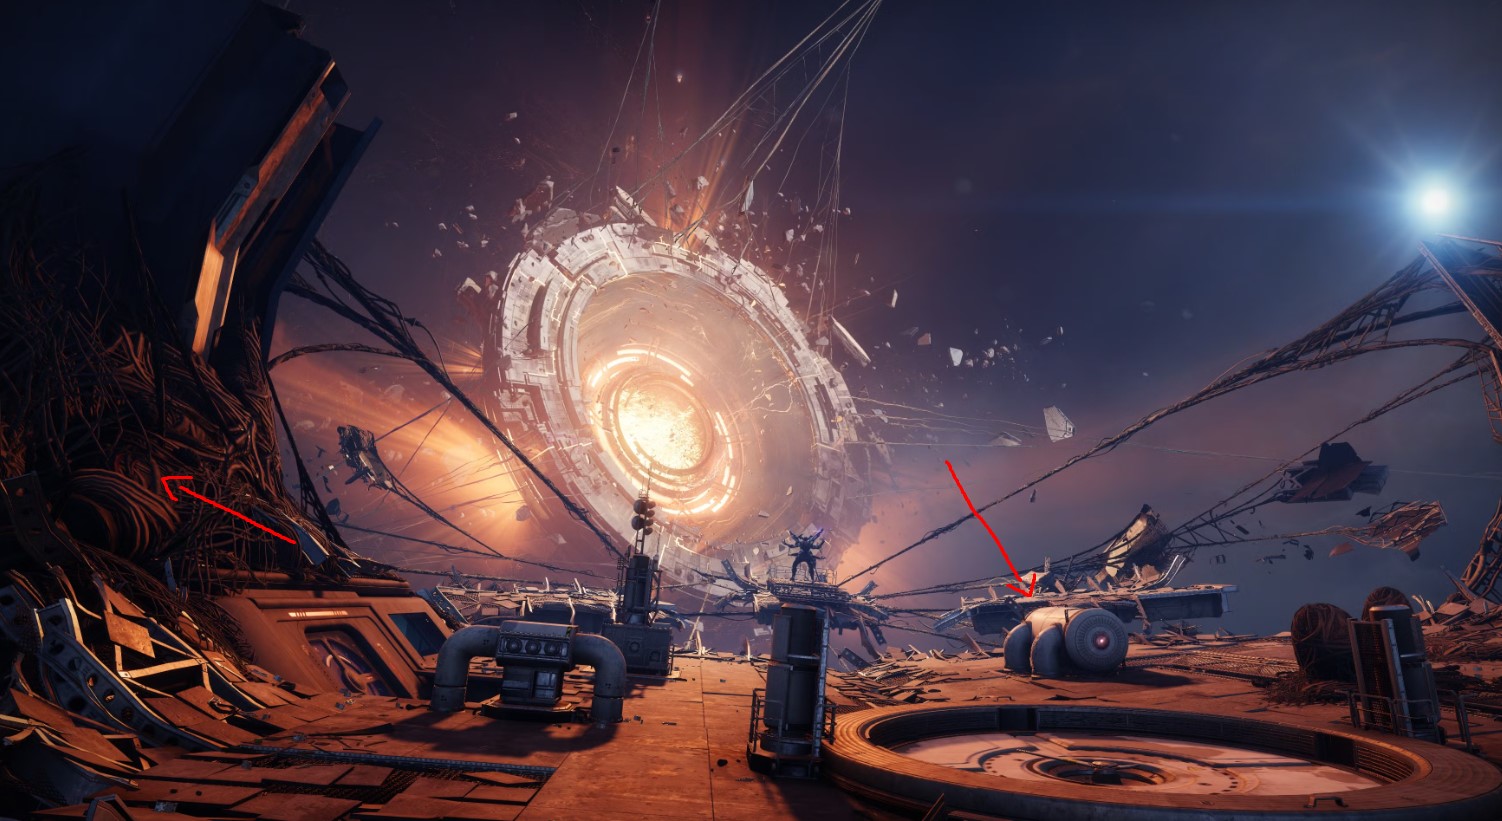
Leave Raneiks' boss room by jumping up through the hole above that leads outside and continue out of the arena through the door to the right. That'll take you back outside, but here, you'll see a new obstacle to deal with: lightning strikes.
Continue through the debris while avoiding the lightning strikes until you see the final boss on a platform. Drop down the hatch to reach the final encounter.
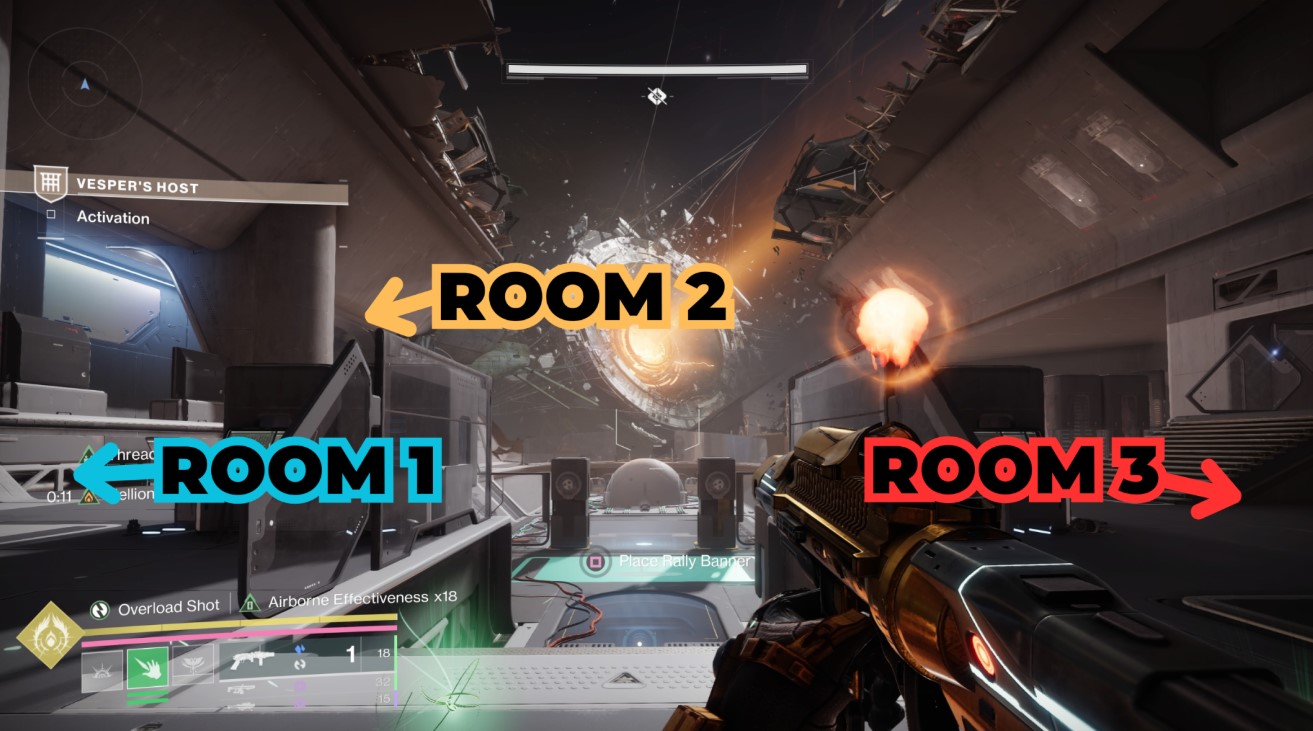
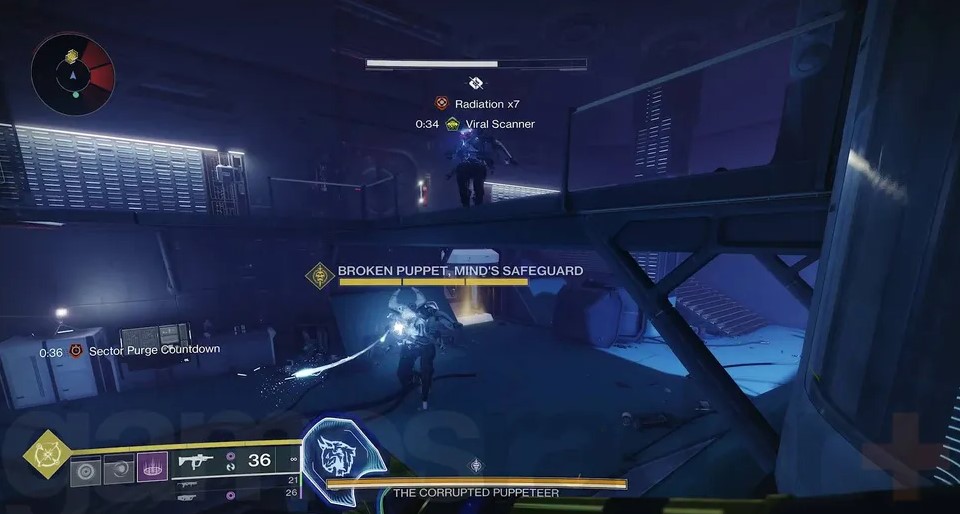
Boss Encounter: The Corrupted Puppeteer

General Objective Overview
In the final fight, you will have to do everything you learned so far, using all 3 augments, shooting the numbered panels, grabbing Nuclear Cores and putting them in deposit boxes, while also avoiding lightning strikes during DPS!
SKIP THE GRIND BUY VESPER'S HOST BOSS KILL!
Arena & Layout
The boss arena is split into 3 parts:
Team Roles & Asignments
Mechanics
A Fallen Vandal will spawn holding the Suppressor augment. The player assigned to the Suppressor needs to grab it and stun the clones, that allows you to kill them.
You need to get close to them and see which one lights up on your radar, thats the correct number that needs to be shot, so make sure you write in in chat or say it. After that, place the Scanner in one of the Augment terminals in the room.
Kill him and the Operator player needs to shoot the panels that correspond with the number the Scanner played called out (for example, Scanner called number 4, Operator needs to shoot all panels with the number 4).
Once you reach the room, you will find the boss in there, and the 3 terminals containing the augments that you placed in the Main Room. The Scanner & Operator players need to grab their augments. The Operator player needs to shoot the panels that are in this room, 4 in total. This will make the boss spawn 4 clones in the room.
The Scanner player needs to check what clone lights up white on the radar and kill it. When dead, it will drop a Nuclear Core that needs to be placed in the deposit box found in the incubator-like room. Have the player without the augment pick it up, while the Operator & Scanner players place their augments back in the terminals.
All players need to get inside, because it will cause the room to be on fire and wipe anyone left outside>. This will make half of the boss shield to go down. You will need to navigate the tripmine corridor and reach the adjacent room to repeat the same process until the Puppeteer's shield is down.
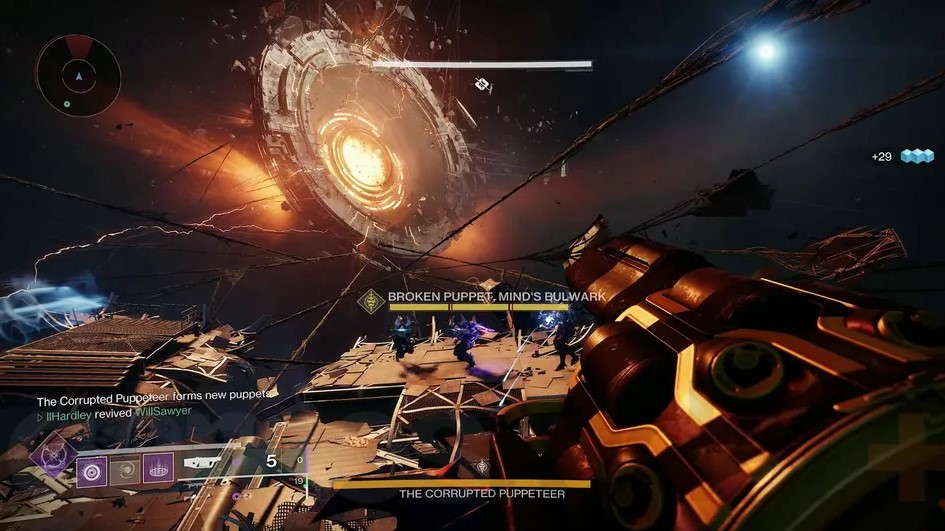
DPS Phase
Now it's time to move up and damage the boss. Go to where you first entered the underground area, at the elevators. There is a glowing purple platform in the middle, go through it to be teleported in the main room. Get in the nest-like shape in the back of the room, this will propel you into the outside area and DPS starts.
The safest areas to deal damage are in the left side of the arena on some cables, above the incubator room. Lightning strikes can't reach you here if you manage to stay on it. There is also right in the middle of the arena on a boiler if you have a Warlock with you that places Well on it. The lightning bolts won't kill you in the Well.
After some time, the boss will spawn two clones in the middle, and one will glow white. You need to kill this clone to get a Nuclear Core before the boss does his wipe mechanic. Grab the core and get your fireteam inside the incubator room and wait out the wipe mechanic. Now exit and continue doing DPS until the boss shoots a flare in the sky, this is your signal to get in the hatch, ending the DPS.
Repeat all the previous mechanics until you get enough DPS phases to kill the boss. Grand Overture, Still Hunt, Queenbreaker & Sleeper Simulant are great exotics to use for good DPS.
Tips & Mistakes to Avoid
✔️ - Know the panel locations: Knowing where the panels are in the rooms will cut off the time to reach the DPS phases.
✔️ - Always put the augments back in the terminals: This will let you pick them up from their respective terminals in the underground area instead of hunting for them again.
❌ - Avoid the Radiation: This can kill you fast if you don't pay attention to the Radiation debuff from the clones building up. Make sure you always move away from them.
❌ - Don't mess up the room: Before going underground, make sure the elevator you enter has red emergency lights above it, that's the way to go. If you go to the other side and do the mechanic in the wrong room, you will get wiped.
Loot Table
Here we'll be showing you every piece of loot you can acquire from the dungeon. Just like previous dungeons, Vesper's Host features 4 legendary weapons, 1 exotic, 1 normal armour set & 1 artifice armour set (for a complete Loot Pool guide, click here). Below you will find a list with all the weapons & armour pieces:
SKIP THE GRIND BUY VESPER'S HOST WEAPONS!
| Vesper Station (1st Encounter) |
Raneiks Unified (2nd Encounter) |
Corrupted Puppeteer (Final Encounter) |
|
VS Chill Inhibitor Grenade Launcher 


|
VS Chill Inhibitor Grenade Launcher
|
Ice Breaker Sniper Rifle 


|
|
VS Gravitic Arrest Fusion Rifle 

|
VS Gravitic Arrest Fusion Rifle
|
VS Gravitic Arrest Fusion Rifle
|
|
VS Velocity Baton Grenade Launcher 
|
VS Pyroelectric Propellant Auto Rifle 

.jpg)
|
VS Pyroelectric Propellant Auto Rifle
|
|
VS Velocity Baton Grenade Launcher
|
||
|
Spacewalk Chest 
|
Spacewalk Helmet 
|
Spacewalk Chest Shotgun
|
|
Spacewalk Arms 
|
Spacewalk Arms
|
Spacewalk Class Item 
|
Spacewalk Legs 
|
Spacewalk Legs
|
Spacewalk Legs
|
SKIP THE GRIND BUY VESPER'S HOST EXOTIC!
Extras & Challenges
Like in the previous dungeons, Vesper's Host also has master difficulty, a certain number of collectables, a title (or seal), solo & flawless triumph that awards a unique emblem & special badge on your dungeon report. We’ll be going over each of them and tell you what are the best tips & tricks on acquiring them.
Solo & Flawless
You can obtain this catalyst by completing "In the Shadow of the Mountain" quest. To unlock it, you'll need to return to Warlord’s Ruin and solve various puzzles involving Taken blights, torches, and totems.
Catalyst
You can obtain the Icebreaker catalyst by completing the "Rogue Network" quest. To complete it, you'll need to return to Vesper's Host and solve various puzzles involving shooting numbered panels & grab message collectables.
For a comprehensive guide on how to obtain the catalyst for this weapon, be sure to watch the video above, where all the steps are explained in detail.
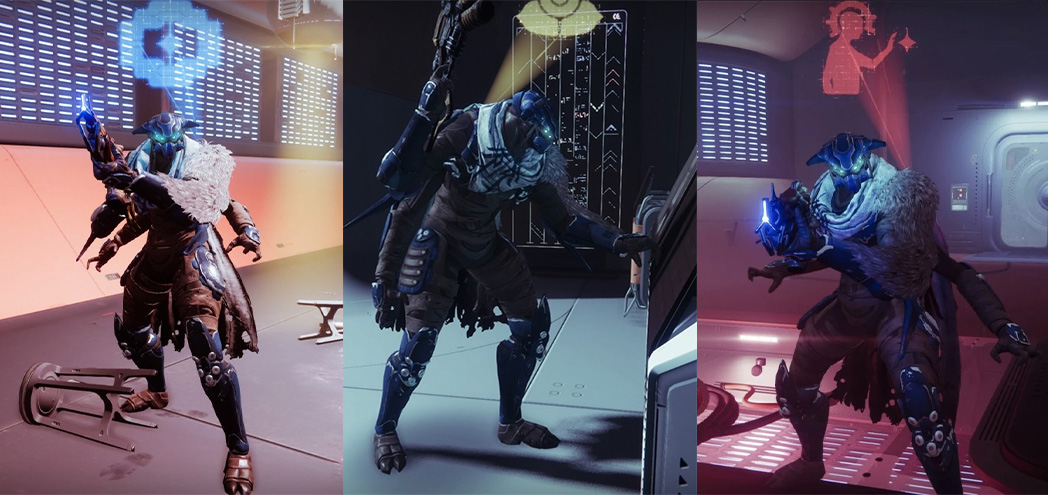
Cosmetics
Solo & Flawless

Conquering Vesper's Host dungeon solo flawless is a true test of a guardian's skill. Solo flawless demands perfect preparation, from optimizing your build with the right subclass, exotic armor, and weapon loadout to mastering the dungeon's encounters.
Completing the dungeon solo flawless awards you with a unique emblem that you can use to show off to other guardians, while also giving you a special badge on your raid report that you’ve completed the dungeon solo flawlessly.
Master Difficulty
The Vesper's Host dungeon has normal & master difficulties to choose from. Completing the dungeon on master difficulty is required to complete the Unleashed title (seal). There are certain modifiers that makes the Master difficulty hard to complete:
Title & Seal

The title for the Vesper's Host is called Unleashed. Below you will find the list with all the required triumphs needed to acquire your seal:
After you complete all 10 triumphs, the Unleashed seal will be unlocked so you can equip it on all your guardians.
SKIP THE GRIND BUY VESPER'S HOST TITLE & SEAL!
FAQs
The Vesper's Host dungeon starting location is on Europa, but the actual activity takes place on an abandoned station in space.
No, the Vesper's Host dungeon is only farmable if it's on weekly rotation.
Yes, you can solo the dungeon and even solo flawless the dungeon, although it will be very challenging due to encounter mechanics and difficulty.
Yes, you need to have either the Final Shape Deluxe Edition or the Final Shape Dungeon Key purchased.
Final Thoughts
I hope this guide will ease your experience with the Vesper's Host dungeon encounters and help you get one step further to success. We did all the research, and now it’s your turn to show your skill. Give it a try, Guardian!
About KBoosting
If you are struggling to find a fireteam or don't have enough time to play yourself, at KBoosting, besides articles & guides, we also provide Destiny 2 boosting services. All you need to do is check our Vesper's Host boosting services and let us handle everything for you, while you have some fun in the game!
