Pit of Heresy Guide – Complete Destiny 2 Dungeon Walkthrough

-
Bundle
- Powerful & pinnacle gear with 25% off
- Increase your power level easily
-
Hot


-
-
-
-
-
Sale 15%Ends in 13h 54m 43s
-
-
Sale 15%Ends in 13h 54m 43s
-
-
-
Sale 15%Ends in 13h 54m 43s
-
-
Introduction
The Pit of Heresy dungeon was released in Destiny 2 during Shadowkeep (Year 3, Season of the Undying). The guide will take you through every step needed to complete it, covering all mechanics, strategies, and loadouts.
Table of Contents
In this guide, we will cover the following subjects:
- Dungeon Preparation
- How to access the dungeon
- First Encounter
- Second Encounter
- Boss Encounter
- Loot Table
- Extras & Challenges
- FAQ
- Conclusion
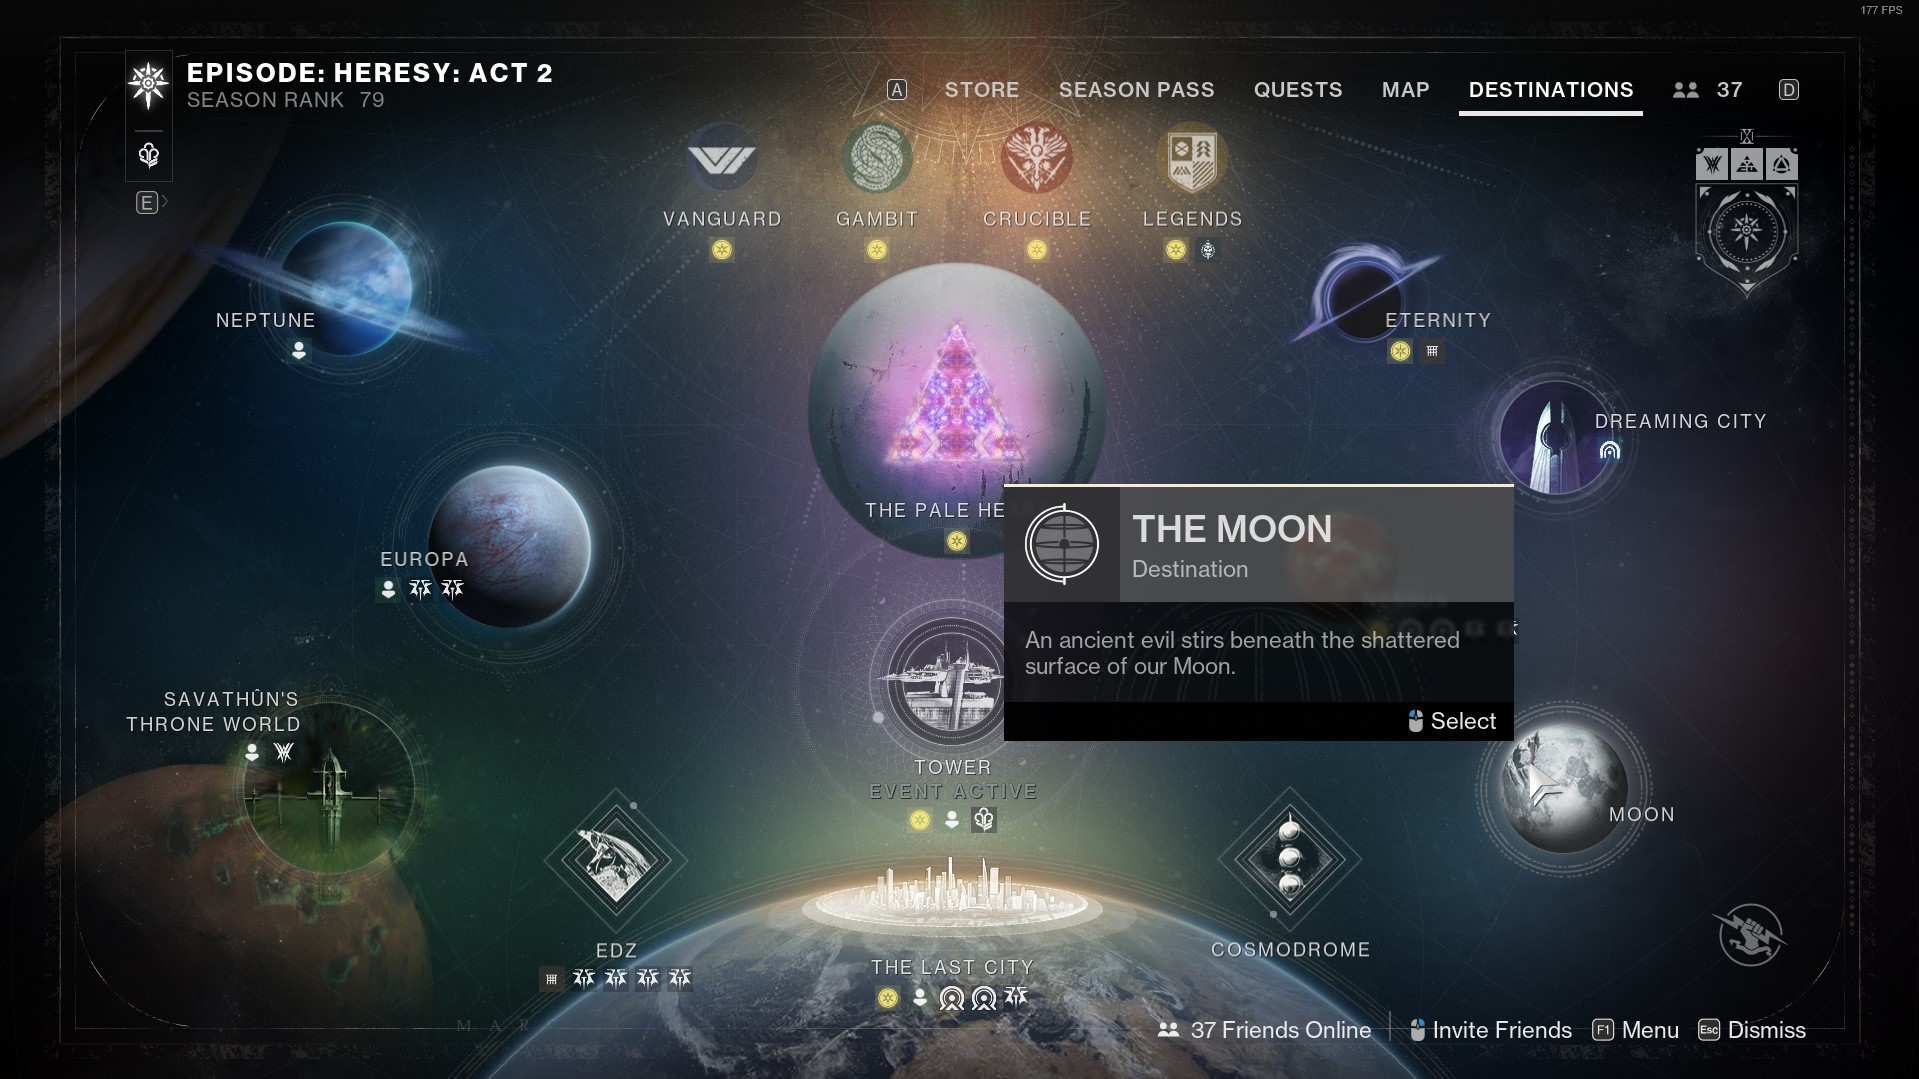
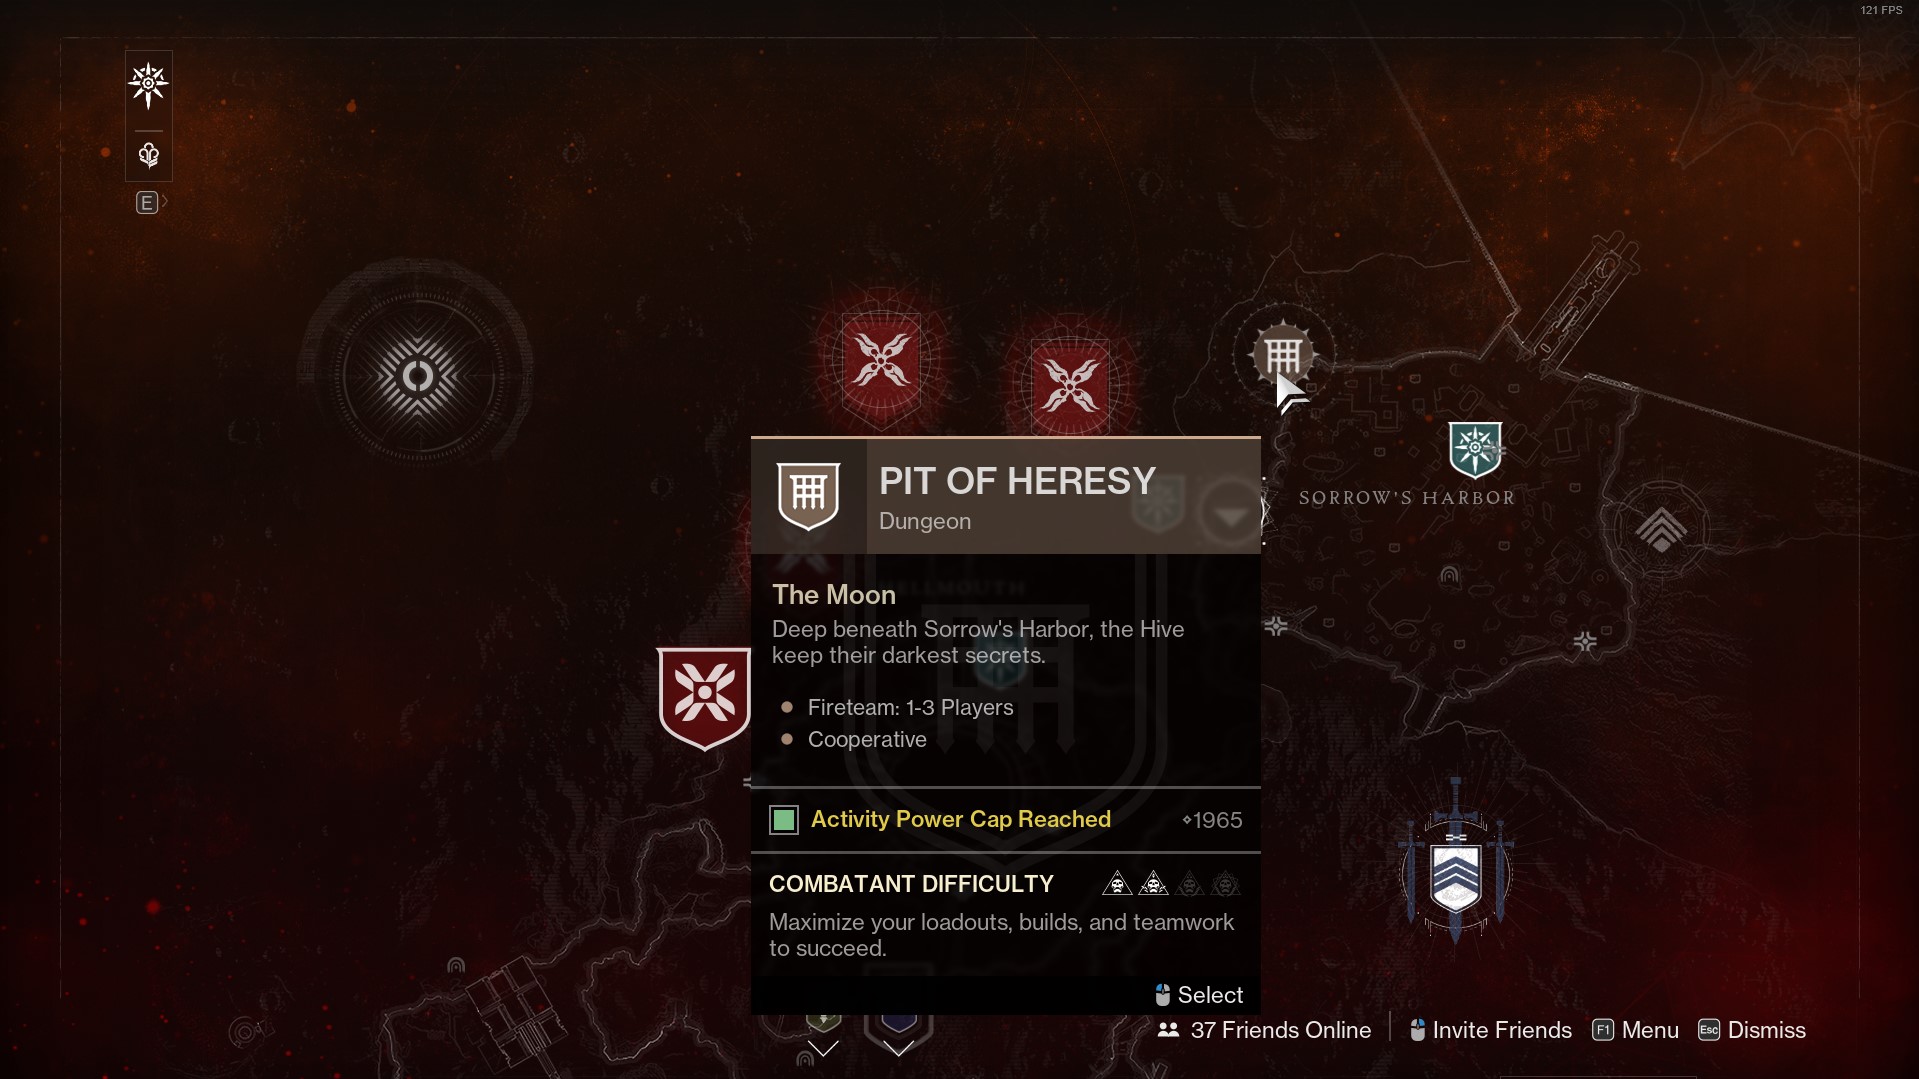
How to access the dungeon
To access the Pit of Heresy dungeon, you need to have the Shadowkeep expansion purchased on your account.
You must open the destination menu and find the activity icon in the Moon tab. You need to complete the "Deepening Wake" quest from Eris Morn to unlock it
Dungeon Preparation
Pit of Heresy dungeon features unique mechanics, so being prepared with the best meta loadouts will help you out immensely during each encounter. I’ll be going over some of the best weapons & subclasses that you should be using to ensure your success.
SKIP THE GRIND! BOOST YOUR GUARDIAN NOW!
Best subclasses & builds
Getting started
Once you’ve obtained the quest, navigate to the Legends and locate the dungeon marker in the top right corner.
Best weapons loadouts
Here, I’ll be going over some of the best meta weapons to use in the Pit of Heresy dungeon:
SKIP THE GRIND BUY PIT OF HERESY CARRIES!
Reaching the first encounter
Once you start the dungeon, you'll spawn on a narrow ledge overlooking a dark cavern. Proceed along the rocky path, jumping between ledges and platforms. The area is linear but can be dangerous due to narrow footing and steep drops.
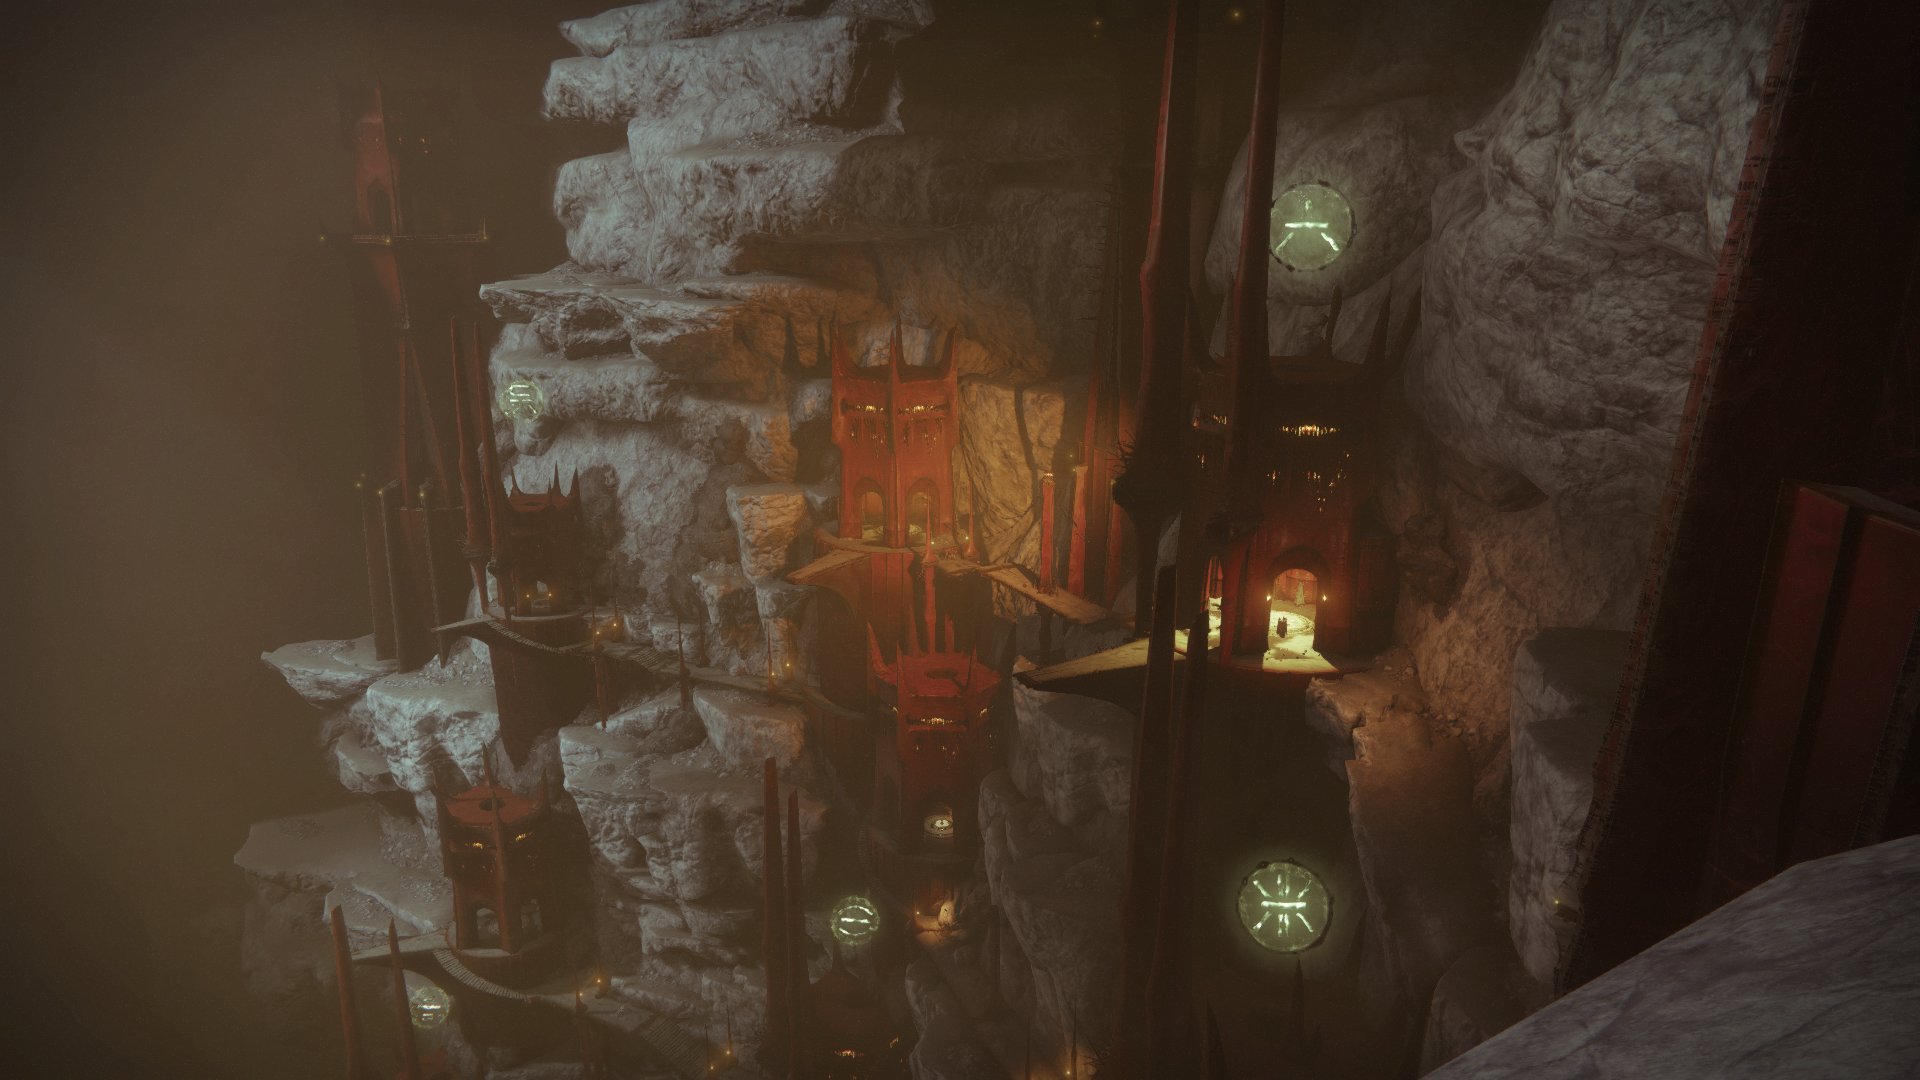
You’ll arrive at the outer wall of a massive Hive fortress carved into the Moon. Continue through a series of Hive-themed corridors and doorways until you arrive in a large open chasm. You've now reached the first encounter.
First encounter - Necropolis
General Objective Overview
In the first encounter of Pit of Heresy, your fireteam must defeat 3 unique minibosses using matching Hive runes and the Sword relic mechanic. The encounter focuses on rotating sword types, executing the correct combo to break each boss’s shield, and dunking orbs to progress.
Arena & Layout
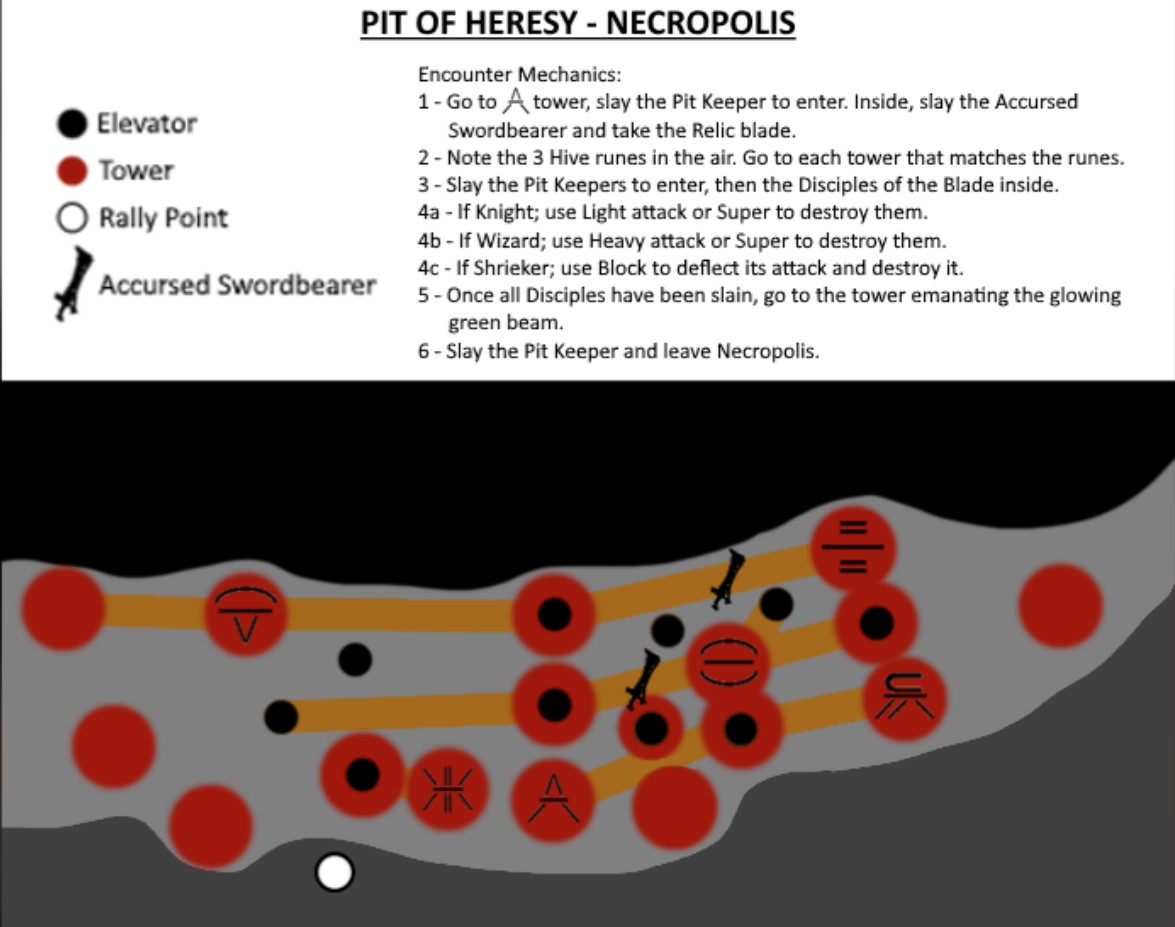
The encounter is set in a large, open canyon-like area with multiple Hive towers visible from the central starting point. Each tower contains a different miniboss, a matching rune displayed outside, and waves of Hive enemies.
Team Roles & Asignments
- Relic Holder: Picks up the sword, enters the Hive tower, and defeats the miniboss using the correct attack pattern.
- Ad-clear Support: Stay outside to clear waves of Hive, kill Swordbearers for backup swords, and protect the relic runner.
- Optional: Rotate the Relic Holder role to manage sword timer cooldowns.
Mechanics
- Identify Hive Symbols: At the start, three Hive runes appear on pillars at the center. These represent which three towers you must clear.
- Defeat Swordbearers: Swordbearer Knights spawn randomly around the arena. Kill one to obtain the sword relic, which is required to defeat the miniboss inside each tower.
- Match Attack Type to Boss Mechanics: Each miniboss requires a specific sword attack combo to break its shield: Wizard - Light Attack; Shrieker - Heavy Attack; Knight - Parry.
- Defeat the Bosses and Dunk the Orb: Upon killing the boss, they drop an orb. Pick it up and dunk it at the central area, below the matching rune.
- Repeat for All Three Towers: Clear all three towers using the correct mechanics. Once all orbs are dunked, the path forward opens.
Tips & Mistakes to Avoid
✔️ - Assign roles early: So each player knows when to pick up swords and which tower to target.
✔️ - Observe rune symbols carefully: Going into the wrong tower wastes time.
❌ - Don't use the wrong sword combo: Doing so won’t break the bosses shields.
❌ - Avoid dropping the orb: If you die carrying it, it resets the dunk mechanic.
Reaching the second encounter
Once you’ve dunked all 3 orbs at the center after defeating each Hive miniboss, a door opens beneath the central structure. You’ll fall into a dark vertical shaft with multiple platforms. At the bottom, you'll enter a dimly lit, maze-like cave system known as the Tunnels of Despair. This is the arena for the second encounter.
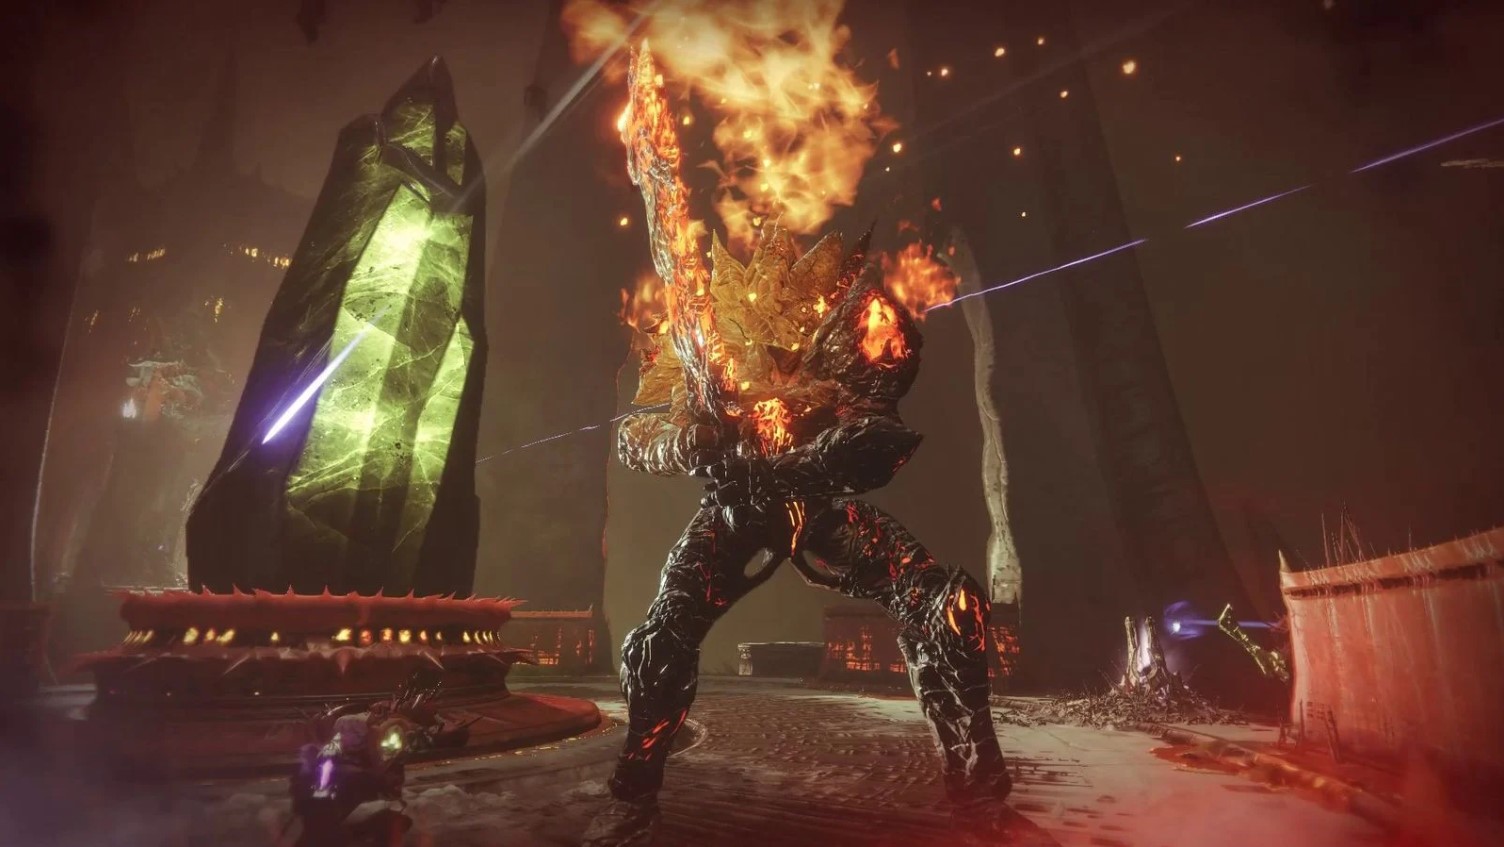
Second Encounter
.jpg)
General Objective Overview
In this encounter, your fireteam must destroy 3 Hive barriers that block progress deeper into the dungeon. To do this, you’ll need to defeat special Heretic Knights, pick up their Relic swords, and use them to break each barrier while avoiding Invincible Ogres roaming the tunnels.
Arena & Layout
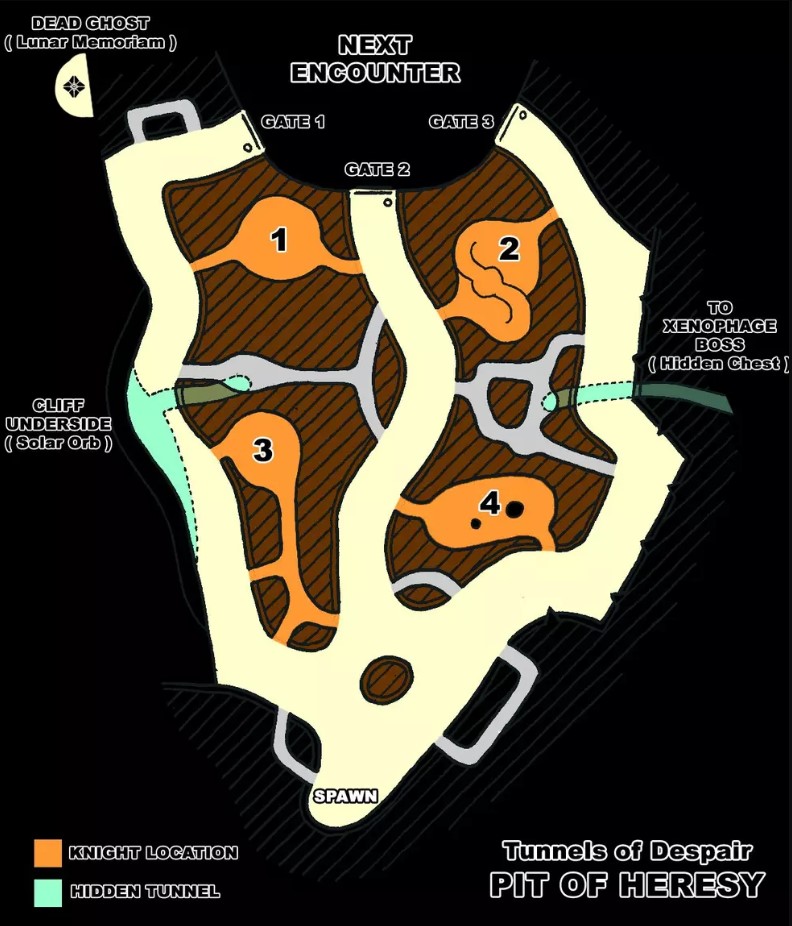
The encounter takes place in a dark, underground maze-like tunnel system. 3 blocked passageways are found throughout the tunnels, each must be destroyed with a Relic sword.
Team Roles & Asignments
- Sword Carrier: Defeats Heretic Knights, grabs the relic sword, and destroys one of the Hive barriers.
- Ad-clear: Supports the sword runner by drawing enemy fire and tracking ogres.
- Floater (Optional): Assists wherever needed: clearing Hive, distracting ogres, or calling out safe routes.
Mechanics
- Locate and Defeat a Heretic Knight: A Heretic Knight spawns near the middle of the maze. Kill it to drop a relic sword.
- Locate a Barrier Wall: Search the tunnels to find a glowing Hive wall, three in total. Each wall requires a sword to break through.
- Destroy the Hive Wall with the Sword: Approach the wall and use heavy sword attacks to destroy it. Once broken, the wall reveals a clear passage; repeat the process for the other two.
- Avoid the Invincible Ogres: Three invulnerable ogres patrol the tunnels. Getting too close will result in instant death; stick to the shadows, move quickly, and call out their positions.
Tips & Mistakes to Avoid
✔️ - Stick together when clearing Knights: They hit hard and often spawn near adds.
✔️ - Assign each player a goal: This avoids overlaping.
❌ - Don’t waste the sword on enemies: Save its durability for the Hive wall.
❌ - Avoid ogres at all costs: You can’t kill them, and they can melt you on sight.
Reaching the third encounter
After completing the second encounter, where you break through 3 Hive walls using Relic swords; you’ll move into a transition zone that leads to the Chamber of Suffering, the third encounter in the dungeon.
Third Encounter - Chamber of Suffering
General Objective Overview
The Chamber of Suffering encounter challenges your fireteam to survive waves of Hive while charging a central plate. To progress, you must stand on the plate under heavy fire, defeat Acolyte Eyes to remove immunity shields, and deposit Void orbs dropped by minibosses.
Arena & Layout
- The fight takes place in a long rectangular chamber with a large Hive totem at the center.
- The central plate must be occupied consistently to prevent a team wipe.
- Void orbs must be deposited at a dunk point located across the room.
Team Roles & Asignments
- Plate Holder: Constantly stand on the central plate to charge progression and avoid triggering the wipe mechanic.
- Orb Runners: Pick up Void orbs from defeated minibosses and dunk them at the correct location.
- Ad-clear: Eliminate waves of Thrall, Acolytes, and Knights. Target Acolyte Eyes to break enemy shields.
Mechanics
- Stand on the Central Plate: One player must remain on the plate to progress the encounter. Leaving the plate causes a wipe timer to begin.
- Defeat Shielded Minibosses: Minibosses are immune until nearby Acolyte Eyes are destroyed. Once immune shields are down, kill the miniboss to spawn a Void orb.
- Collect and Dunk Orbs: Grab the orb and run it to the back of the room to dunk. Multiple orbs are needed; repeat the cycle until the encounter is complete.
Tips & Mistakes to Avoid
✔️ - Rotate plate duty: If one player is overwhelmed, you can swap out to survive longer.
✔️ - Prioritize Acolyte Eyes: Failing to kill them fast will keep minibosses immune.
❌ - Never leave the plate unattended: It will trigger a fast wipe if left empty.
❌ - Don’t hoard orbs: Dunk them promptly to avoid timer resets.
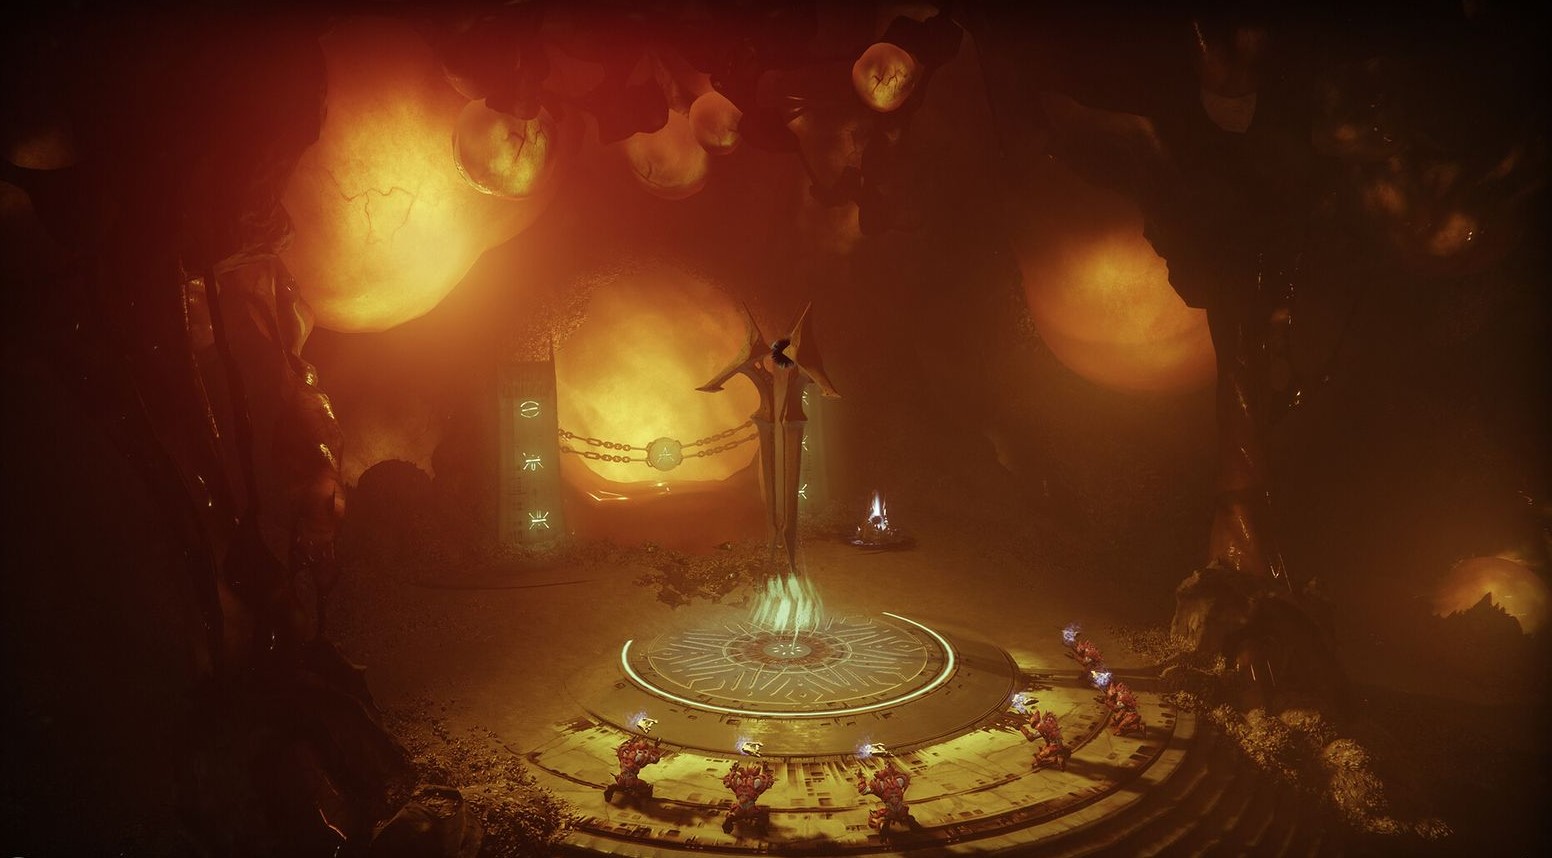
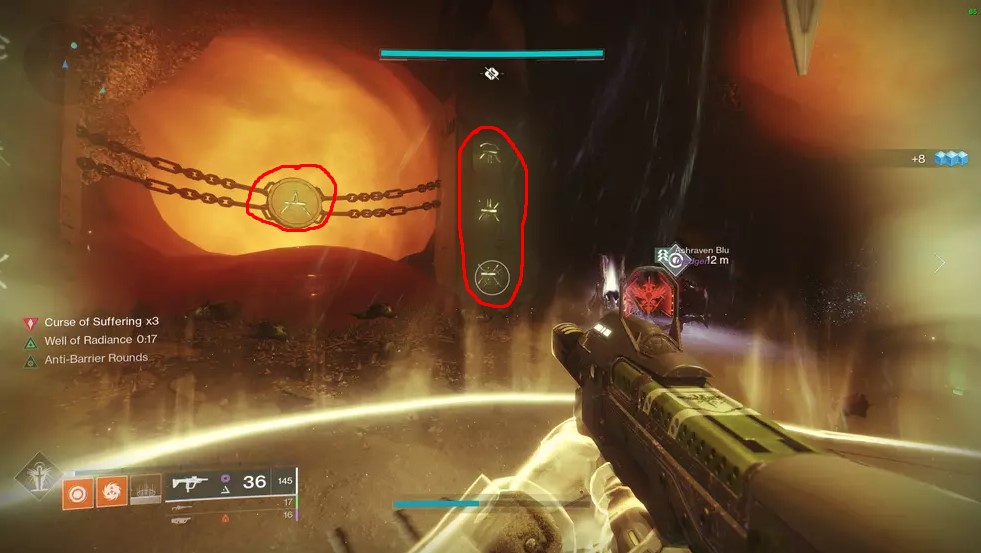
Fourth Encounter - The Harrow
General Objective Overview
In The Harrow, your fireteam must match Hive runes to the correct towers, defeat minibosses inside each, and clear all rune-linked towers to unlock the path forward. The encounter focuses on navigation, rune-matching, and elite target elimination across a sprawling multi-platform zone.
Arena & Layout
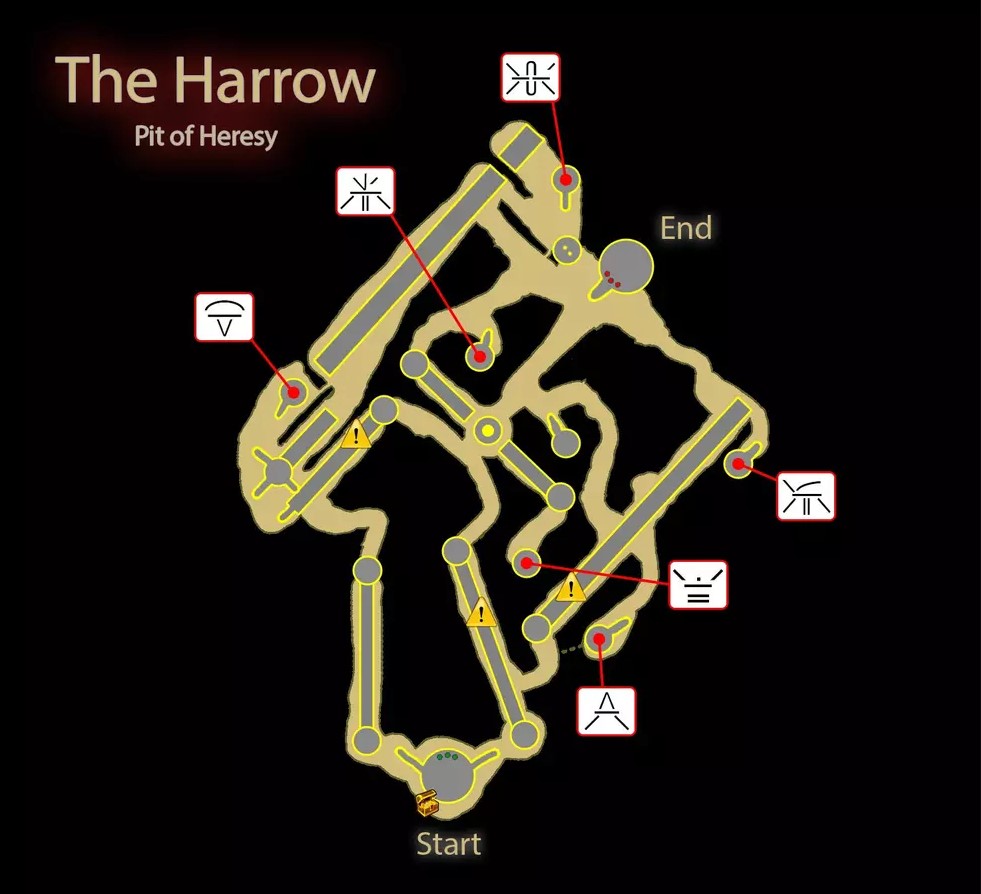
This encounter takes place in a large, open Hive canyon with multiple isolated towers spread across the map. Each tower has a rune on its front and houses a unique miniboss. A central tower displays 3 Hive runes; these indicate which towers must be cleared.
Team Roles & Asignments
- Rune Reader: Activates the central Deepsight-like orb to see which runes are needed.
- Tower Clearers: Head to towers with matching runes, defeat enemies, and clear the designated miniboss inside.
- Ad-clear: Players not actively inside towers should manage roaming adds and snipers outside.
Mechanics
- Activate the Central Tower: Approach the tower in the center of the map and interact with the Deepsight orb to reveal three Hive runes on its walls.
- Locate Matching Towers: Search the area for three towers with the exact same runes on their entrance. Defeat the adds and the miniboss to mark the tower as cleared.
- Enter and clear the Towers: Inside each rune-matched tower is a mini-encounter with a shielded boss.
- Complete All Three Rune Towers: Once all three correct towers are cleared, the encounter ends, and a path opens forward, leading to the final boss.
Tips & Mistakes to Avoid
✔️ - Mark the correct rune towers first: This avoids wasting time.
✔️ - Clear snipers outside the towers: They can give you trouble while navigating.
❌ - Don’t attempt unmatched towers: They’re not part of the encounter and you will waste time.
❌ - Avoid falling: Missing jumps or rushing can lead to death from the many pits.
Boss Encounter
SKIP THE GRIND BUY PIT OF HERESY BOSS KILLS!
General Objective Overview
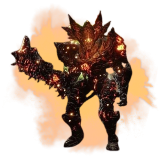
In the final encounter, your fireteam must defeat Zulmak by completing a rotation of rune-based mini-encounters, charging the central totem, and then unleashing coordinated DPS phases. Each phase involves defeating specific Hive minibosses and dunking their orbs to unlock a short window to damage Zulmak.
Arena & Layout

The arena is a large circular room with Zulmak at the center and three outer towers, each corresponding to a different miniboss type: Knight Tower, Wizard Tower, Shrieker Tower.
Team Roles & Asignments
- Sword Carrier: Picks up relic swords and defeats minibosses inside towers using the correct attack combo.
- Orb Dunker: Picks up the orb dropped by the defeated miniboss and deposits it at the central plate.
- Ad-clear: Keep the arena safe by clearing adds and watching for incoming threats.
Mechanics
- Clear One of the Three Towers: Identify which type of miniboss is in each tower, kill a Swordbearer Knight outside to obtain a relic sword.
- Dunk the Orb at the Center: Carry the orb to the central totem under Zulmak. Dunk three total orbs (one from each tower type) to initiate the DPS phase.
DPS Phase
After dunking the third orb, Zulmak kneels and becomes vulnerable to damage for a short time. Stand on the central plate to begin the damage phase.
Tips & Mistakes to Avoid
✔️ - Assign players to specific towers: This allows for smooth DPS cycles.
✔️ - Leave the plate IMMEDIATELY when Zulmak winds up his slam: This can wipe the team.
❌ - Don’t use the wrong sword combo: You can’t kill the miniboss without the correct technique.
❌ - Don’t carry the orb too long: Dunk it quickly to keep the rotation moving.
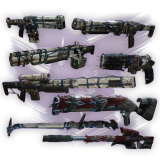
Loot Table
Here we'll be showing you every piece of loot you can acquire from the dungeon. Pit of Heresy features 12 legendary weapons, 1 exotic, 1 normal armour set & 1 artifice armour set. Below you will find a list with all the weapons & armour pieces:
SKIP THE GRIND BUY PIT OF HERESY WEAPONS!
| Any Encounter |
Hymn of Desecration |
|
|
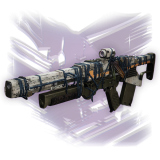
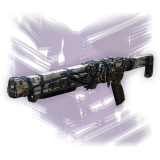
Every Waking Moment Submachine Gun 

.jpg)
|
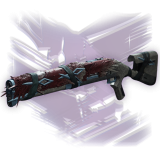
Loud Lullaby Hand Cannon 

.jpg)
|
Apostate Sniper Rifle 


|
|
Love and Death Grenade Launcher 


|
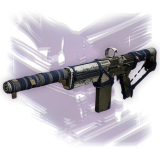
Arc Logic Auto Rifle 
|
Blasphemer Shotgun 

|
|
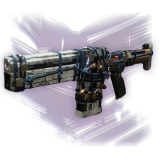
A Fine Memorial Machine Gun 


|
Dream Breaker Fusion Rifle 
|
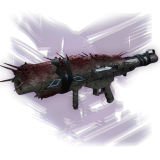
Heretic Rocket Launcher 
|
|
One Small Step Shotgun 

|
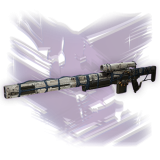
Tranquility Sniper Rifle 
|
|
|
Premonition Pulse Rifle 
|
Night Terror Sword 
|
|
These are all the possible loot that can drop from each encounter in Pit of Heresy dungeon.
SKIP THE GRIND BUY PIT OF HERESY EXOTIC!
Extras & Challenges
Like in the previous dungeons, Pit of Heresy also has a certain number of collectables, solo & flawless triumph that awards a unique emblem & special badge on your dungeon report. We’ll be going over each of them and tell you what are the best tips & tricks on acquiring them.
Cosmetics
Sanguine Static Emblem

The Sanguine Static emblem is awarded for completing the ''Destroyer of Heretics'' triumph, that requires you to simply complete the Pit of Heresy dungeon.
Solo & Flawless

Conquering Pit of Heresy dungeon solo flawless is a true test of a guardian's skill. Solo flawless demands perfect preparation, from optimizing your build with the right subclass, exotic armor, and weapon loadout to mastering the dungeon's encounters.
Completing the dungeon solo flawless awards you with a unique emblem that you can use to show off to other guardians, while also giving you a special badge on your raid report that you’ve completed the dungeon solo flawlessly.
SKIP THE GRIND BUY PIT OF HERESY SOLO FLAWLESS!
FAQs
The Pit of Heresy dungeon is located on the Moon.
No, the Pit of Heresy dungeon can only be farmed when it is part of the active dungeon rotation.
Yes, you can solo the dungeon and even solo flawless the dungeon, although it will be very challenging due to encounter mechanics and difficulty.
Yes, the Pit of Heresy dungeon requires the Shadowkeep expansion.
Final Thoughts
I hope this guide will ease your experience with the Pit of Heresy dungeon encounters and help you get one step further to success. We did all the research, and now it’s your turn to show your skill. Give it a try, Guardian!
About KBoosting
If you are struggling to find a fireteam or don't have enough time to play yourself, at KBoosting, besides articles & guides, we also provide Destiny 2 boosting services. All you need to do is check our Pit of Heresy boosting services and let us handle everything for you, while you have some fun in the game!
