Vault of Glass Guide – Complete Destiny 2 Raid Walkthrough


-
Bundle
- Powerful & pinnacle gear with 25% off
- Increase your power level easily
-
Hot


-
Sale 15%Ends in 13h 55m 54s
-


-
-
-
Sale 15%Ends in 13h 55m 54s
-
Sale 15%Ends in 13h 55m 54s
-
-

Introduction
The Vault of Glass raid was released in Destiny 2 with Season of the Splicer expansion. The guide will take you through every step needed to complete it, covering all mechanics, strategies, and loadouts.
Table of Contents
In this guide, we will cover the following subjects:
- Raid Preparation
- How to access the raid
- First Encounter
- Second Encounter
- Third Encounter
- Fourth Encounter
- Boss Encounter
- Loot Table
- Extras & Challenges
- FAQ
- Conclusion
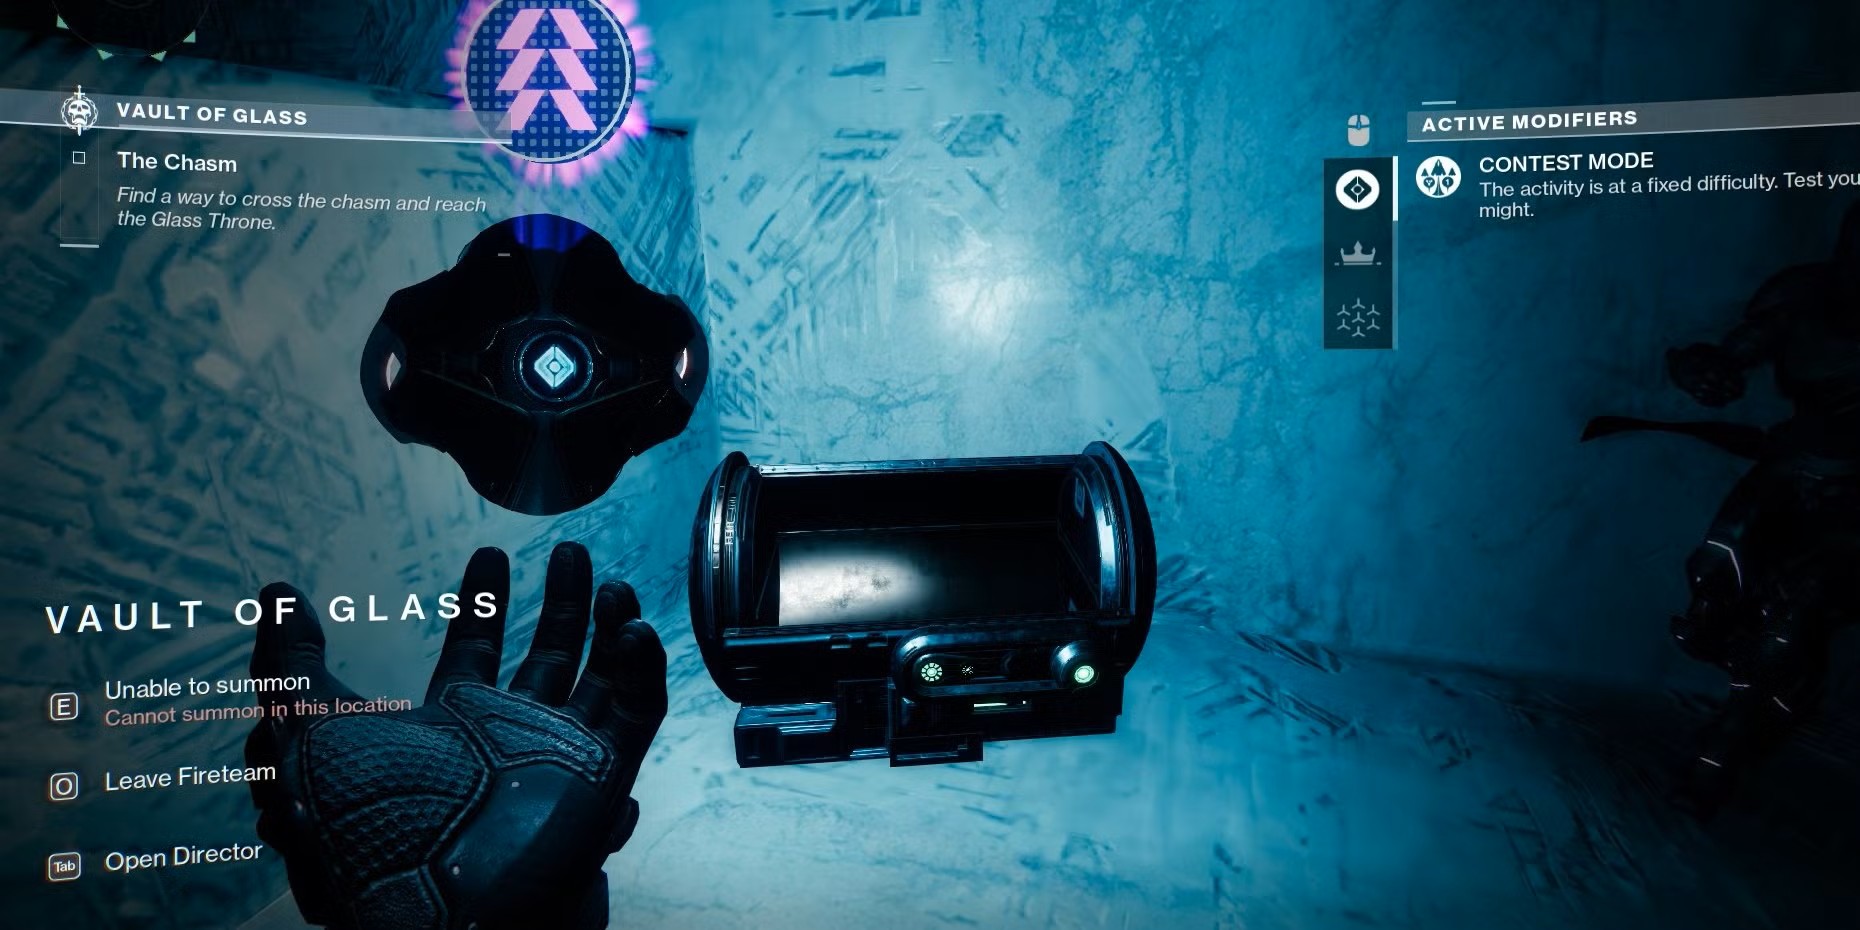
How to access the raid
Vault of Glass raid was originally released on May 22, 2021, during Season of the Splicer.
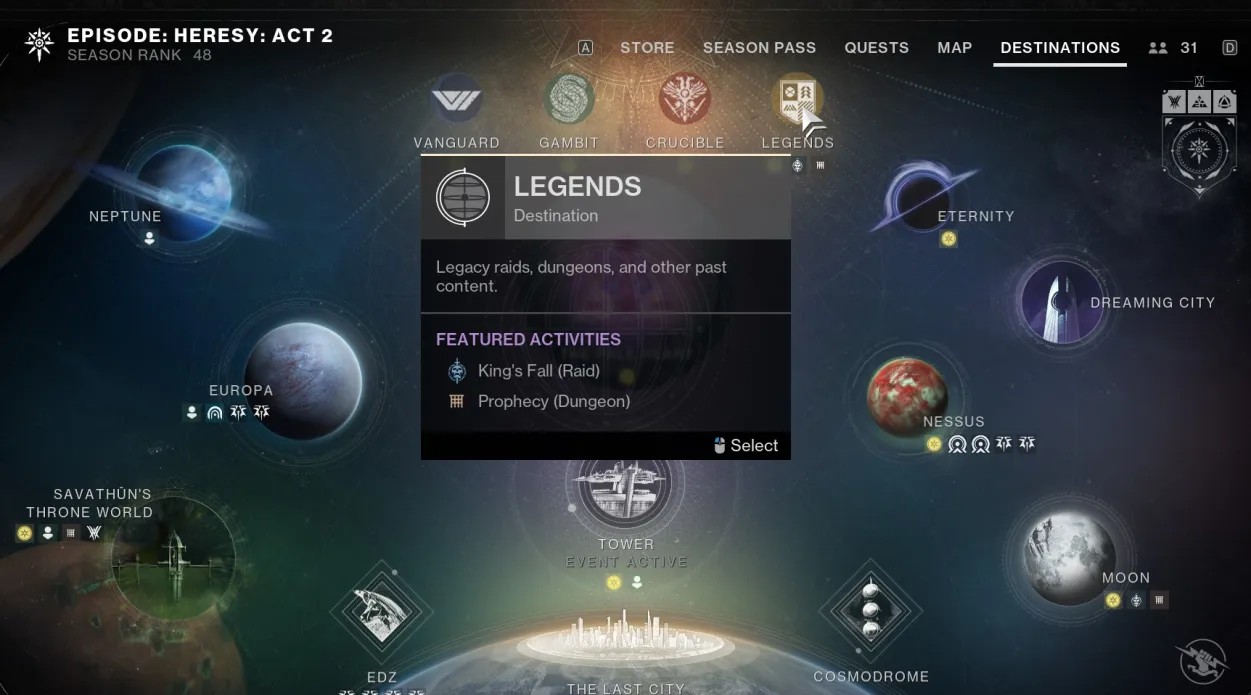
To access the Vault of Glass raid in Destiny 2, open the Director and navigate to the Legends tab, found on the right side of the destination screen.
Raid Preparation
Vault of Glass raid features unique mechanics, so being prepared with the best meta loadouts will help you out immensely during each encounter. I’ll be going over some of the best weapons & subclasses that you should be using to ensure your success.
Best subclasses & builds
SKIP THE GRIND! BOOST YOUR GUARDIAN NOW!
Getting started
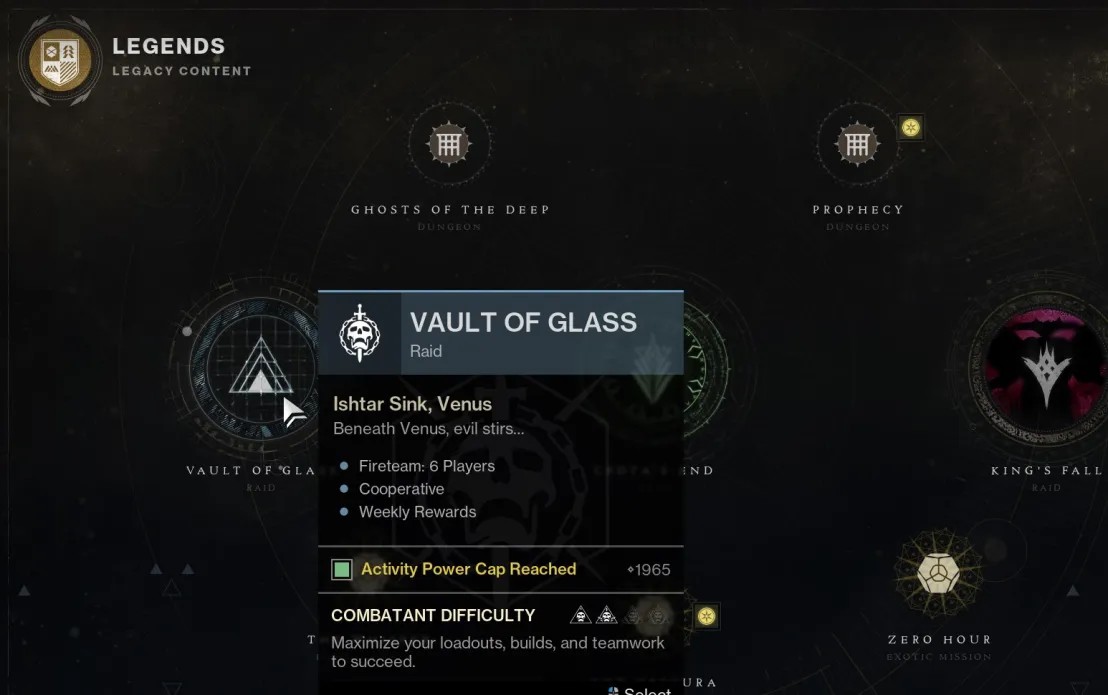
Once you're ready, navigate to the Legends tab and look for the Vault of Glass raid icon.
Best weapons loadouts
Here, I’ll be going over some of the best meta weapons to use in the Vault of Glass raid:
SKIP THE GRIND BUY VAULT OF GLASS CARRIES!
Reaching the first encounter
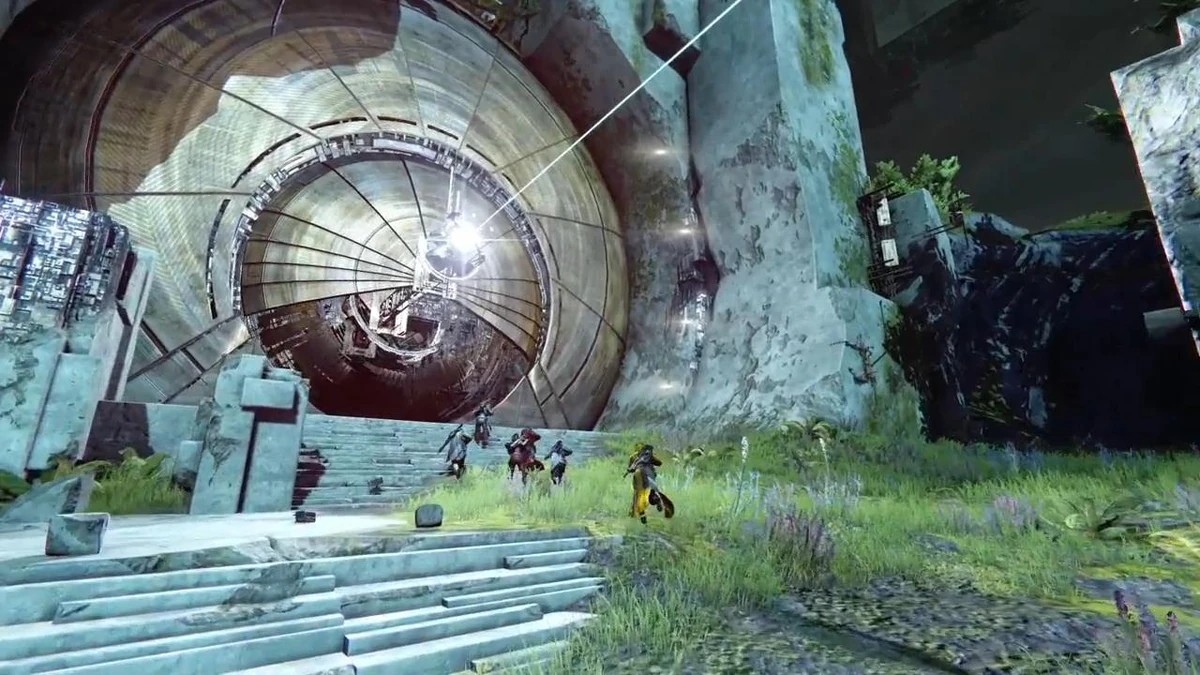
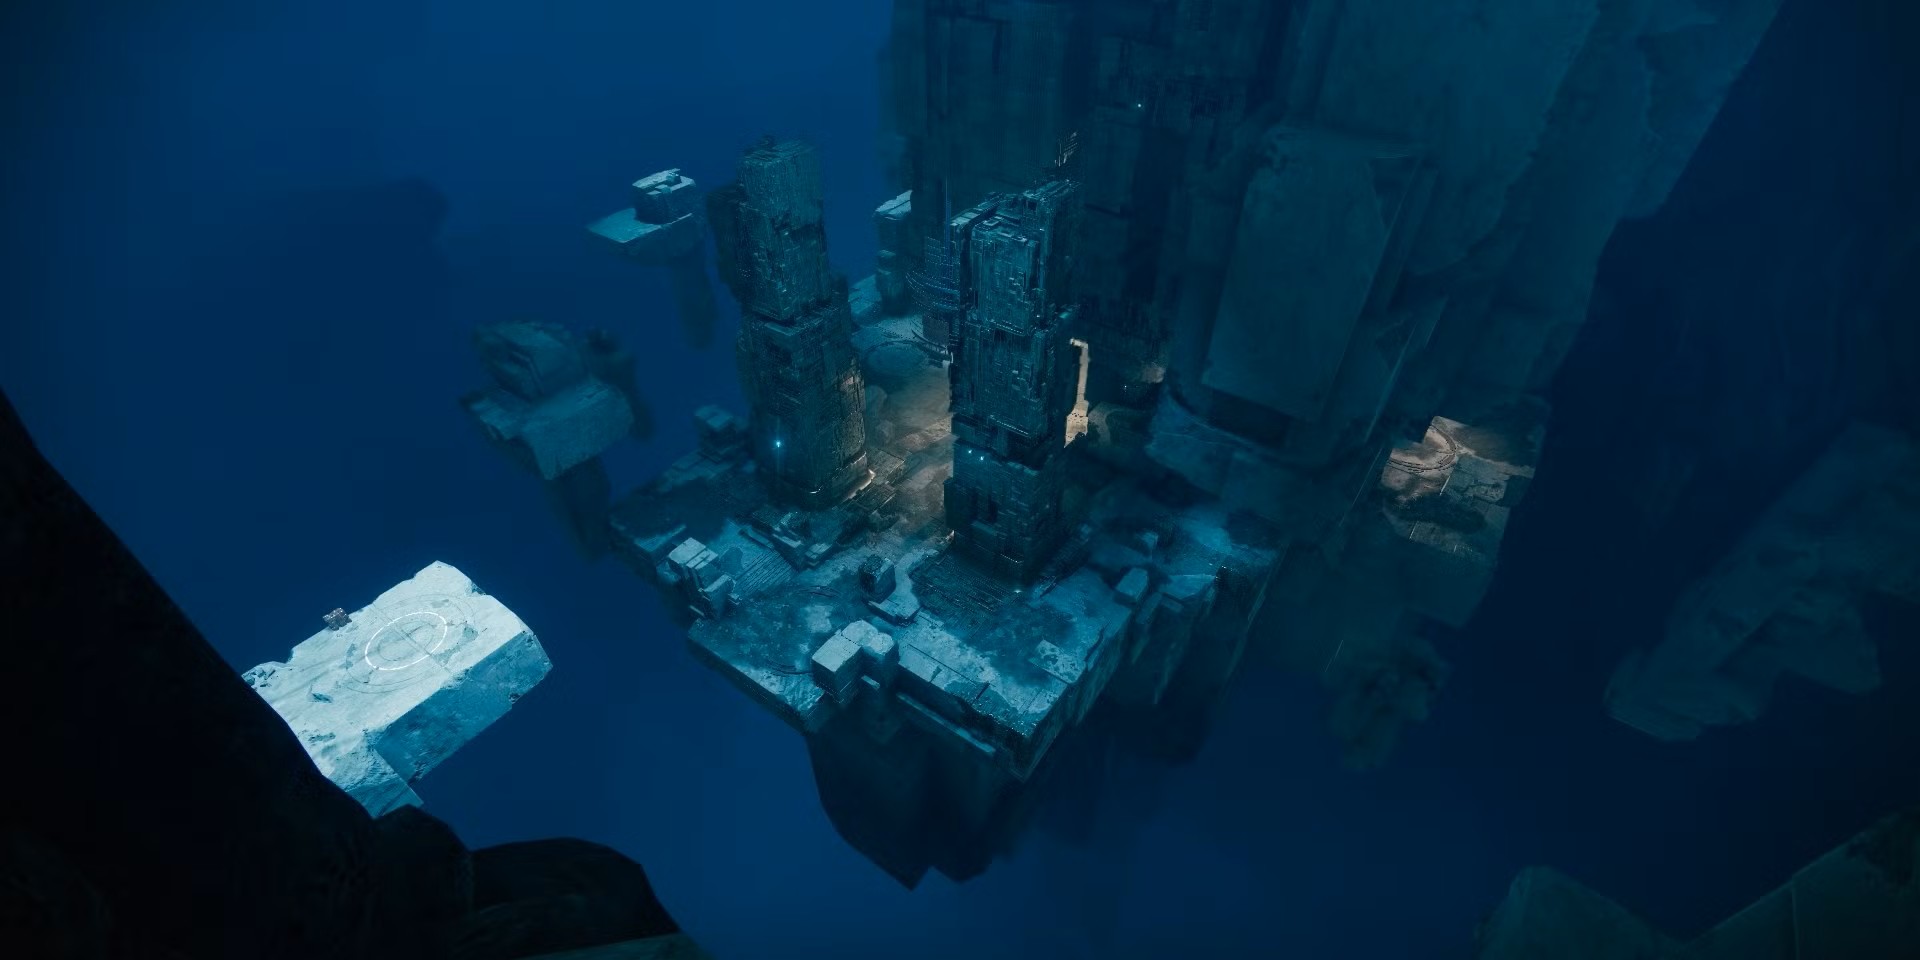
To reach the first encounter in Vault of Glass, your fireteam must open the Vault door by activating and defending three Vex plates in the starting area on Venus. Each plate is located at key positions around the spire and must be held simultaneously to construct the entrance.
As you stand on the plates, waves of Vex enemies will spawn, including Praetorians, which have shields that require Void damage to break. Assign two players per plate to ensure they remain under your team’s control. Once all plates are defended long enough, the Vex spire forms, opening the massive Vault door.
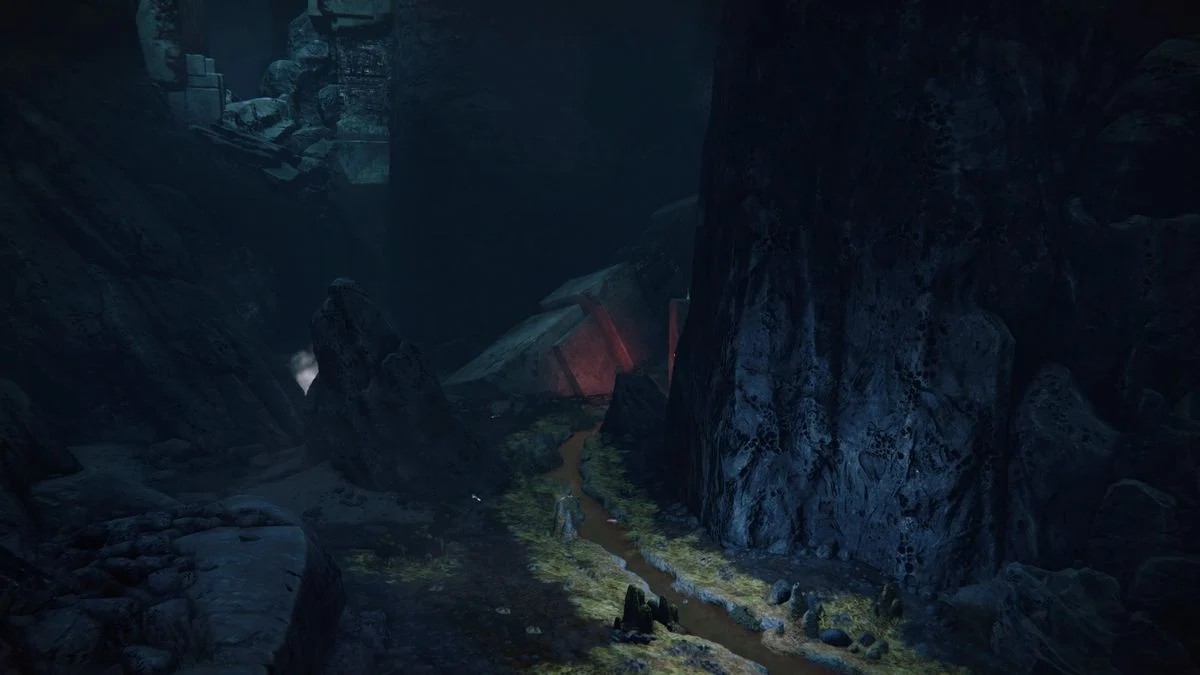
Secret Chest
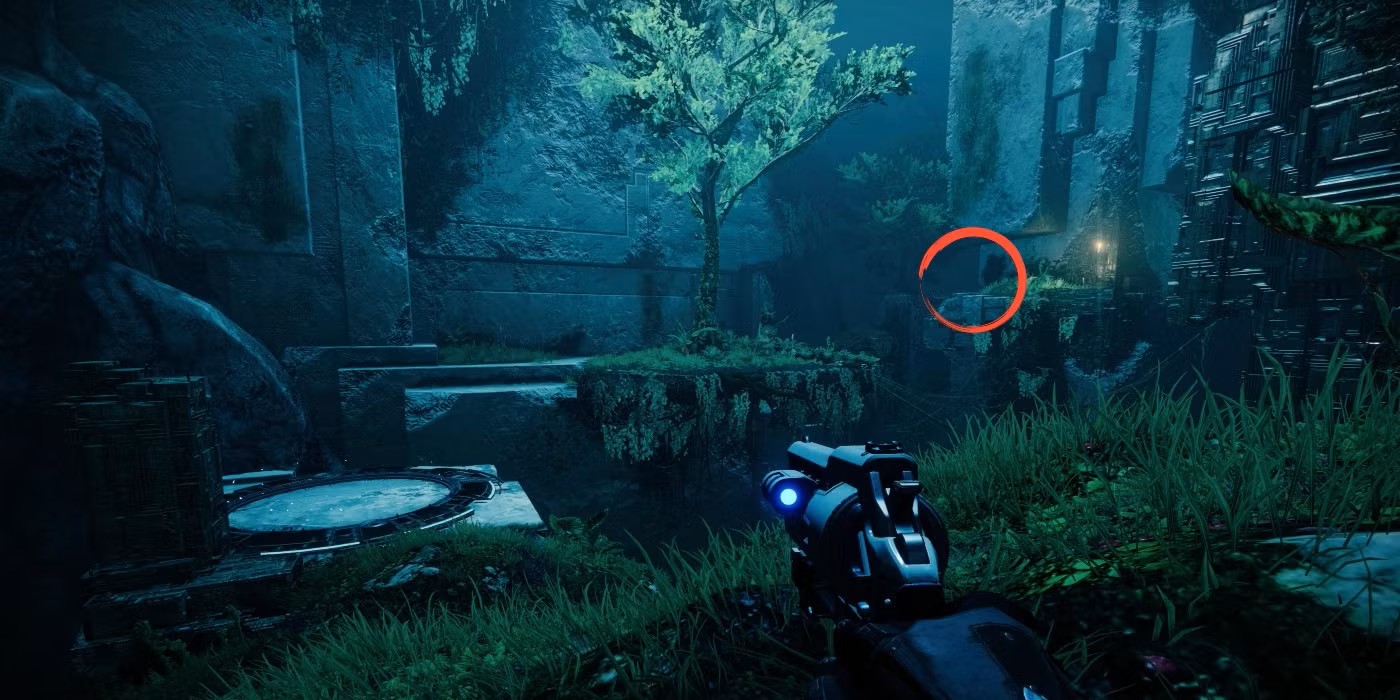
After completing the spire encounter, continue through The Trial of Kabr until you reach a glowing yellow-green chasm. Turn your back to it and drop down to find a hidden entrance in the Vex structure. Jump inside, follow the path, and enter a large room with a Vex plate. The chest is on the right side, ready to be claimed.
First encounter
General Objective Overview
Your fireteam must defend the Confluxes from waves of Vex enemies attempting to sacrifice themselves. The encounter progresses in phases, with increasing enemy intensity and multiple Confluxes to protect. If too many enemies sacrifice themselves, the team wipes.
Arena & Layout
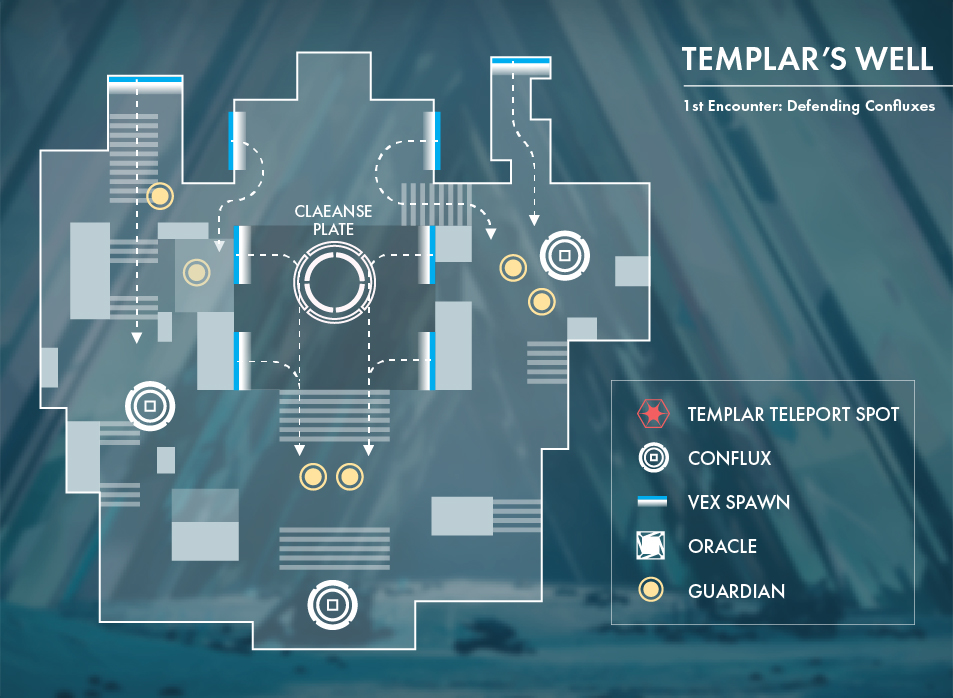
The battle takes place in a wide, open chamber inside the Vault. Initially, a single central Conflux spawns, followed by left and right Confluxes in later phases. Enemies flood in from multiple directions, including Wyverns, Goblins, and Fanatics.
Team Roles & Asignments
Mechanics
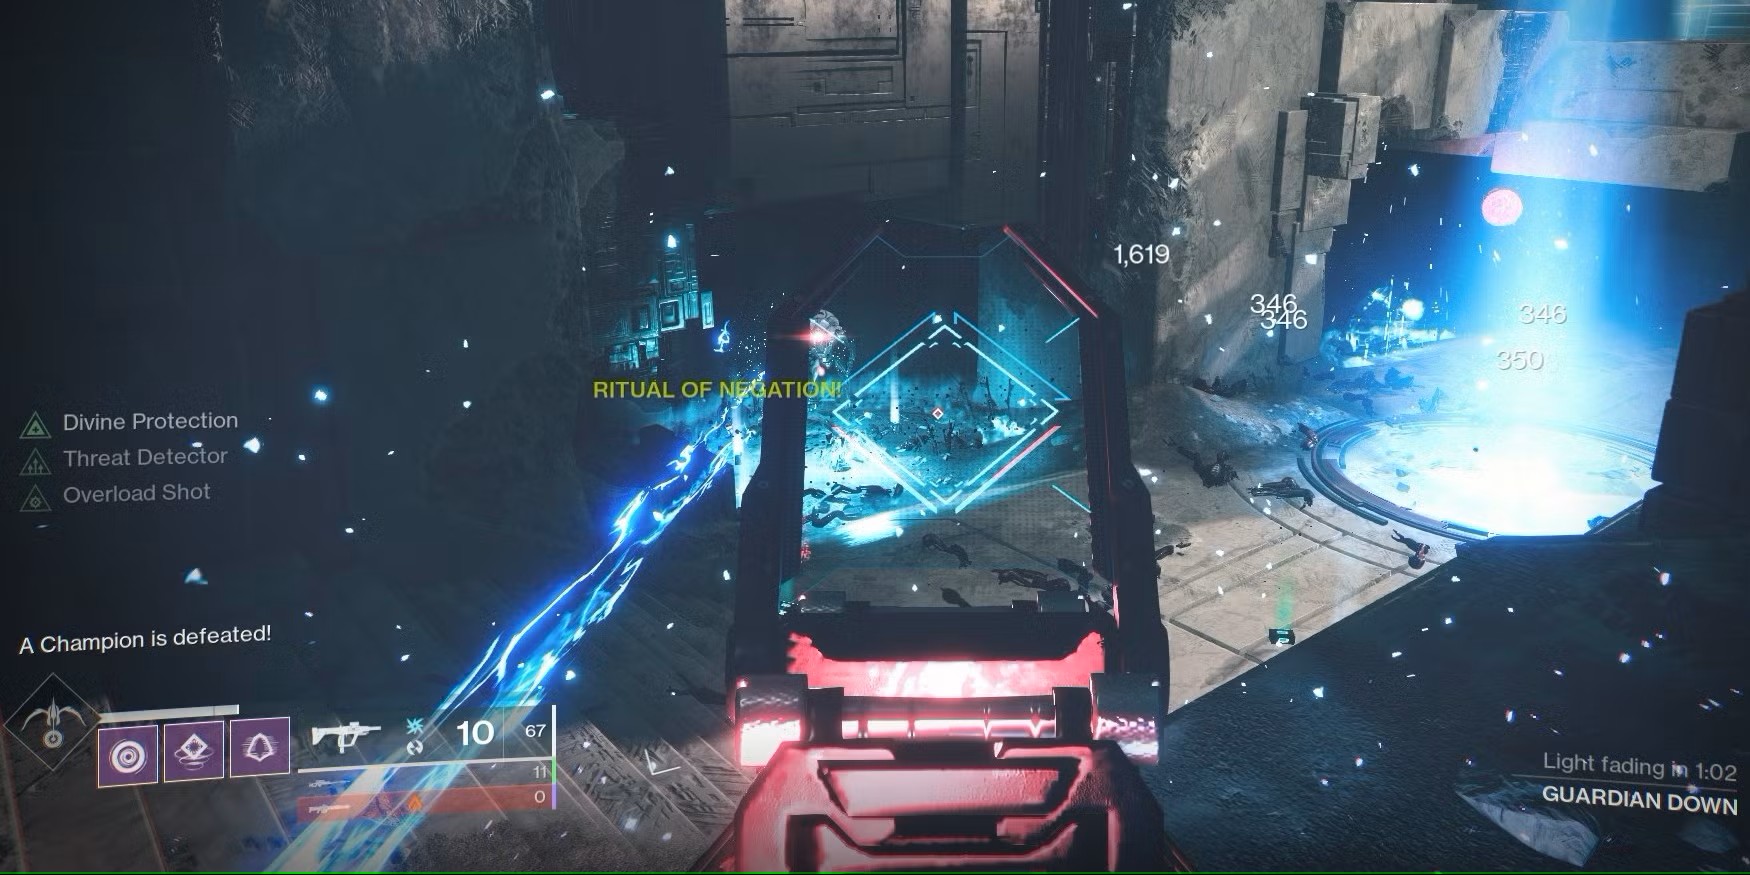
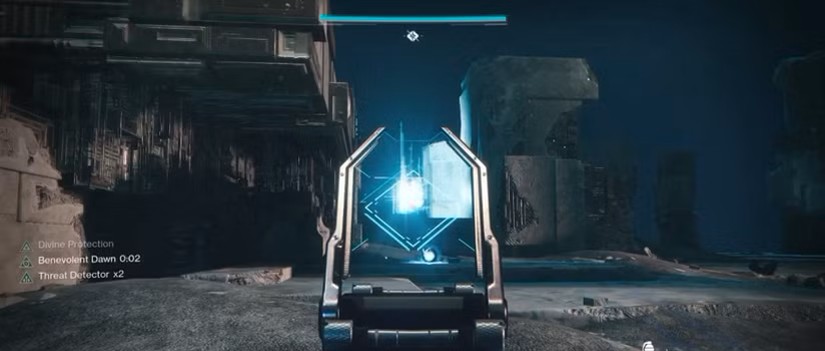
Vex Sacrifices: Enemies try to reach and sacrifice at the Confluxes. Too many sacrifices result in a wipe.
Fanatics & Marked for Negation: Fanatics drop pools that apply a debuff. Players must cleanse at the Sync Plate before Ritual of Negation activates.
Wyverns Spawn in Later Phases: These powerful enemies sacrifice instantly upon reaching a Conflux.
Overload Champions (Master Difficulty): Requires Overload mods to stun and eliminate efficiently.
DPS Phase
There is no dedicated DPS phase. The goal is to survive and prevent sacrifices until all Conflux waves are completed.
Tips & Mistakes to Avoid
✔️ - Assign clear roles early to avoid chaos.
✔️ - Use wave-frame grenade launchers or Machine Guns for effective add clear.
❌ - Do not ignore Fanatic pools, as failing to cleanse the debuff can be deadly.
❌ - Eliminate Wyverns quickly, as they sacrifice instantly if they reach a Conflux
Reaching the second encounter
General Objective Overview
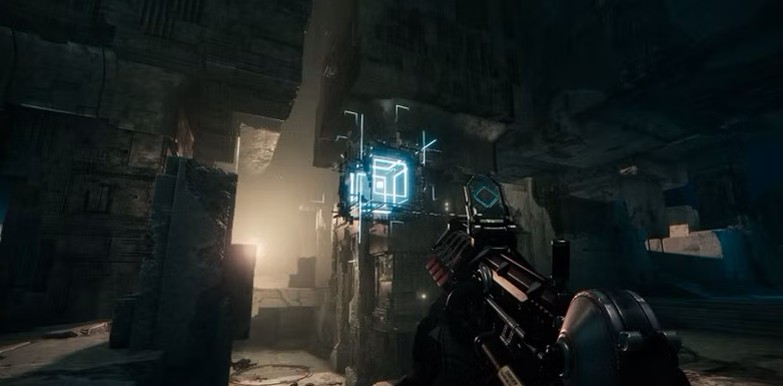
After successfully defending the Confluxes, the encounter transitions directly into the Oracles phase without any movement to a new location. Oracles will begin spawning at fixed positions throughout the Templar’s Well, and your fireteam must quickly identify and destroy them in the correct sequence to progress.
Second Encounter
General Objective Overview
The Oracles encounter requires your fireteam to identify and destroy Oracles in the exact order they spawn while defending against waves of Vex Goblins and Hobgoblins. Failing to destroy them in order results in the entire team being Marked for Negation, requiring an immediate cleanse.
Arena & Layout
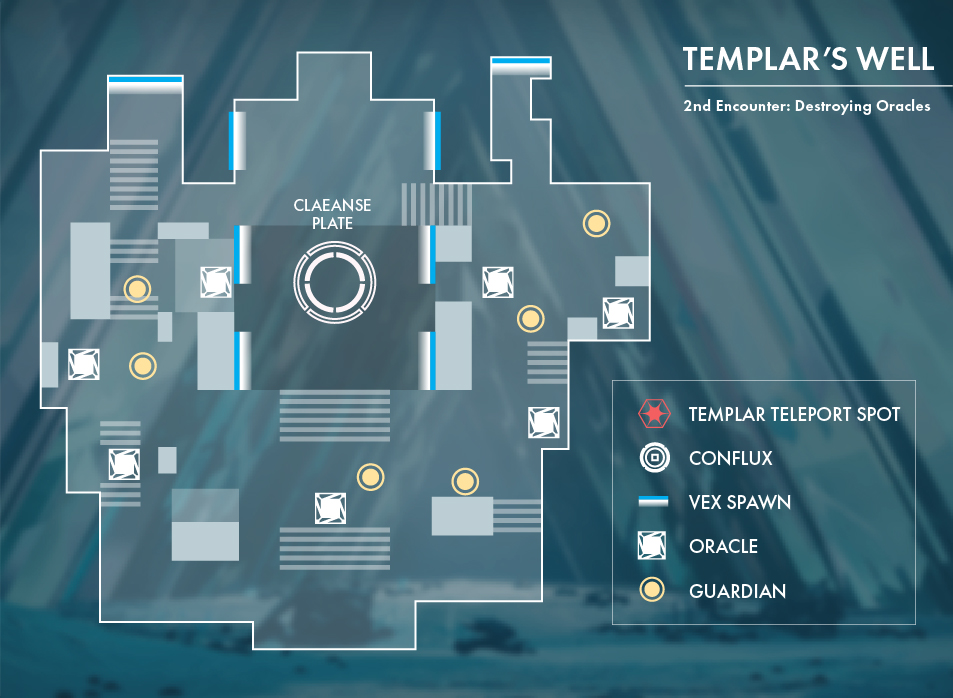
This encounter takes place in the same arena as the Confluxes encounter in Templar’s Well.
Oracles spawn in seven fixed locations: three on the left, three on the right, and one in the center.
Players must assign themselves to specific spawn locations to quickly call out the correct sequence.
Team Roles & Asignments
Mechanics
DPS Phase
There is no dedicated DPS phase in this encounter. The goal is to survive five waves of Oracles while maintaining control of enemy spawns
Tips & Mistakes to Avoid
✔️ - Assign players to specific Oracle spawn locations to ensure fast callouts.
✔️ - Use Snipers or Xenophage to quickly destroy Oracles from range.
❌ - Do not shoot Oracles out of sequence, as this results in a team wipe mechanic.
❌ - Avoid Warmind Cells, as they can unintentionally destroy Oracles.
Reaching the third encounter
General Objective Overview
After clearing the final wave of Oracles, the Templar encounter begins immediately in the same arena, requiring the team to shift focus to the boss mechanics, Aegis Relic, and teleport blocking.
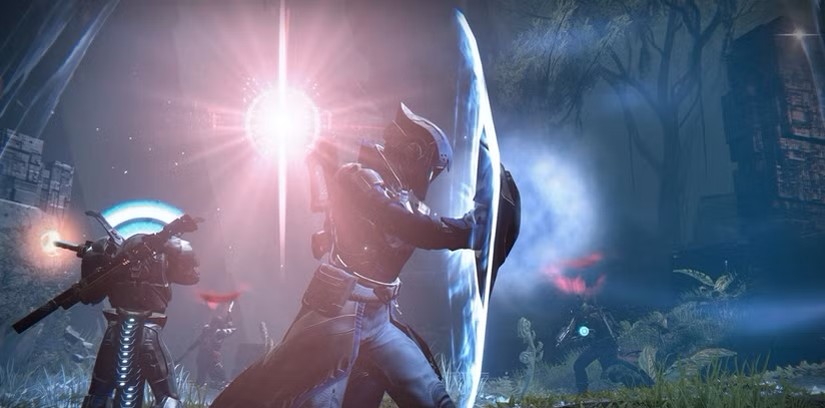
Third Encounter
General Objective Overview
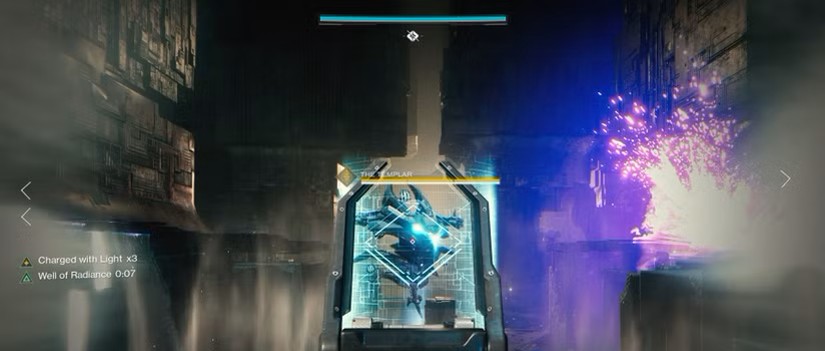
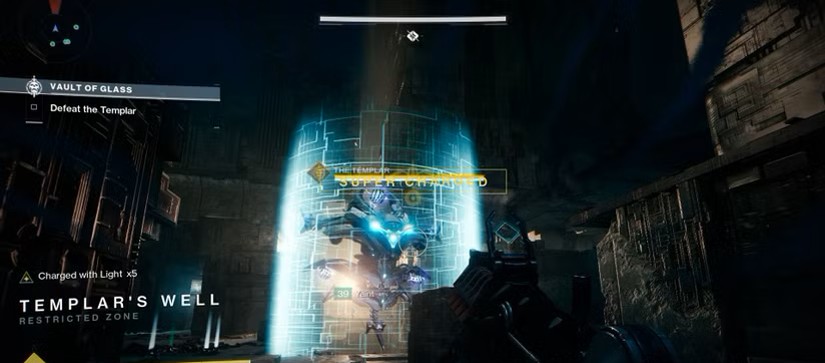
Your fireteam must use the Aegis relic to break the Templar's shield, destroy Oracles in sequence, and deal damage to the boss while preventing it from teleporting. The longer you delay the Templar’s teleport, the more enemies will spawn, increasing difficulty.
Arena & Layout
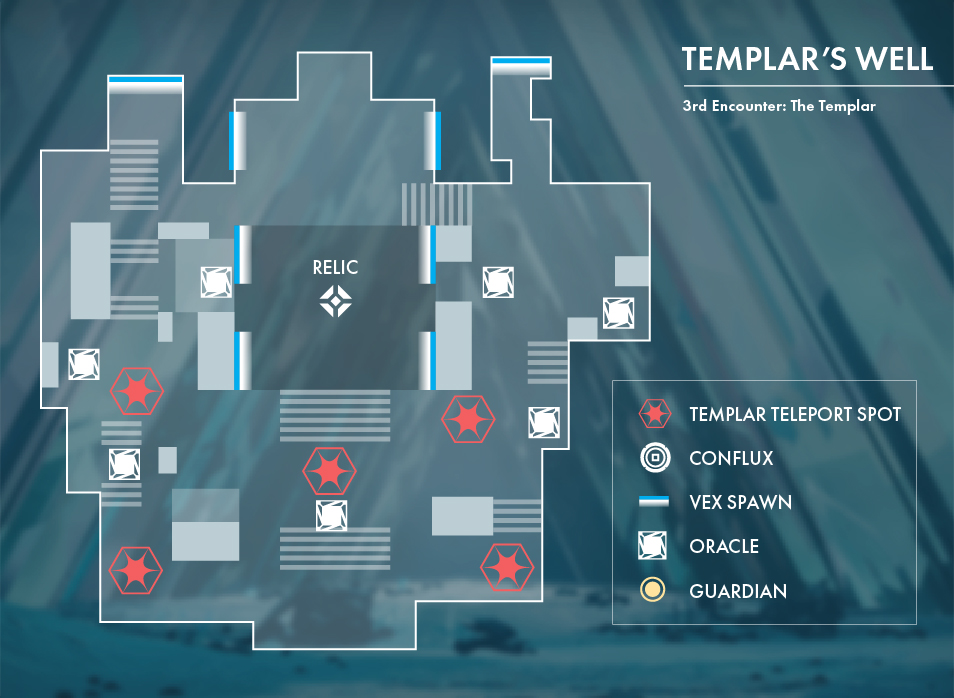
The encounter takes place in Templar’s Well, where the Templar starts in the center, requiring players to control its movement while Oracles spawn in fixed locations, demanding precise coordination, all while Hobgoblins and Minotaurs continuously add pressure.
Team Roles & Asignments
Mechanics
DPS Phase
Deploy Well of Radiance and Ward of Dawn for survivability.
Use Anarchy, double Slug Shotguns, and Sniper Rifles for high burst damage.
If your fireteam has strong DPS, you can defeat the Templar before the second Oracle wave spawns.
Tips & Mistakes to Avoid
✔️ - Assign a reliable Aegis user to consistently break the Templar’s shield and block teleports.
✔️ - Focus on Oracle callouts and destruction to prevent a Marked for Negation team wipe.
❌ - Standing too close to teammates with "Imminent Detain" can trap multiple players, disrupting DPS.
❌ - Neglecting ad-clear will allow Hobgoblins and Minotaurs to overwhelm the team, making survival harder.
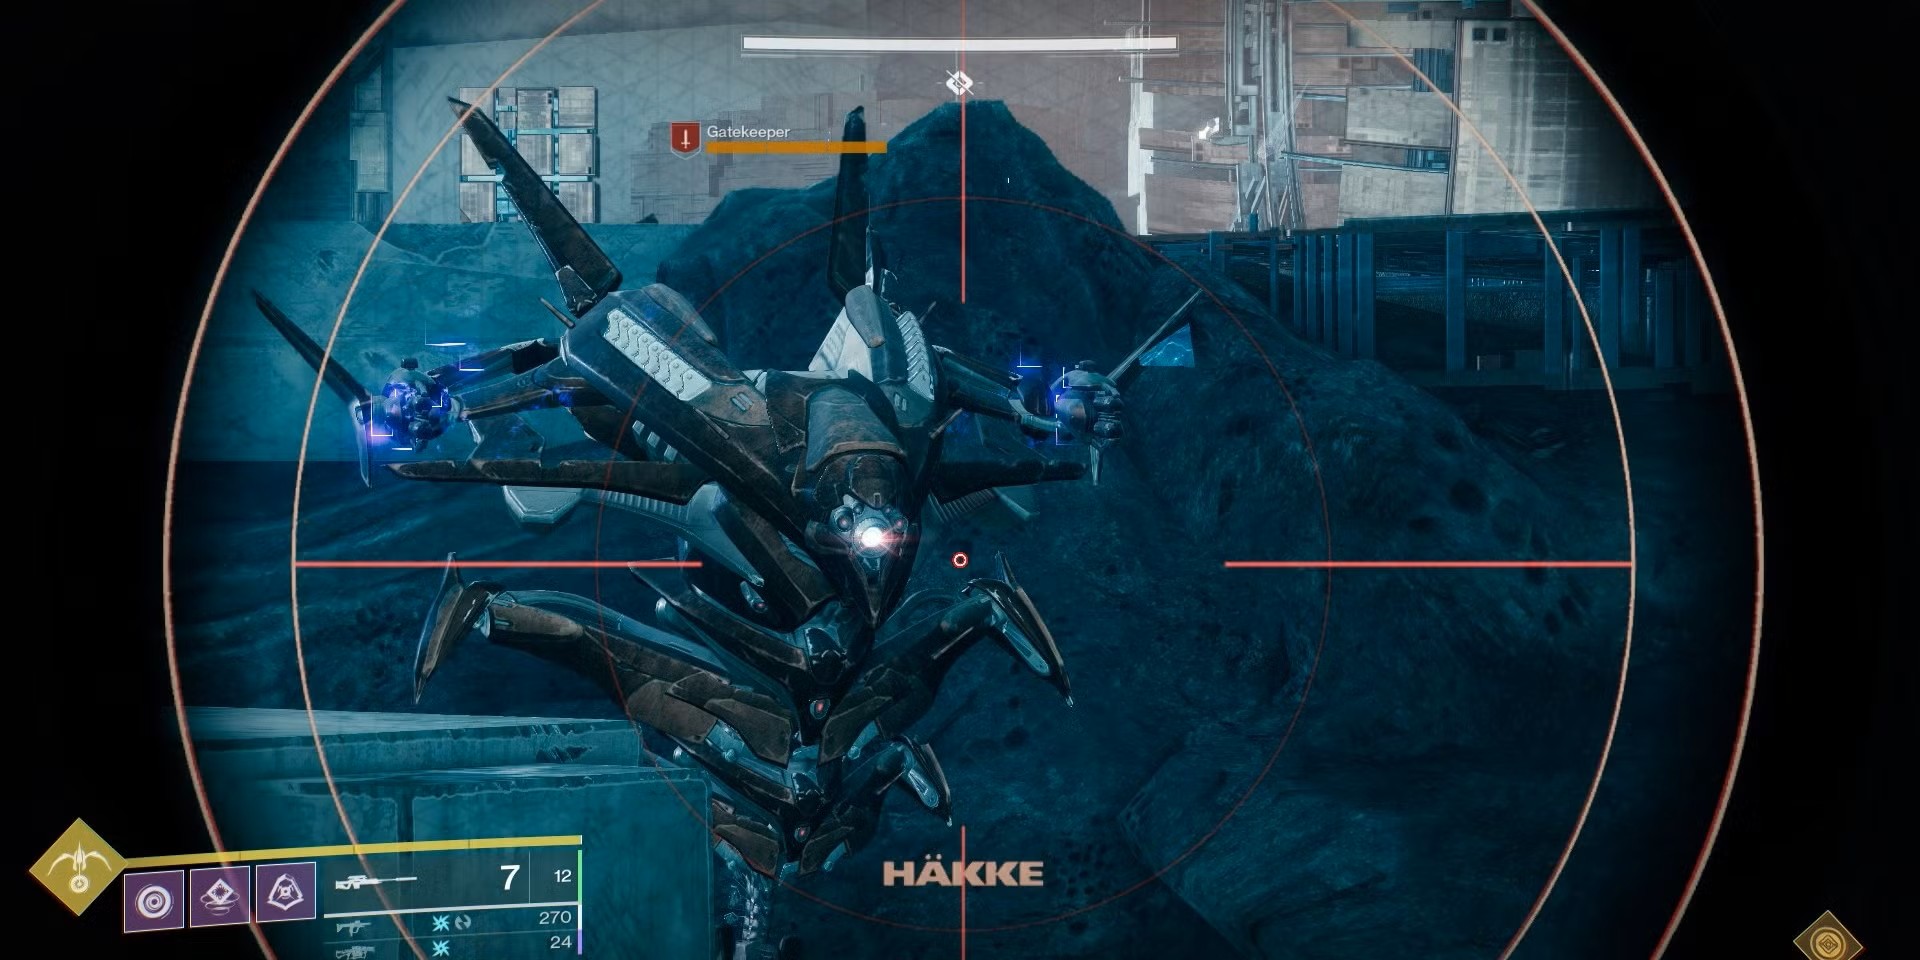
Reaching the fourth encounter
After defeating the Templar, your fireteam must navigate through the Gorgon’s Labyrinth and traverse a platforming section before reaching the Gatekeepers encounter.
Gorgon’s Labyrinth

After a short walk, your fireteam will enter the Gorgon’s Labyrinth, a stealth section where glowing Harpy-like enemies patrol the area. If a Gorgon spots any player, the entire team wipes.
Jumping Puzzle

Beyond the Labyrinth, your fireteam will face a floating platform section leading to the next encounter.
Hidden Chests
Fourth Encounter
General Objective Overview
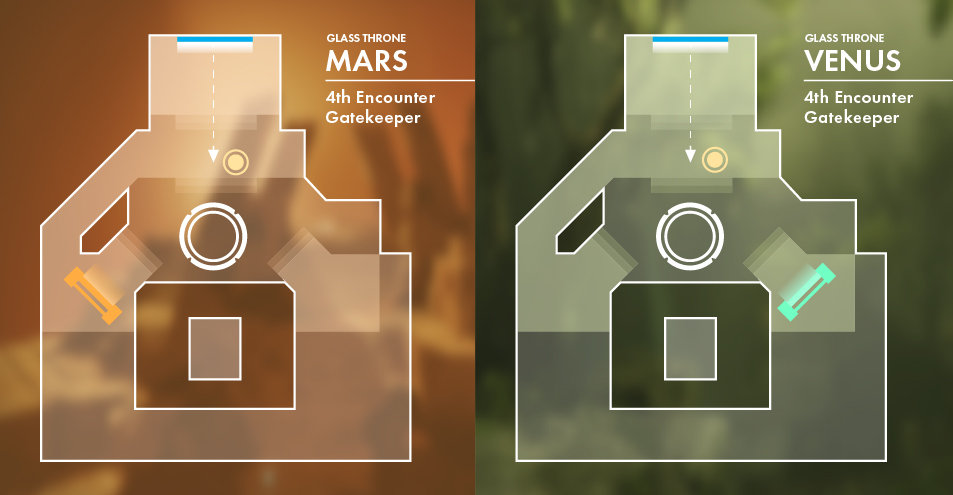
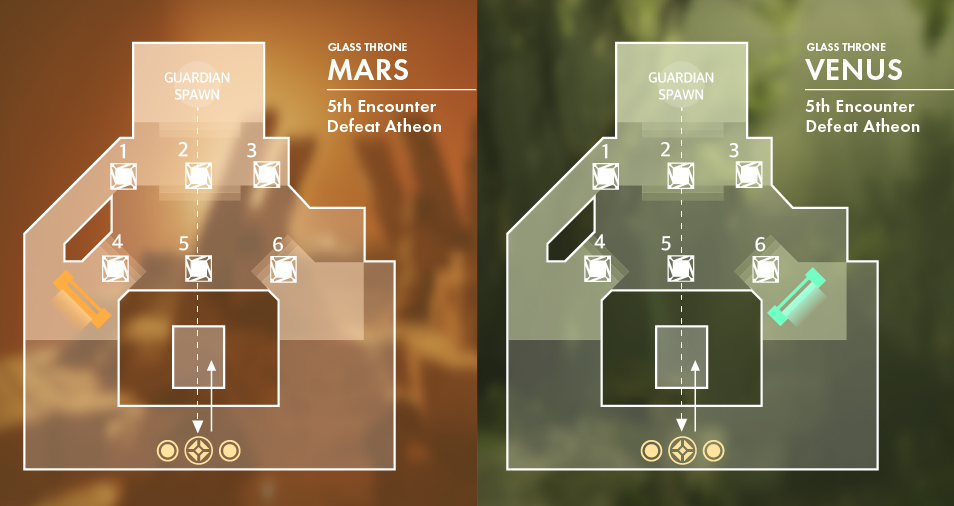
Your fireteam must prevent Vex from assimilating with Confluxes on Venus and Mars, while passing the Aegis relic between planets to destroy shielded Minotaurs. After multiple rotations, a final Conflux spawns in the throne room, requiring the team to defend against overwhelming Vex forces to complete the encounter.
Arena & Layout
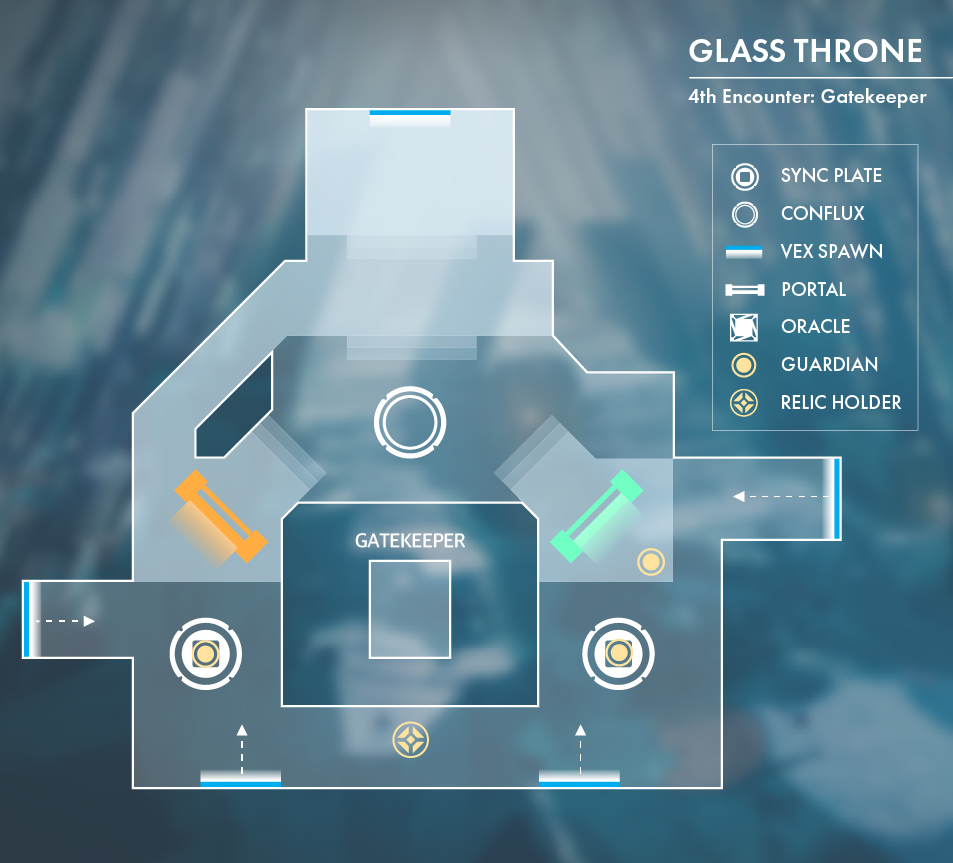
The battle takes place in a large open arena with:
Team Roles & Asignments
Mechanics
DPS Phase
There is no dedicated DPS phase in this encounter. The goal is to rotate Aegis users efficiently while defending Confluxes.
Tips & Mistakes to Avoid
✔️ - Rotate the Aegis relic properly to avoid the Teleport Destabilized debuff locking players out of portals.
✔️ - Keep portals open by defending plates from Overload Minotaurs and Gatekeepers.
❌ - Don’t ignore Minotaurs inside portals—they must be cleansed with the Aegis or the encounter will fail.
❌ - Avoid chaotic Aegis swaps—communicate clearly when passing the relic to ensure smooth rotations.
Once the final Conflux is defended, the path to Atheon, Time’s Conflux opens for the final encounter.
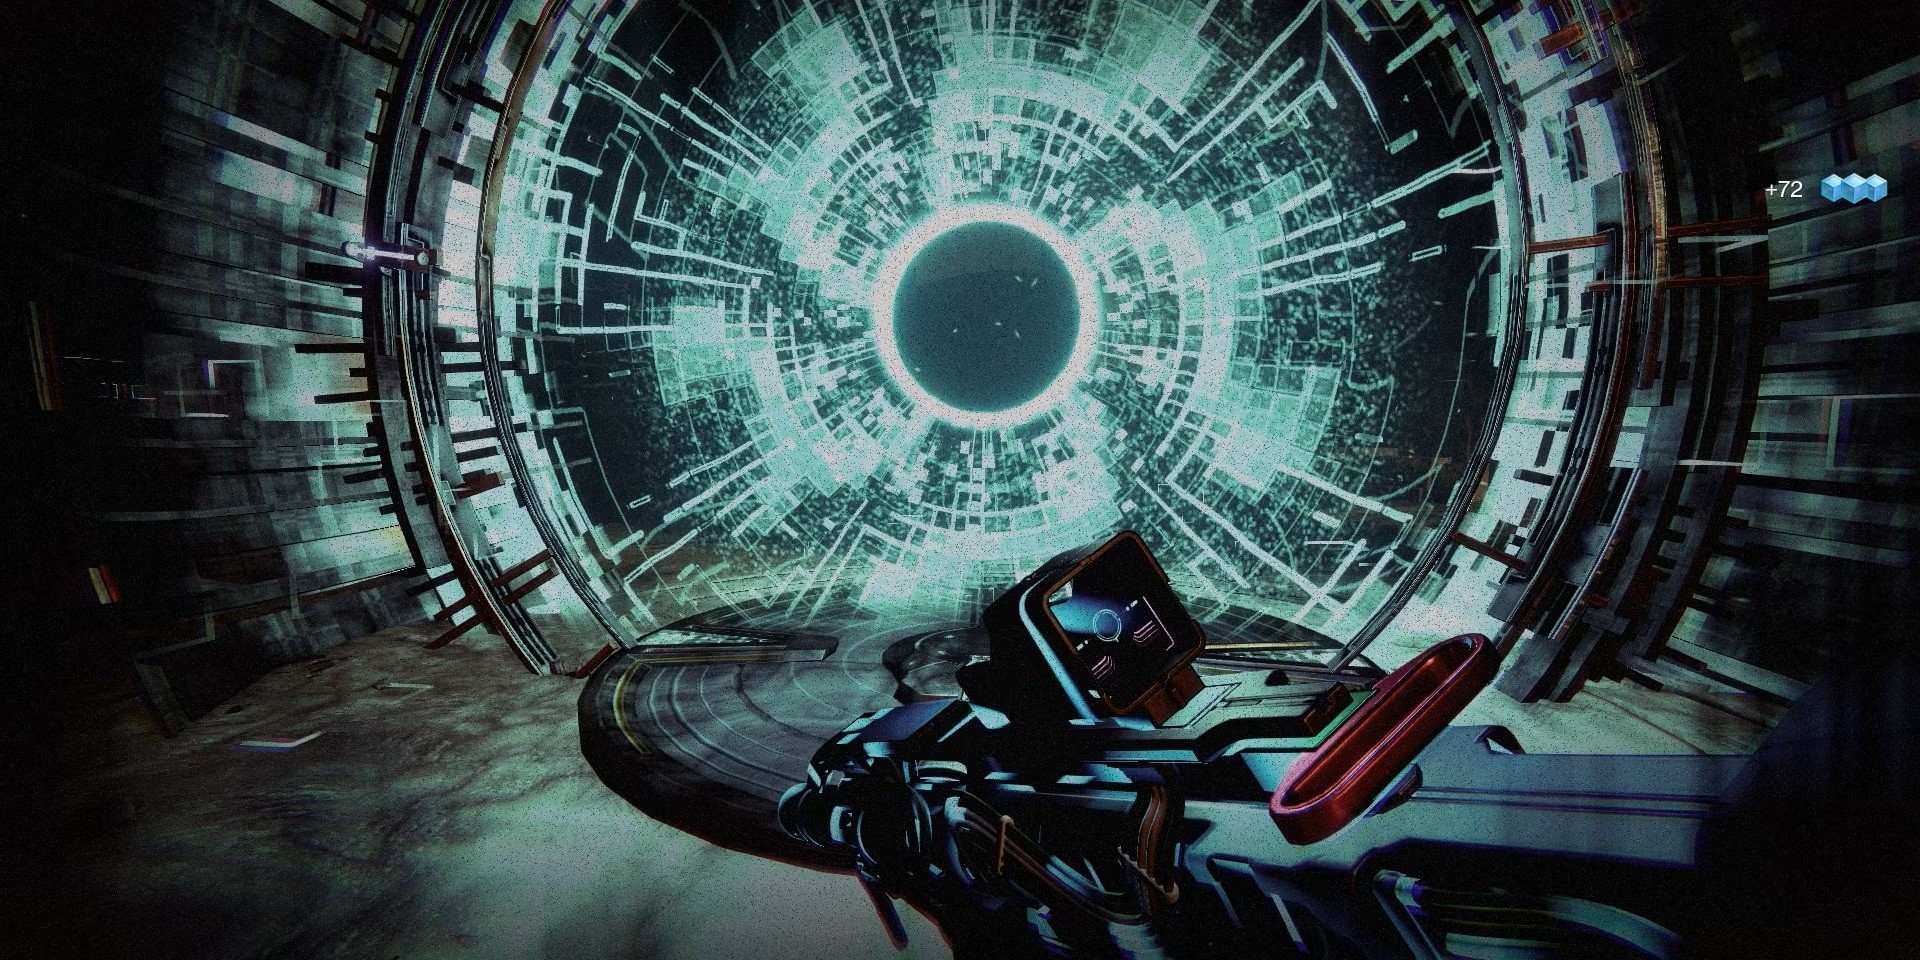
Reaching the boss encounter
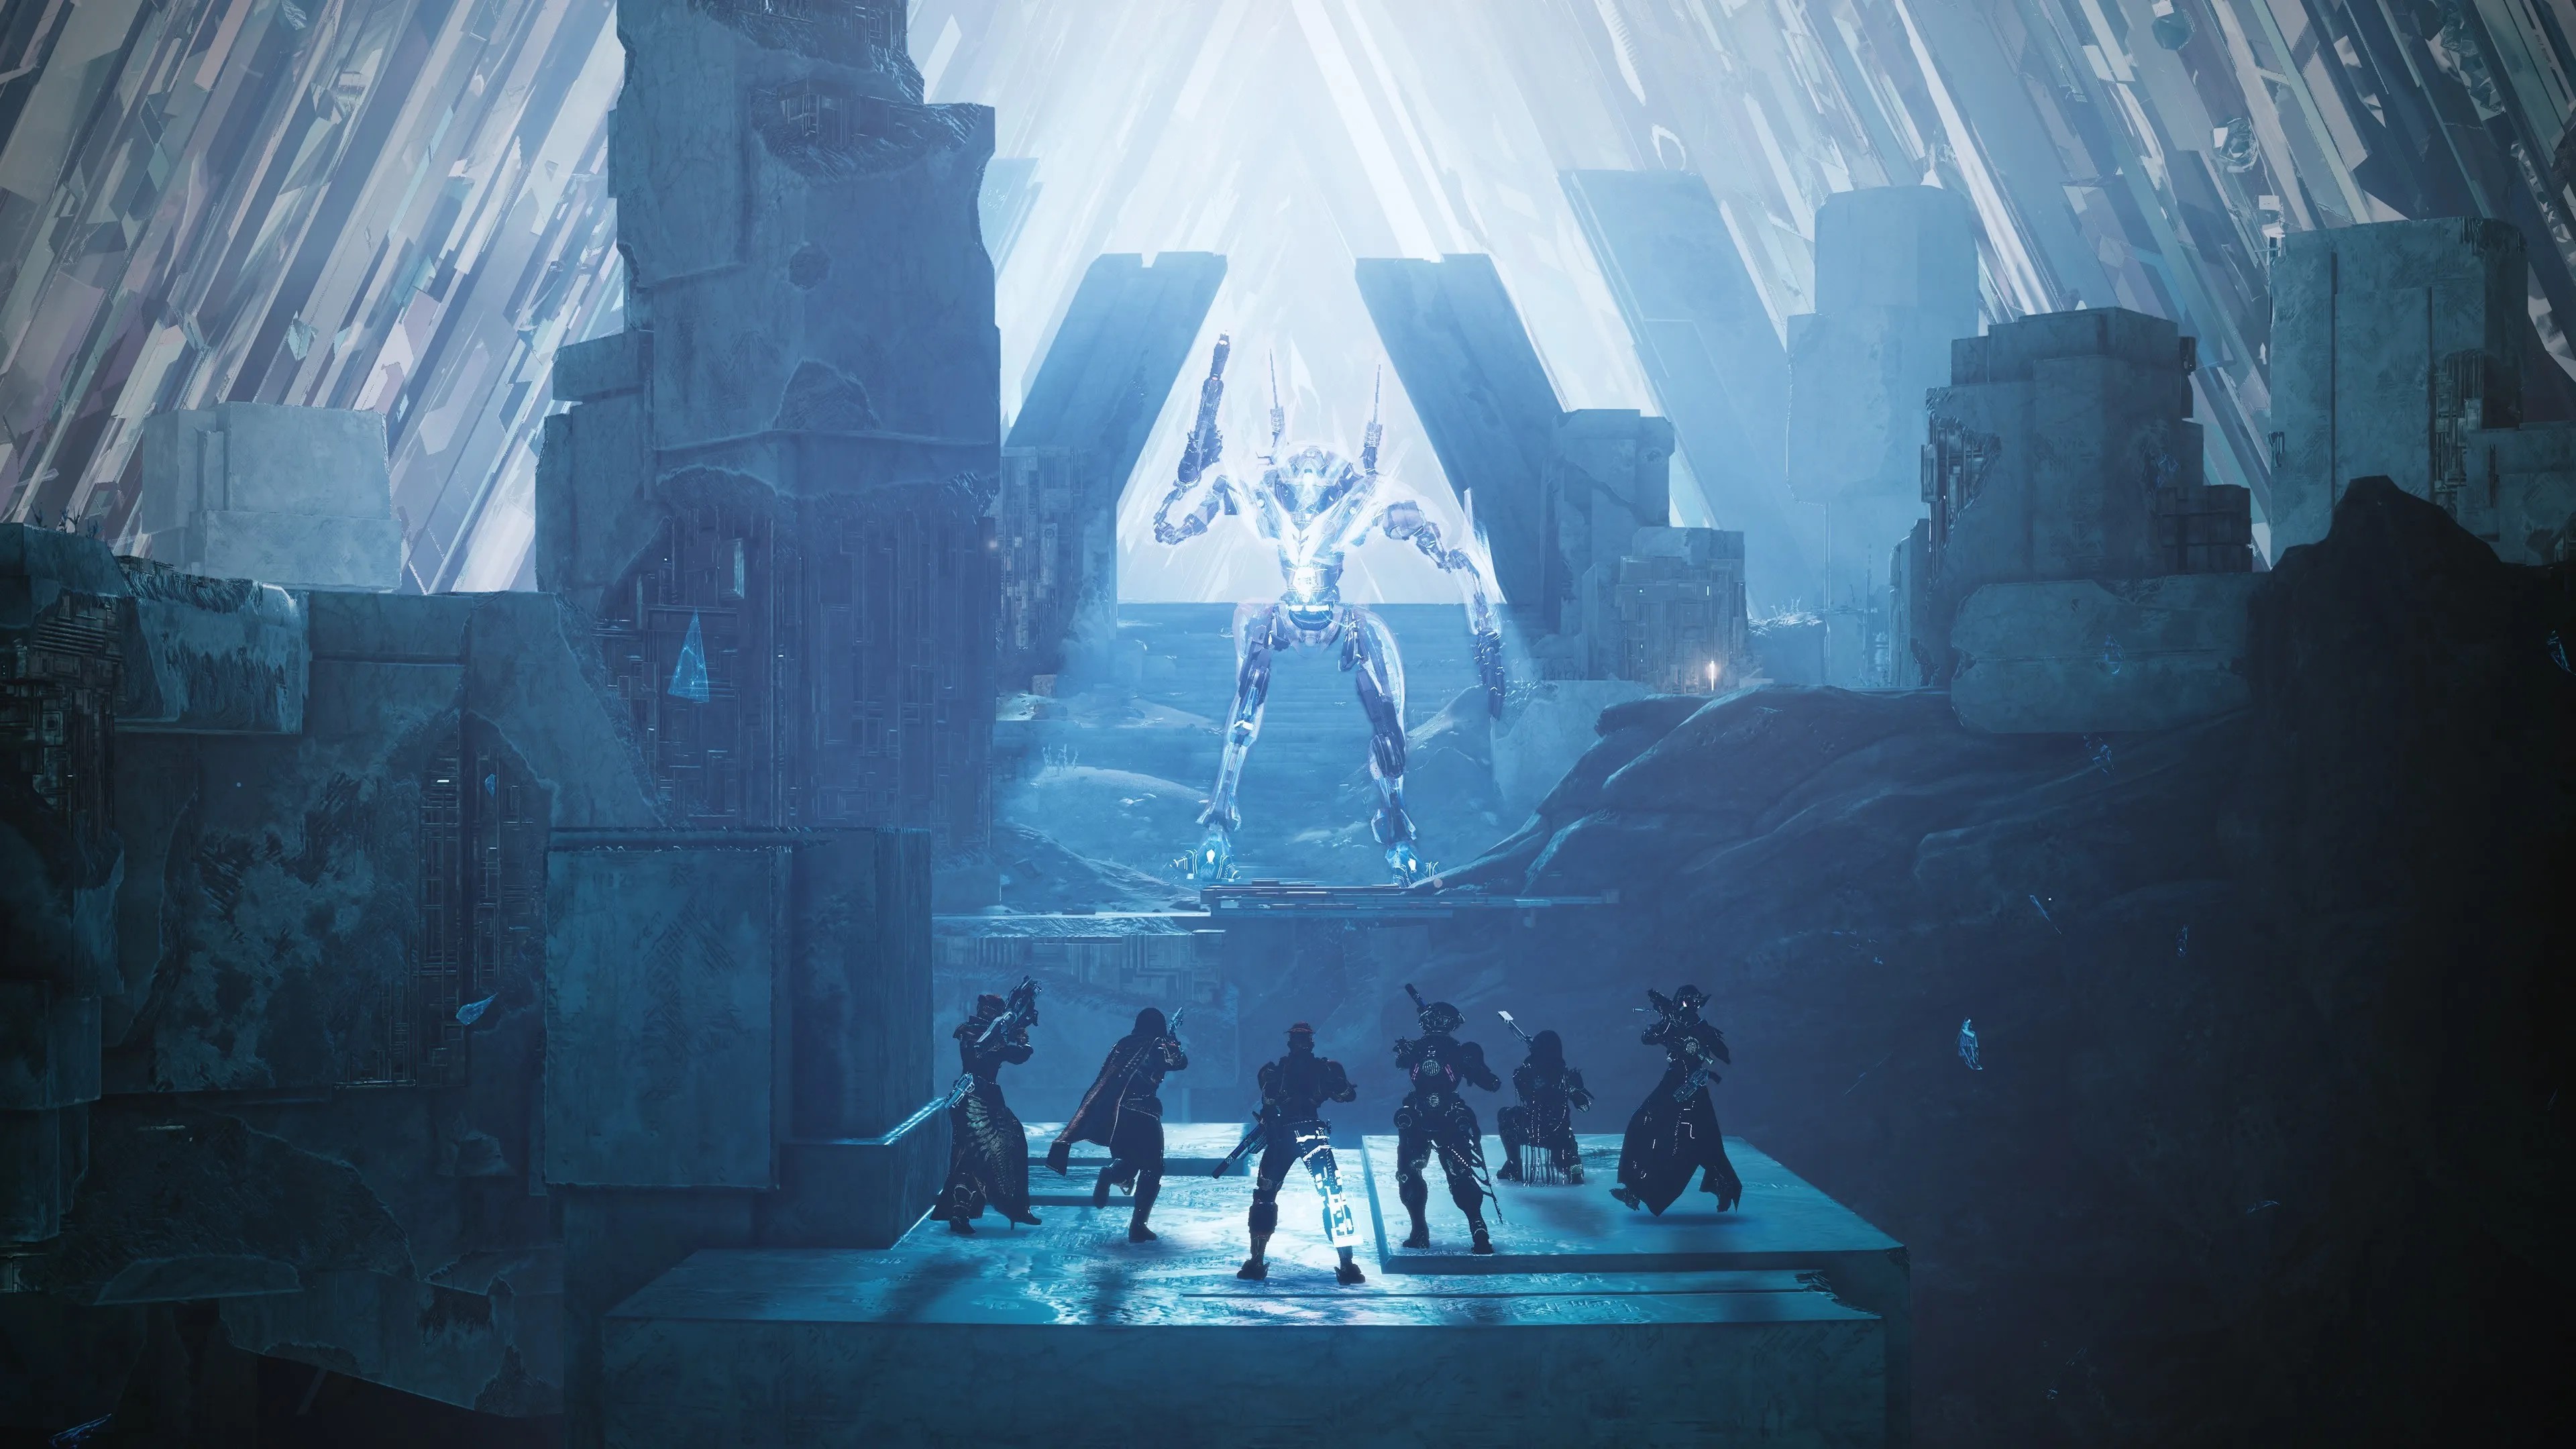
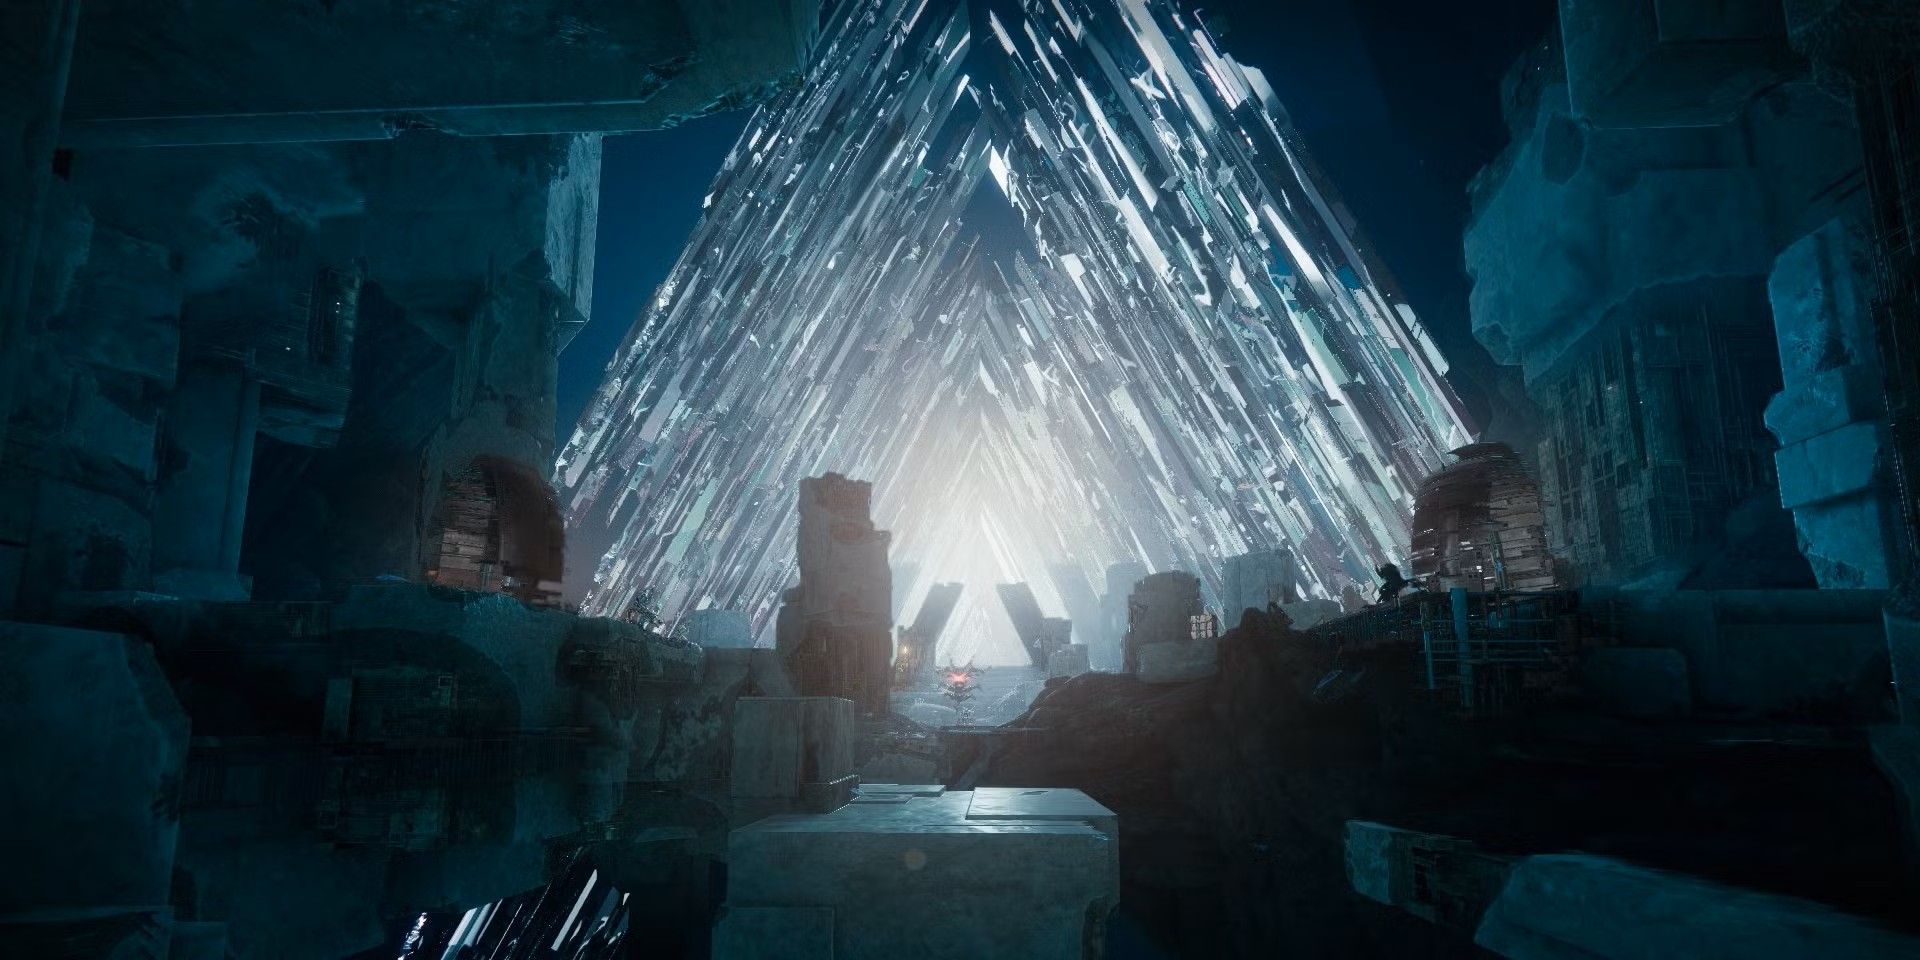
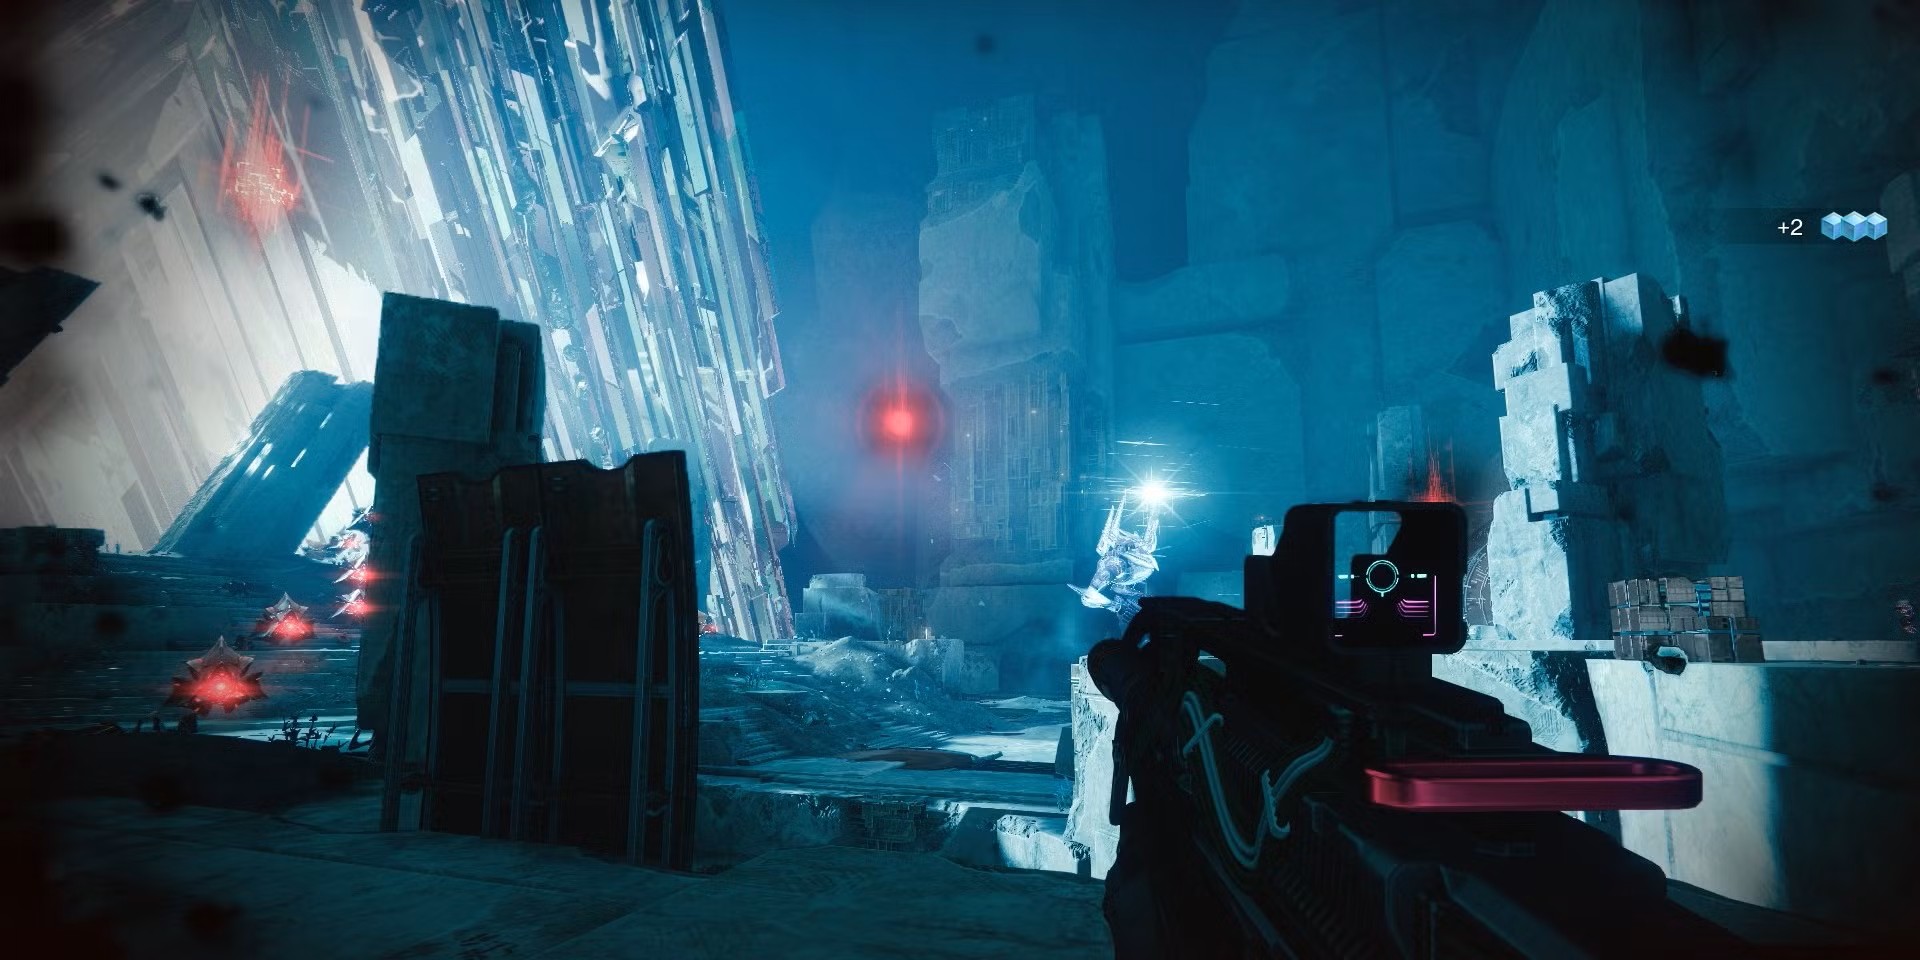
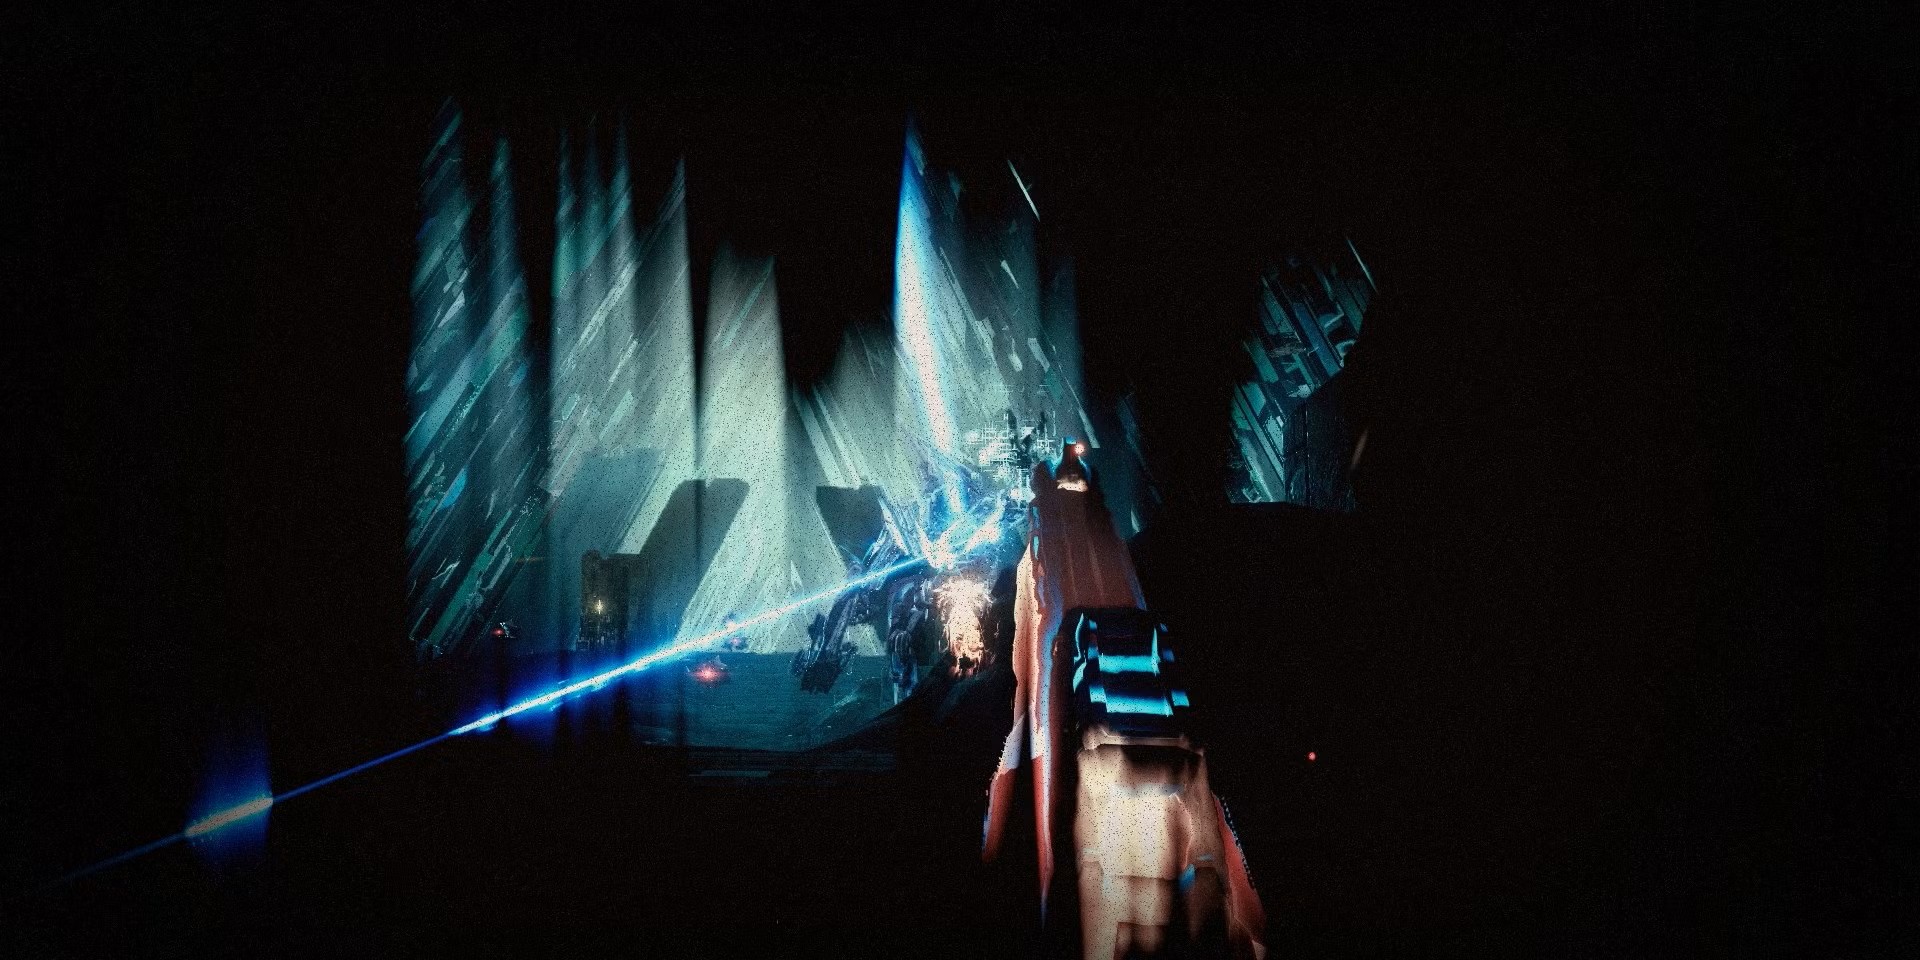
After defending the final Conflux in the Gatekeepers encounter, a portal opens at the back of the throne room, revealing the path forward. Your fireteam will enter a dimly lit Vex passageway, leading to a massive glass bridge suspended in the air. Carefully navigate across, as falling off results in instant death.
At the end of the bridge, a large Vex gateway opens, revealing the Time’s Conflux Chamber, where Atheon awaits. This vast arena features a circular platform with portals on both sides. Once players step into the arena, Atheon awakens, marking the start of the final encounter.
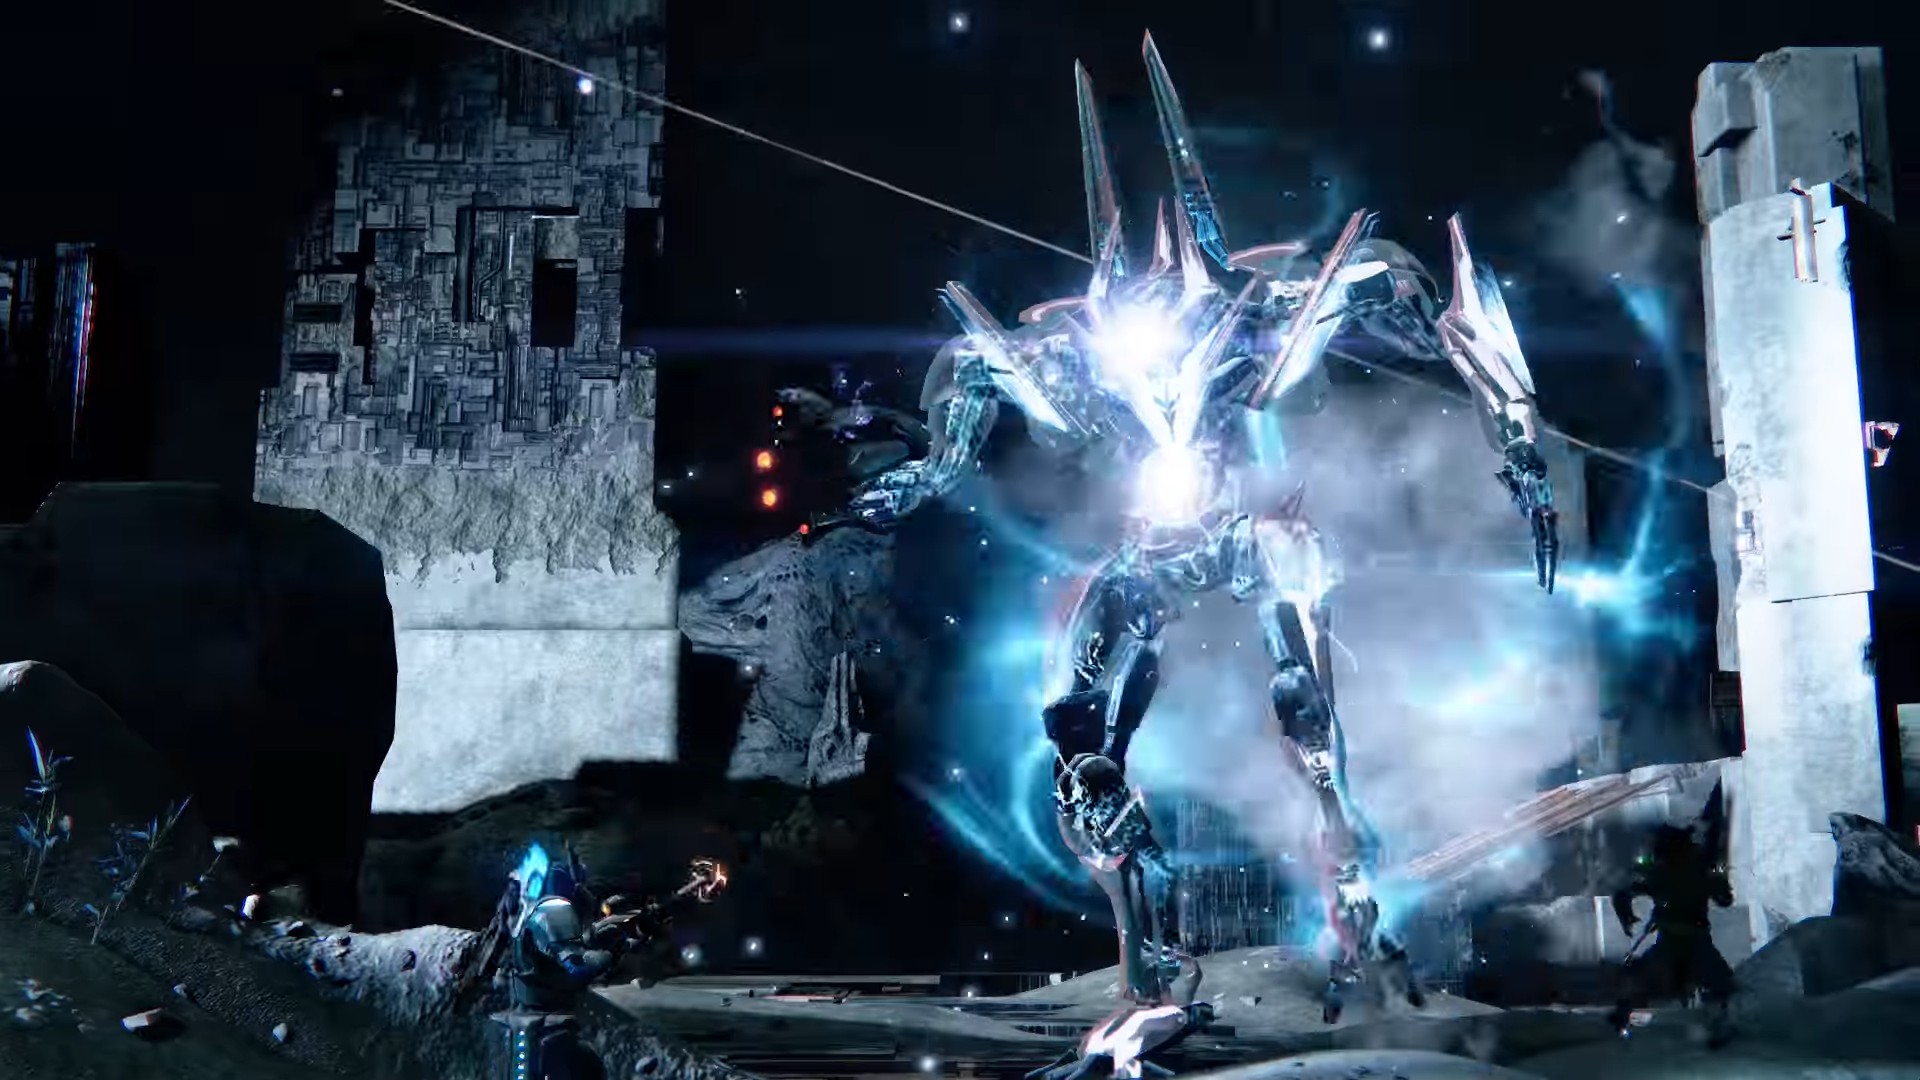
Boss Encounter
SKIP THE GRIND BUY VAULT OF GLASS CARRIES!
General Objective Overview
Your goal is to destroy Atheon by coordinating between two teams: one teleported to Venus or Mars, and another holding position in the throne room. The teleported team must destroy Oracles in the correct order while the throne team opens portals and calls out positions. After three Oracle sets, your team regroups for a DPS phase. Repeat until Atheon is defeated.
Arena & Layout
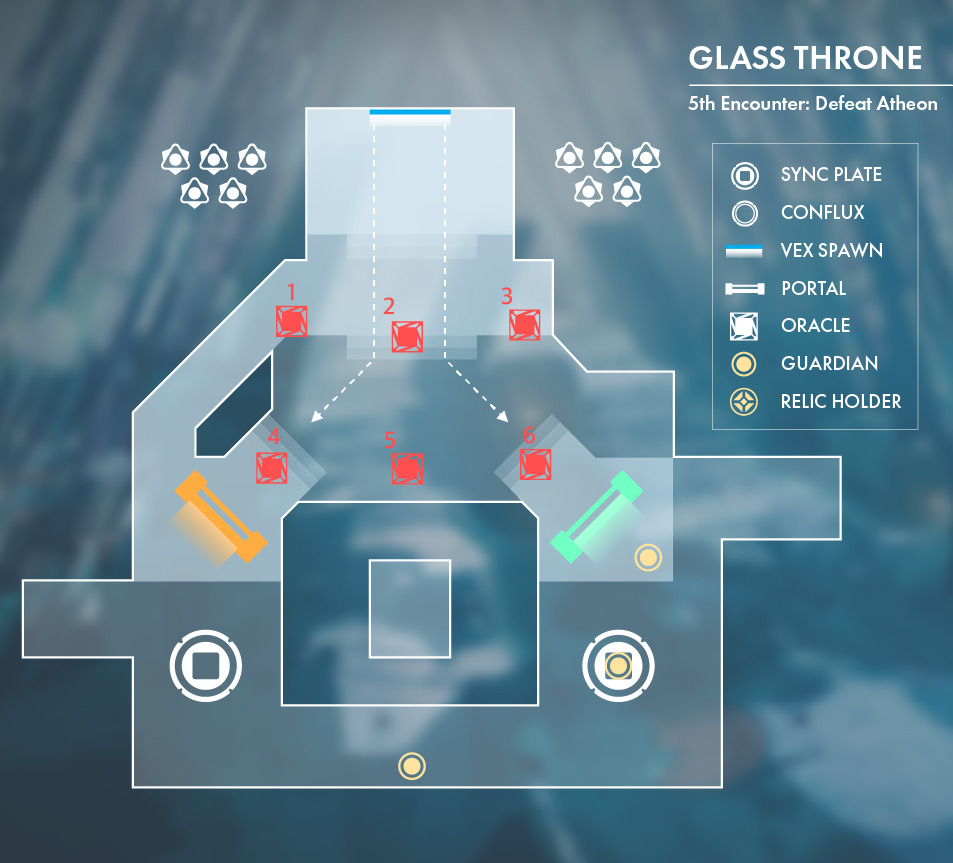
The arena is a wide throne room with two portal plates on either side leading to Mars (right) and Venus (left). Atheon stands at the center. Harpies spawn in three areas: directly behind Atheon, and mid-air to the left and right. Platforms and ledges can be used for cover or safety from Supplicants.
Team Roles & Asignments
Mechanics
DPS Phase
Tips & Mistakes to Avoid
✔️ - Keep Oracle callouts consistent between teams by agreeing on a common point of view
✔️ - Use the Aegis cleanse during DPS to avoid being blinded
❌ - Do not cluster near the player with Imminent Detain, or multiple players can be trapped
❌ - Do not ignore Supplicants—they explode and kill instantly on contact
Loot Table
Here we'll be showing you every piece of loot you can acquire from the raid. Vault of Glass features 6 legendary weapons, 1 exotic & 1 normal armour set. Below you will find a list with all the weapons & armour pieces:
DON'T WASTE TIME BUY VAULT OF GLASS WEAPONS!
| Substratum (1st Encounter) |
Oracle (2nd Encounter) |
Templar (3rd Encounter) |
Gatekeeper (4th Encounter) |
Atheon (Final Encounter) |
|
Vision of Confluence Scout Rifle 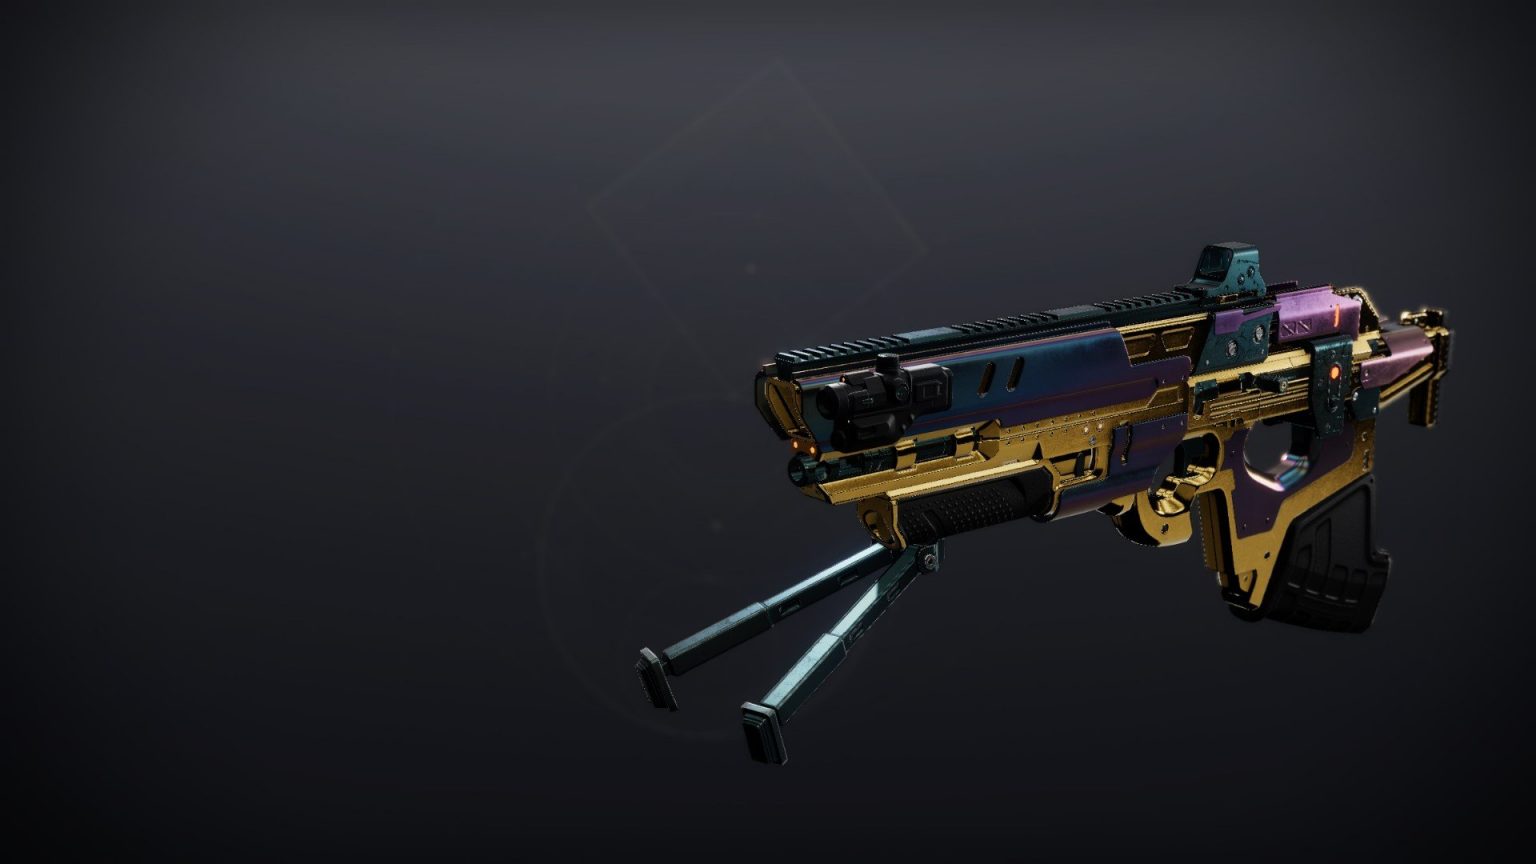

.jpg)
|
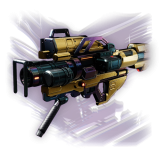
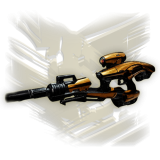
Praedyth's Revenge Sniper Rifle 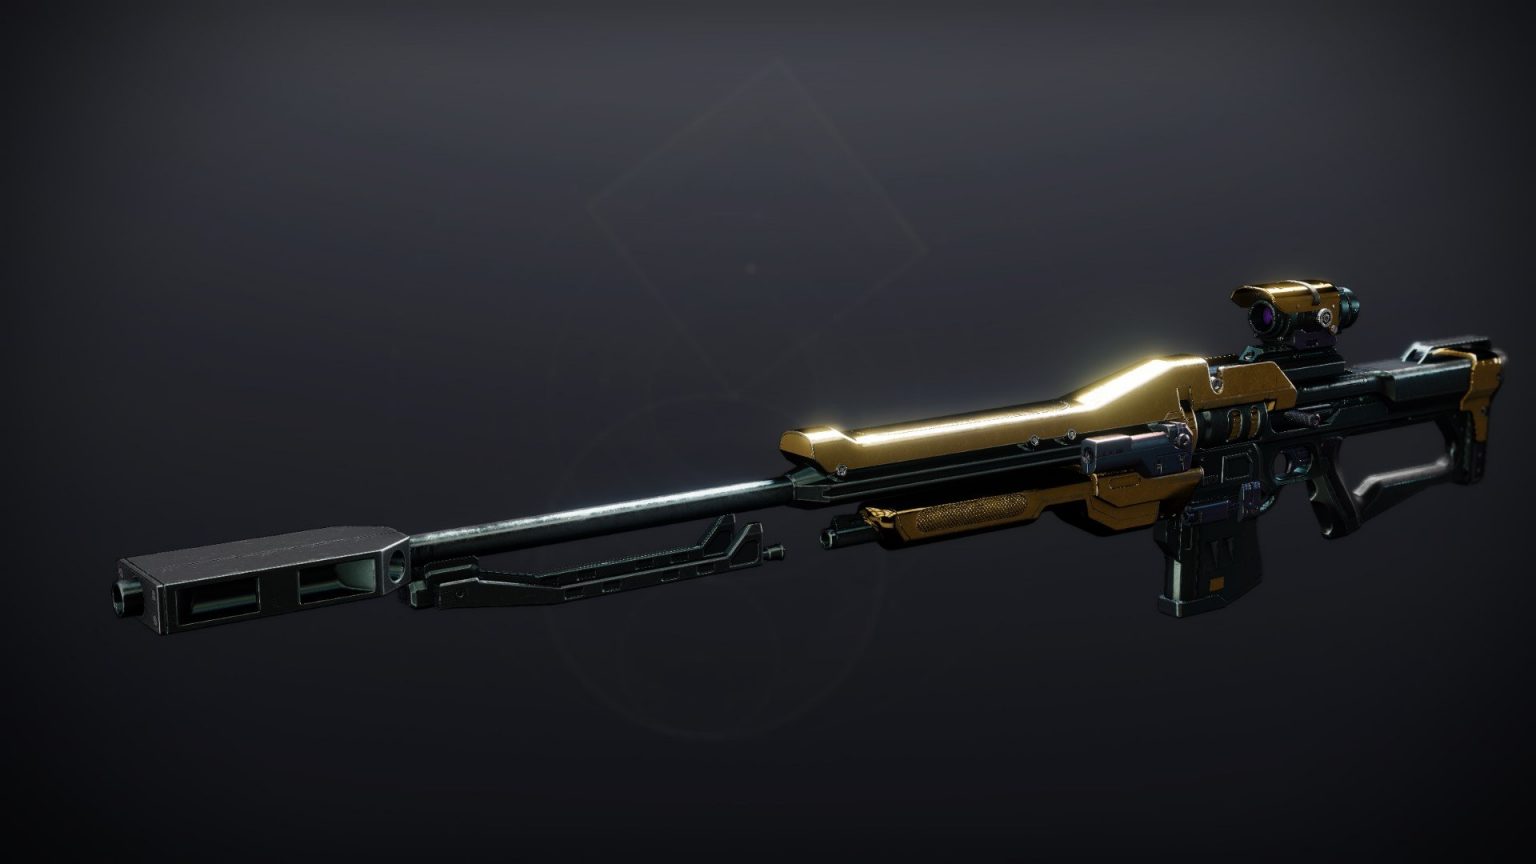


|
Fatebringer Hand Cannon 
|
Fatebringer Hand Cannon
|
Vex Mythoclast Fusion Rifle 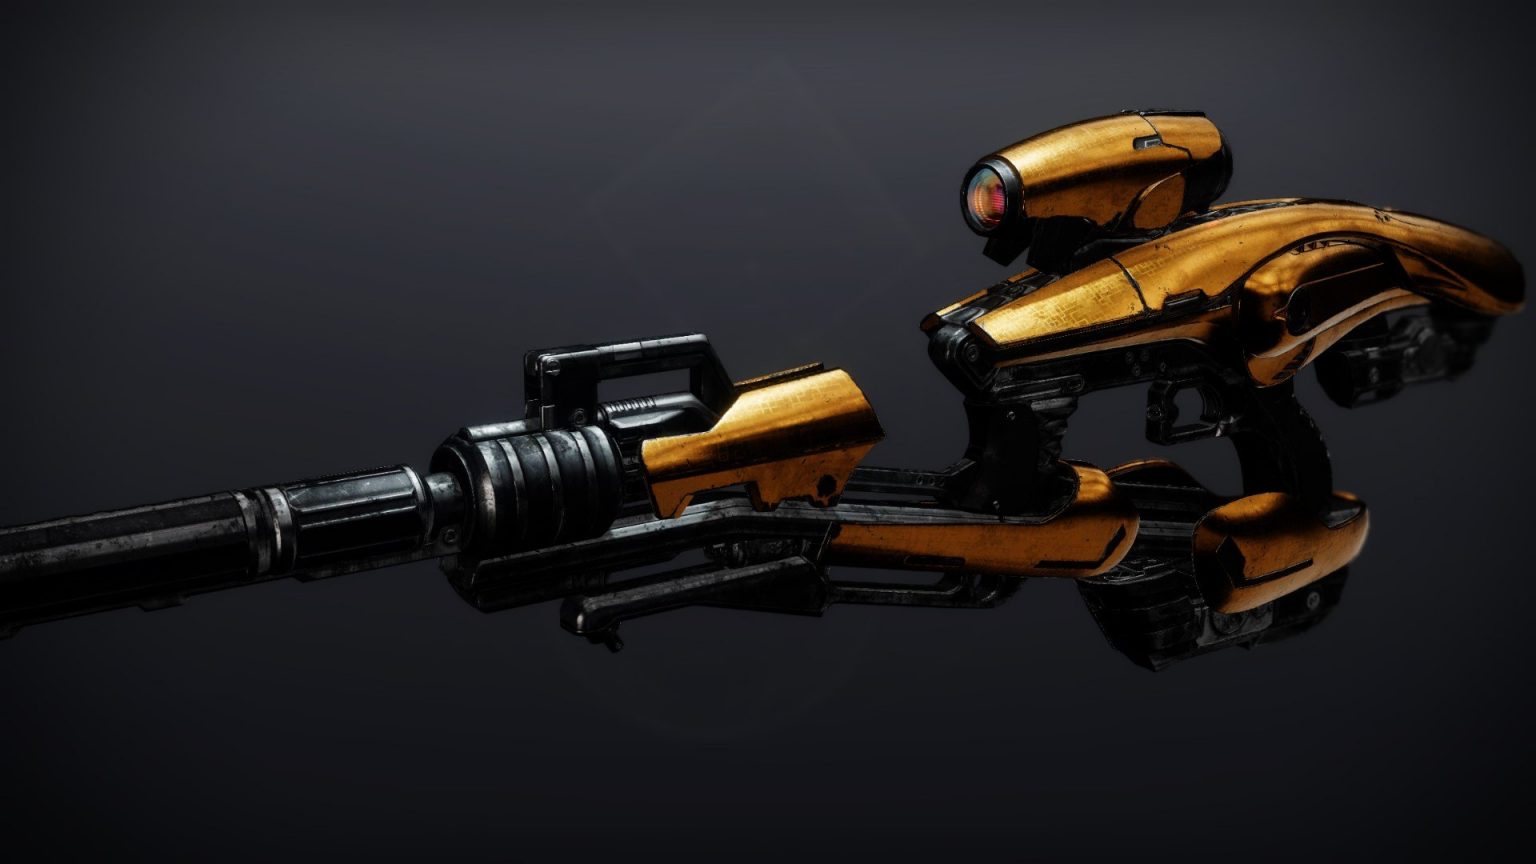

.jpg)
|
|
Found Verdict Shotgun 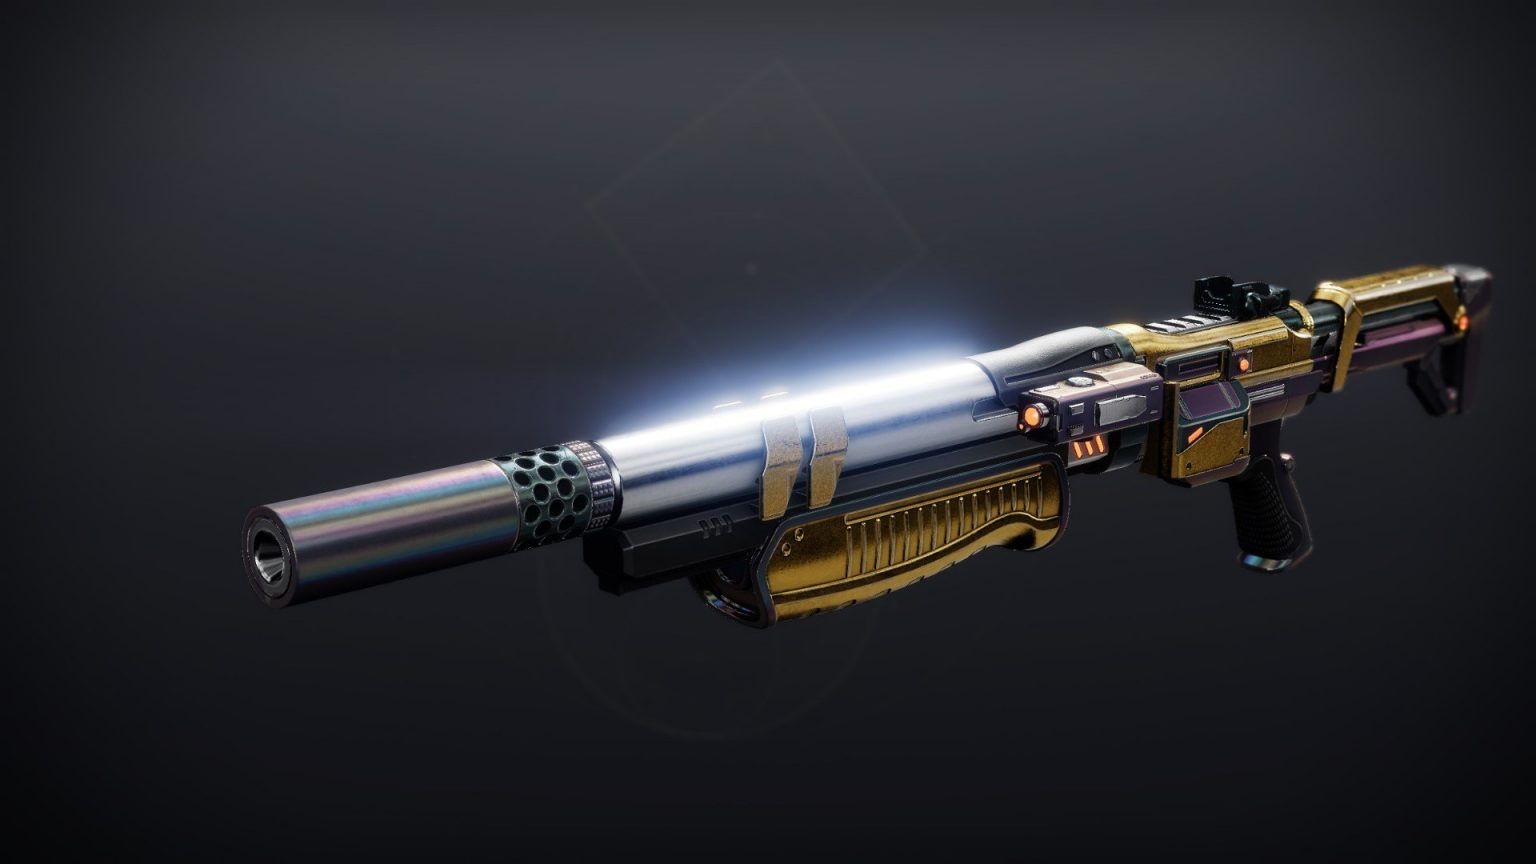

|
Vision of Confluence Scout Rifle
|
Vision of Confluence Scout Rifle
|
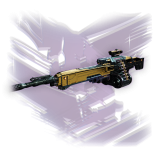
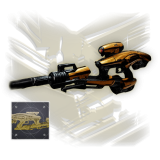
Hezen Vengeance Rocket Launcher .jpg)

|
Praedyth's Revenge Sniper Rifle
|
|
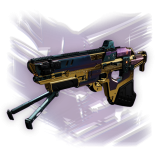
Corrective Measure Machine Gun .jpg)

|
Found Verdict Shotgun
|
Corrective Measure Machine Gun
|
Found Verdict Shotgun
|
Corrective Measure Machine Gun
|
| Hezen Vengeance Rocket Launcher
|
||||
|
Kabr's Brazen Grips 
|
Kabr's Brazen Grips
|
Kabr's Brazen Grips
|
Kabr's Battlecage 
|
Kabr's Battlecage
|
|
Light of the Great Prism 
|
Kabr's Forceful 
|
Kabr's Wrath 
|
Kabr's Forceful
|
Kabr's Wrath
|
These are all the possible loot that can drop from each encounter in Vault of Glass raid.
SKIP THE GRIND BUY VAULT OF GLASS EXOTIC NOW!
Extras & Challenges
Like in the previous raids, Vault of Glass also has a certain number of collectables, a title (or seal), specific triumphs that awards a unique special badges on your dungeon report. We’ll be going over each of them and tell you what are the best tips & tricks on acquiring them.
Cosmetics
Ship

The exotic ship is called Vaultstrider, and you can acquire it by completing the Vault of Glass on Master difficulty.
Shaders

Bitterpearl - you can acquire this shader by finding all of the collectibles hidden within the Vault of Glass.

Continuum Alloy - you can acquire this shader by completing the Vault of Glass raid to unlock it for purchase from the Eververse store.

Corrective // Protective - you can acquire this shader by completing the "Vault of Glass" raid without dying.

Omnichronia - The Omnichronia shader in Destiny 2 was originally available through the Eververse store after completing the Vault of Glass raid. However, its availability has been inconsistent, with players reporting difficulty finding it in the store. As of now, the shader is not consistently available for purchase. To acquire it, monitor the Eververse store for its potential return or inclusion in special bundles.
Emblems

Exotemporal - you can acquire this emblem by completing the "Vault of Glass" raid and all encounter challenges within the first 24 hours.

Infinite Reflections - you can acquire this emblem by completing any version of the "Vault of Glass" raid.
Master Difficulty
The Vault of Glass raid has normal & master difficulties to choose from. Completing the raid on master difficulty is required to complete the Fatebreaker title (seal). There are certain modifiers that makes the Master difficulty hard to complete:
Title & Triumphs Seal

The title for the Vault of Glass is called Fatebreaker. Below you will find the list with all the required triumphs needed to acquire your seal:
After you complete all 23 triumphs, the Fatebreaker seal will be unlocked so you can equip it on all your guardians.
DON'T WASTE TIME BUY VAULT OF GLASS TITLE & SEAL!
FAQs
The Vault of Glass raid is located on Venus, but in Destiny 2, it is accessed through the Legends node in the Director. This node features legacy content and can be found on the right side of the destination map. From there, you can launch the Vault of Glass raid activity.
No, the Vault of Glass raid can only be farmed when it is part of the active raid rotation.
Vault of Glass is considered one of the more accessible raids in Destiny 2, featuring straightforward mechanics suitable for beginners.
No, the Vault of Glass raid does not require an expansion in Destiny 2. It is part of the free-to-play content and can be accessed by all players through the Legends tab in the Director. You do not need to own any expansions to play this raid
Final Thoughts
I hope this guide will ease your experience with the Vault of Glass raid encounters and help you get one step further to success. We did all the research, and now it’s your turn to show your skill. Give it a try, Guardian!
About KBoosting
If you are struggling to find a fireteam or don't have enough time to play yourself, at KBoosting, besides articles & guides, we also provide Destiny 2 boosting services. All you need to do is check our Vault of Glass boosting services and let us handle everything for you, while you have some fun in the game!
