Vow of the Disciple Raid Guide
Welcome to our Definitive Guide for Destiny 2: Vow of the Disciple Raid, Guardian! You are about to learn everything you need to know about the VotD raid's encounters, strategies, loadout recommendations, and our pro tips for efficient clears and a better raiding experience.
First, we'll discuss the differences between the Normal and Master versions of the raid and focus on the loot table, the modifiers, and how to get the secret chests in the Master VotD. Then we'll cover the preparation part with the raid callouts and present an in-depth view of each raid encounter and the challenges you must complete for the master version. By the end of the guide, you'll become a Vow of the Disciple Master! Sounds good, right? Let's get started!
Table of Contents
Here is a little breakdown of our Vow of the Disciple Master Raid Guide:
- Loot Table (Normal & Master)
- Master Raid Modifiers & Differences
- Secret Chest Locations
- Callouts & Preparation
- Raid Entrance
- First Encounter
- Second Encounter
- Third Encounter
- Fourth Encounter
- Challenges
- Related Guides
- Conclusion
Vow of the Disciple Loot Table (Normal & Master)
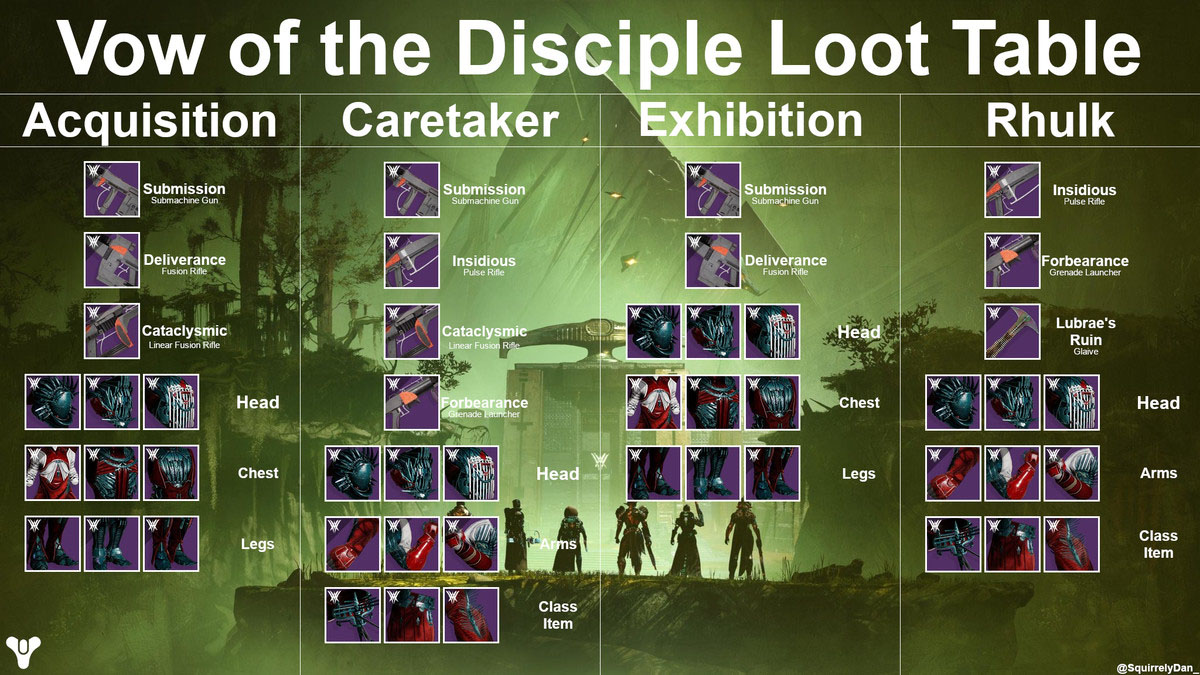
Like any other raid in Destiny 2, the Vow of the Disciple from The Witch Queen expansion comes with a new raid armor set and seven unique weapons that you can exclusively get from the four encounters. You can complete the Vow of the Disciple raid on two difficulties, each with different modifiers and rewards. Let’s check out the rewards on both difficulties of the raid!
Vow of the Disciple Rewards
When you complete the raid on Legend difficulty, the rewards are predefined. If you are looking to farm a single armor piece or weapon, you can check out the screenshot below for encounter-specific loot:
Master Vow of the Disciple Rewards
Master Vow of the Disciple is a more rewarding activity than the standard raid version because it rewards you with better loot: Stat-Focused Armors and Masterwork Materials. If you complete the rotating Weekly Challenge of an encounter, you will be rewarded with an additional chest that contains an Adept Weapon.
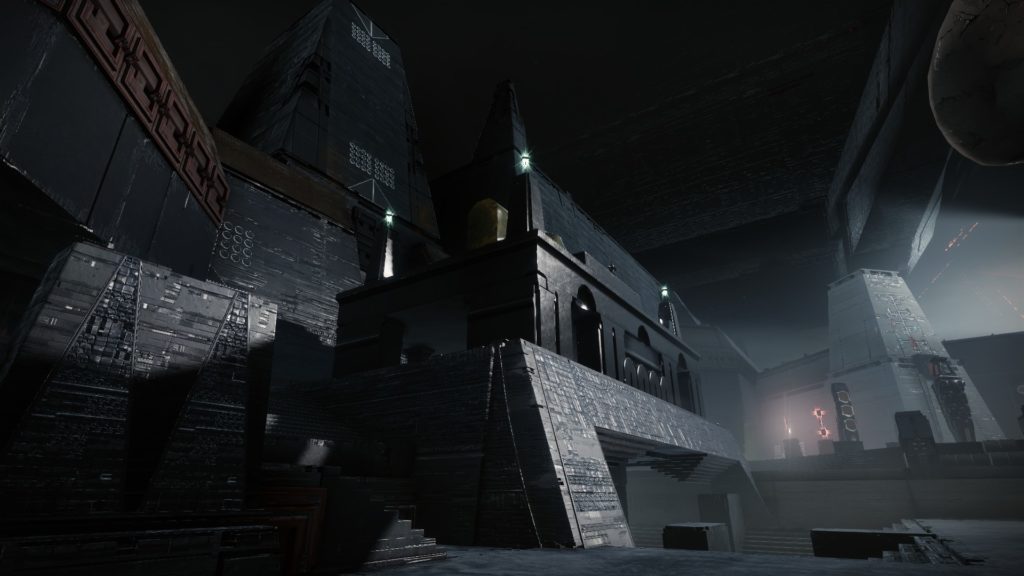
Vow of the Disciple Secret Chest Locations
There are only three hidden chests in Destiny 2’s Vow of the Disciple raid. Let’s see how you unlock them!
Hidden Chest #1
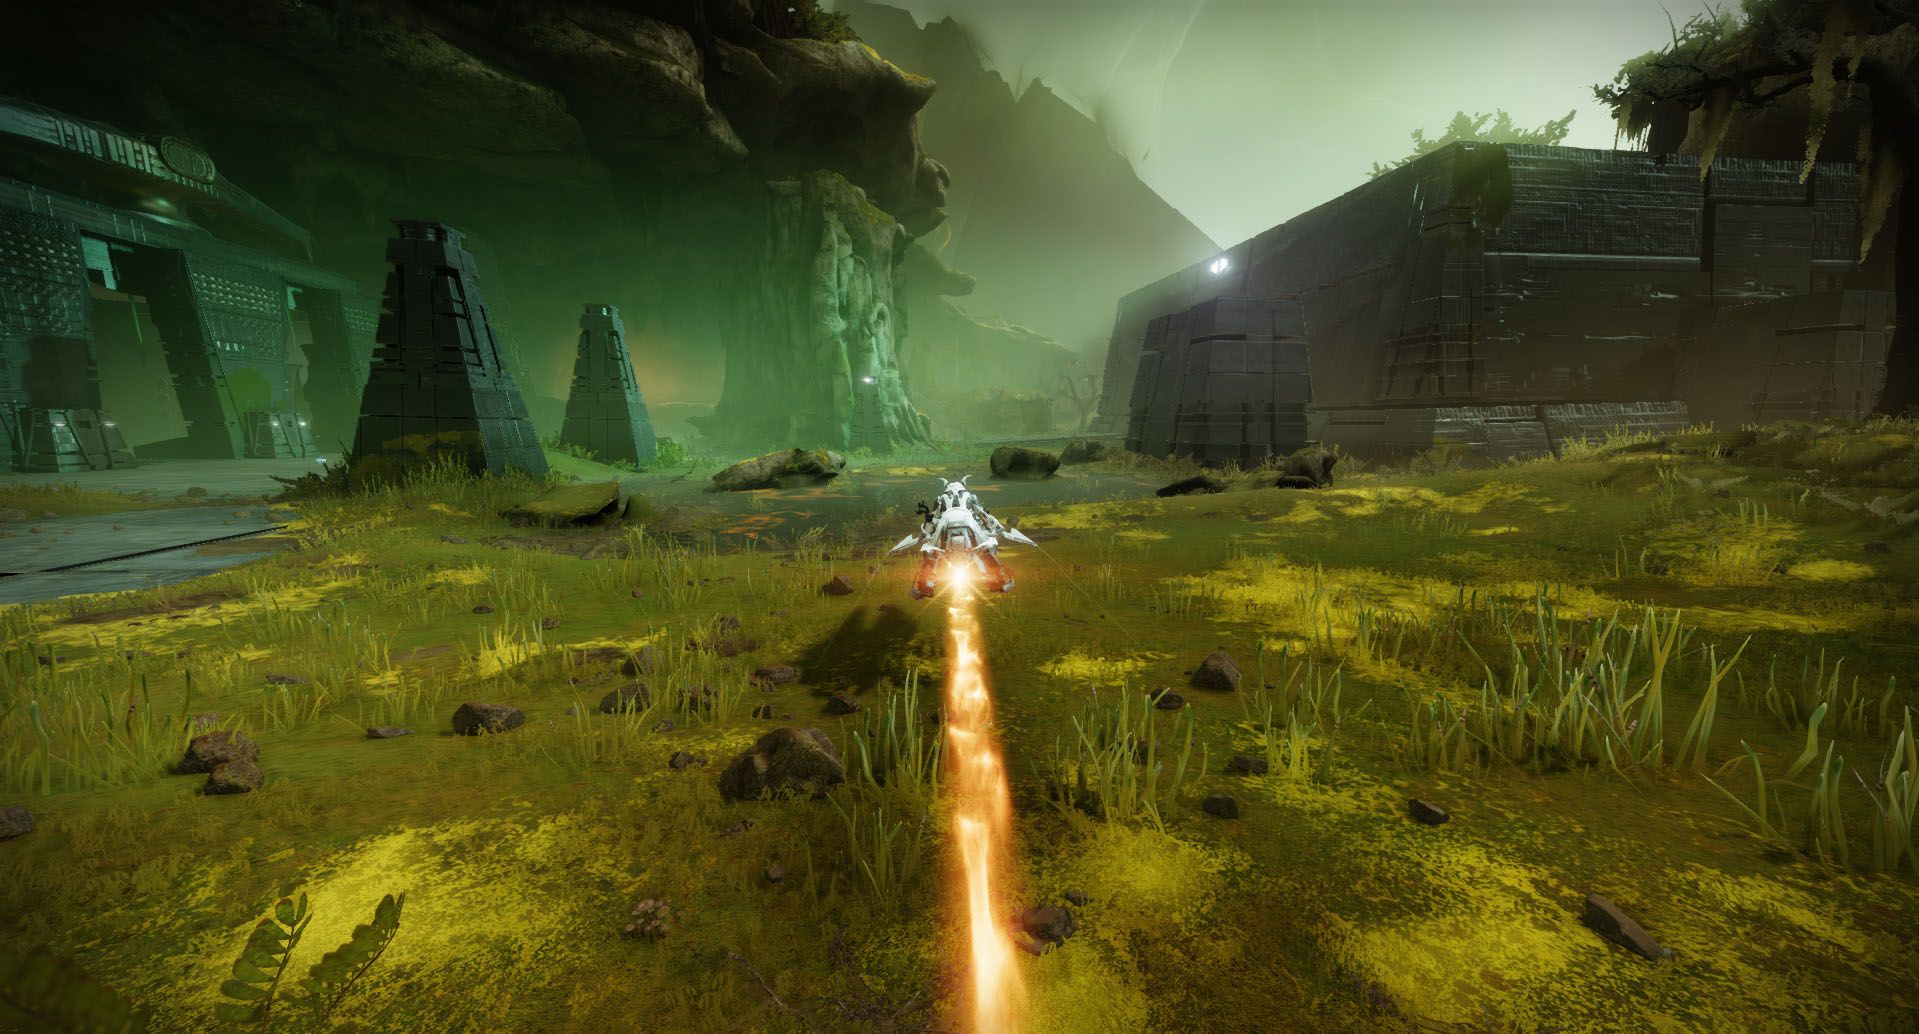
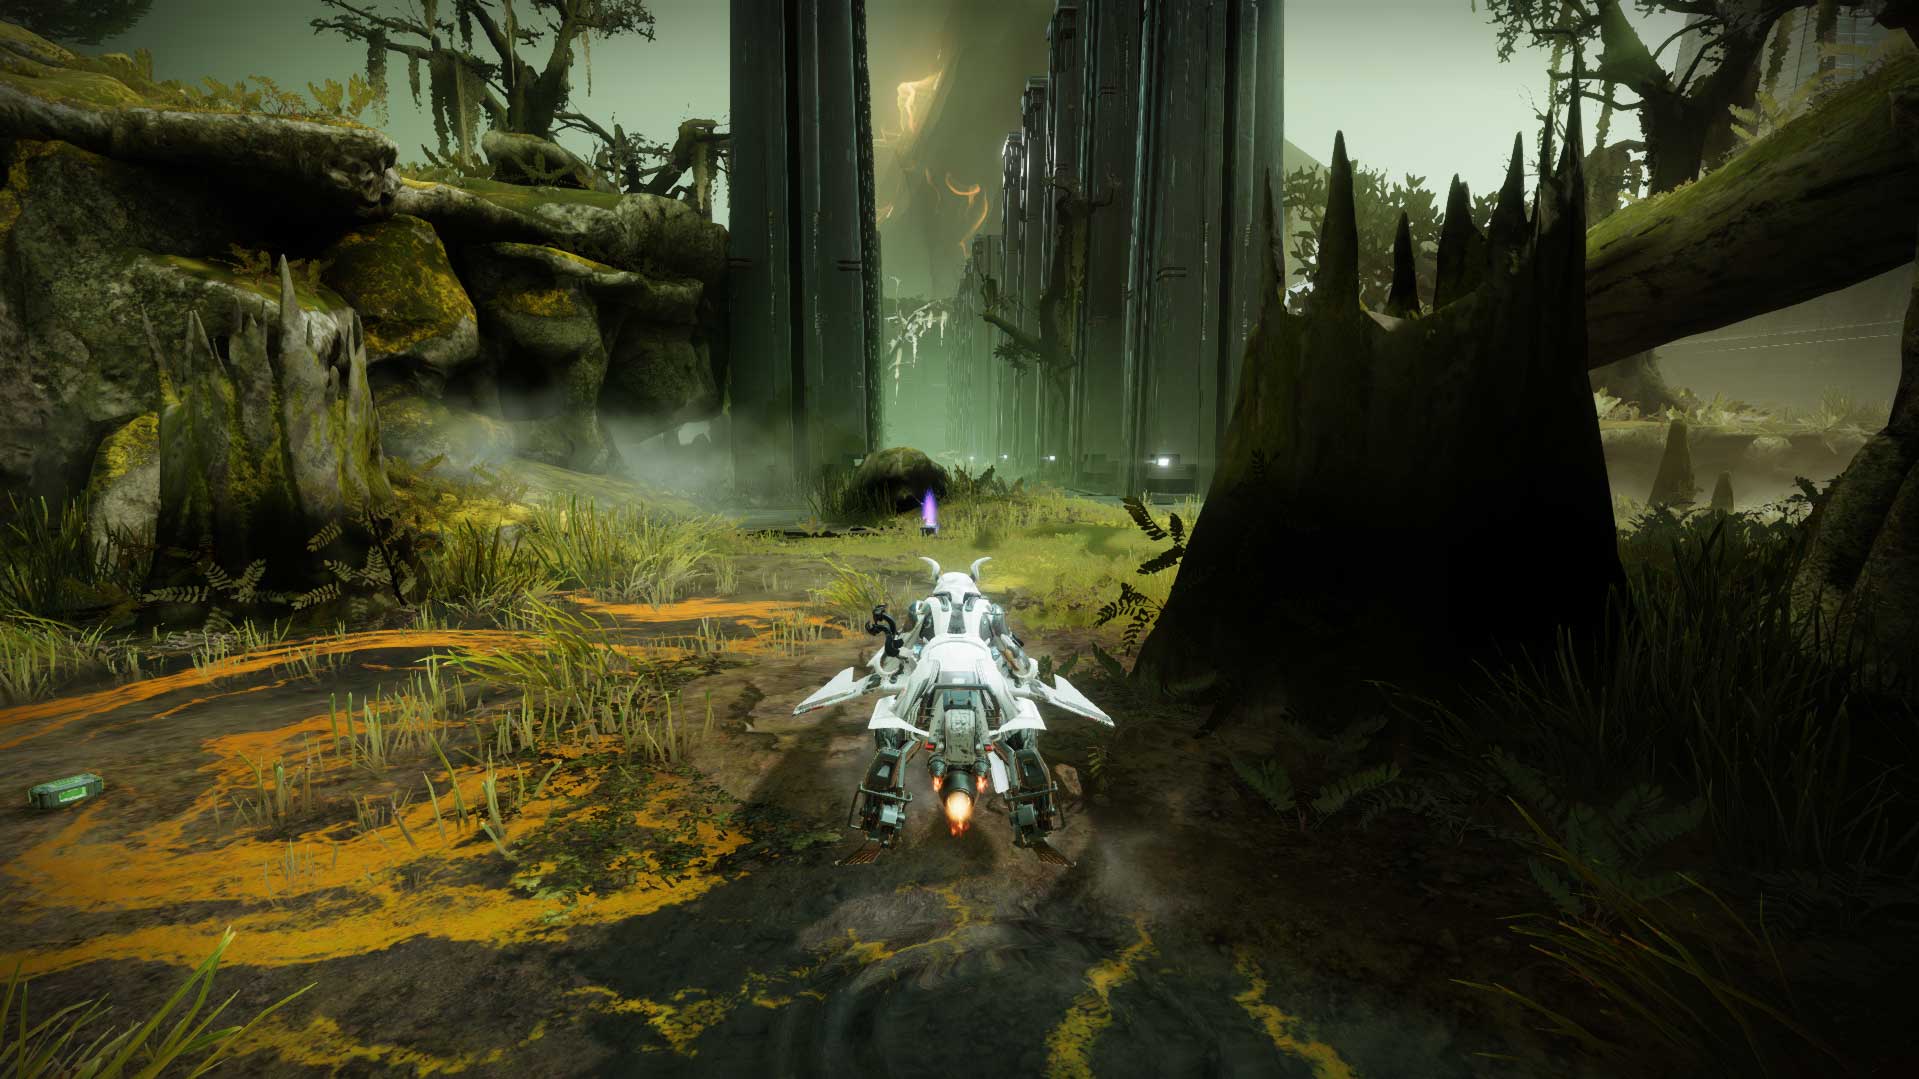
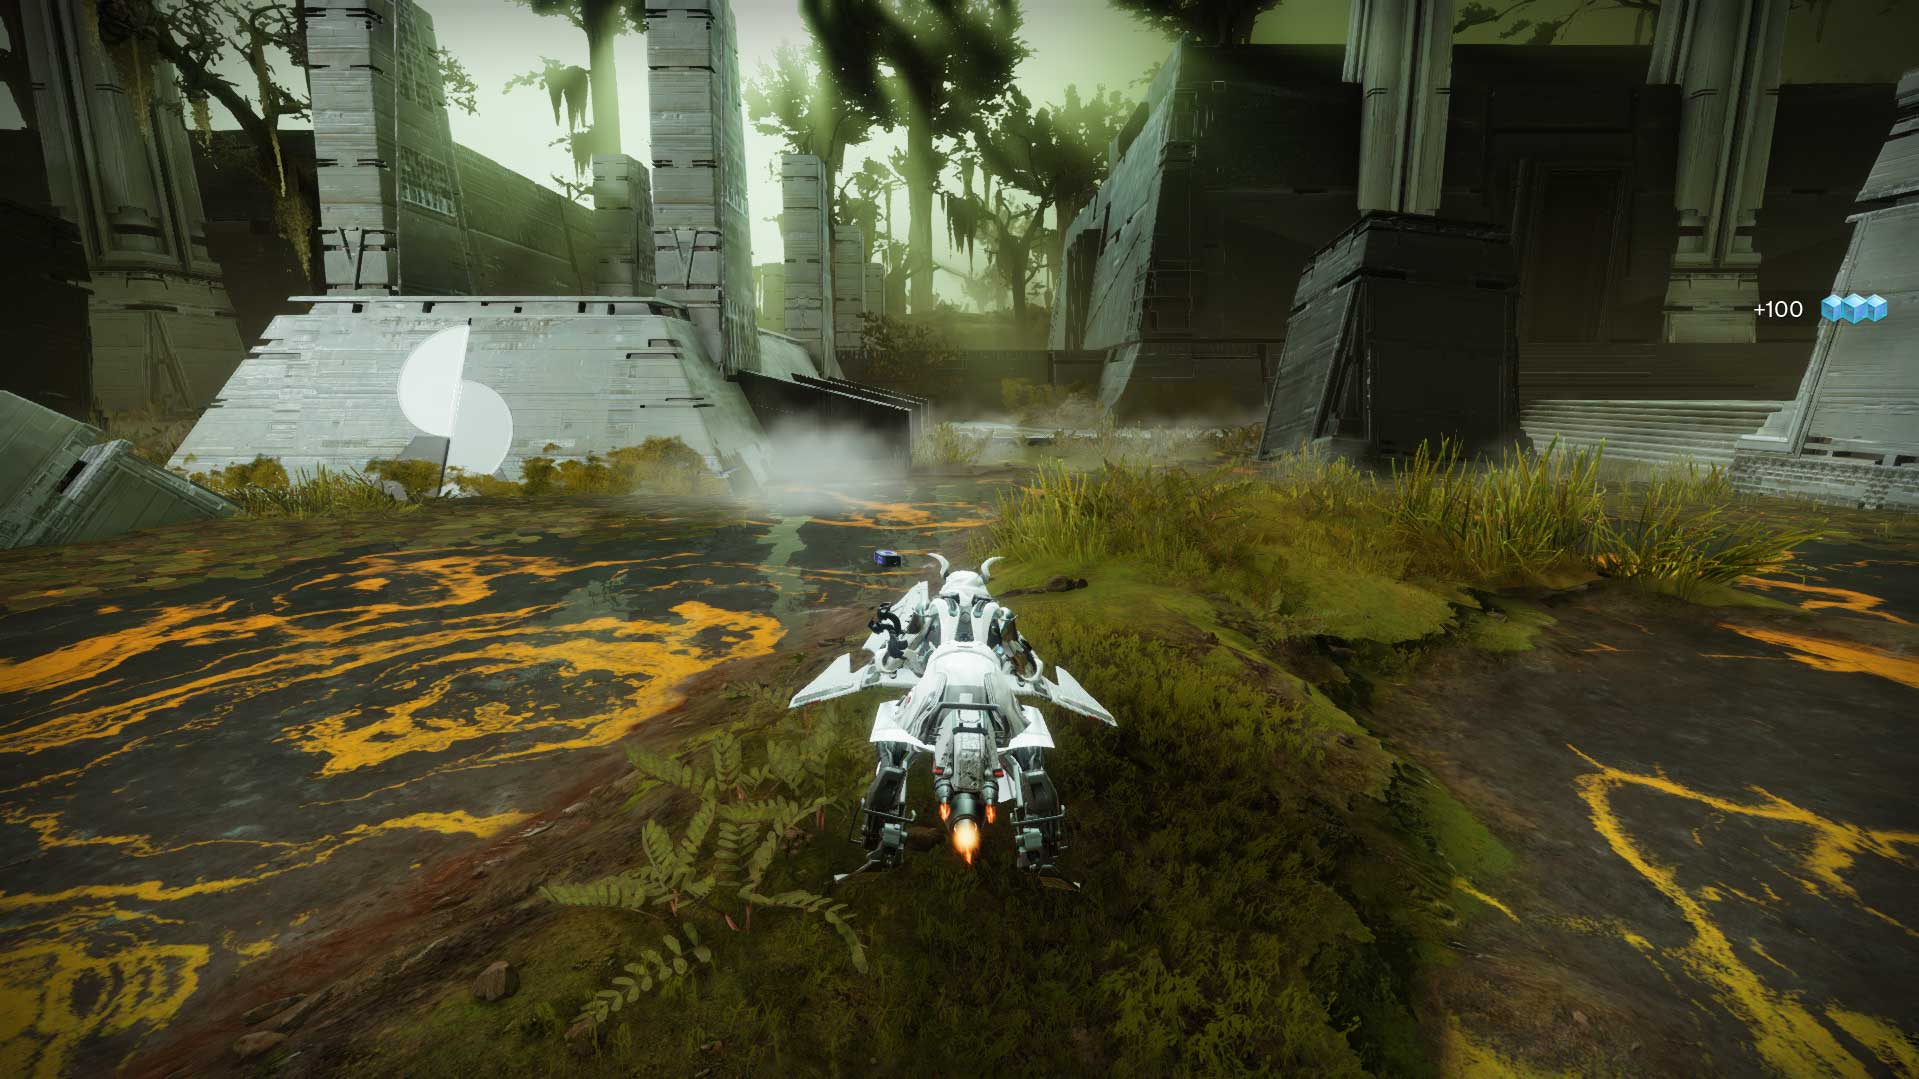
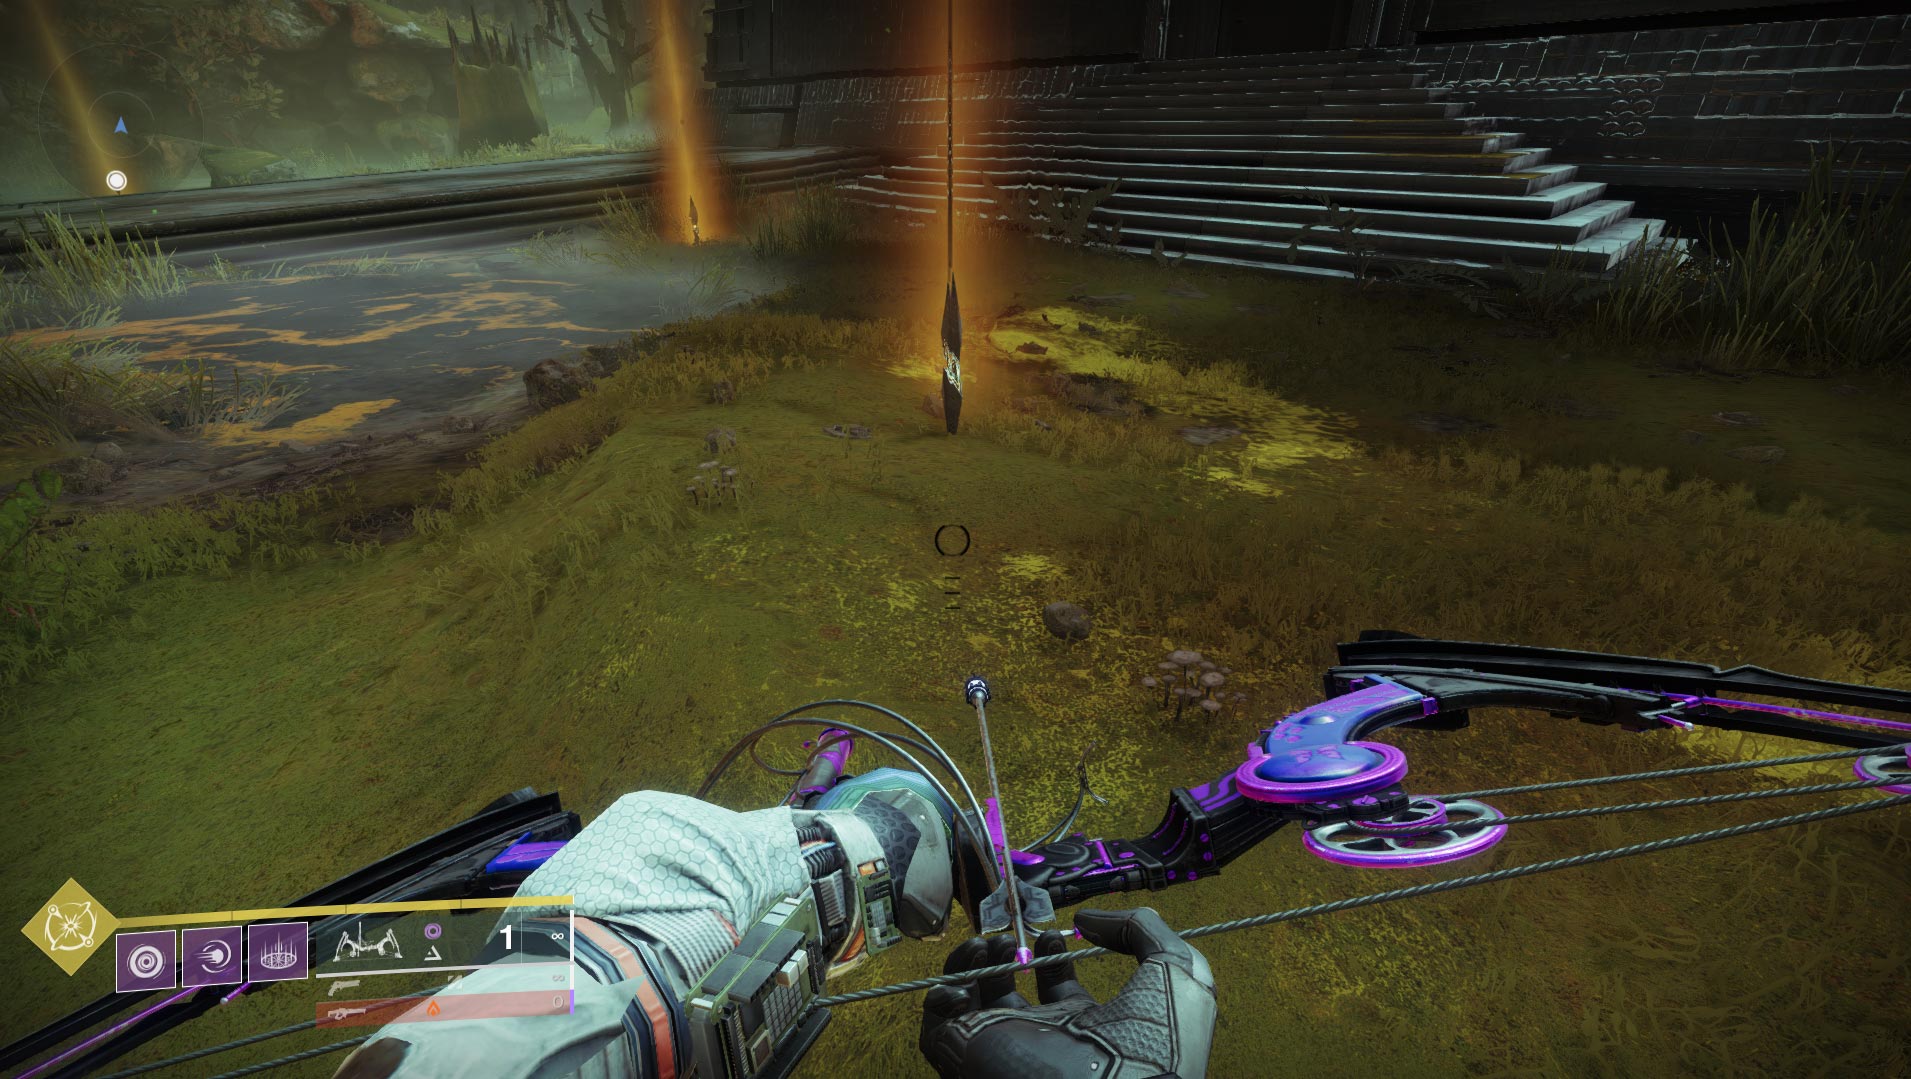
To spawn the Secret Chest hidden inside the Entrance Encounter, you must destroy three Darkness Fragments. You can find them in the following locations:
First Darkness Fragment:
After you locate the vehicle, head straight across the bog; when you reach a tree branch, turn left, and you will find the fragment in the corner.
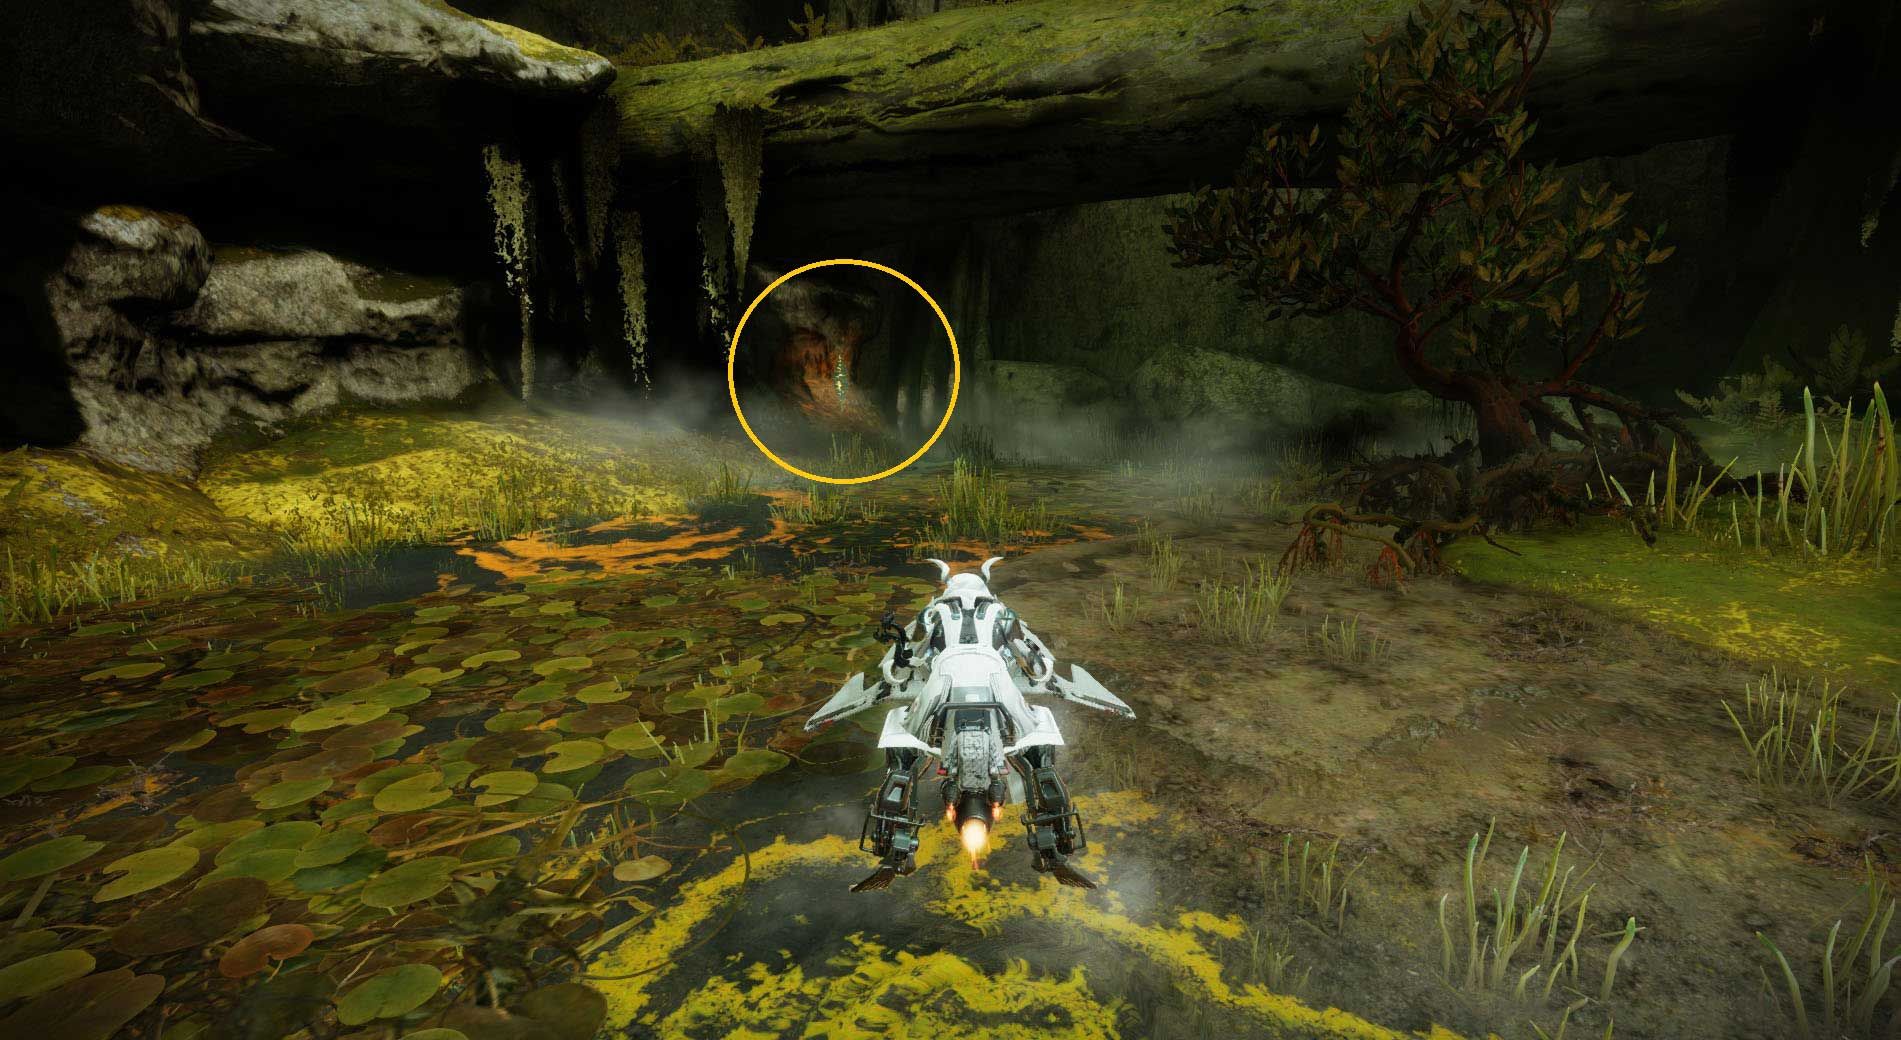
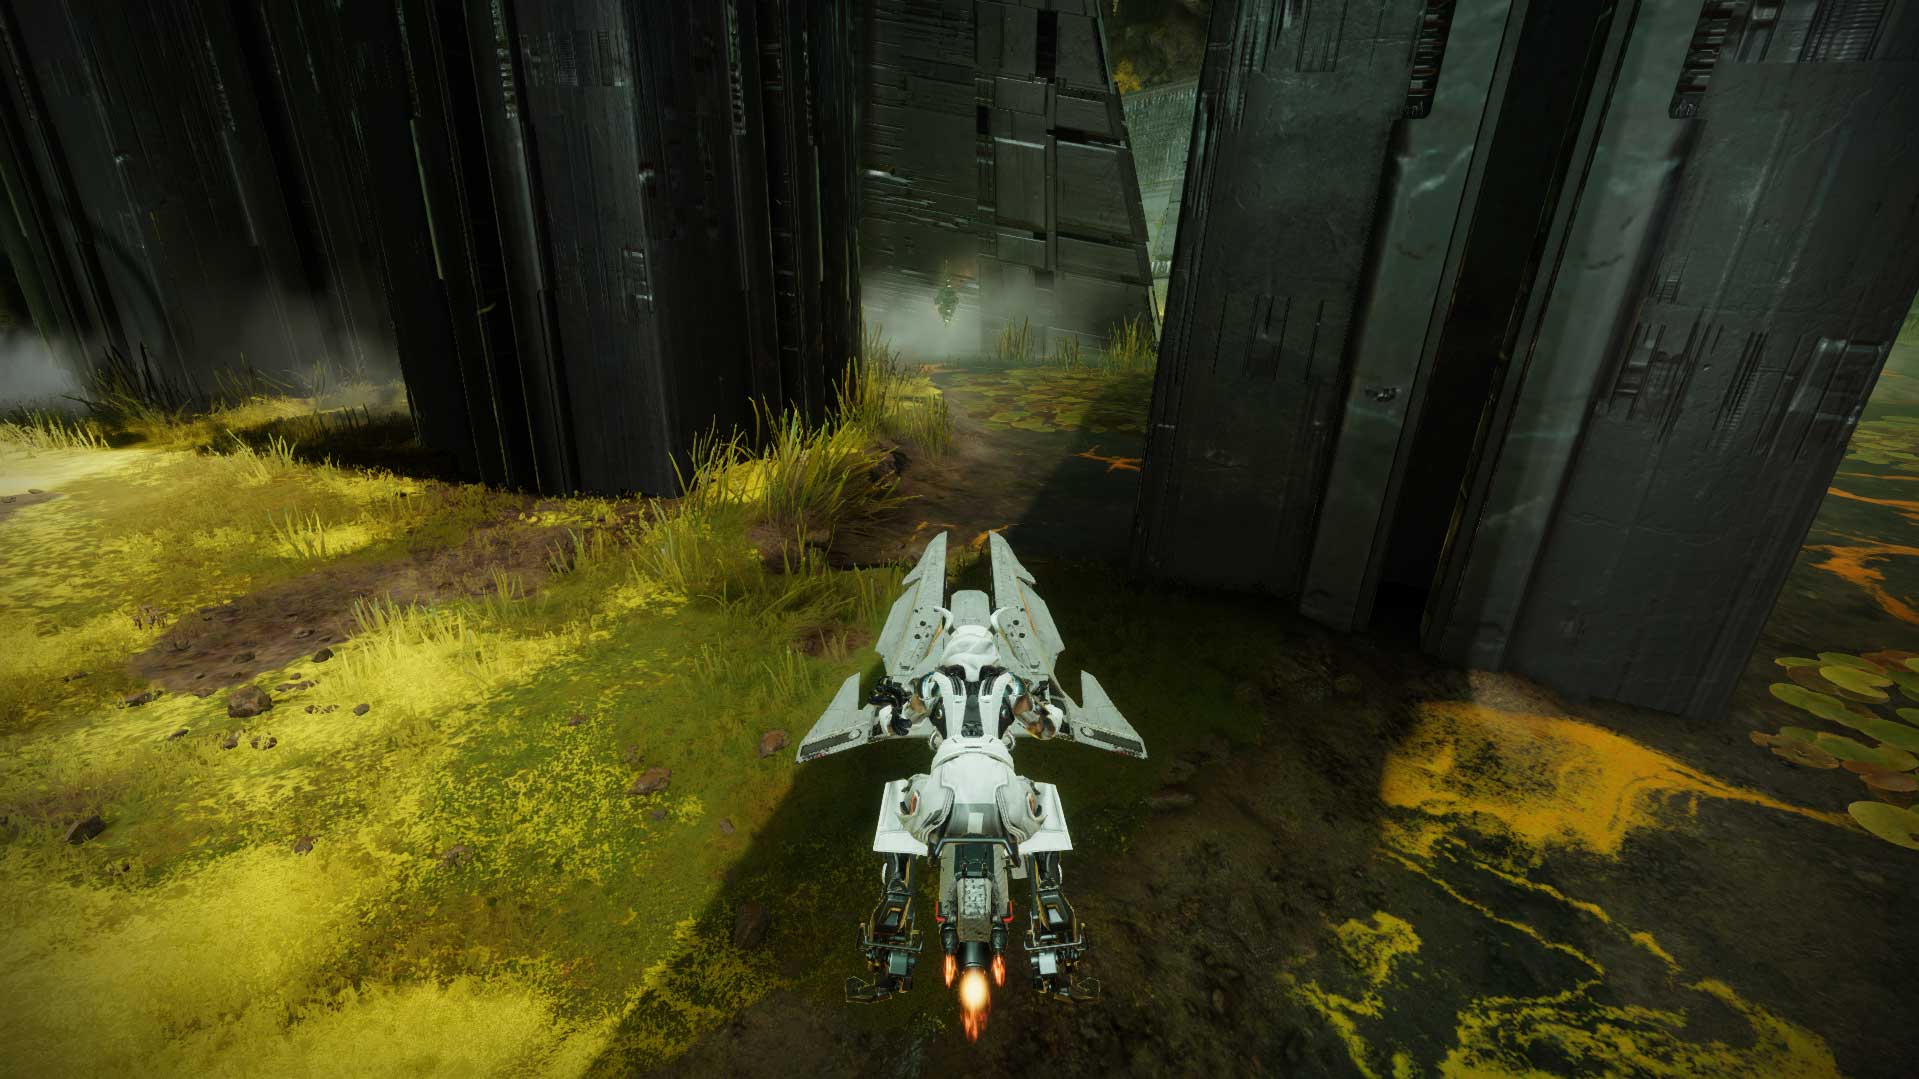
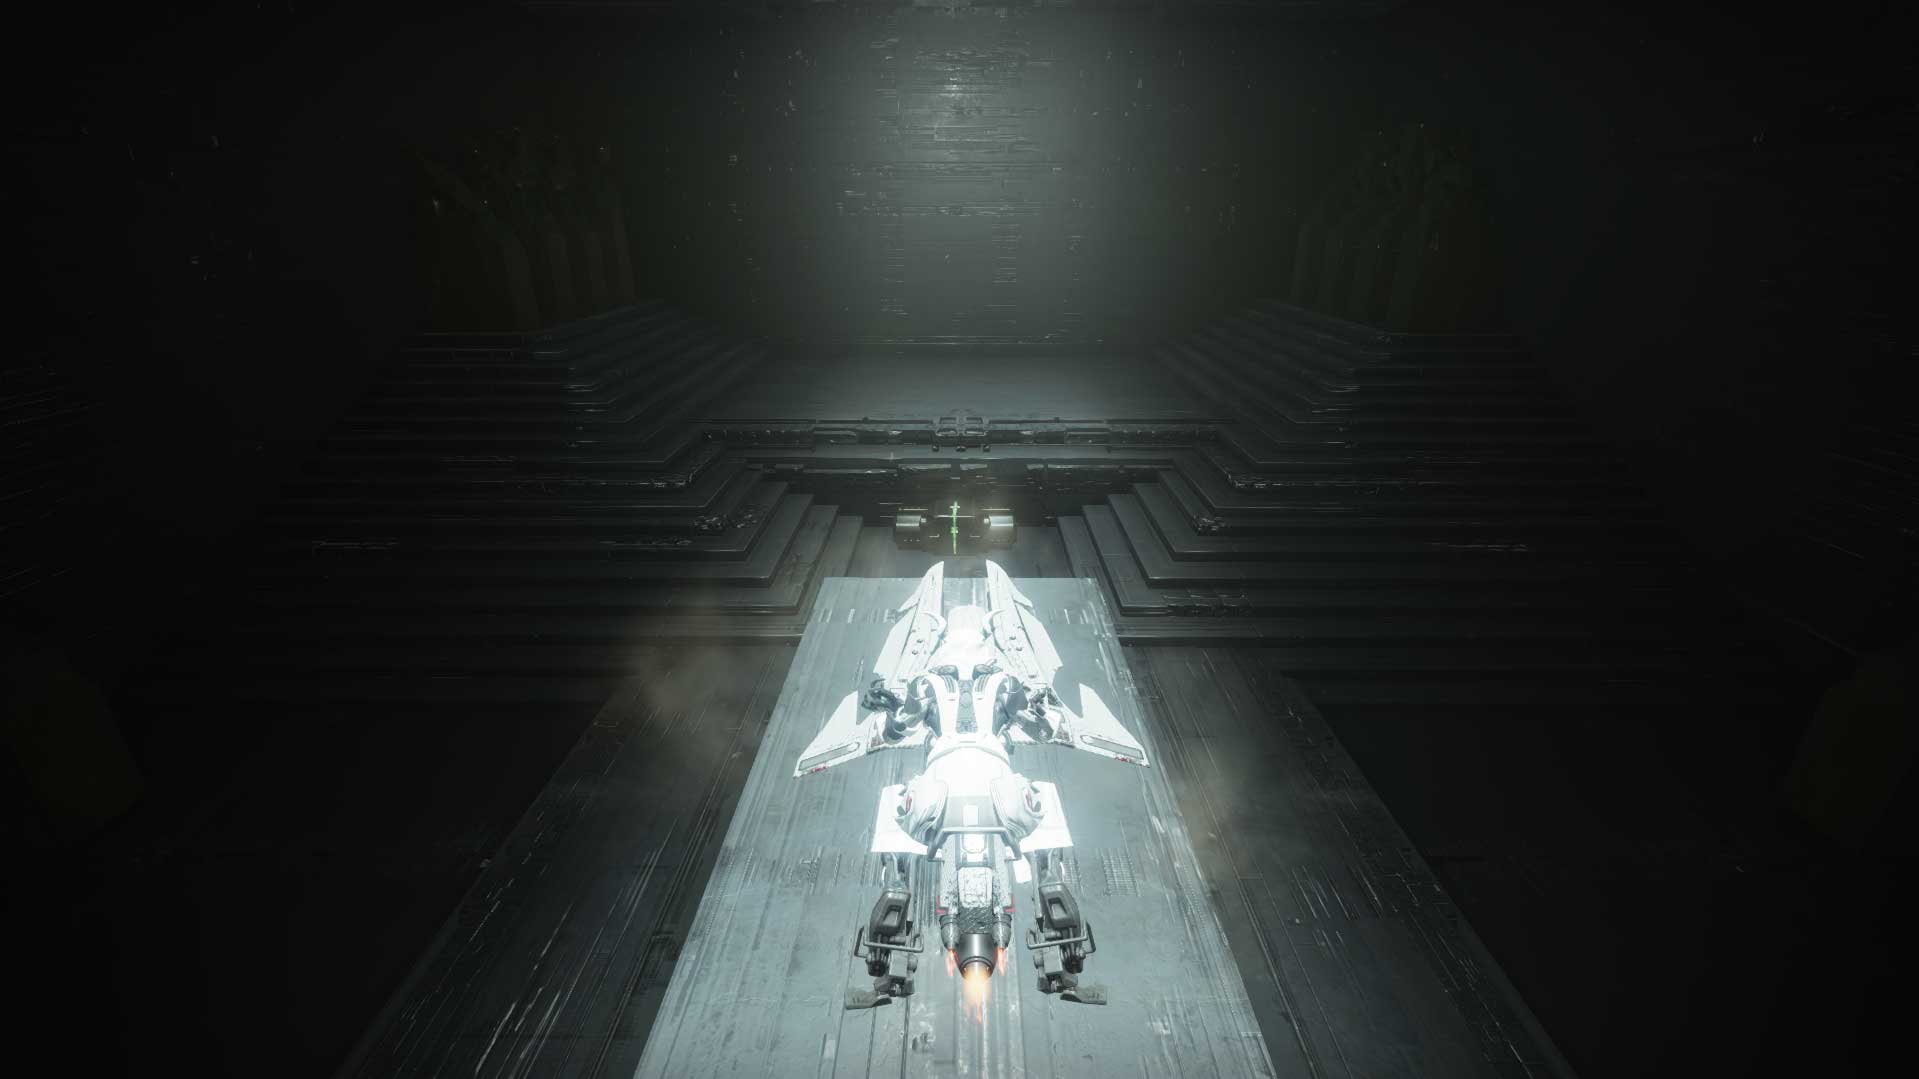
Second Darkness Fragment:
Head down the narrow path paved with pyramid architecture. Turn left at the end of the way and find the second fragment hiding in the corner.
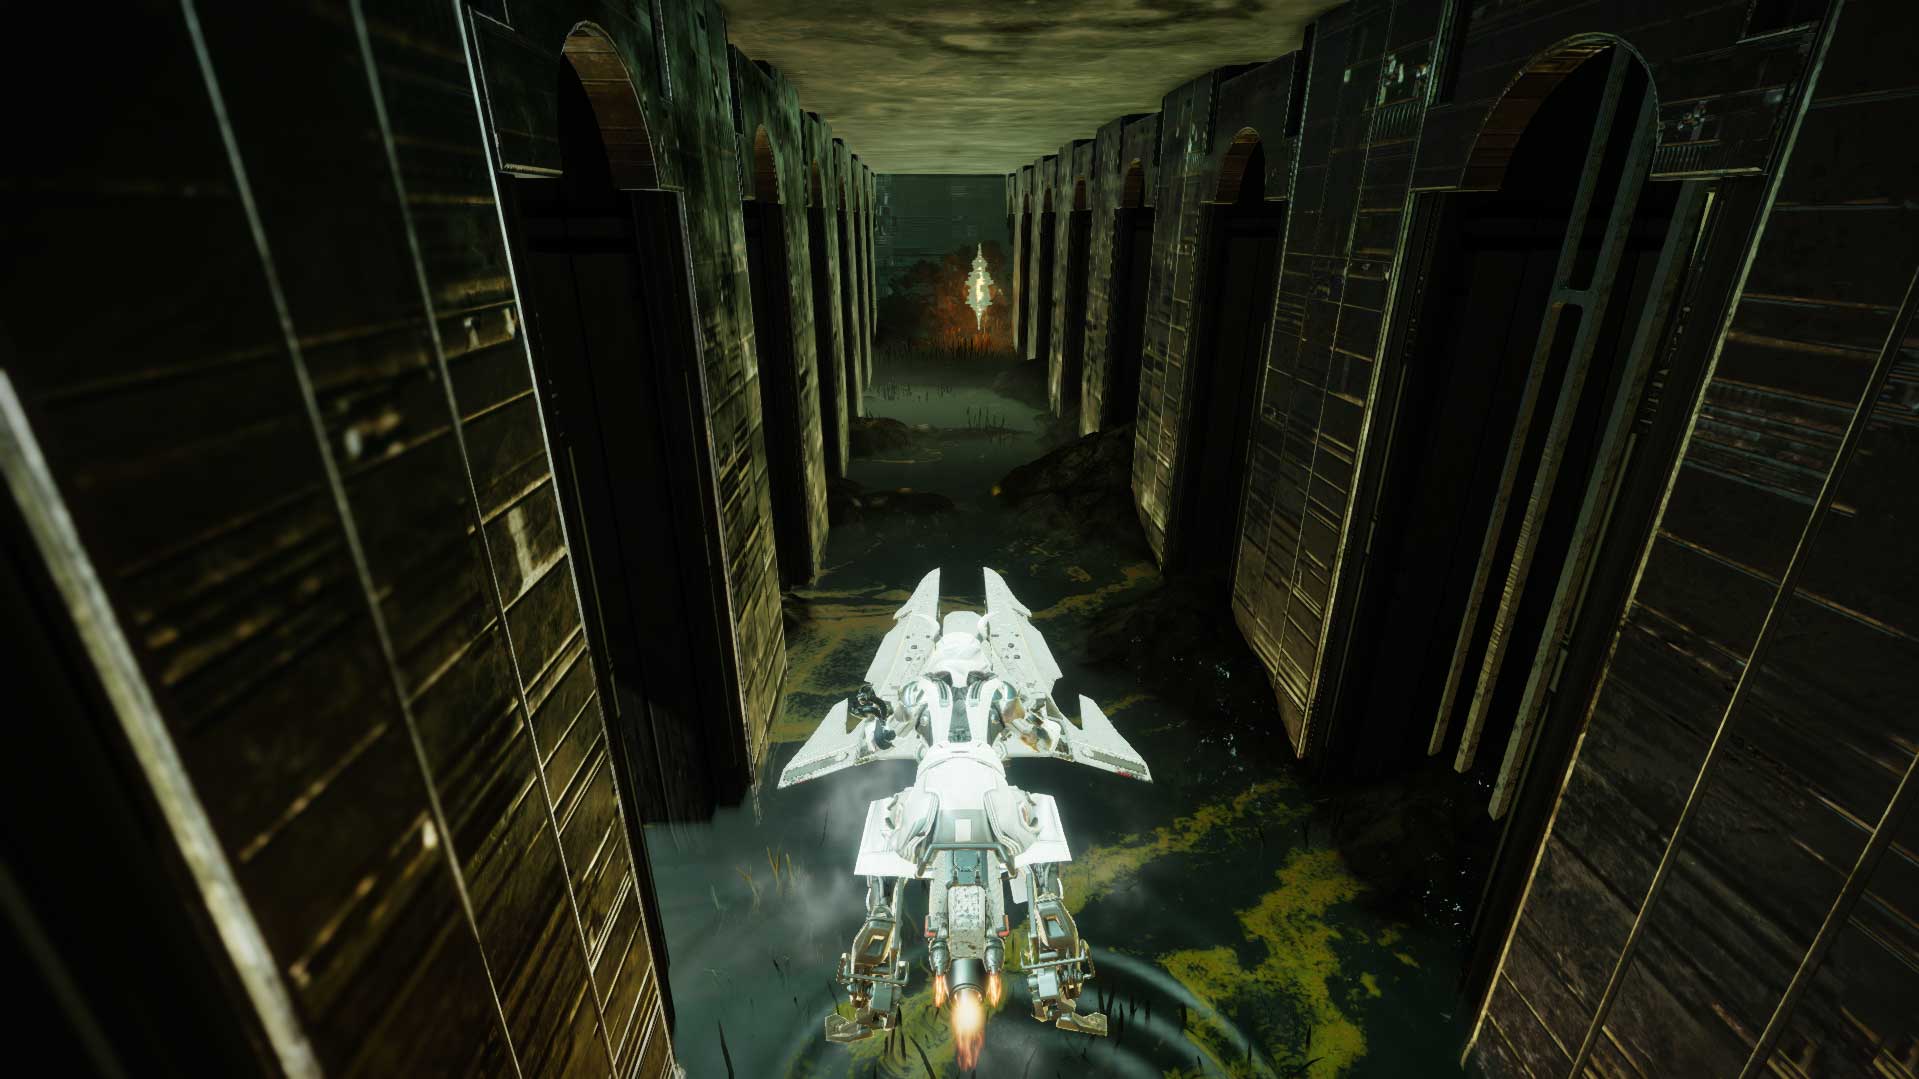
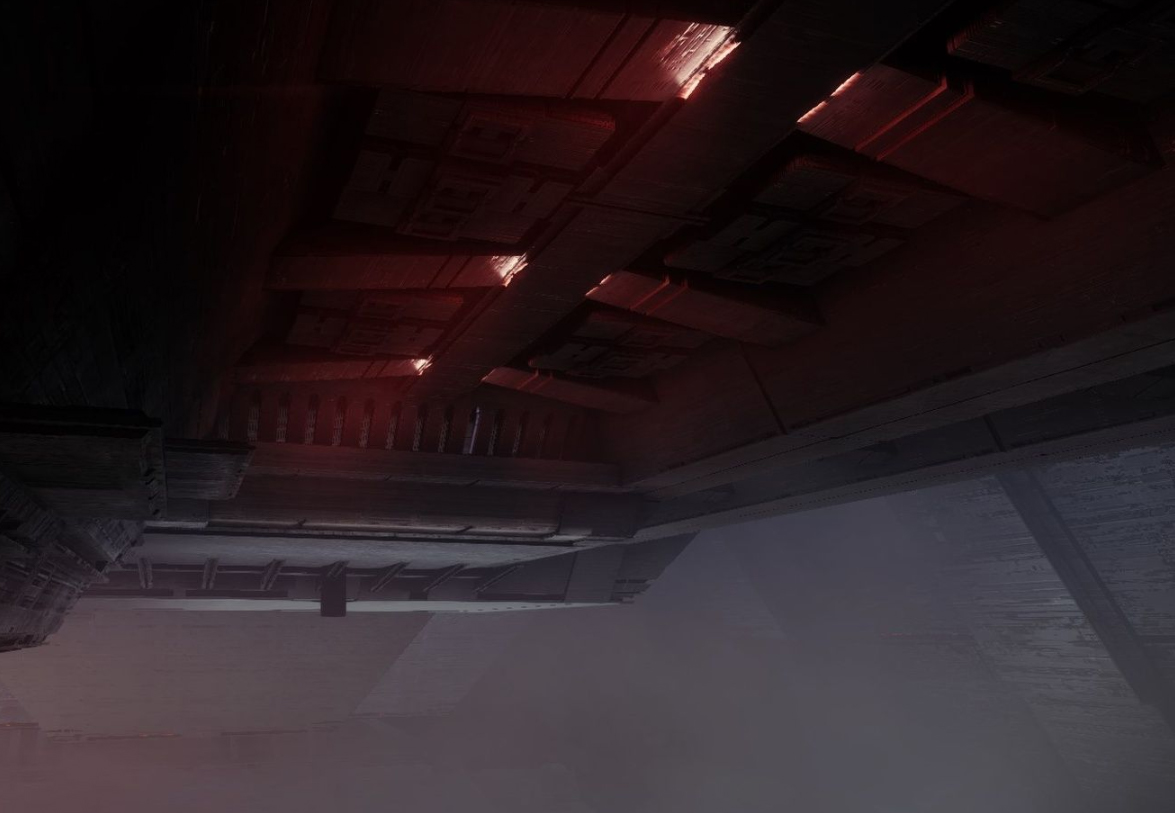
Third Darkness Fragment:
Near the end of the encounter, the vehicle will ascend over a bridge. Drop down on the other side of it, and you will find the fragment hidden inside the bridge’s structure.
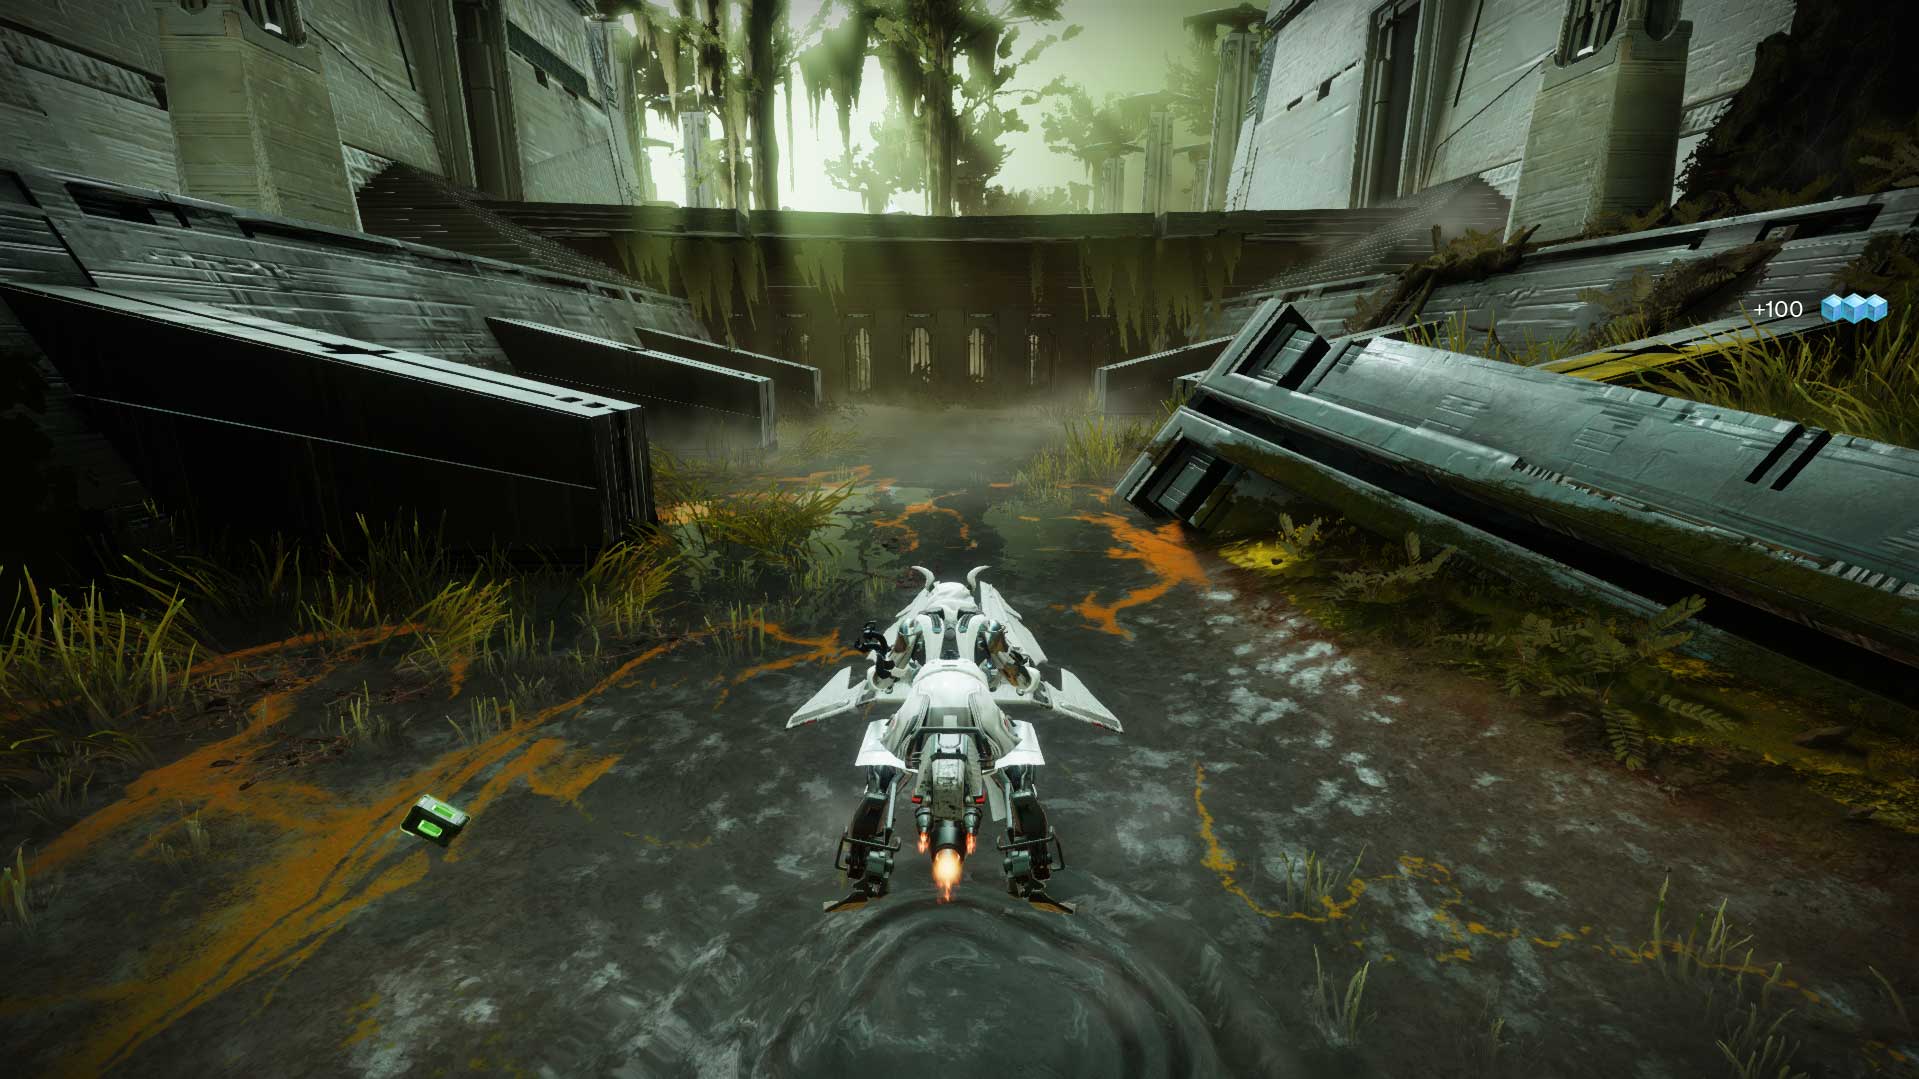
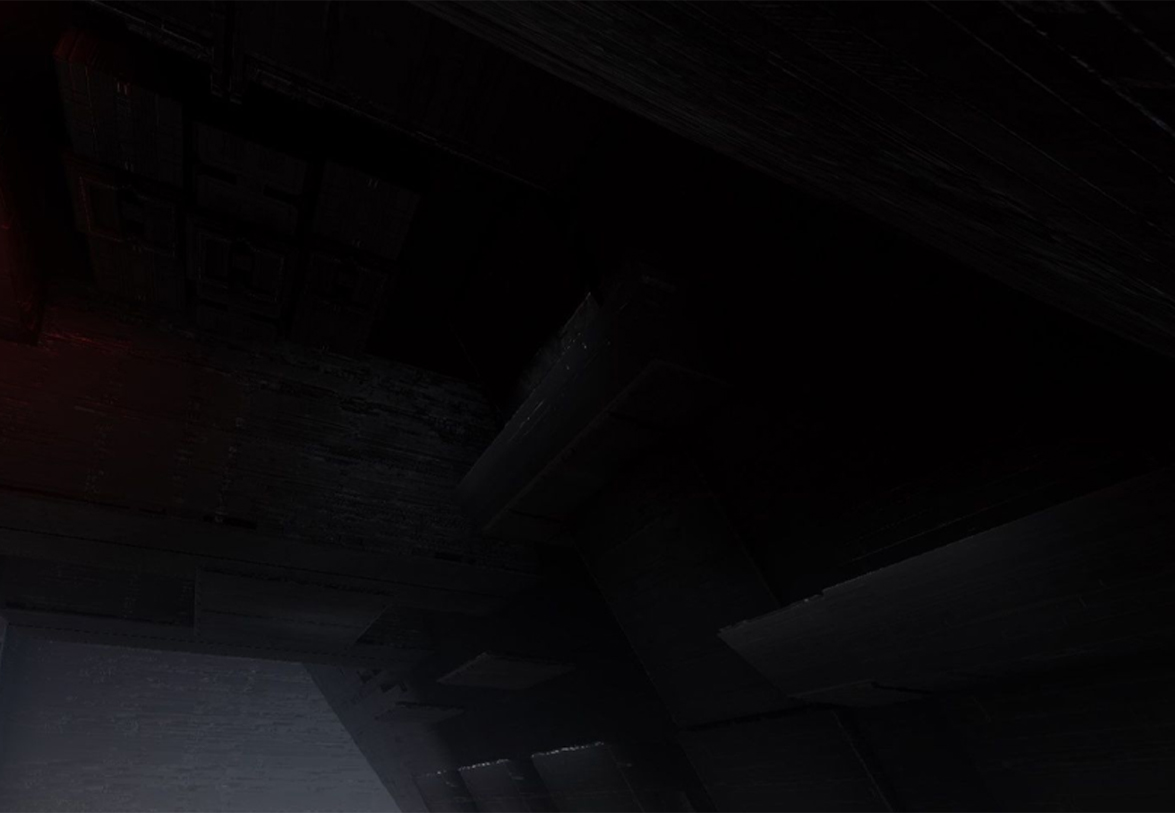
Once you destroy all the fragments, the door that hides the secret chest will open. From the third fragment, jump on the elevated terrain and walk into the structure on the back right, and you will find the first secret chest of the raid.
Hidden Chest #2
The second hidden chest of the raid is hidden in the jumping puzzle section, right after you complete the third encounter. After clearing the second room filled with enemies, follow the platforms to your right. Climb up a series of horizontal pillars and hop across them until it seems like a dead end. The room entrance will be on the left wall, a small gap you can jump through.

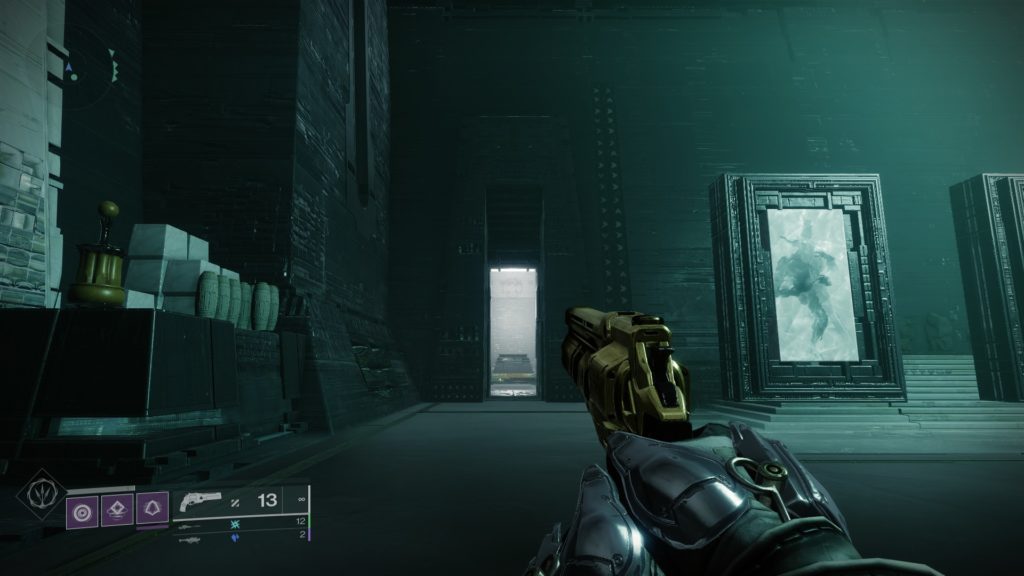
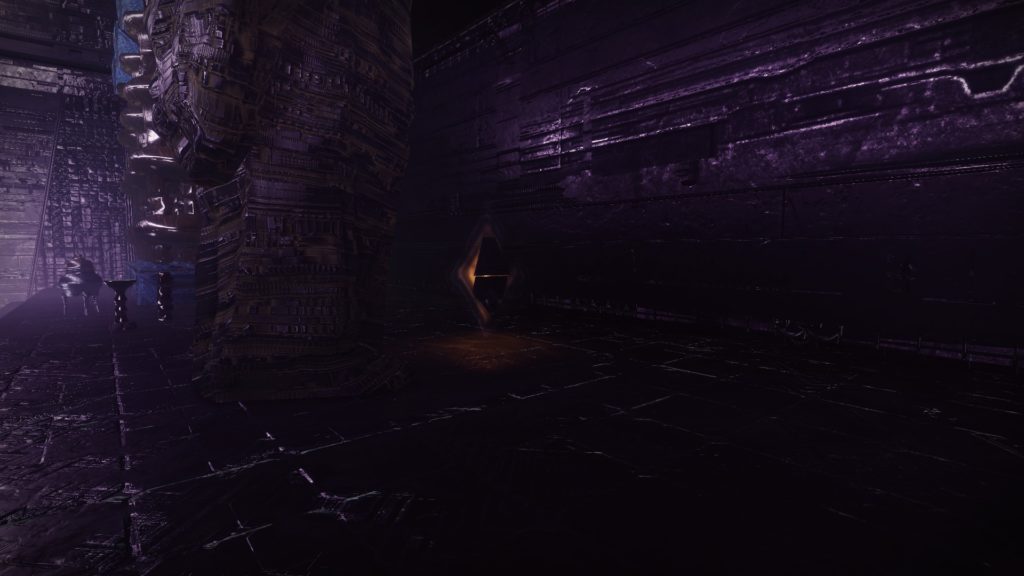
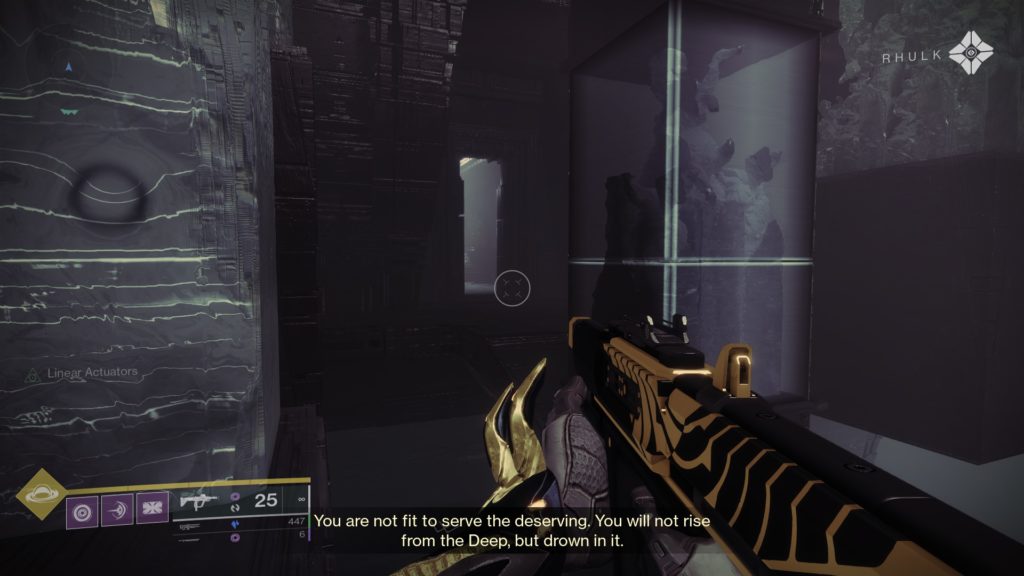
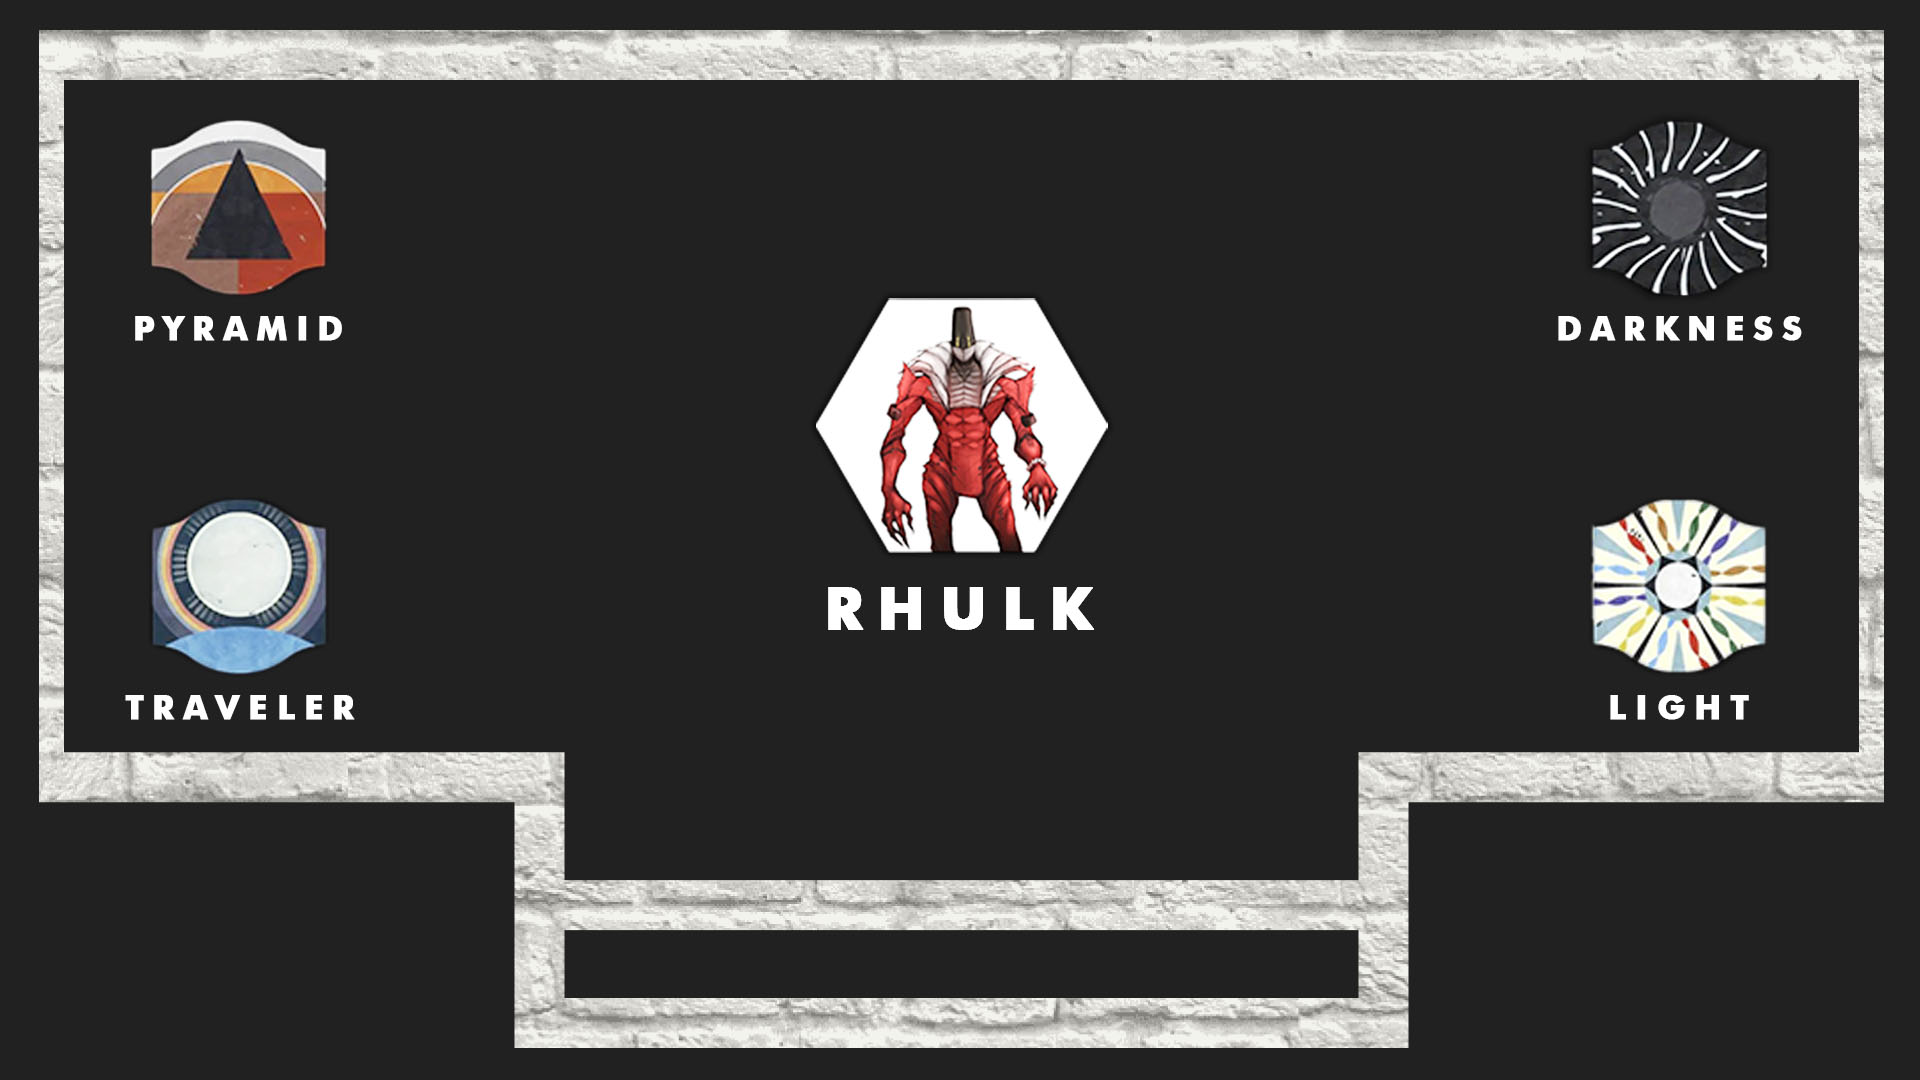
Hidden Chest #3: Rhulk
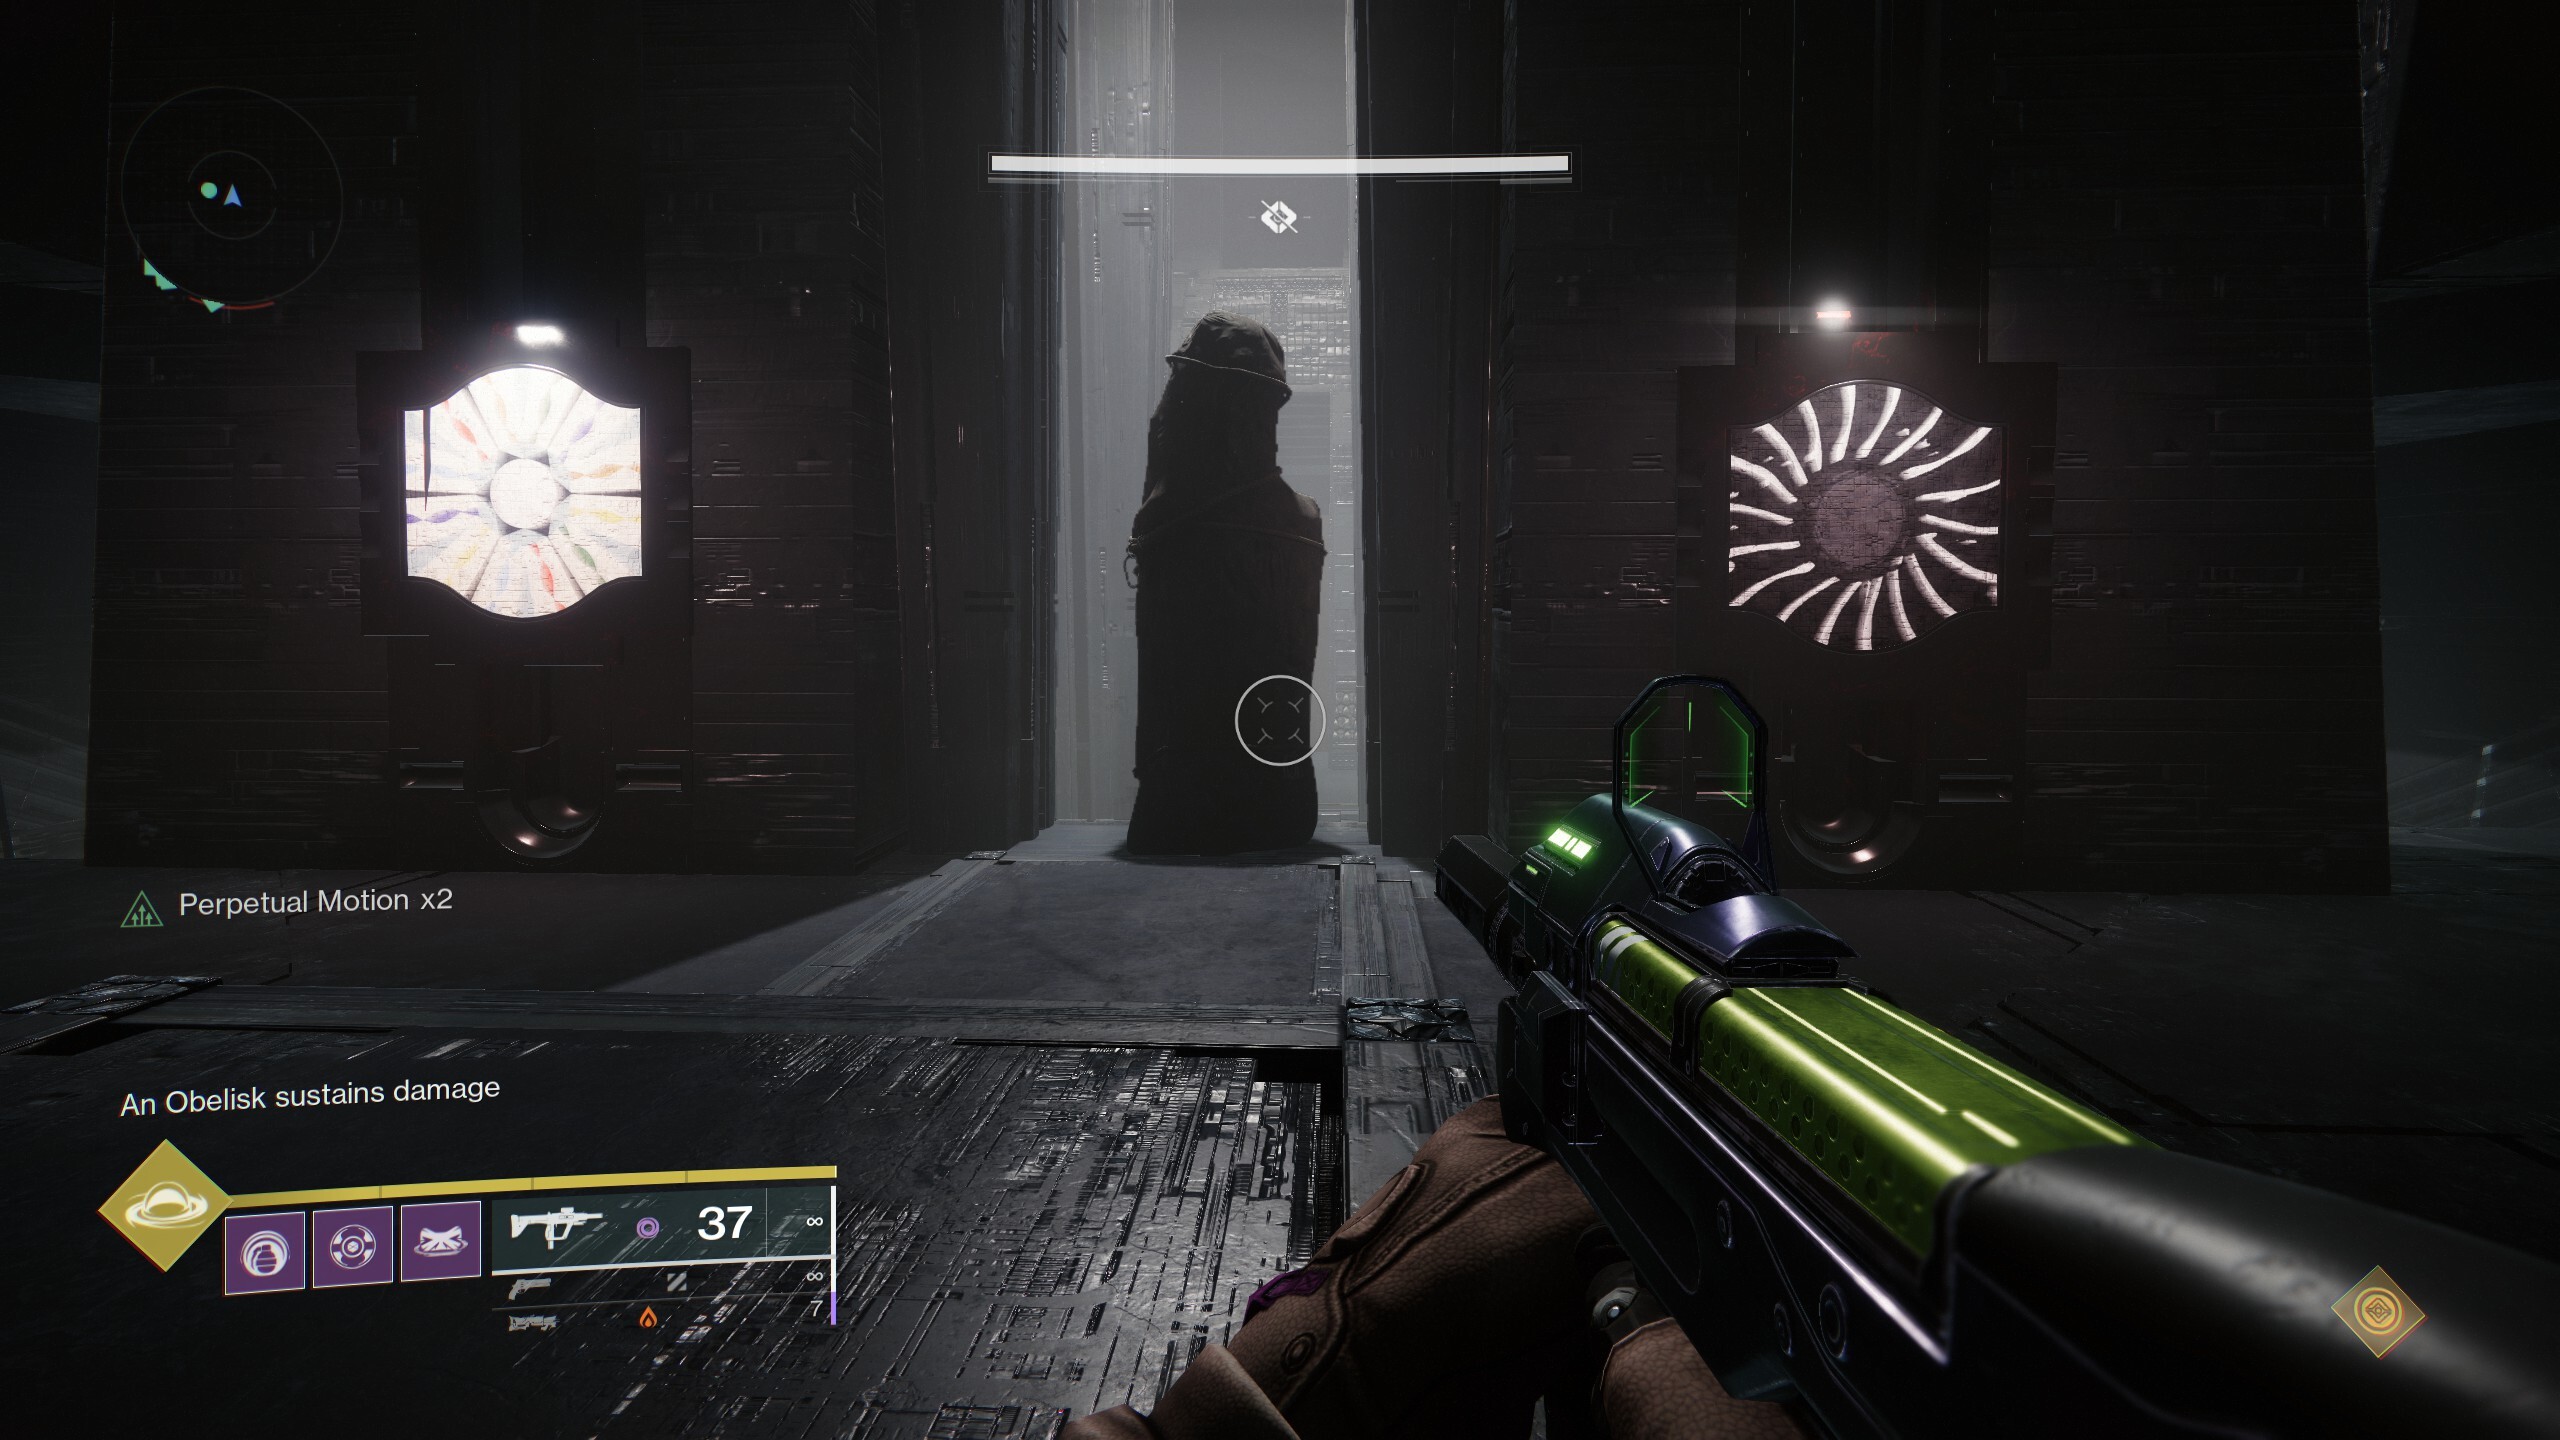
When you enter the Pyramid, there will be an Obelisk with three symbols before the significant dropdown. Please keep an eye on them, as you will have to find these glyphs throughout the raid.

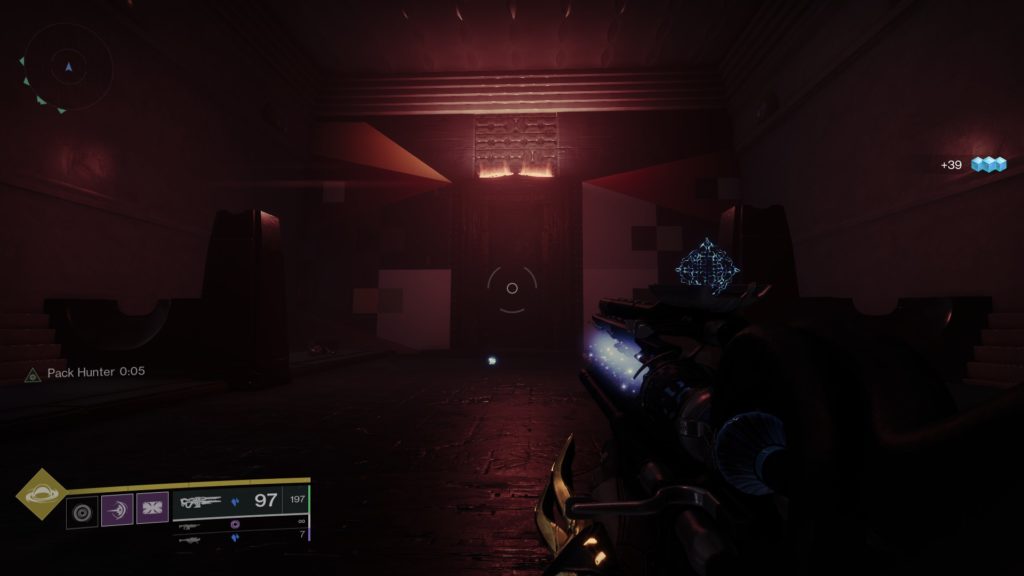
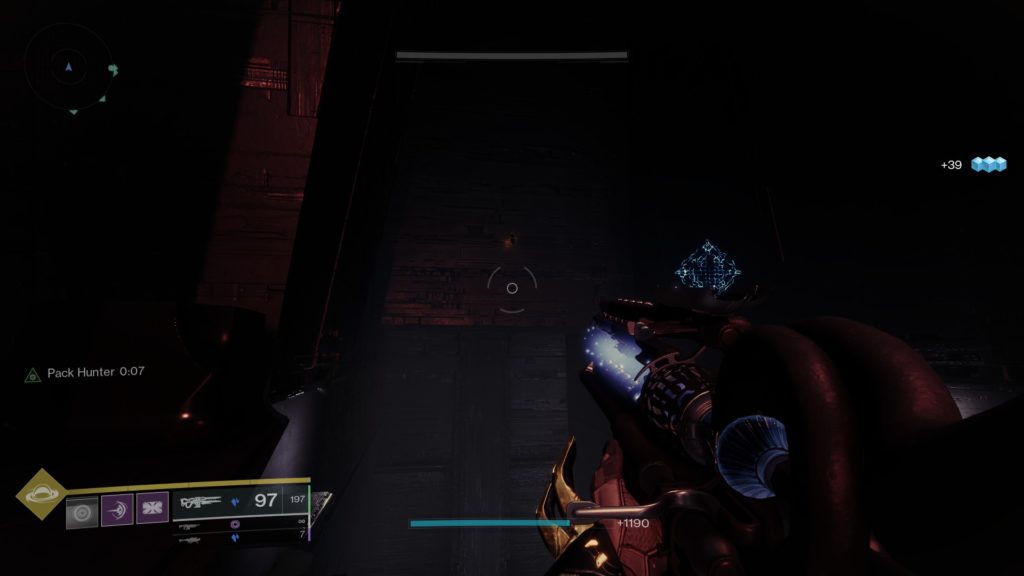
Each location has a Darkness Shard to shoot which opens the door to enter a room; hit the circle on the wall to activate the symbol. If you mistakenly shoot a symbol not shown on your Obelisk, simply shoot again to switch it off. You must complete the secret chest mechanic in a single run, without checkpoints, and you can only complete it once per week.
The locations of all possible symbols are listed below:
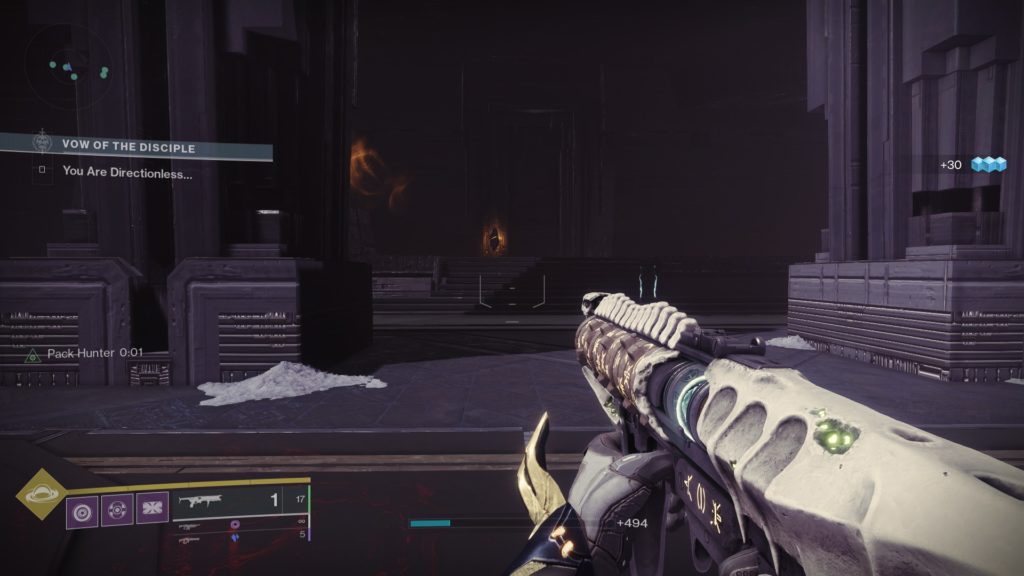
Before the "Acquisition" Encounter:
Pyramid: After the dropdown, the opposite direction for the first encounter.
Give: Before the first encounter arena, after the Major Symbol room.
Darkness: In the first encounter area, on the top left is a structure with a Darkness Shard; shoot it to open a room on the left side.
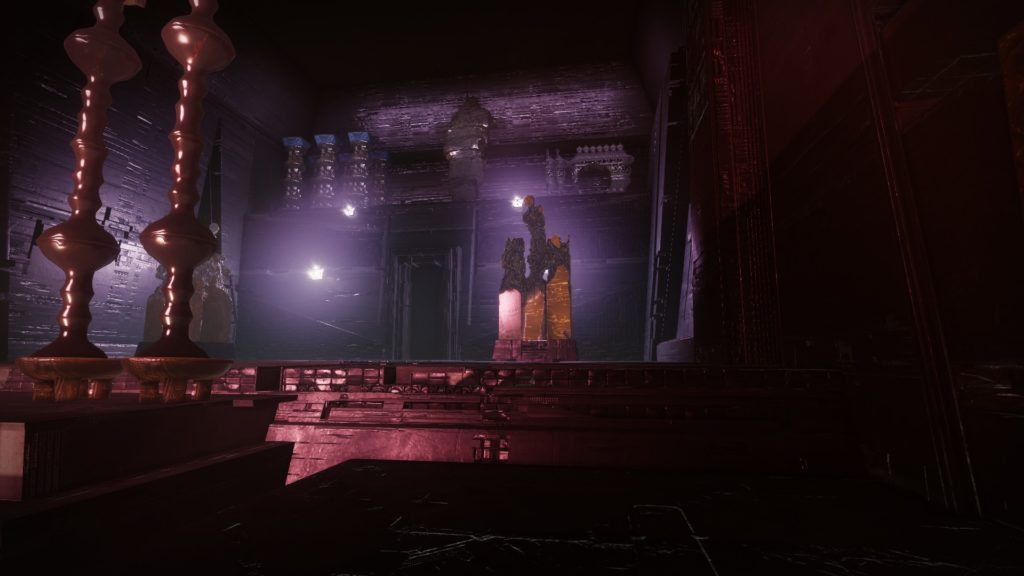
Before "The Caretaker" Encounter:
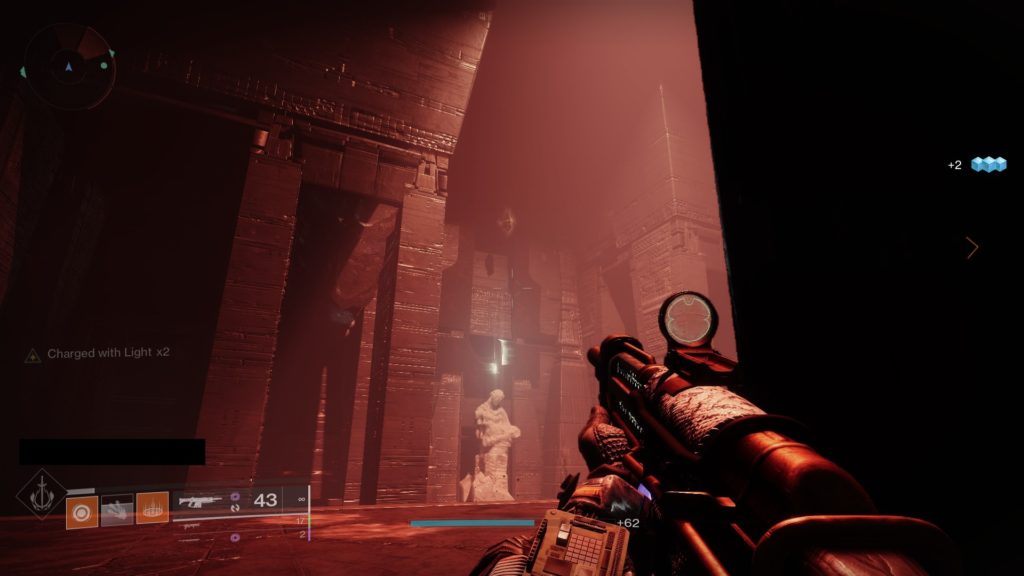
Traveler: In the collection area, jump up a ledge and shoot the crystal hidden behind a statue.
Worship: After the Caretaker Boss Encounter, the same room where he teleports for the last damage phase on the long hallway. There is a darkness shard at the entrance (near the first platform); shoot it and enter the door.
Light: At the start of the jumping puzzle, the room of the first Darkness Shard used to move platforms. (The first area where Scorn enemies start spawning)
Stop: In the area with the moving white pillars. The Darkness Shard is in the back-right of the room.
Before the "Rhulk, Disciple of the Witness" Encounter:
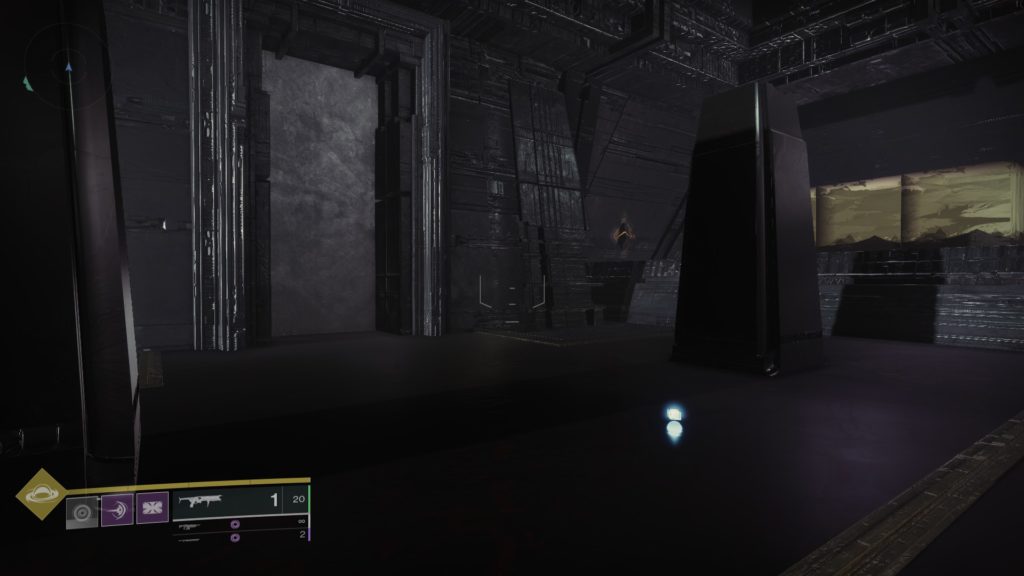
Guardian: After the third encounter completion, move upstairs, and on the left, there will be a shard masked behind the wall. The door is hidden behind some pillars.
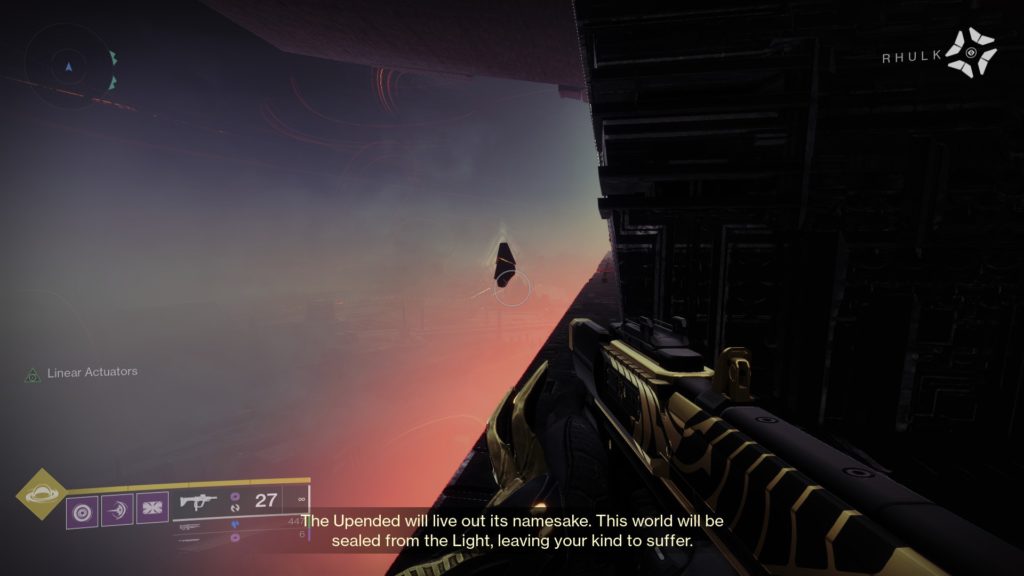
Kill: Last jumping section before the last encounter’s arena. Jump on some floors, and you see a shard hidden in the sky. By shooting it, a door will open on the right.
Upon activating all three symbols, a message will appear:
“Rhulk accepts your offering....”
This message means you’ve entered the code correctly. Defeat Rhulk to spawn its additional chest; the chest will always drop a resonance weapon.
Vow of the Disciple Symbols and Preparation
Symbol Callouts
For a smoother raiding experience, you must establish symbol callouts with your team. Here's an example of the most popular symbol callouts for this raid:
Note: This is just an example and what I found helpful for my team. If your fireteam has different preferred callouts, feel free to use them instead.
Recommended Loadouts
Below you can find the recommended loadouts for efficient clears and maximum survivability in the VotD raid:
| Classes & Subclasses | ||
| Hunter | Warlock | Titan |
| Nightstalker | Voidwalker/Shadebinder | Sentinel |
| Revenant | Middle Tree Dawnblade | Middle Tree Striker |
Hunter: Nightstalker or Revenant is an incredible runner for the Caretaker and Rhulk encounter, making Mobius Quiver with Orpheus Rig/Star-Eater Scales the best DPS for bosses.
Warlock: you can run either Voidwalker or Shadebinder for add-clear. Middle Tree Dawnblade (Well of Radiance) is fantastic for healing and provides a damage buff to your teammates, for Boss encounters.
Titans: should run Sentinel for the amazing add-clear and heal that they can provide to the fireteam. You can also use Ward of Dawn to buff the damage. For Rhulk, you might want to run Middle Tree Striker to add a big damage attack with Thundercrash.
| Weapons | ||
| Kinetic | Energy | Power |
| Izanagi's Burden | Divinity | Rocket Launcher |
| Add-Clear Weapons | Add-Clear Weapons | Linear Fusion Rifle |
For weapons, we have a few tips to boost your damage output in the encounters where you have to damage an actual boss. The perfect loadout would be four-person to have Izanagi’s Burden equipped with Rocket Launchers (preferably Auto-Loading holster perk on it), one member with Divinity, and one with a legendary sniper and Gjallarhorn for massive rocket DPS for the fireteam. For add-clearing, use your favorite Void weapon paired with Volatile Rounds for the safest strategy.
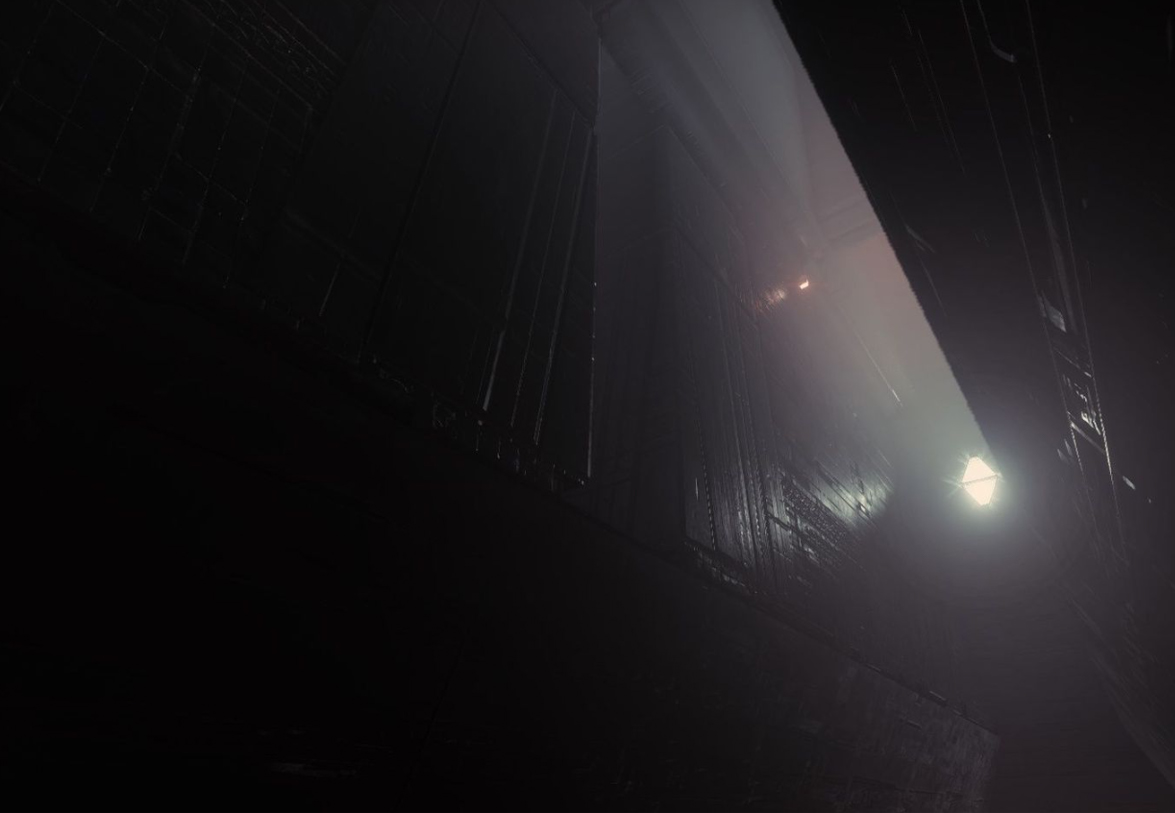
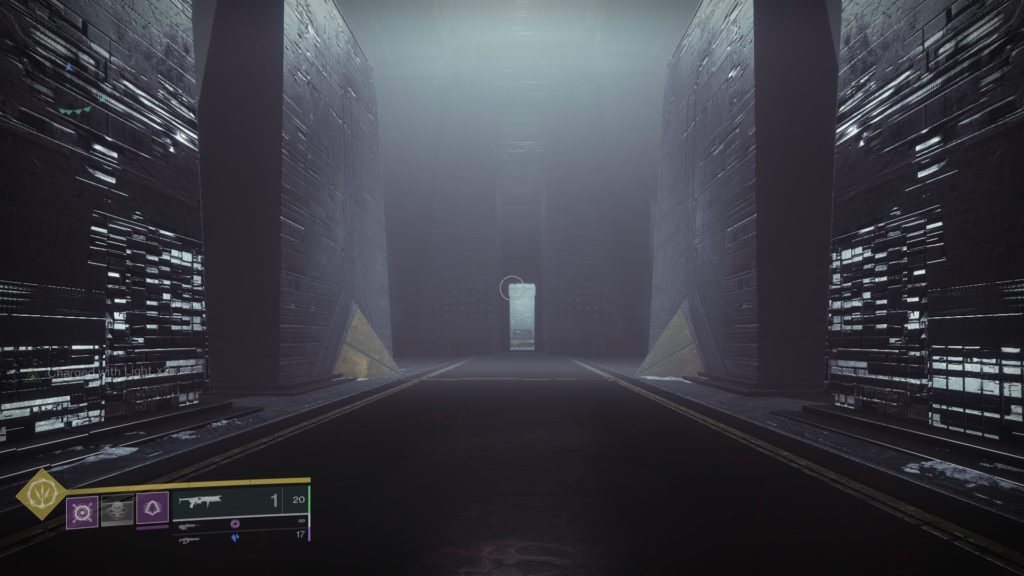
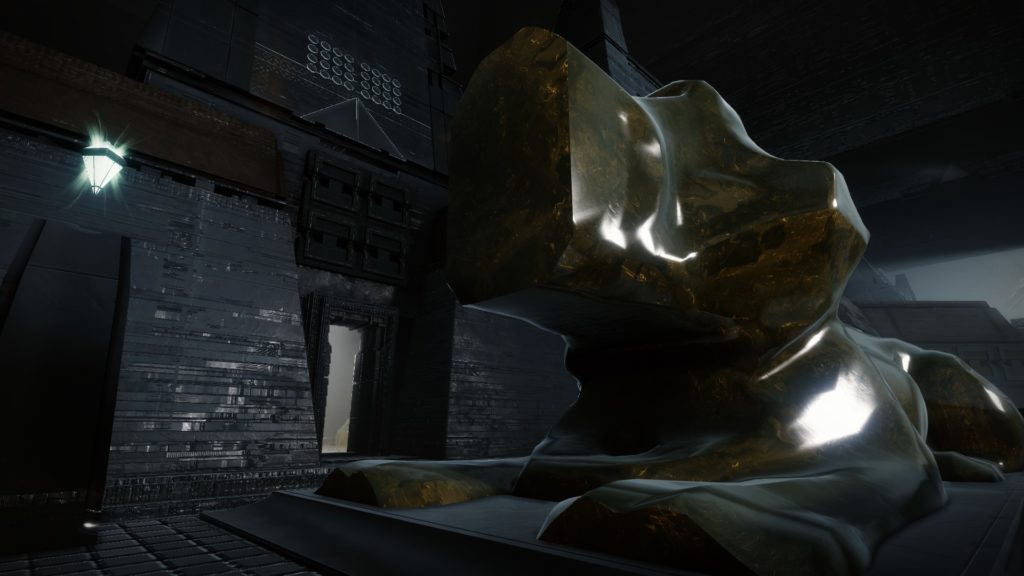
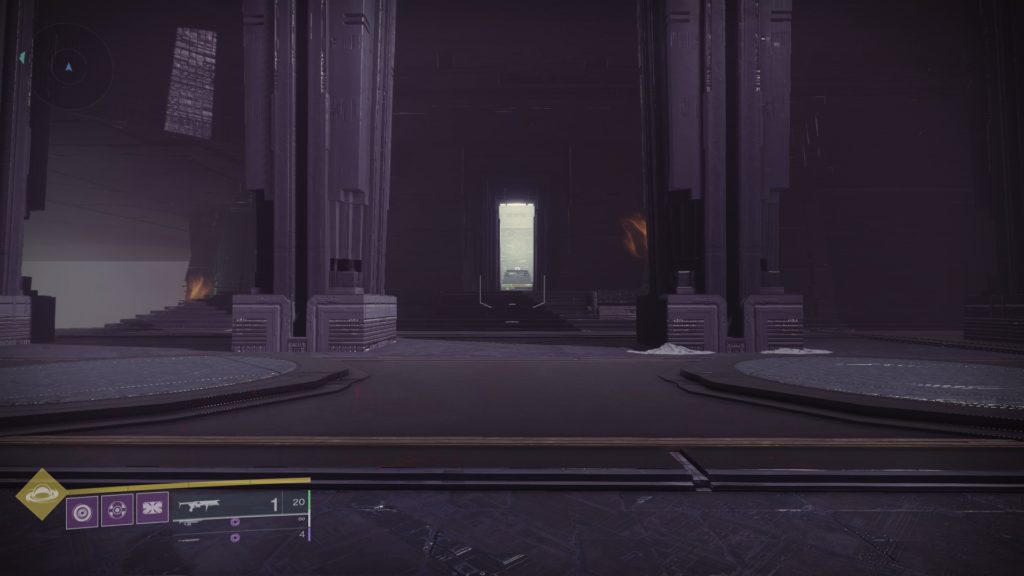
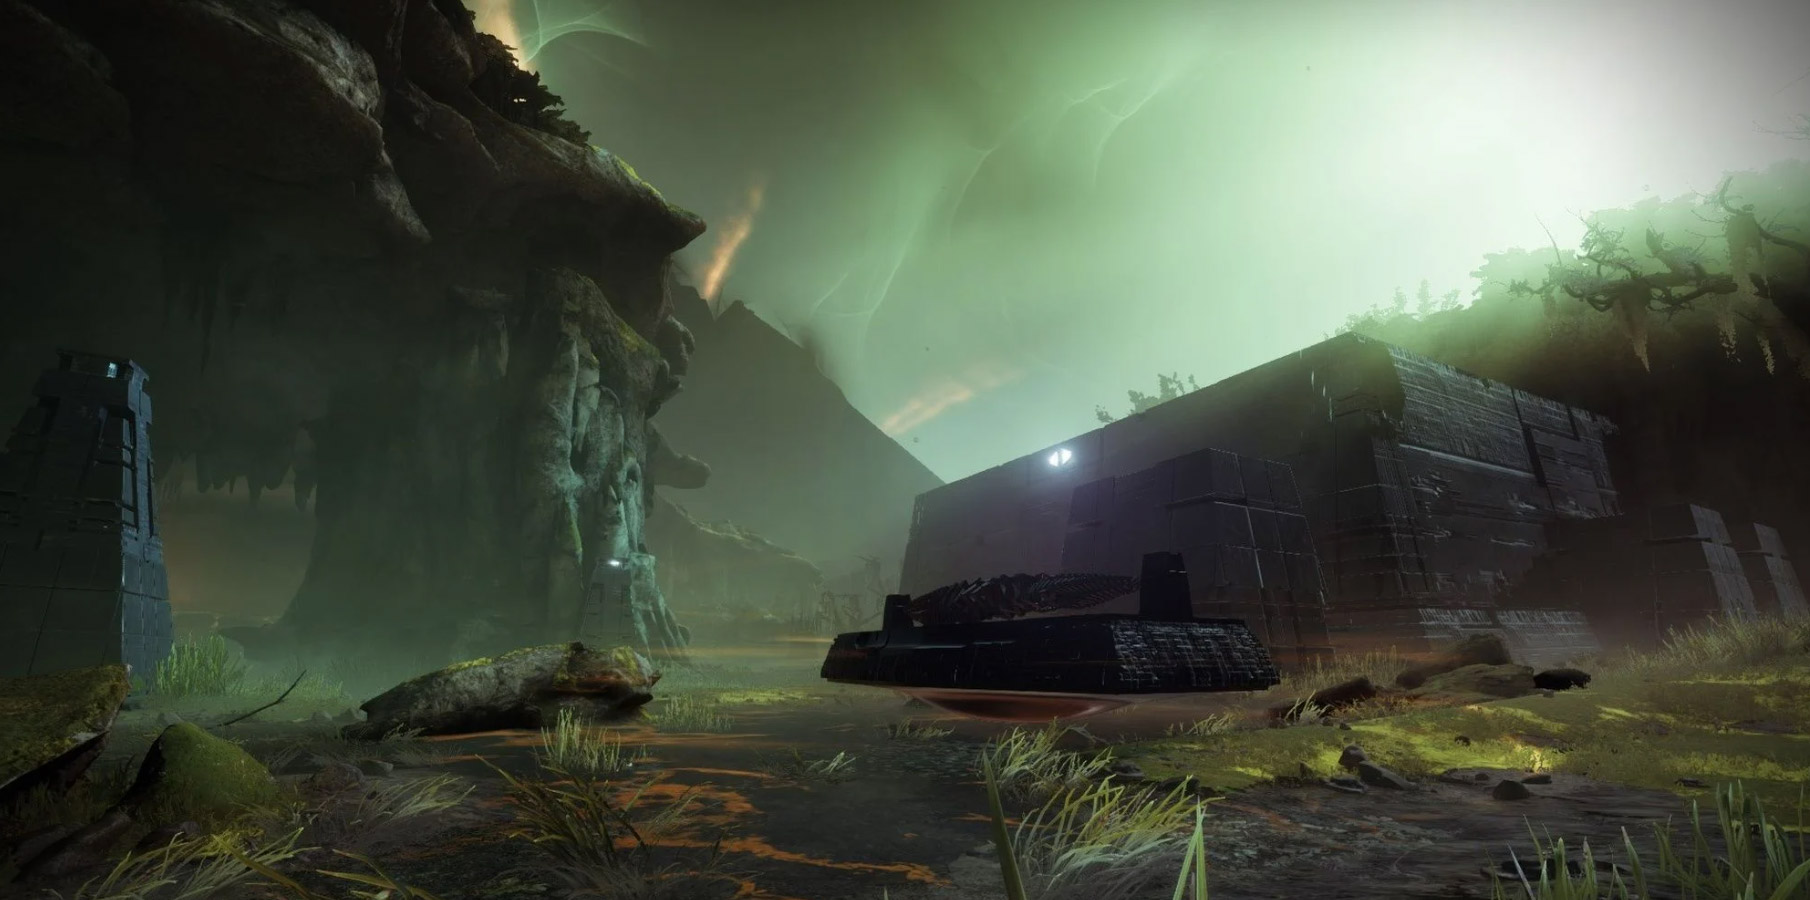
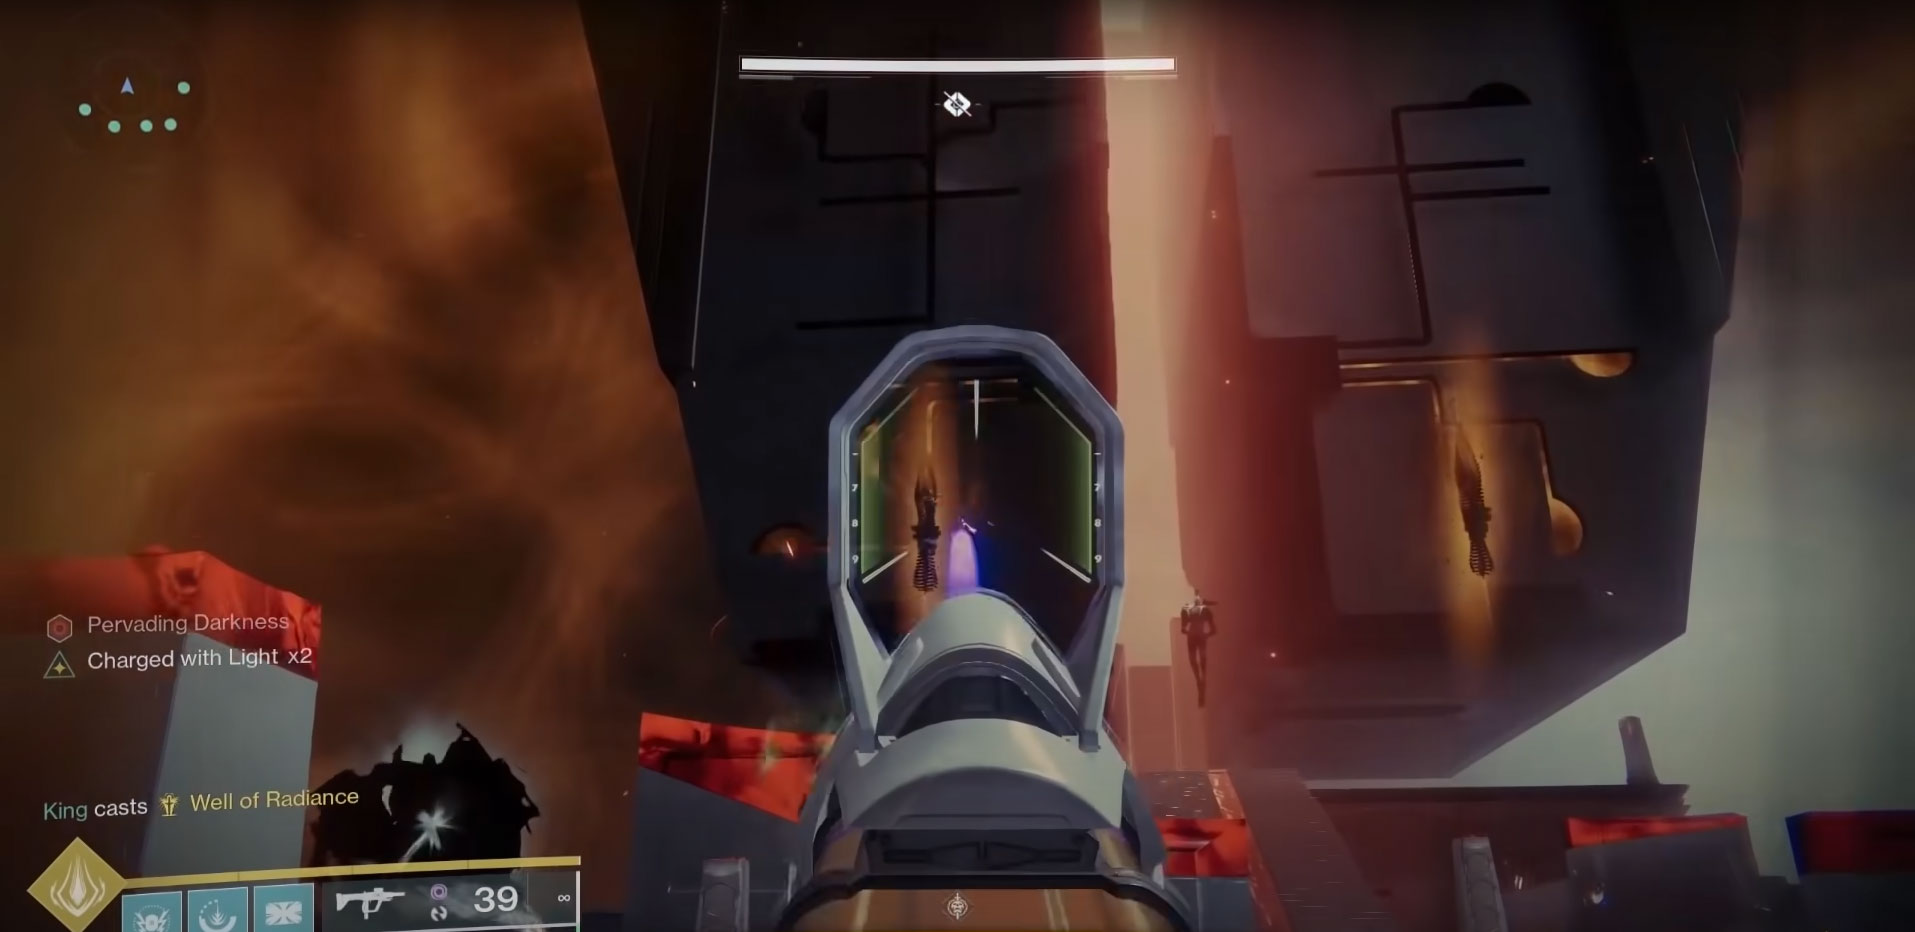
Vow of the Disciple Pre-Encounter (Raid Entrance)
To access the first encounter of the Vow of the Disciple Raid, you have to kill the Savathûn’s Projection to open the gates that allow you to move closer to the Pyramid’s Entrance.
How to complete VotD Entrance Encounter
When you get in range of the vehicle, the encounter starts, and the enemies spawn. Kill all the Knowledge Bearer each time the vehicle stops. Nine collectibles will appear in the world, and you have to gather them all and bring them back to the vehicle to make it move again.
Keep an eye on your negative status effect named Pervading Darkness. Don’t reach ten stacks, or you will instantly die. As it increases, your screen will slowly fill with darkness.
To reduce the Pervading Darkness effect, you have two options: you can either stand near the vehicle – inside its orange circle aura, or collect the knowledge shards that appear, which will help you maintain and even lower your current stacks.
Your first shard pickup grants you the Heightened Knowledge buff, a second grab will upgrade it to Brimming Knowledge, and the third will give you the Overflowing Knowledge status. At this point, you’ll no longer be able to pick up any more shards.
Adventure away, grab the collectibles and bring the knowledge shards back to the vehicle. Repeat the process until the vehicle reaches its final destination and opens the Pyramid.
Note: The Entrance has no respawn tokens, so you can play more aggressively. (Except if you are going for a flawless run!)
VotD First Encounter - Acquisition
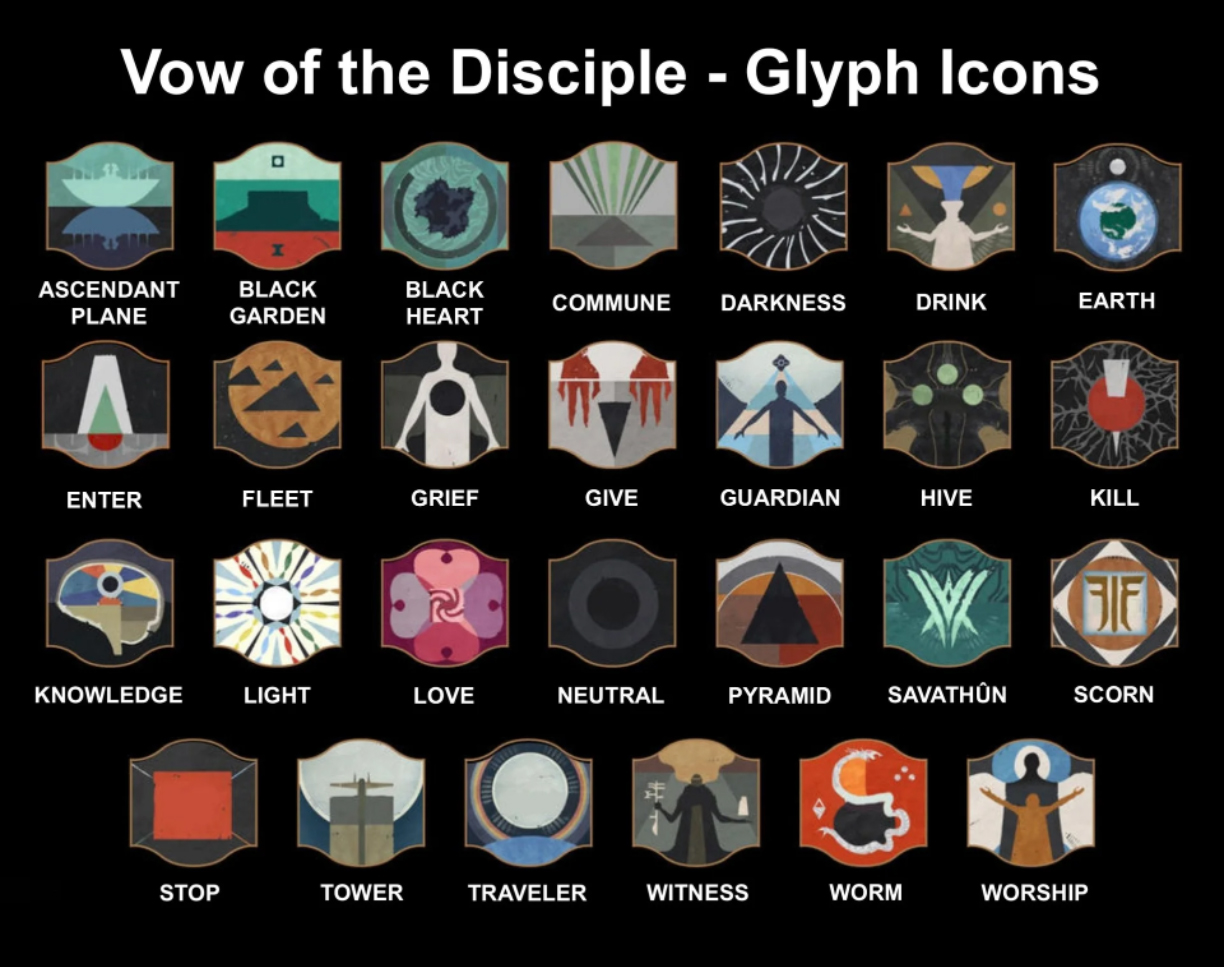
The first encounter of the raid doesn’t have a boss, but it does require great communication with your teammates to succeed. There are three obelisks near the center of the room and nine doors on the area’s exterior. You have to understand and be aware of all 27 different symbols featured in this raid!
How to complete the Acquisition Encounter
The Pyramid and Traveler symbols on the large wall in the center of the area split the room into Dark and Light sides. Nine rooms are located in a circular pattern around the arena, with symbols above each doorway indicating the room’s callout.
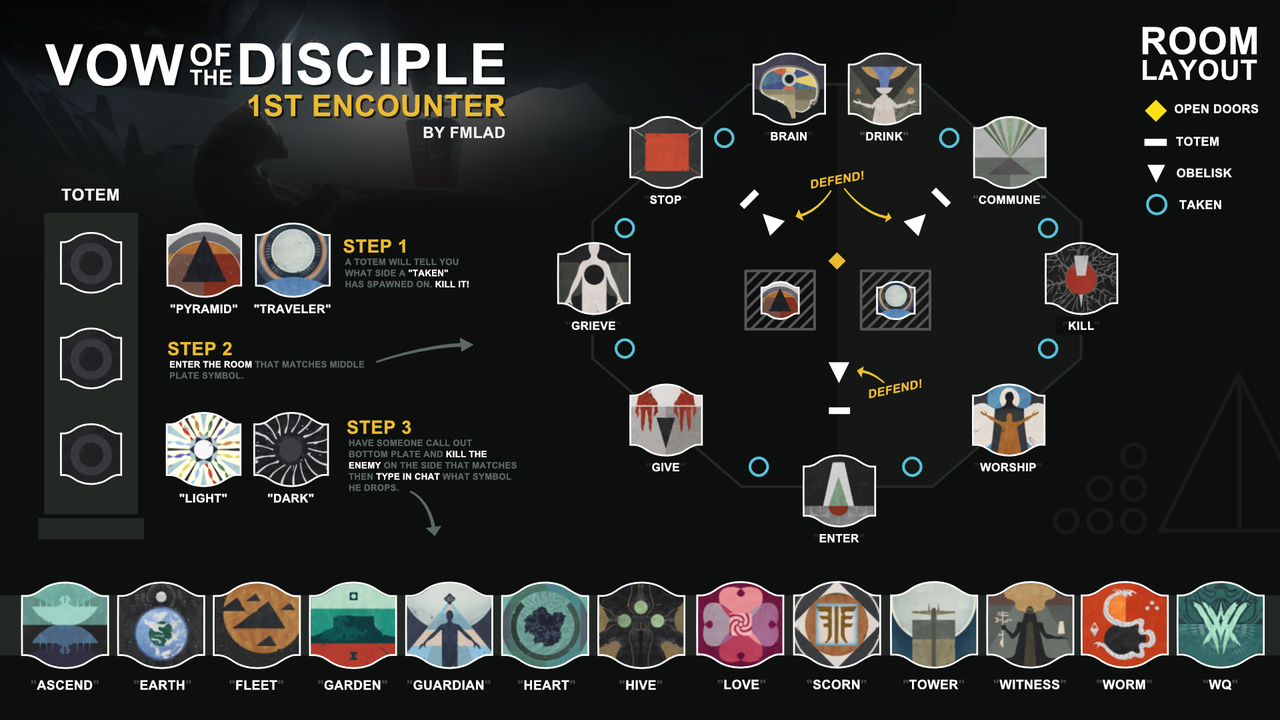
There are also three obelisks: one in front of the spawn, one on the left side, and one on the right side. In front of each obelisk there is a small Totem with three empty spaces.
You will need to divide your fireteam into three teams of two and assign each one to an obelisk. Designate who will be protecting and who will be roaming during the encounter.
Once the encounter has begun, enemies will start spawning from various points to attack the three obelisks. After a couple of moments, one of the three totems will reveal a symbol in the top spot. This place will always show the Traveler or Pyramid icon, indicating the side of the arena the taken enemy has spawned.
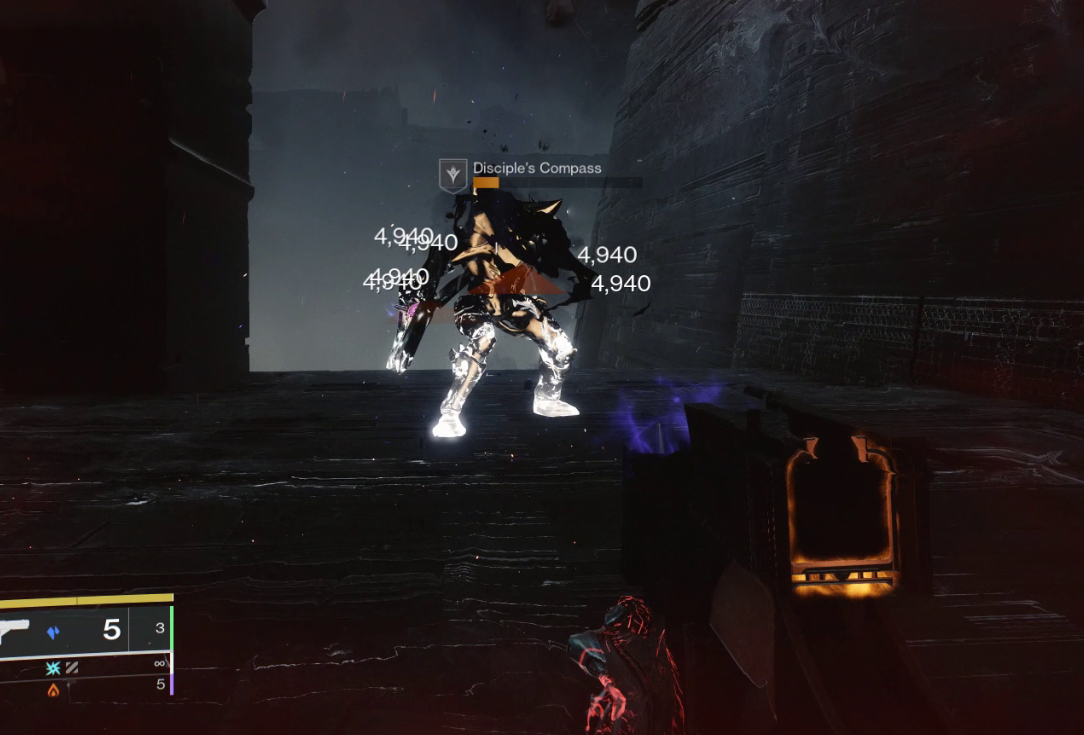
After the Disciple’s Compass is defeated, the totem with the first symbol shown will reveal a second one below it, in the middle spot; this indicates the room that the runner must enter. The last icon on the totem will always show either Light or Darkness, telling which Glyphkeeper the runner should kill and callout.
Once all three symbols have been identified, all obelisks will display a combination of symbols. Only one obelisk will show all three of the symbols your runners uncovered; identify the obelisk and quickly shoot each glyph.
Execute the above steps three more times to complete the encounter and receive your valuable loot.
How to complete the “Acquisition” encounter on Master Difficulty
The Master difficulty version of the Vow of the Disciple raid has some specific changes that make the encounter way more difficult:
- Scorn Glyphkeepers in the glyphs room are now Overload Champions.
- Disciple’s Compass Knights now have Solar Shields.
- Scorn Wraiths now have Solar Shields.
The protectors of the obelisk should run Unstoppable mod, while the runners should run Overload for the Glyphkeepers. You should stick to a solar element weapon for shields and clear, and that’s all you need. Let’s head over to the second encounter!
VotD Second Encounter - The Caretaker
The Caretaker is far easier than the “Acquisition” encounter. There are four floors in this encounter and a boss that teleports upwards after each damage phase. Each floor contains an Obelisk, a Dark Room, and three plates. You will need to split up into three teams of two, each with different roles. Let's dive in deeper.
How to complete The Caretaker Encounter
The three teams of two will be runners, boss stunners, and add clears.
Runners:
You have an essential job in this encounter. You’ll shoot the Darkness Shard to open the door in the back of the room to start the fight. By adventuring into the Dark Room, you’ll see that you can collect symbols like in the last encounter, but now you will have to memorize the symbols as you gather them.
Once you gather three symbols, someone else will open the door for you from outside, and you can return to the Obelisk.
When the Obelisk asks for your offering by your name, shoot all three symbols you gathered in the Dark Room. You have to swap the runners because you’ll gain stacks of Pervading Darkness while in the room, so you have to move quickly out of it, shoot the symbols, and avoid getting killed by the status. Once you deposit all nine symbols, the damage phase begins.
Note: You can pick up only one or two symbols instead of three if you are about to die or have too many Pervading Darkness stacks.
Boss Stunners:
The Caretaker boss will try to reach the Obelisk as fast as possible, so the boss stunners have to stop him regularly by holding him in place. You have to stay close to him to receive a buff named Caretaker’s Gaze, which lets you see his face glowing.
The status allows you to shoot his head that will stagger him for a moment, making the boss open his back. The second player hits its back, holding him in place for a few seconds. You have to repeat the process until the other team deposits all symbols.
While the boss is stunned or you’re waiting for your teammate to gather his symbols in the Dark Room, keep clearing the room from adds and Caretaker’s Orange homing projectiles.
Once the nine symbols are in, the Caretaker can move towards the Obelisk freely. You must gather your teammates and stand on the big plate on whatever side he’s coming up.
The platform starts to glow, and you can damage him for a short period. When the plate fades, move to the middle and then to the third platform. After you complete the damage phase on that floor, some stairs spawn. Climb them up to the next floor!
You have to repeat this process three times, ascending the floors until you reach the final stand. On the last floor (a long hallway with three platforms), you have to stand on the first plate, damage the boss until it fades and move to the next one. After eliminating the Caretaker, the rewards are waiting for you at the end of the hallway.
How to complete “The Caretaker” encounter on Master Difficulty
Remember when you had to split your fireteam into three other teams? The add-clearing team has an extra job on Master Difficulty, killing the Overload Champions. The taken Vandals are now champions that can easily one-shot you, so you must kill them ASAP.
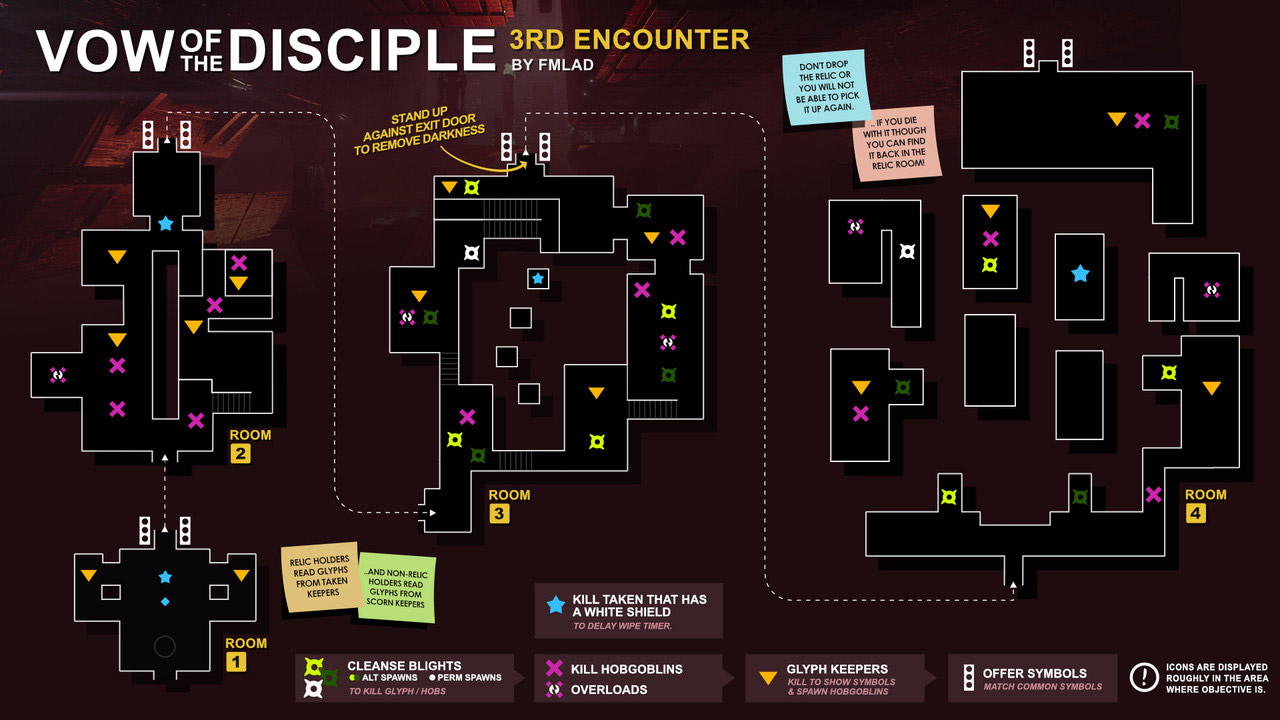
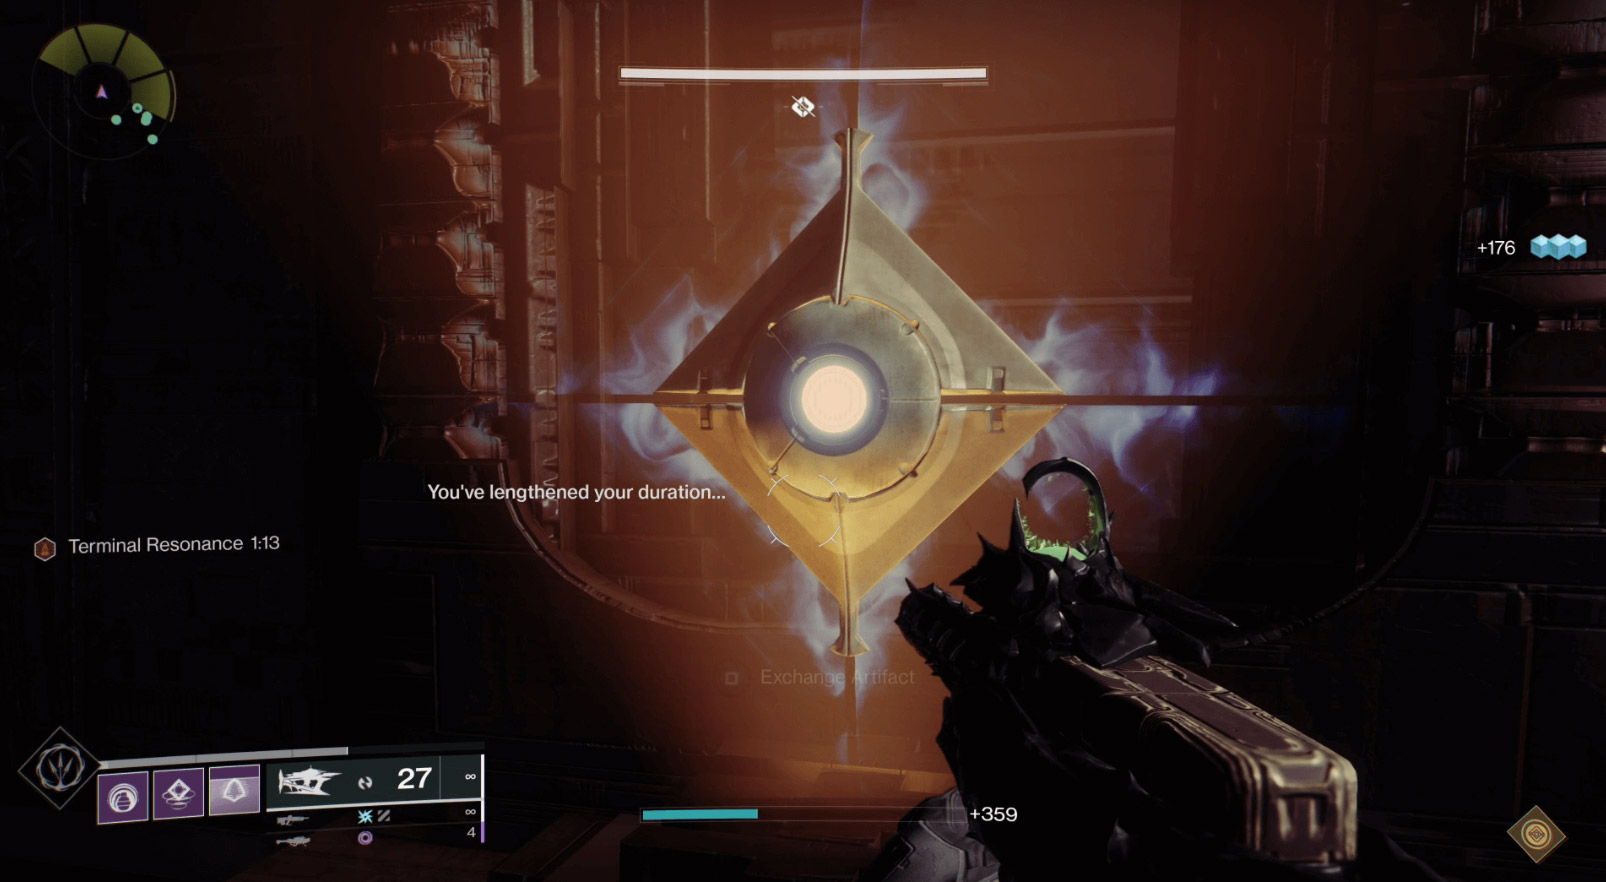
VotD Third Encounter - The Exhibition
The Exhibition encounter revolves around three relics used for their unique abilities to proceed through different rooms with scaling difficulty.
How to complete The Exhibition Encounter
In the Exhibition encounter (called Upended Summit in the Triumph Tab), you have to proceed through four rooms, helped by three artifacts:
- Darkness Splinter
- Templar Shield
- Eye of Riven
The encounter requires shuffling the relics between members and identifying the symbols to progress to the next rooms while fighting against multiple enemies and a timer called Terminal Resonance. As you would expect, when the countdown timer reaches zero, your team instantly wipes.
The Darkness Relic can kill shielded Taken Knights called Disciple’s Hourglass. When killed, they extend the countdown timer by 40 seconds, providing additional time to reach the next room.
Once the relic you pick up the relic in the first room, the encounter starts, and two Glyphkeepers spawn. When you eliminate them, three symbols will appear in their place. The glyphs can be visible or invisible to your fireteam members as follows:
- Relic holders can see the symbols dropped by the Resonant Glyphkeeper (Taken Phalanx).
- Non-Relic members can see the glyphs dropped by the Scorn Glyphkeeper.
After eliminating the Glyphkeeper, your team needs to read and identify which symbol is featured in both sets and call it out. It will be your glyph that you will have to shoot on the door’s walls to open it and proceed to the next room.
You need to deposit your relics to open the door for each subsequent room. Relic holders must be swapped for each room, because of the Curbed Resonance debuff, which will prevent them from picking up the relic again for 30 seconds.
The Pervading Darkness debuff is introduced in the second room onwards, and you have to run around with the Templar Shield and cleanse your allies. Also, you will encounter overload champions from this point on, so make sure you have a stagger mod to take them out.
The third and final relic used in this encounter helps you dispel Taken Blights that provide immunity to the enemies in the third and fourth rooms. Eye of Riven should be your priority.
How to complete “The Exhibition” encounter on Master Difficulty
The Master difficulty version of the Vow of the Disciple raid changes the encounter in various ways:
- Scorn Glyphkeepers in the rooms are now Overload Champions.
- Taken Glyphkeepers are now Unstoppable Champions.
- Taken Hobgoblins now have Void Shields.
- Scorn Wraiths now have Solar Shields.
On the Master difficulty of the encounter, it is the same fight, but more dangerous. We highly recommend equipping Unstoppable/Overload mods and Solar/Void weapons to be efficient.
Note: Darkness Splinter Artifact does not do Solar Damage!
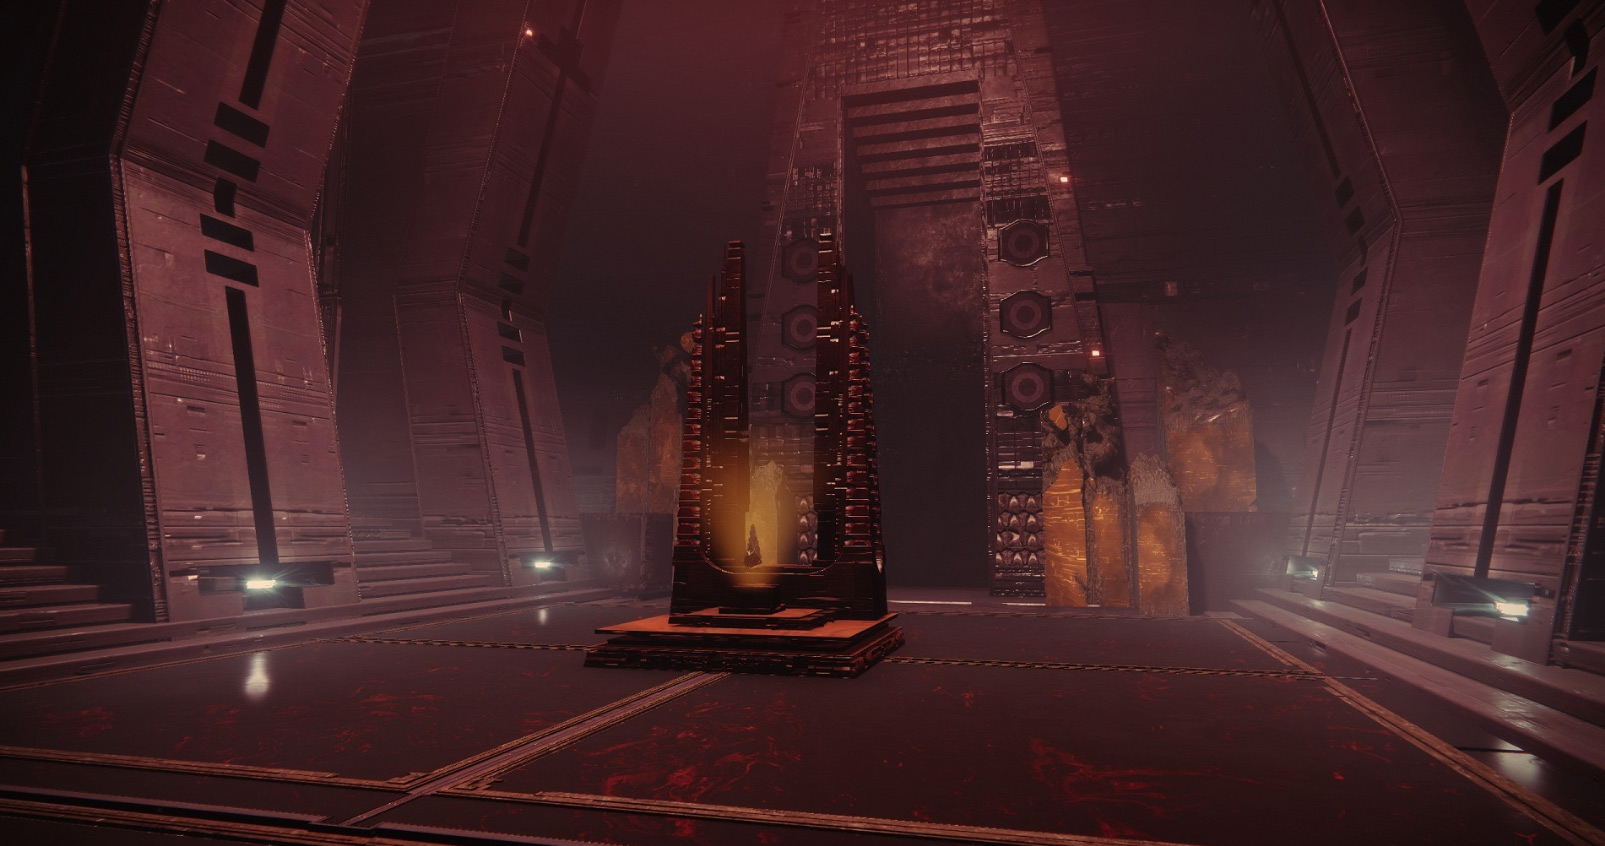
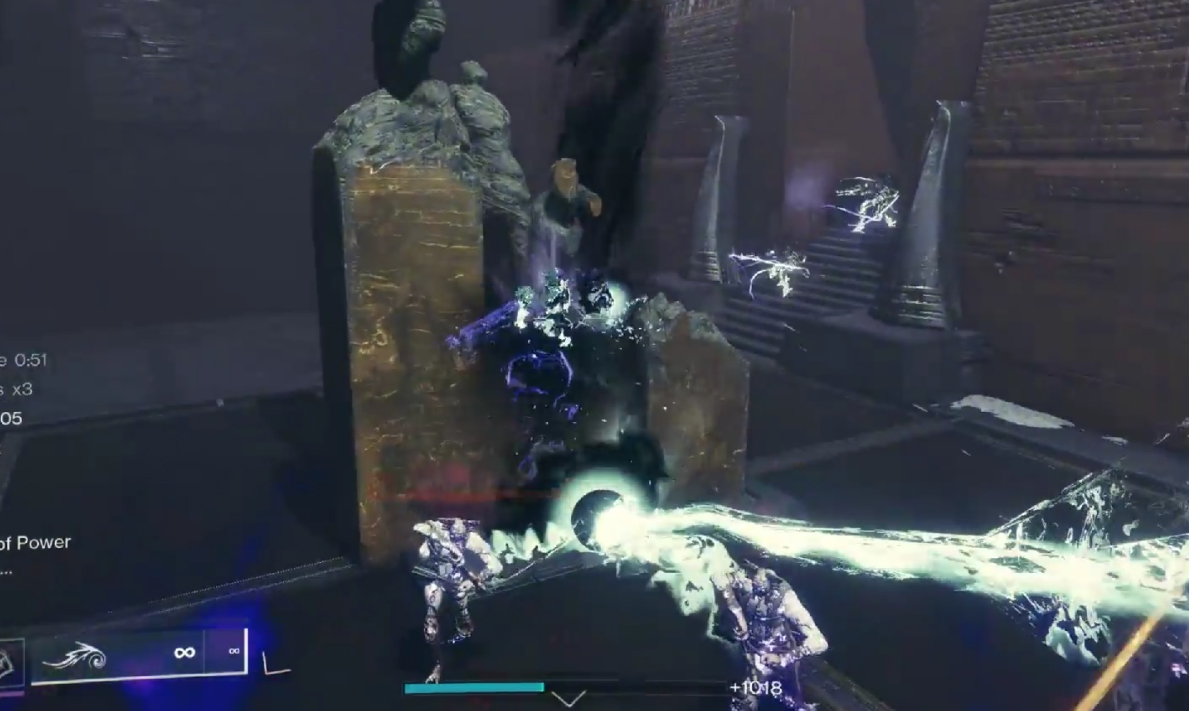
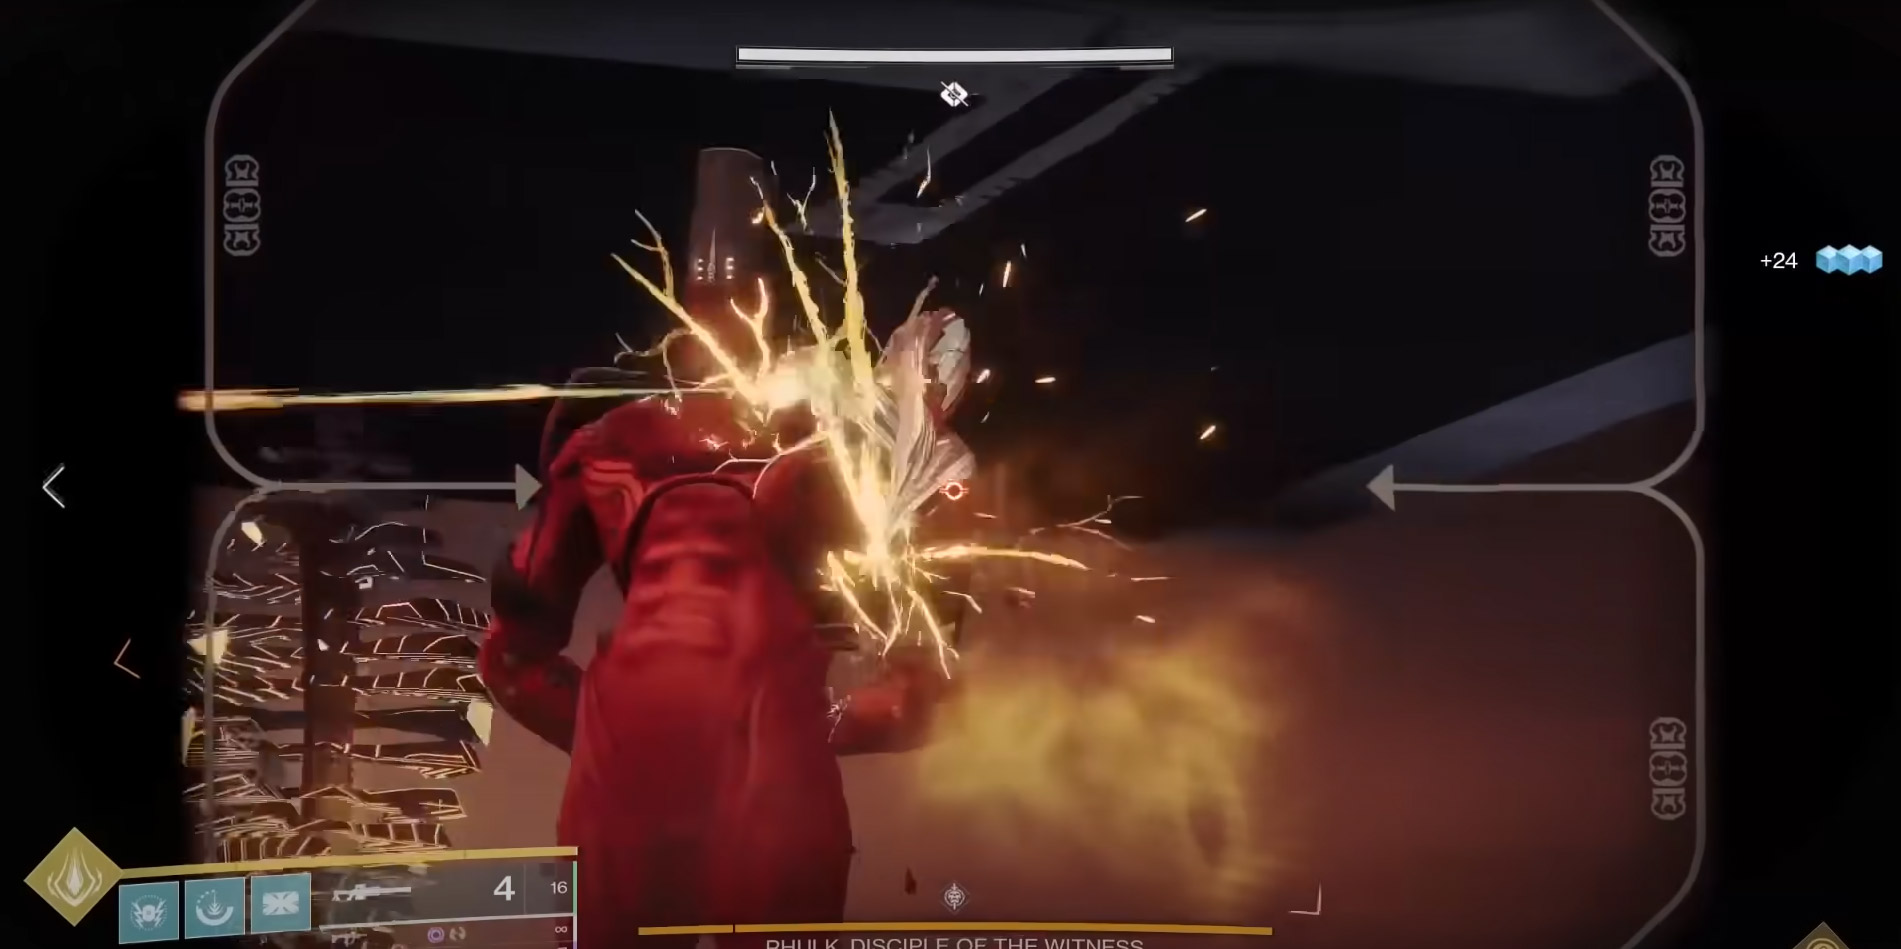
VotD Rhulk Boss Encounter - Disciple of the Witness
Mechanically challenging encounter but not as tricky as the other raid bosses. This final stand is against Rhulk, a raid boss with special mechanics that make him unique in Destiny 2. With all that said, welcome to the Final Encounter of the Vow of the Disciple Raid.
How to complete “Rhulk” Encounter
As you drop into the boss arena, you must run forward until you reach the stairs. The boss spawns and descends from his Darkness Shard. He will immediately use his glaive to create a barrier in the arena. This orange shield pushes you back if you try to move into it.
The most important aspect of this encounter is to juggle with the buffs that allow you into his shield:
- Leeching Force
- Emanating Force
Rhulk spawns a Giant Shard above his head when the encounter starts, and the Pervading Darkness debuff begins stacking on your team members. If you destroy the shard, the Pervading Darkness will cease, and you will receive the Leeching Force buff.
The fireteam will need to be split up into two teams of three to manage everything through each phase:
- Team 1: designated for add clearing and callouts
- Team 2: buff duplication and depositing
While Leeching Force doesn’t do anything on its own, it allows you to survive Rhulk’s Laser Attacks. If you get hit by his laser, your buff will turn into Emanating Force.
Note: Leeching force allows the player to absorb a laser and transform it into Emanating Force. However, if no one in your fireteam has a Leeching Force buff, the boss will create a new Shard. The third time he makes one of those crystals without entering a damage phase, he will become immune and instant-wipe all players.
The first player that gets Leeching Force must stay on the giant symbol at the back of the room.

Standing on the platform causes two more crystals to spawn on the left and right of Rhulk. That player's teammates must shoot the crystals down. The initial player loses his buff, but the two new shard destroyers receive it.
The encounter is about duplicating your buff until you reach the damage phase. One of the two members must keep the buff, while the other has to transform his Leeching Force into Emanating force by staying into Rhulk’s laser beam.
After acquiring the Emanating Force status, you can freely move inside Rhulk’s barrier and deposit the buff into one of the six pillars in the room. The shield will draw back when you deposit it into the correct pillar. Ok, but how do you know which pillar is the correct one? To answer that, let’s focus on the add-clearing team because the other three fireteam members have a crucial step to do.
While the buffed players focus on duplicating the buff, the members assigned to clear the room from adds will encounter two Glyphkeepers. They must kill both of them, and two rows of symbols will appear on each side of the arena.
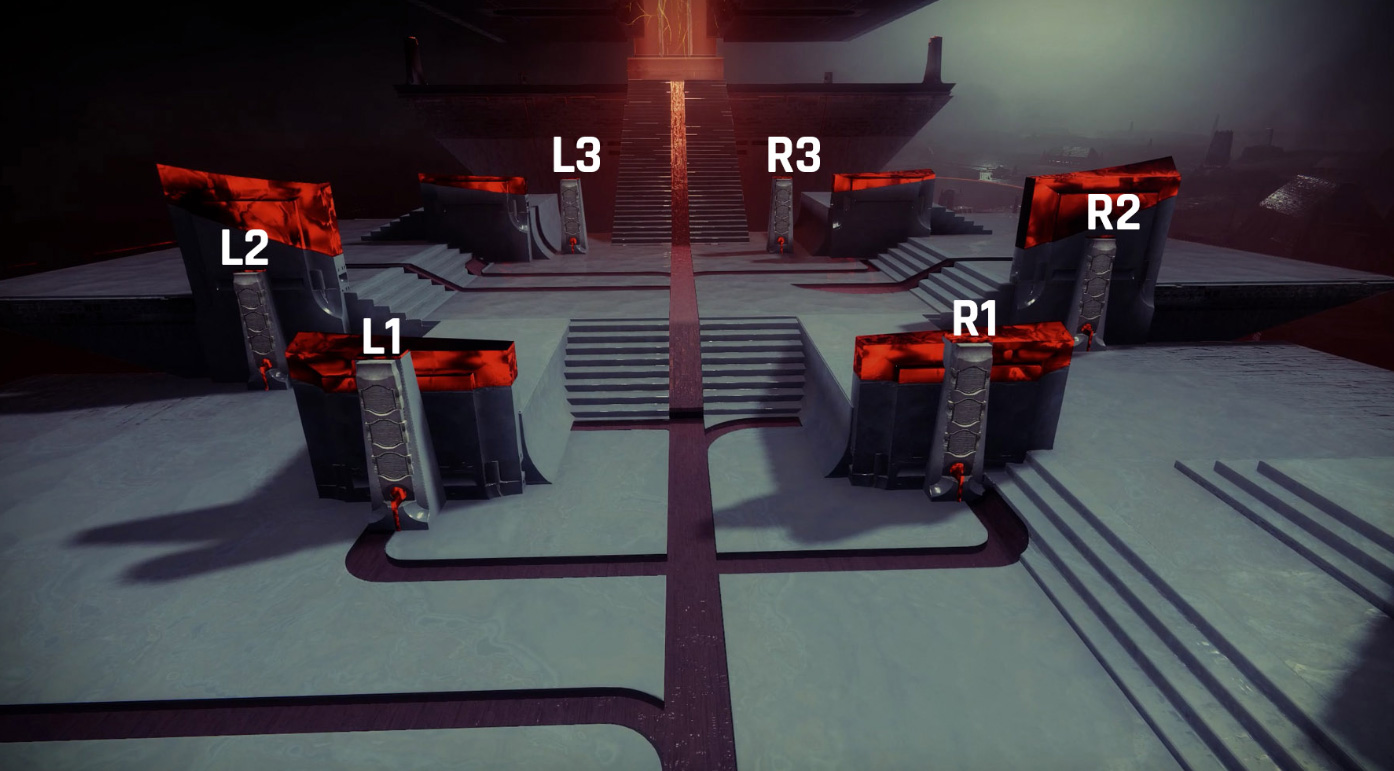
The leftmost pillar will display a row of glyphs that only players with either Leeching Force or Emanating Force can see, while the rightmost one will show the symbols that the remaining members of the team will be able to spot.
As with the previous encounter, you must find the matching symbol in both rows. After identifying the symbol, your teammate must guide you to deposit it in one of the two totems that will show your matching symbol; by successfully doing that, the Rhulk’s Barrier will move back slightly.
Note: Optional Strategy! After banking into the correct pillar four times, you can use both players with Leeching Force to transform it into Emanating Force and deposit both without duplicating anymore, moving straight into the damage phase.
Repeat the same process five more times, and you push back Rhulk’s barrier. Now you can ascend the large staircase into the damage phase.
Inside this arena, there are four pillars, one on each corner. The pillars correspond to four symbols already familiar from the previous encounters. While standing at the top of the staircase, the bottom left is Traveler, the top left is Pyramid, the bottom right is Light, and the top right is Darkness.
In this part of the encounter, Rhulk has direct attacks on random members that deal a lot of damage:
- Rhulk's Lunge Attack – slides forward and unleashes a glaive attack damaging everything in its path (golden waves on the ground show the direction of his attack)
- Rhulk's Laser Beam – Rhulk fires a large AoE (Area of Effect) attack in a big cross-shaped pattern.
Rhulk is immune to damage until you destroy his armor. When the boss lunges at someone, he leaves his glaive behind. You have to shoot it to gain Leeching Force, and the glaive leaves behind a symbol that can only be seen by the non-buffed members.
Deposit the buff (after you upgraded it by standing into the laser beam) into the correct pillar. Rhulk will spawn a weak point on him that you have to shoot and break immediately. Repeat this process four times to destroy all his weak points.
Once you’ve destroyed all his weak points, he transforms, changing his stance into a more aggressive one with faster attacks. Damage him as much as you can; his critical point is the head!
When you reach the 10% HP mark, Rhulk goes into his Final Stand. He continuously chases you around while Pervading Darkness stacks up. You must kill him before the debuff reaches ten stacks, or you will die, instantly wiping your encounter. In this scenario, you will start the encounter from the beginning.
Note: After many attempts to finish the raid, I’ve learned that I have to respect the enemies because they one-shot you! Revive tokens are limited; you have to protect your own life and survive the longest. The perfect scenario would be a flawless raid clear, but that requires some advanced skills and knowledge.
How to complete “Rhulk” encounter on Master Difficulty
The Master version of this encounter doesn’t add much more than already known:
- Taken Glyphkeepers in the rooms are now Overload Champions.
- Scorn Glyphkeepers are now Unstoppable Champions.
- Taken Hobgoblins now have Void Shields.
How to complete Master Vow of the Disciple’s Challenges
As previously pointed out, Master Vow of the Disciple encounters come with a weekly challenge that rewards you with an Adept Weapon. A challenge makes the encounter more difficult, so great team coordination and communication are the keys to success.
How to complete the “Acquisition” Encounter Challenge
For the challenge version of this encounter, you must kill the three Unstoppable Champions that spawn in the arena very quickly, within 5 seconds after you eliminate the first one. If you fail the timing, a message that says “Challenge Failed” pops up.
As a strategy: the defending members can stun the unstoppable champions indefinitely, and as soon as your team discovers all the symbols, you can take down the champions together. Keep in mind that you must repeat the process three times.
How to complete “The Caretaker” Encounter Challenge
For this encounter’s challenge, when a runner enters the Dark Room, he has to collect a single Symbol. You can split into two teams of three. One team clears and stuns the boss, while the others go into the Dark Room, and each takes one glyph.
It would be best to wait for the obelisk to ask for your offering when you go outside. A message containing the player’s name appears in the feed.
How to complete “The Exhibition” Encounter Challenge
To finish this challenge, you must complete the encounter with no one killing more than one shielded Disciple’s Hourglass Knight. This is the Taken Knight that you have to kill with the relic to extend the timer.
Note: The perfect strategy would be to kill only one Knight per room, meaning four different members will have to take the Darkness Splinter, but this is very difficult to accomplish if you are new to the raid.
An easier way would be to have all six players kill six knights. There are seven knights in the encounter, the first one in the starting room, and afterwards, two per room. So, you will need to skip the second knight in room two. The hard part is to create the rotation of the relics, so we’ve created a rotation as an example for this strategy shown below:
| Room | Player 1 | Player 2 | Player 3 | Player 4 | Player 5 | Player 6 |
| A | Darkness Laser | |||||
| B | Darkness Laser | Templar Shield | ||||
| C | Eye of Riven | Darkness Laser | Templar Shield | |||
| D | Eye of Riven | Darkness Laser | Templar Shield |
How to complete the “Rhulk” Encounter Challenge
To complete the challenge for this encounter, you must never lose the Leeching Force buff for the whole duration of the encounter.
The strategy for this challenge is straightforward: you must split your fireteam into two teams. One team focuses on add-clearing, and the other focuses on duplicating the buff until the barrier is entirely backed up.
Vow of the Disciple – Master Raid Modifiers & Differences
As previously stated, the Vow of the Disciple raid features two difficulties with different modifiers and rewards. Completing the Master version of the raid also unlocks the final triumphs required for the Disciple Slayer raid Seal and Title. There are no changes regarding mechanics between the Legend and Master variants of the raid, but still, there are some notable differences that are making the raid more challenging. Let’s check them out:
- Power Level Required: 1580
- Weekly Modifiers:
- Match Game: Enemy shields are highly resistant to all unmatched elemental damage.
- Champion Foes: Overload and Unstoppable Champions are present.
- Champions Mob: This difficulty contains additional Champions.
- Chaff: Radar is disabled
- Weekly Challenge: One encounter will have an optional challenge that rotates weekly.
Note: The recommended Power Level to begin the Master Version of the Vow of the Disciple raid is 1580, but you’ll likely want to be as high as possible for later encounters when facing more powerful enemies.
Conclusion
This is the end of our in-depth guide for the Vow of the Disciple raid in Destiny 2: Witch Queen, Season of the Risen. We hope that you have found everything you need to know about the activity: the difficulty, the loadouts you can use, and different strategies. The Master version of the raid rewards you with some of the most powerful weapons in the game, so it’s worth giving it a shot!
About KBoosting
In case you didn’t know, at KBoosting, we are not only about guides and articles, but we also provide boosting services to ensure the players have a better experience in their favorite games. For example, if you don't have a team to run the raid with, or you are looking for a god-rolled weapon, you can try out our Vow of the Disciple Boosting & Carry Services, and we will complete the raid and get the desired items for you in no time!
