Warlord's Ruin Dungeon Guide


-
Bundle

- Powerful & pinnacle gear with 25% off
- Increase your power level easily
-
Hot


-
-
-
Sale 15%Ends in 8h 45m 43s
-
Welcome to our comprehensive Warlord's Ruin Dungeon Guide in Destiny 2, "O Vengeance Mine"! Delve into this challenging end-game activity featuring three encounters, two secret chests, and a total of 10 collectibles – the "Lost Bones of Hefnd." Uncover the secrets within, including the acquisition of the exclusive exotic, Buried Bloodline, while embarking on the introductory questline, "In the Shadow of the Mountain."
In this guide, you will learn about the Warlord's Ruin dungeon in Destiny 2. We'll present an in-depth walkthrough of each encounter and the loot you can acquire to complete your Guardian's collection. You will be introduced to the dungeon's main mechanic and learn how to handle every encounter step-by-step on both Normal & Master difficulties.
Let's navigate through this intricate labyrinth together!
Table of Contents
In the following list, you can find a little breakdown of our Warlord's Ruin Walkthrough:
- Dungeon Preparation
- How to Access the Warlord's Ruin Dungeon
- Secret Chests
- Dungeon Entrance
- First Encounter
- Second Encounter
- Third Encounter
- Collectibles
- Loot Table (Normal & Master)
- Differences between Normal & Master Difficulties
- Wrathbearer Triumphs & Seal
- Warlord's Ruin Solo & Flawless
- FAQs
- Related Guides
- Conclusion
SKIP THE GRIND! BOOST YOUR GUARDIAN NOW!
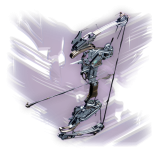
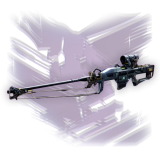
Warlord's Ruin Recommended Loadouts
As for the weapons, we have a few tips to boost your damage output and add clearing:
| Weapons | ||
| Kinetic | Energy | Power |
| Outbreak Perfected, Mountaintop | Abberant Action, Graviton Lance | VS Chill Inhibitor, Grand Overture |
| Liturgy, Witherhoard | VS Velocity Baton, Noxious Vetiver | Bitter/Sweet, Thunderlord |
Following up on our Warlord's Ruin Dungeon Guide, we'll cover the activity's requirements and introductive quest!
How to access the Warlord's Ruin Dungeon
Before heading into the Warlord's Ruin Dungeon, you must meet some prerequisites to be able to launch the activity:
- Complete the Lightfall Campaign.
- You must have the Lightfall Deluxe Edition or Lightfall Dungeon Key to access the Dungeon.
- Pick up the "In the Shadow of the Mountain" quest from Ikora Rey in the Tower.
The quest will appear in your inventory – launch the destination menu and find the activity icon in the EDZ (where the Farm was located in the past.)
Warlord's Ruin Dungeon Key
Warlord's Ruin Dungeon can be accessed only through a Dungeon Key or by already having the Deluxe Edition of the Lightfall DLC.
SKIP THE GRIND BUY WARLORD'S RUIN CLEARS!
In the Shadow of the Mountain Quest
Unlike the other Destiny 2 Dungeons, where you can obtain all the collectibles in a single run, the Warlord's Ruin Dungeon is different – you must collect all the Bones in three separate runs. Once you complete the dungeon for the first time, you will receive the "In the Shadow of the Mountain" quest with nine total steps.
The dungeon-exclusive mission will require you to obtain 30x Dark Ether Tinctures, 3x Blighted Wishing Glass, and 4 Ahamkara Bones as the first significant step.
How to get Dark Ether Tinctures in Destiny 2
You can obtain Dark Ether Tinctures by shooting a unique Screeb monster called "Thieving Wretches," which can spawn in the following locations:
- At the bridge before the first encounter.
- In the maze after defeating the first boss.
- On the mountain side after defeating the second boss.
How to get Blighted Wishing Glass in Destiny 2
You can obtain Blighted Wishing Glass by completing encounters in the Warlord's Ruin Dungeon.
Ahamkara Bones Locations in Destiny 2
The Ahamkara Bones are scattered around different locations within the Dungeon. There are a total of 10 Lost Bones of Hefnd you must collect, requiring multiple completions of the dungeon and a lot of exploration.
We will discuss every Bone Location, in order, and how to obtain them, later in our guide!
Warlord's Ruin Dungeon Secret Chests
The Warlord's Ruin Secret chests will reward you with the following loot:
- Any weapon previously obtained
- Any armor piece previously obtained
Warlord's Ruin First Secret Chest
The first secret chest of the Dungeon can be found right after defeating the Locus of Wailing Grief encounter. When you enter the Kingsbane Rampart zone, you will arrive in a room filled with Fallen Chests. The correct secret chest will not be glowing Dark Ether.
Warlord's Ruin Second Secret Chest
Continue through the Kingsbane Rampart and Blighted Keep after the Second boss encounter. When you receive the "Vengeful Peak" objective and get ambushed by the Taken Enemies, eliminate them immediately and jump up the snow-capped ledges.
You should have a view of three castle passageways surrounding the Taken Blight. Get into the passage on your left, run to the end of the tunnel, and claim the second secret chest!
Now that we've covered the Warlord's Ruin Secret Chests and their locations, let's head into the dungeon's encounters step-by-step!
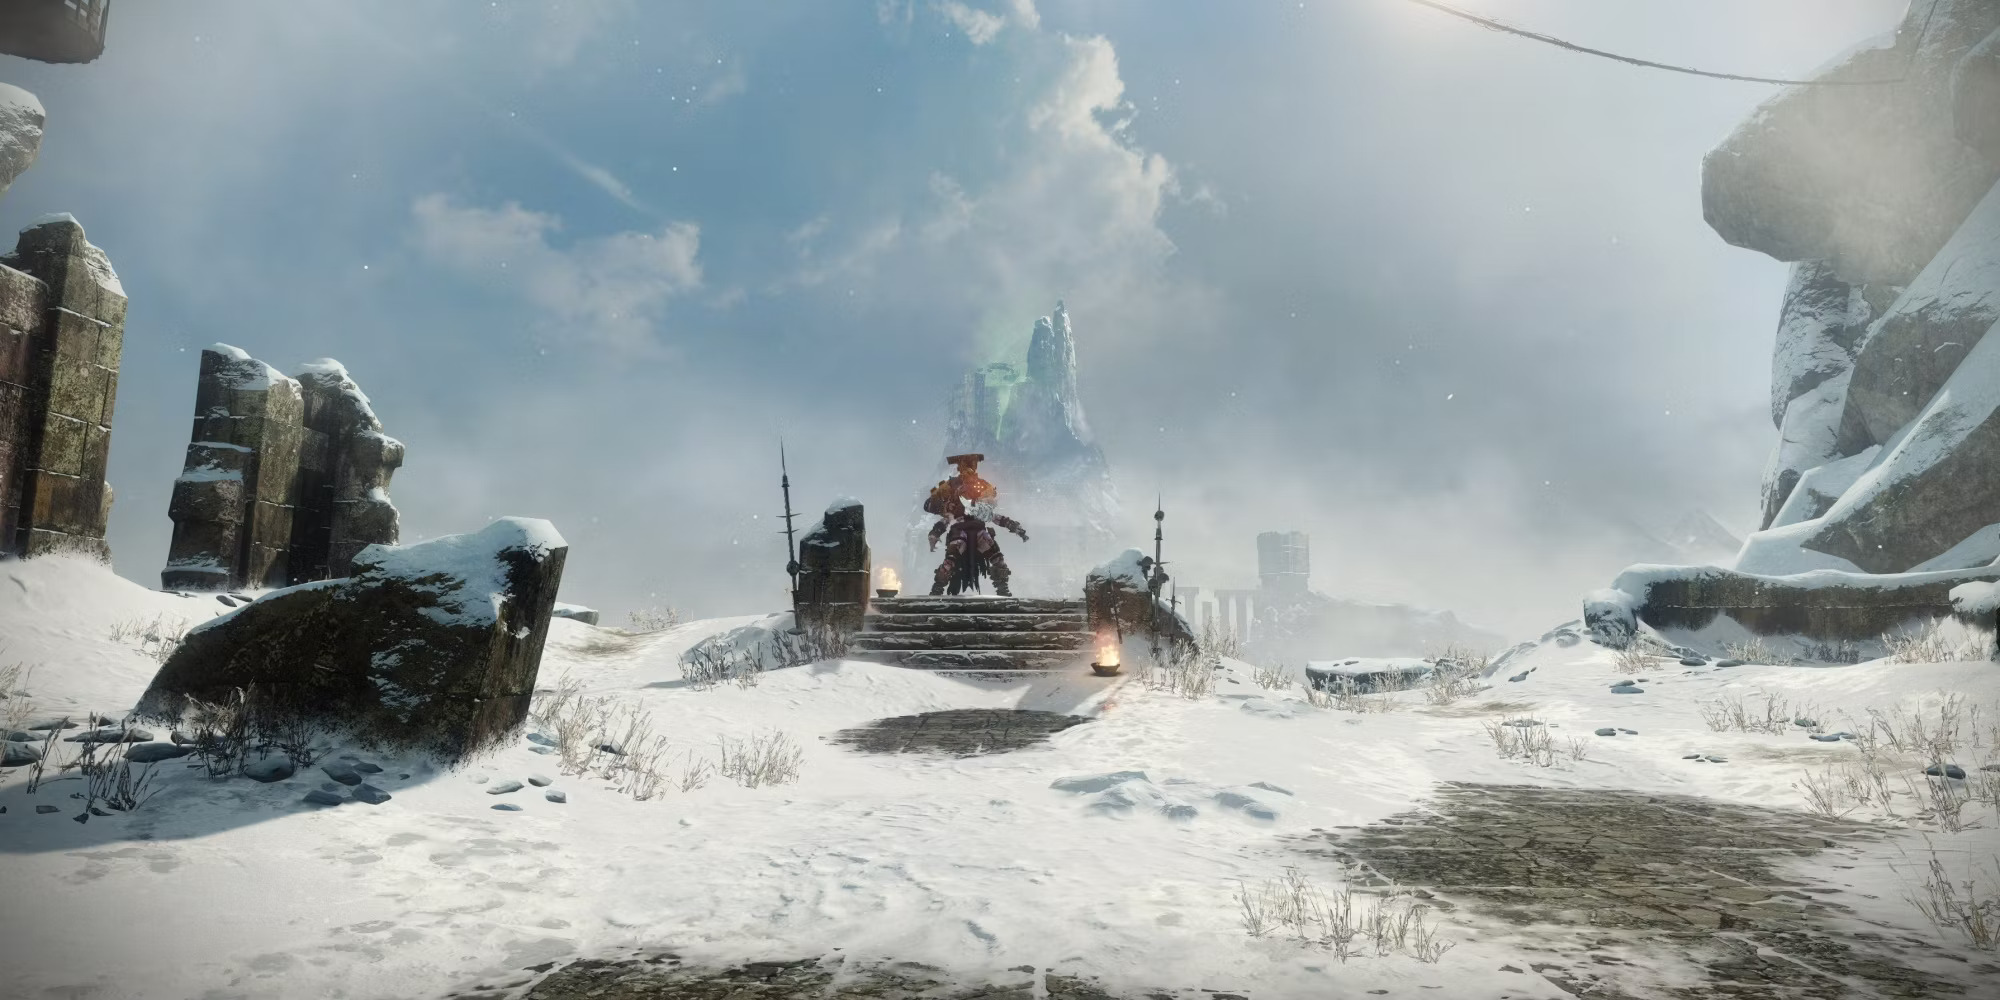
How to complete "The Climb" – Pre-Encounter

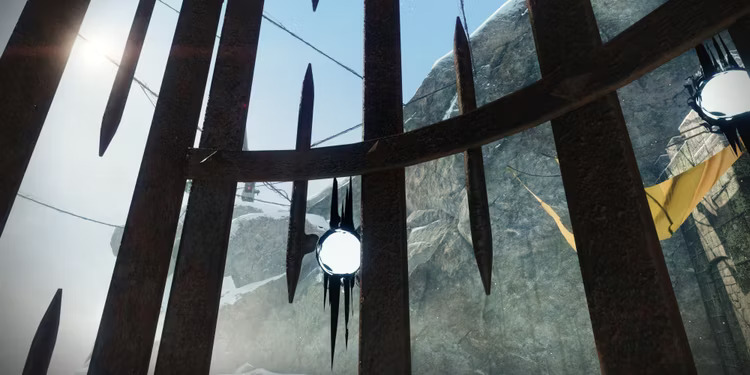
The Warlord's Ruin Entrance is about exploration, the initialization within the environment, and the journey behind it. Follow the flagged path and navigate slowly through the mountain. Reach the small jumping section until you spot a fallen flag atop the rocky terrain. Ascend the rocks and proceed along the snow-covered ledges until you find the wooden bridge.

Note: You should encounter a chest emitting a strange smoke along this path. Do not open it; it is just a trap! By opening it, you will summon hostile Screebs that will instantly explode near your Guardian.
Traverse the bridge and clear the guarding Scorns, navigate through the halls until you reach the first encounter location.
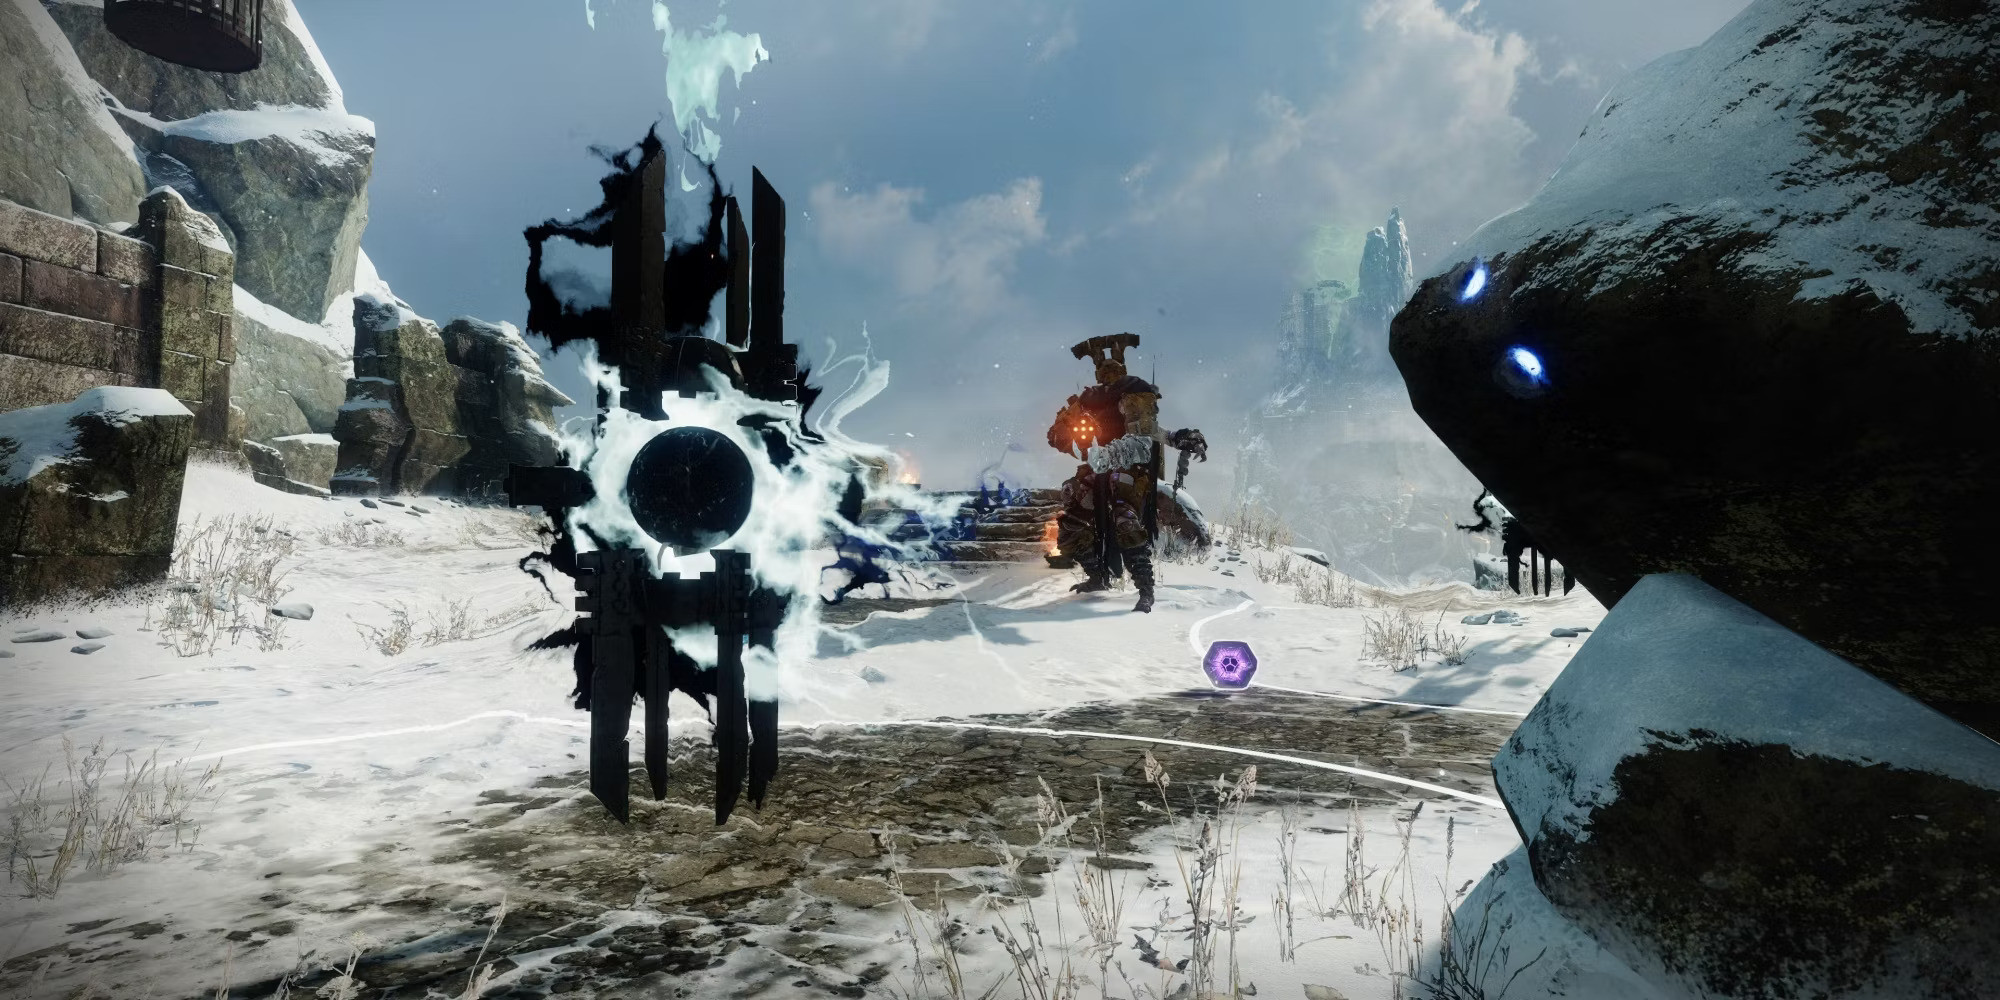
How to complete "Rathil, Broken Knight Chieftain" Encounter
The Warlord’s Ruin Dungeon presents an encounter against Rathil, the First Broken Knight of Fikrul, employing mechanics centered around cleansing Scorn devices to break the boss immunity shield and unleash damage phases.
How to complete Warlord's Ruin First Encounter
Rathil will summon minor Taken blights encased in Scorn devices at the onset. Your objective is to cleanse these devices within a limited time frame indicated by the "Imminent Wish" countdown.
Cleansing the Scorn Lanterns
These Scorn devices contain a Taken blight within a white-radius circle. Standing within this circle causes the blight to transform into a blue glow adorned with bones, signifying activation. This must be achieved before the Imminent Wish timer expires.
The Cleansing Process
Each fireteam member should stand within a separate circle to activate the Scorn devices. Cooperation quickens the process, granting more time for the damage phase.
Note: At a given time, Rathil may teleport the fireteam into cages around the arena. Failure to escape these cages results in death. Destroy three Blighted Eyes scattered around the cage to escape and continue the encounter.
Damage Phase
To initiate the Boss Fight, cleanse as many Lanterns as possible and wait for the Imminent Wish timer to fade. Once the countdown ends, Rathil becomes vulnerable to sustained damage.
Note: The number of activated Scorn devices determines the length of the damage phase. Starting more devices extend the DPS phase window.
How to complete Warlord's Ruin First Encounter on Master Difficulty
In the initial encounter on Master Difficulty, prepare to face Unstoppable Champions, adding an extra layer of challenge to your journey through the Dungeon.
How to complete the Cell Puzzle in Destiny 2
After defeating the first boss of this dungeon, you will be teleported & locked into prison cells in an area called Windswept Crag. Each of you will be in a different cell, with the only goal in mind: Escape!
Each player can see two circular devices on the walls, for a total of six. Shooting a plate will cause them to spin, and shooting them a second time will make them stop. Shoot them again and they will turn in the opposite direction.
Two out of three players will find a skeleton with White or Orange markings, giving you the most important clue about the prison. The skeletons point to the direction the devices must be rotated, with the marks being the number of devices that have to spin in that specific direction.

For example, in the picture above, the skeleton is pointing to the right with two marks, and the other one must be pointing to the left with four marks, so the solution must be:
- Two devices must be rotated to the right &
- Four devices must be turned to the left.
When all the devices rotate in the right direction, the single player with the view on the last blue key on the far-left wall must shoot it to activate the devices and open the cells.
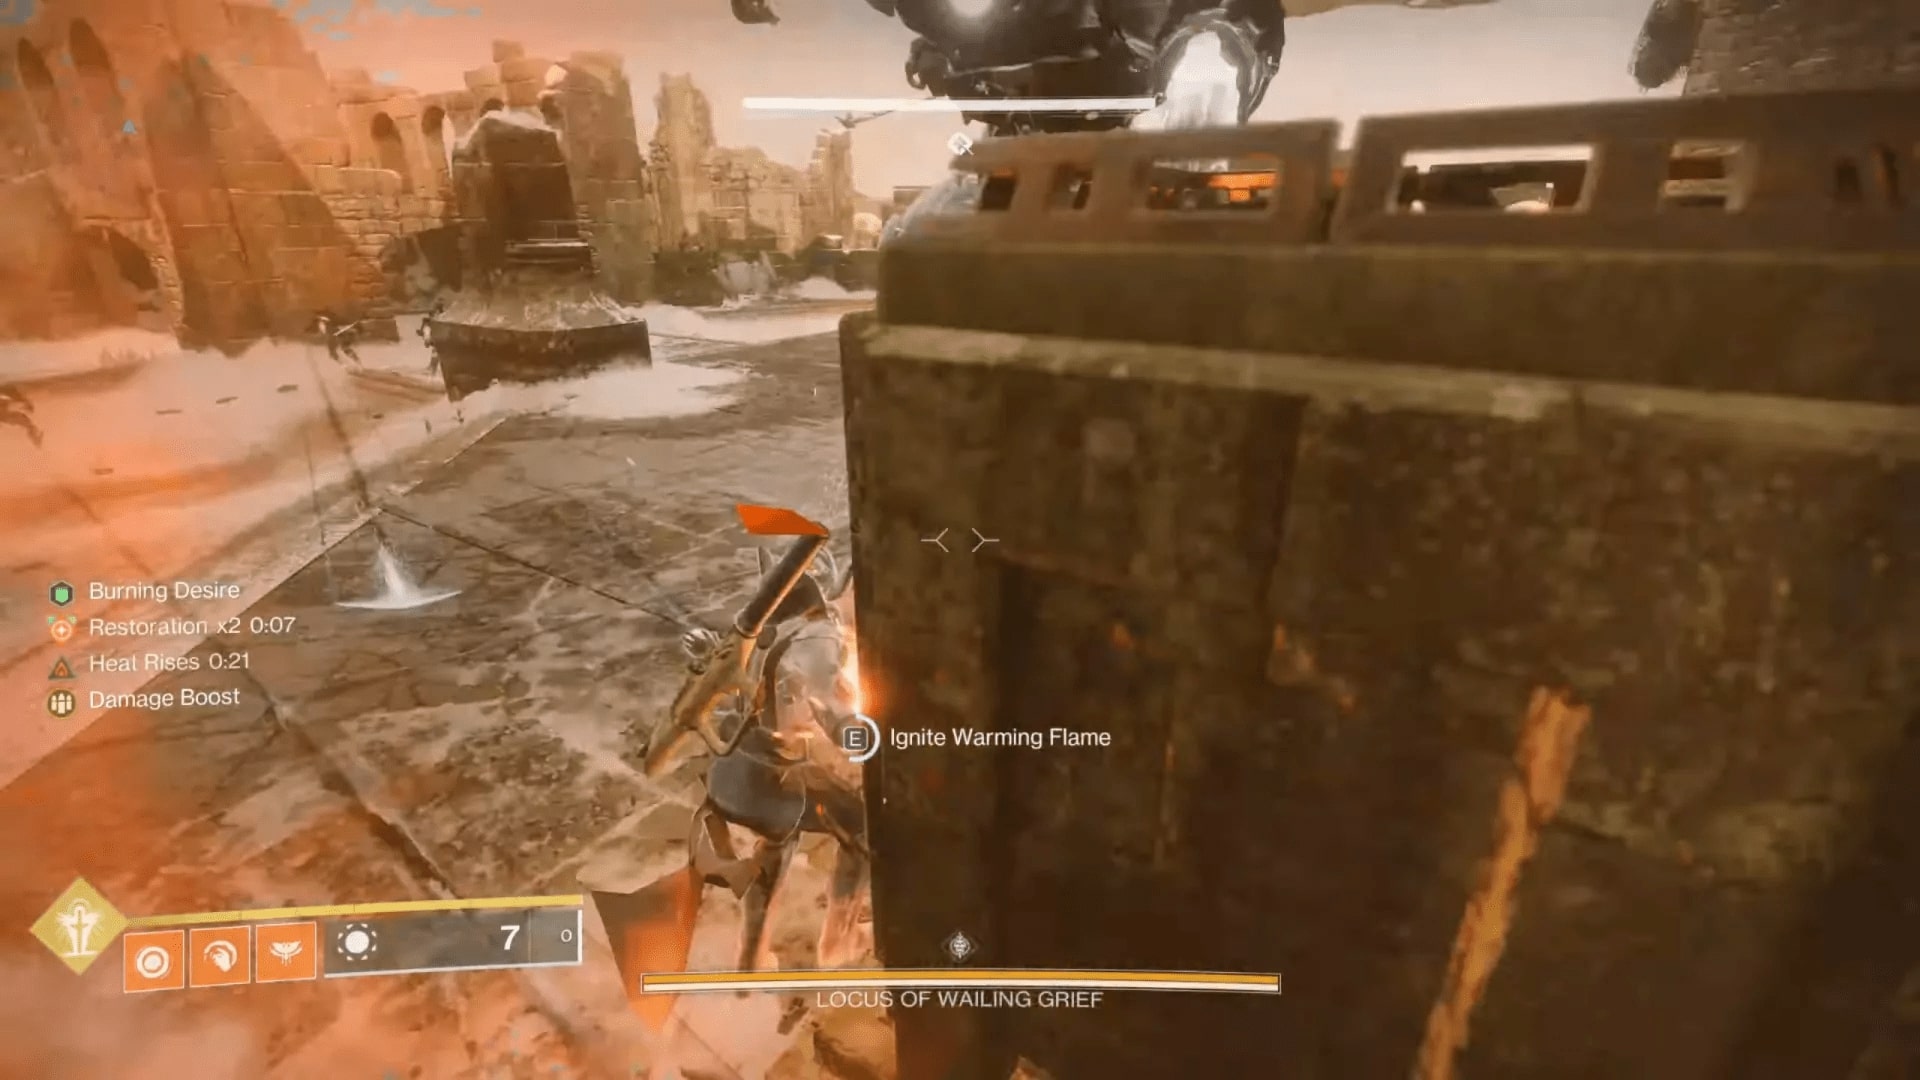
How to complete "Brave the Tempest" – Second Encounter
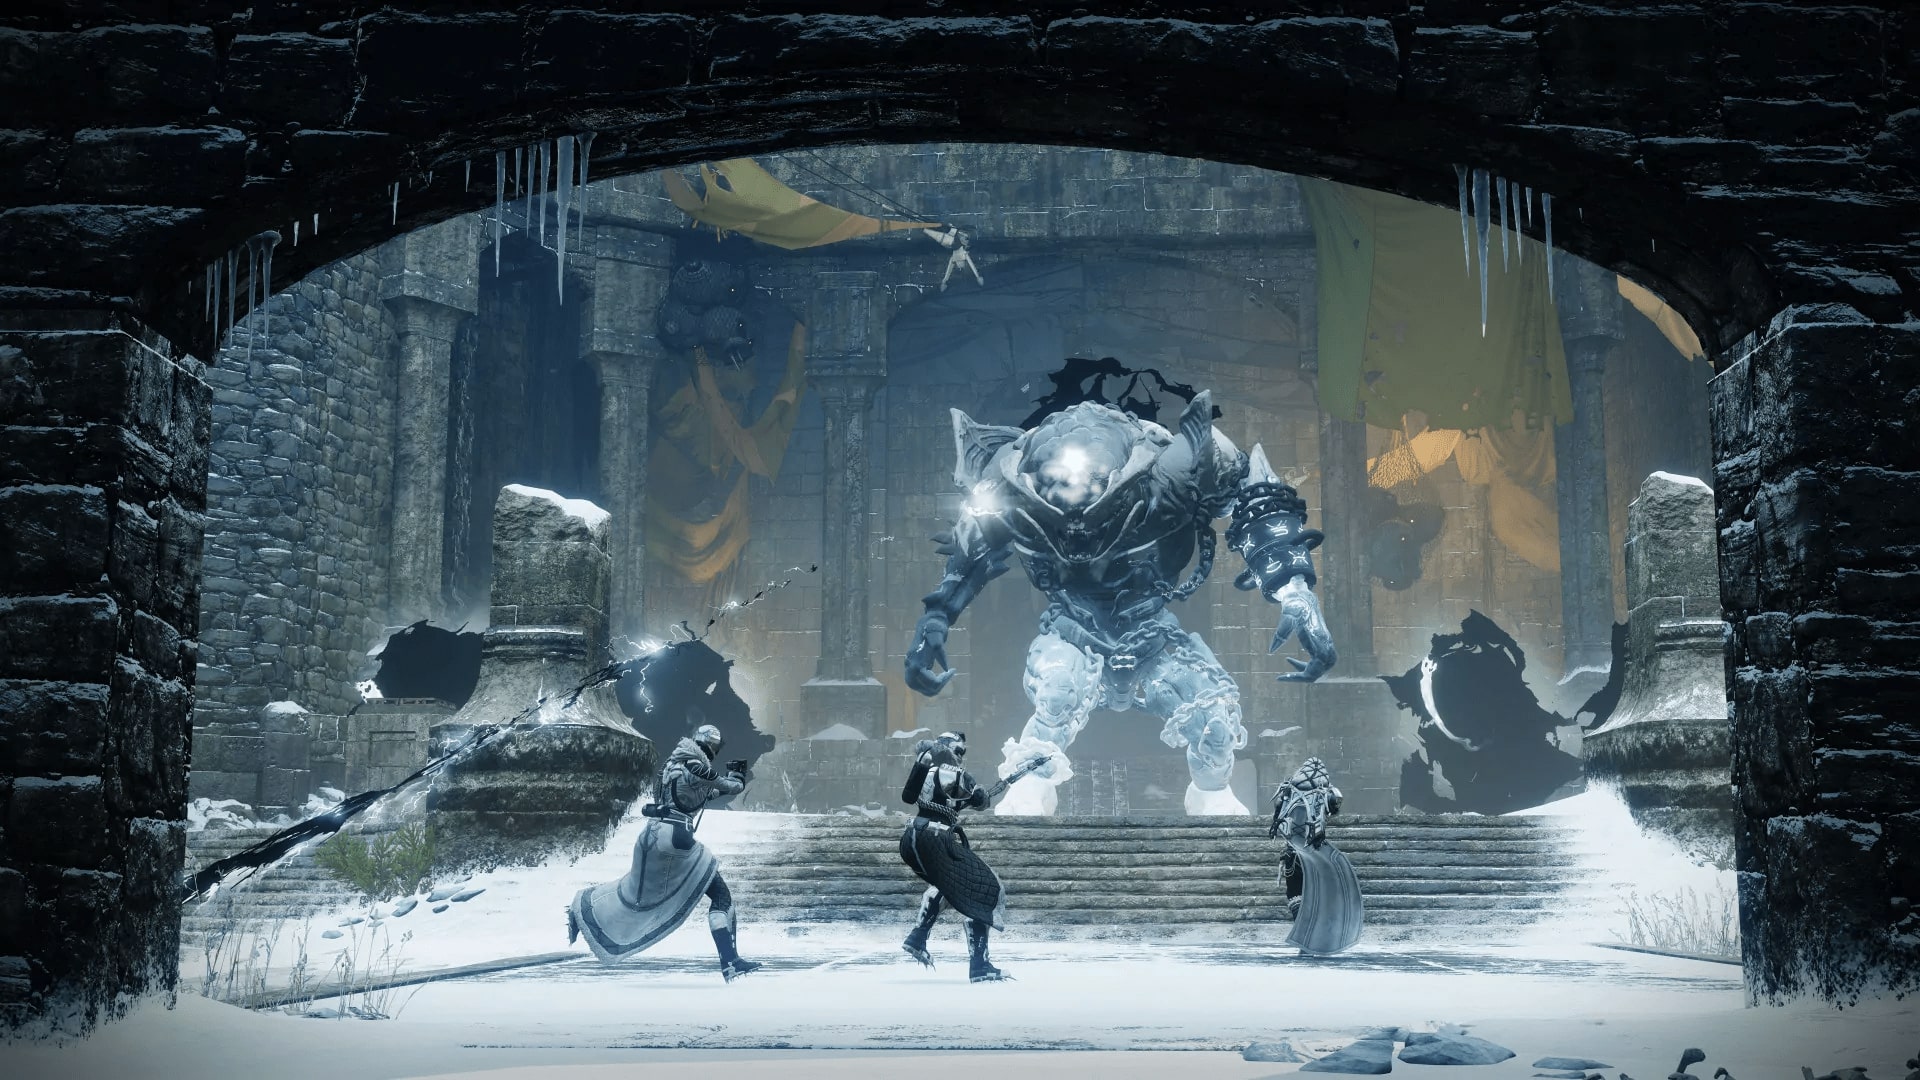
The Warlord’s Ruin Dungeon presents challenging encounters against the Locus of Wailing Grief, a formidable Taken Ogre. These encounters necessitate strategic maneuvering and efficient handling mechanics to overcome the boss.
How to complete Warlord's Ruin Second Encounter
You will find a big floating Blight Ball in the center as you arrive in the arena. Shoot it down to initiate the fight with the Taken Ogre. You will use the same mechanics as in the first encounter. Let's break the encounter into three crucial steps:
First Major Step
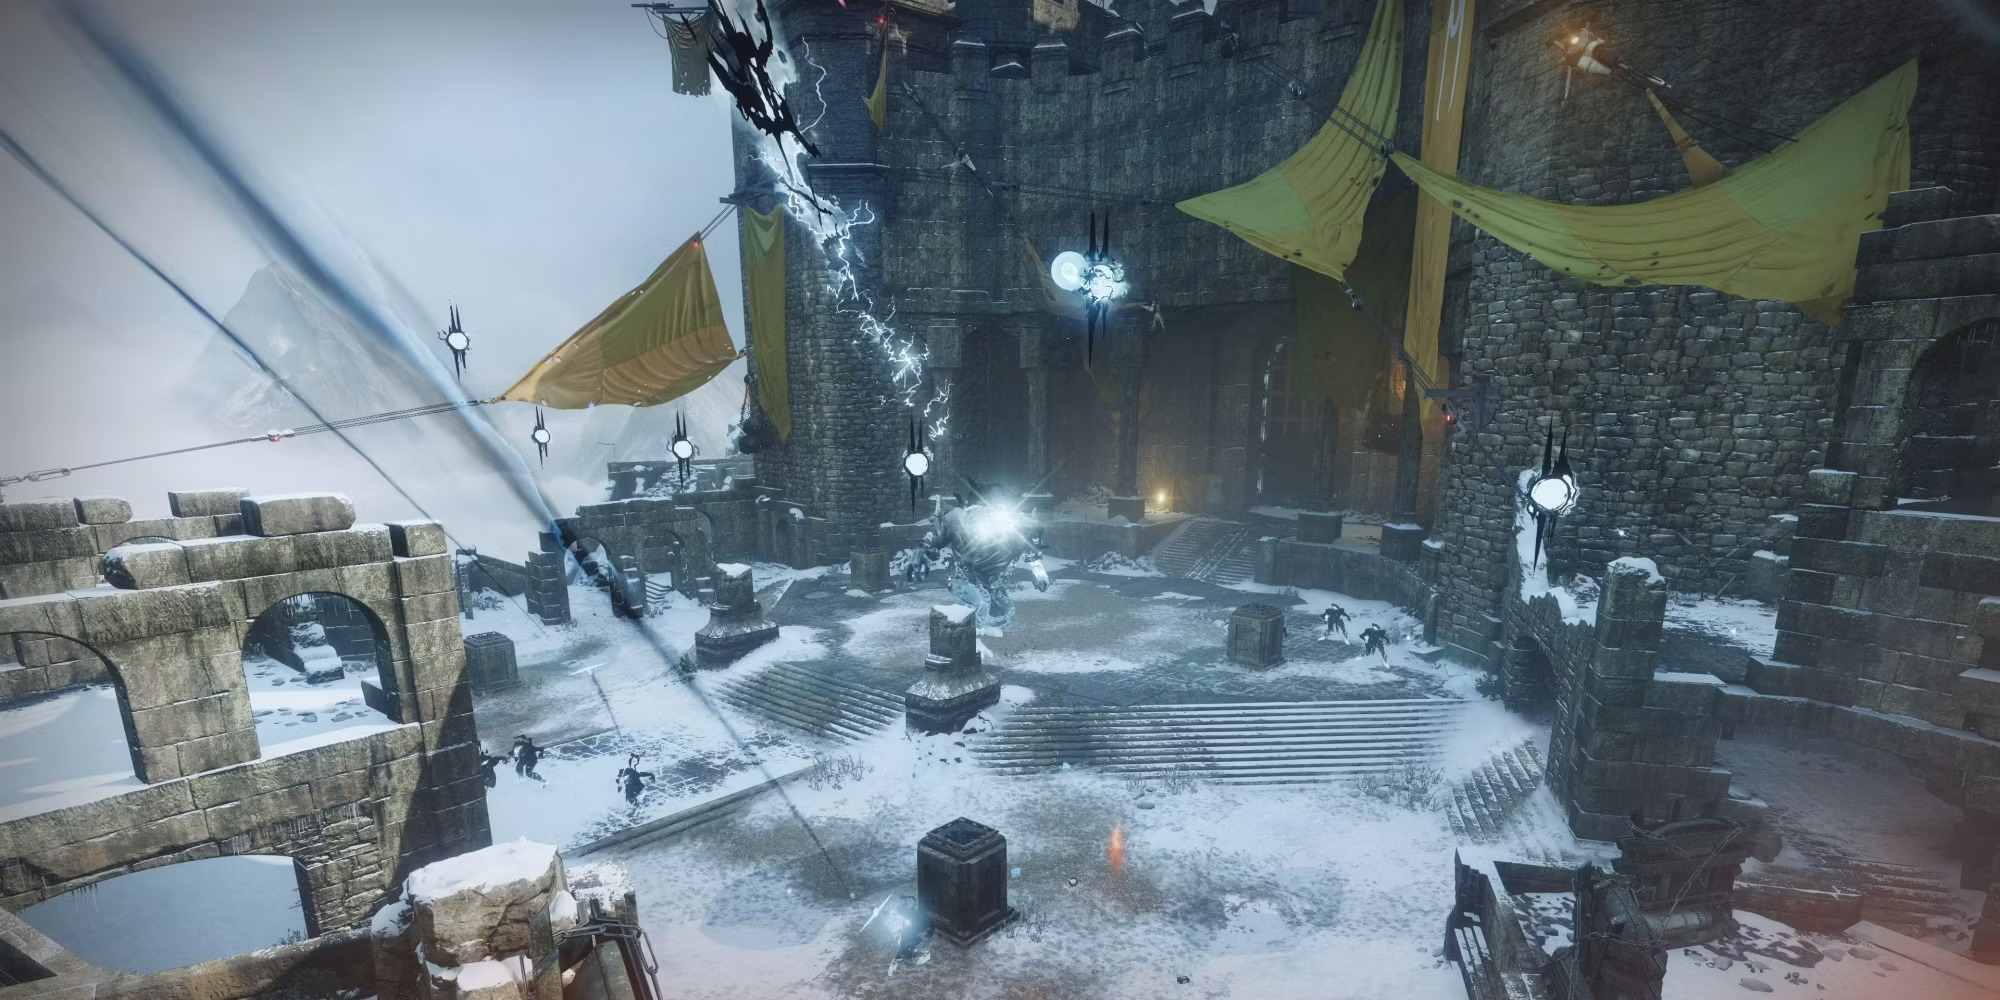
The first step of the encounter is understanding the arena and the burning pillars. When you destroy the Blighted Eyes floating around the boss, you will start the Snowstorm and the Biting Winds debuff; where you need to do one of the following two steps:
Second (Optional) Step
This step does not affect the encounter by itself, but if you are in danger (or need more ammo) – you can wait for the Biting Winds debuff to fade out while waiting near a burning pillar. Repeat the first step when the Snowstorm ends and prepare for the following:
Third Major Step
When you eliminate all six Eyes, two Scorn minibosses will spawn on the sides of the arena. Cleanse their totem to spawn Solar Orbs used to ignite the unlit pillars in the center. You need four orbs to be able to start the damage phase, so you have to do the same steps two times, minimum.
The DPS phase starts when (and where) you bank the last orb. Do a full rotation and light all the braziers to maximize your damage.
Note: If you let the Scorn Knight live long enough, they can spawn additional lanterns.
How to complete Warlord's Ruin Second Encounter on Master Difficulty
The second encounter, played on Master Difficulty, presents the continued challenge with Unstoppable Champions, ensuring a formidable obstacle within the Dungeon's progression.
How to complete "Hefnd's Vengeance" – Third Encounter
The final encounter of the Warlord’s Ruin Dungeon challenges players to confront Hefnd’s Vengeance, a taken Chimera embodying the soul of a deceased Ahamkara.
How to complete Warlord's Ruin Third Encounter
This battle shares similarities with previous encounters but incorporates distinct mechanics as the encounter plays the same as seen in the last two boss fights. The new mechanic is a "Hex of Vengeful Corruption" debuff applied on you when you destroy the Blighted Eyes around Hefnd's Vengeance. Here's a quick walkthrough of the third encounter:
Once all of the Taken Eyes are defeated, two Scorn Broken Knights (same as in the previous encounter) will spawn in the arena. In this specific encounter, you must activate only one lantern to lower the boss's shield and the others to have an extended DPS phase.
The Hex of Vengeful Corruption debuff is applied to you when a Broken Knight is killed. Defeating the Scorn also spawns a new enemy called "Corrupted Hex Drinker" in front of the Chimera. You have to melee it to transfer the debuff.
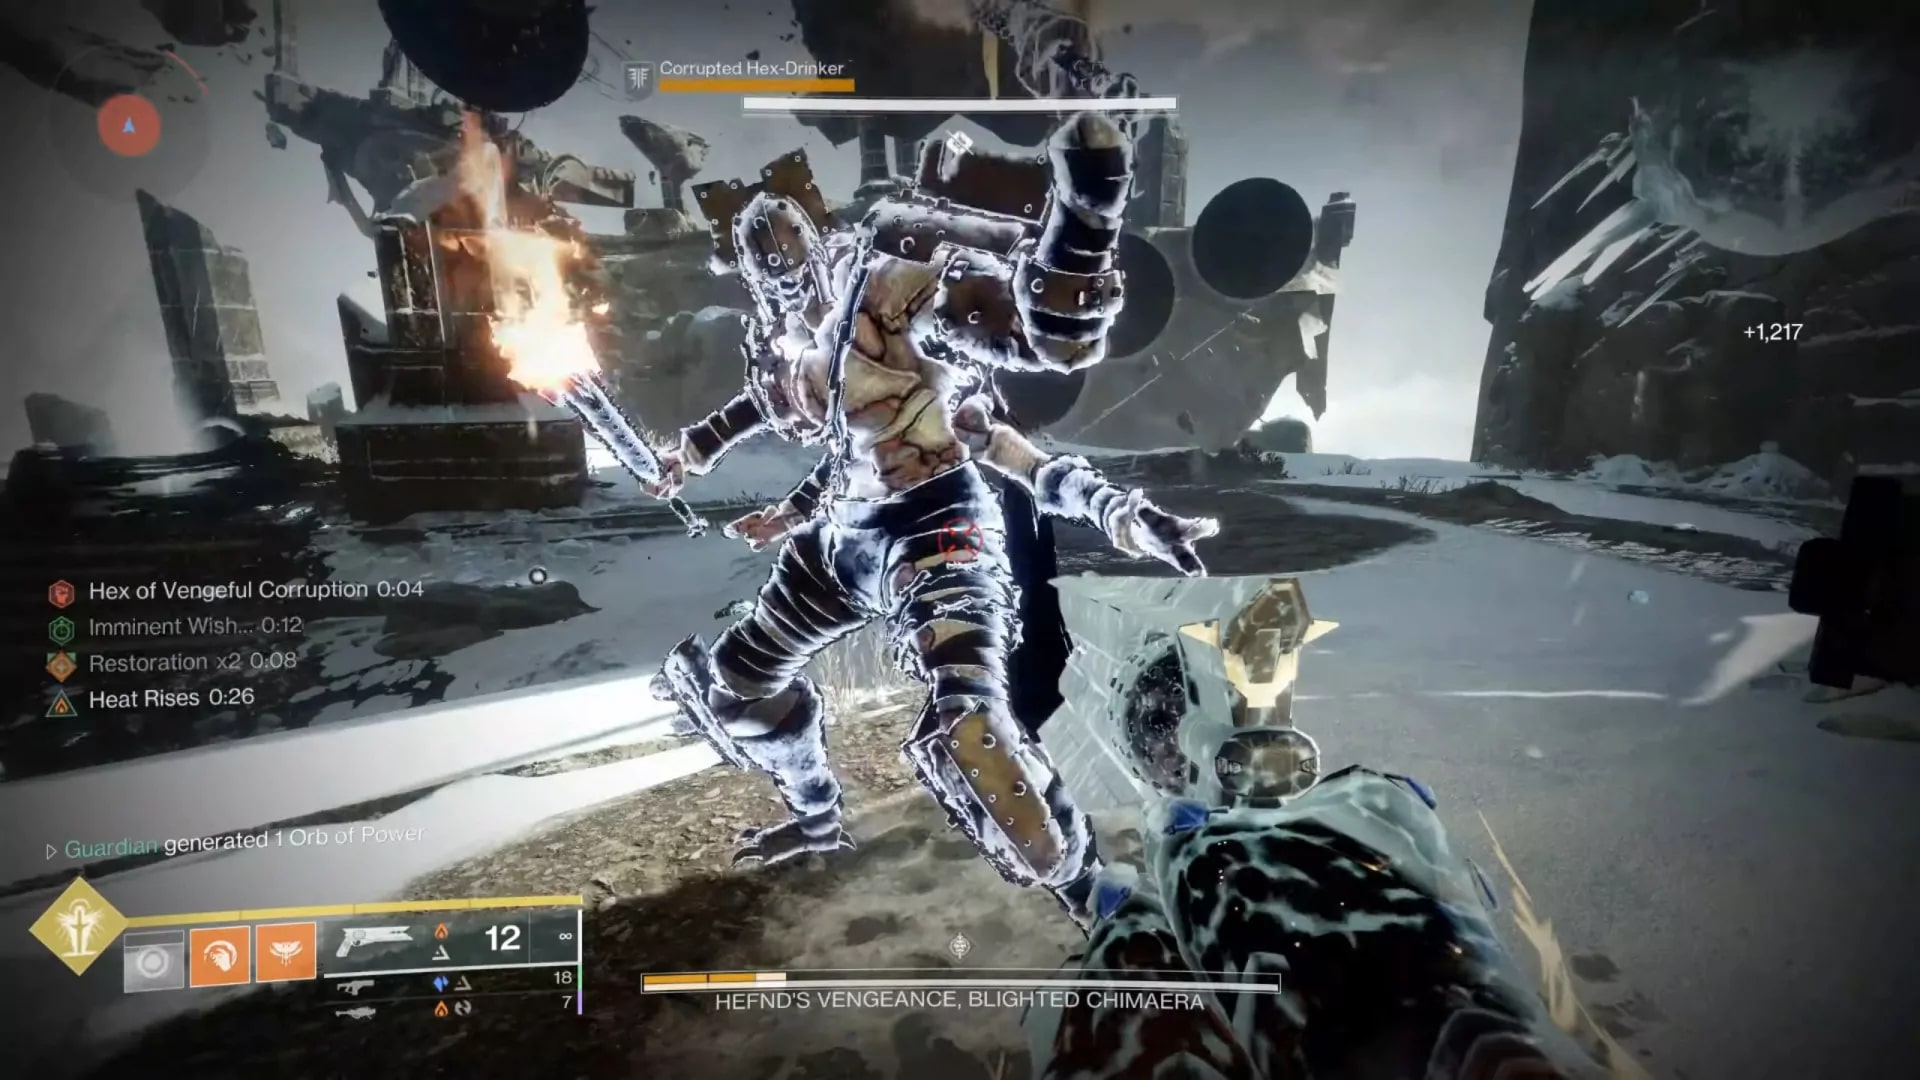
Note: The Hex Drinkers can melee you back, passing the debuff back on your Guardian. So, keep your distance once you remove the debuff from yourself.
The boss fight has a threshold you must pass with every damage phase you're doing. The health bar on the bottom of your screen represents the DPS you must deal before advancing to the next platform. Repeat the process of spawning lanterns, getting rid of the debuff, DPS phase, and climbing up the mountain.
After three ascends, you will reach the top and start the actual DPS phase, where you can unload your weapons. You can continue dealing damage until the "My hide is thick, O vengeance mine" message appears in your combat log.
Note: When the message pops-up, the platform you're currently standing on will be covered in Taken Corruption, and the boss will go Immune.
Keep rotating on the larger platforms around the boss and constantly deal damage while taking care of the spawning & regenerating Eyes. After the last DPS phase ends, you will be teleported to the first part of the encounter, where it all started.
Repeat the process until you reach the Final Stand!
The final stand is the last 10% of the boss's health gate. When you reach that threshold, you will be teleported to the final boss arena (at the top of the castle), and you will have to kill Hefnd's Vengeance before it's too late. Damage the boss & kill the eyes around it to eliminate it; the precious loot is yours.
How to complete Warlord's Ruin Third Encounter on Master Difficulty
As you reach the final encounter on Master Difficulty, prepare for the final trial featuring Overload Champions, requiring exceptional composure and strategies to overcome the Dungeon's ultimate challenge.
Bone of Hefnd Locations in Destiny 2
1. The First Bone can be found next to the chest after defeating Hefnd's Vengeance on your first completion.
2. The Second Bone is across the bridge inside the first fort.
3. After completing the first encounter's Prison puzzle, the Third Bone is located in the maze. When you jump through the ceiling hole in the blue room, the bones are past the door on the right, past the first set of spikes.
4. For the Fourth Bone, you need to defeat the Second Encounter right before the big Taken Blight orb room, turn left, hug the mountain and find the entrance that has the orange flags around.
5. The Fifth Bone is in the same maze with spike traps. You can find the bone room directly straight when following the main path through the puzzle.
6. The Sixth Bone is located in the second bridge section where the final boss stands on the side. Instead of continuing forward by entering the sewer on the left side of the castle, turn to the right side and enter the hidden sewer.
7. The Seventh Bone is directly after the Taken room, with the large Taken Orb in the center. In the room where you have to defeat many Scorn enemies, you can find a hidden path on the left wall where you can jump to see the cursed door.
8. The Eighth Bone can be found near the last part of the last maze section; instead of jumping down the hole to go forward, jump over it and run in the cylindrical window.
9. The Ninth Bone is a tricky one! You have to go directly down and stand on the floating rocks in the room where the Black Taken Orb is located. Near the bottom, you can see a yellow glowing light and a path in the mountain.
10. The Final Bone is in the three mountainous spires with stoney doors and a smaller black orb. Follow the path and go into the door directly in the middle.
Warlord's Ruin Loot Table (Normal & Master)
The Warlord's Ruin loot table is predefined for each encounter. If you are looking to farm specific legendary weapons or armor you can check the following tables for encounter-specific loot:
Warlord's Ruin Weapons Loot Table

| Weapon | Perks |
|
Vengeful Whisper 
|
Combat Bow Slot: Kinetic PvP God Roll – Explosive Head & Succesful Warm-Up PvE God Roll – Archer's Tempo & Precision Instrument |
|
Naeem's Lance 
|
Sniper Rifle Slot: Kinetic PvP God Roll – Explosive Head & Succesful Warm-Up PvE God Roll – Keep Away & Demolitionist |
|
Indebted Kindness 
|
Sidearm Slot: Energy PvP God Roll – Beacon Rounds & Adagio PvE God Roll – Lead from Gold & Voltshot |
|
Dragoncult Sickle 
|
Sword Slot: Power PvP God Roll – Assassin's Blade & Whirlwind Blade PvE God Roll – Unrelenting & Whirlwind Blade |
WARLORD'S RUIN WEAPONS
Warlord's Ruin Armor Loot Table
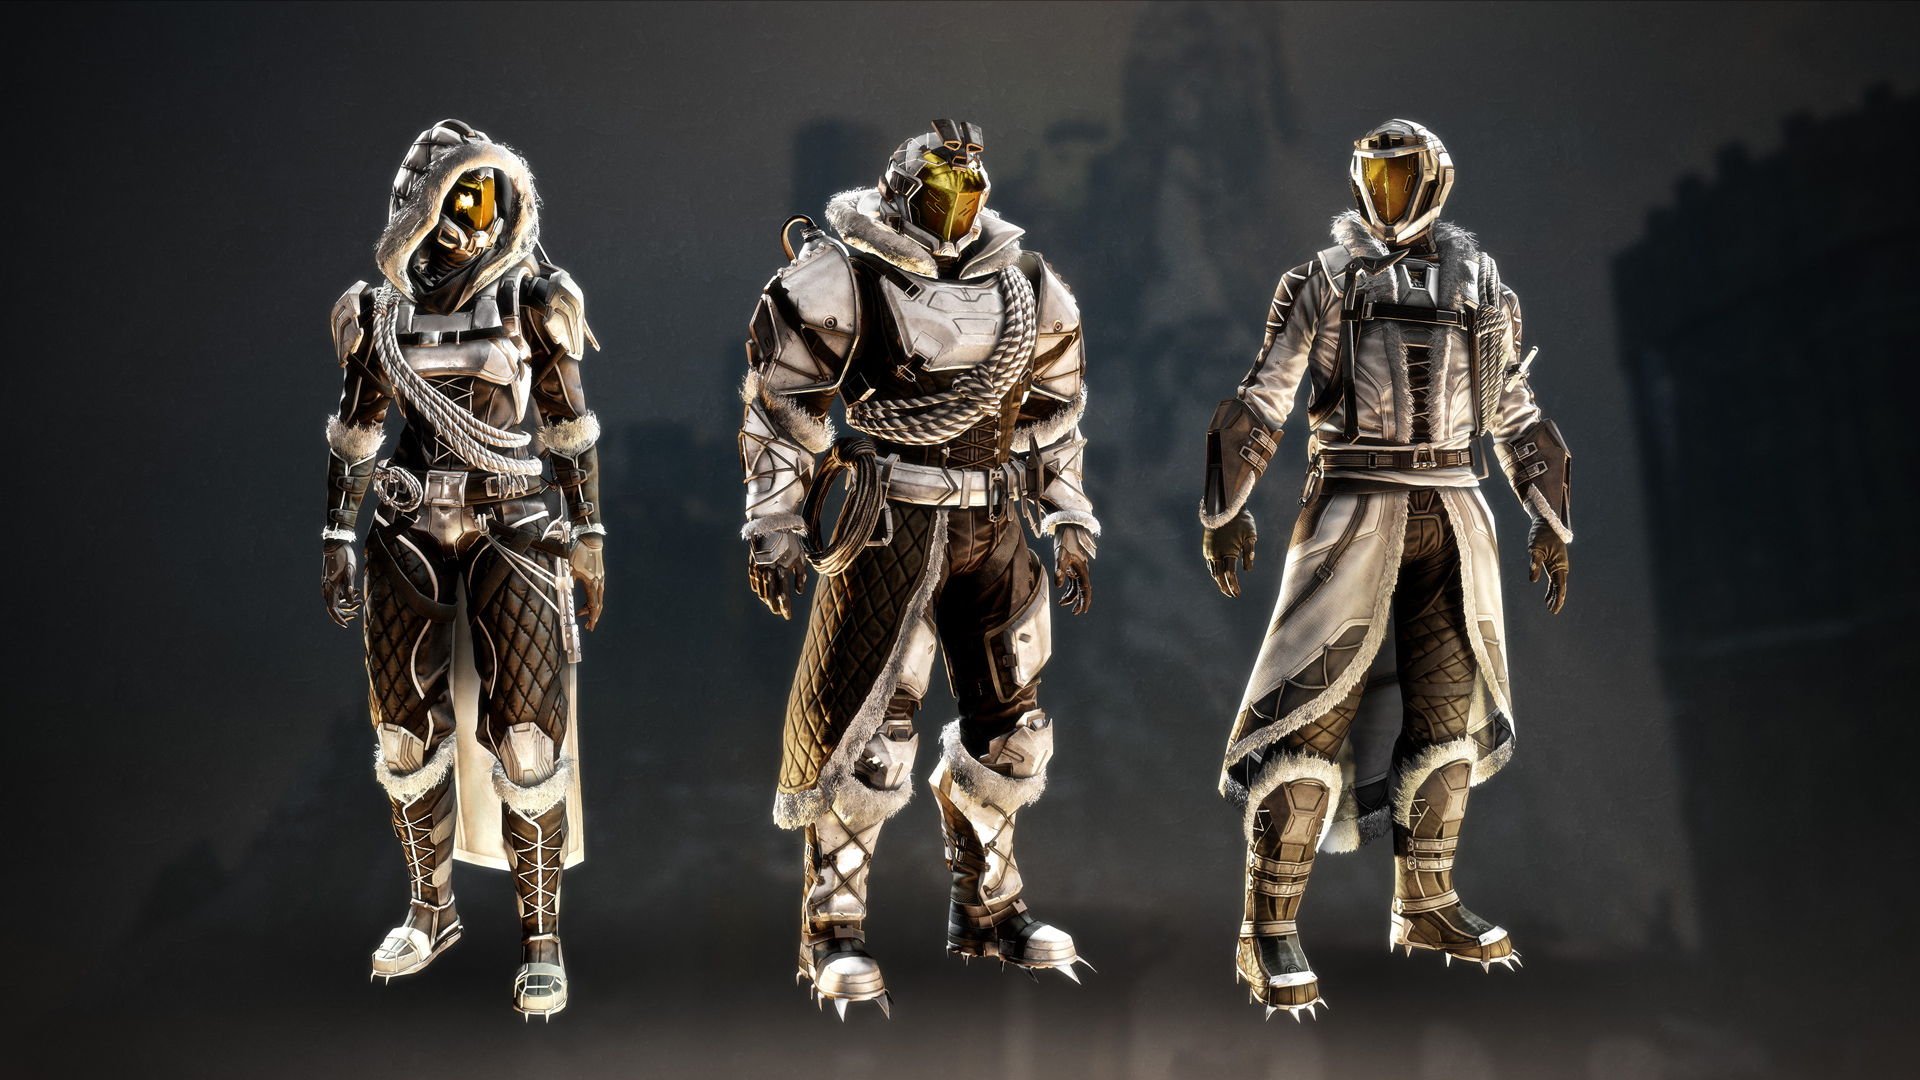
WARLOCK ARMOR SET:
- Dark Age Helm – Helmet
- Dark Age Gloves – Gauntlets
- Dark Age Overcoat– Chest Armor
- Dark Age Legbraces– Leg Armor
- Dark Age Bond – Warlock Bond
HUNTER ARMOR SET:
- Dark Age Mask – Helmet
- Dark Age Grips – Gauntlets
- Dark Age Harness – Chest Armor
- Dark Age Strides – Leg Armor
- Dark Age Cloak – Hunter Cloak
TITAN ARMOR SET:
- Dark Age Helm – Helmet
- Dark Age Gauntlets – Gauntlets
- Dark Age Chestrig – Chest Armor
- Dark Age Sabatons – Leg Armor
- Dark Age Mark – Titan Mark
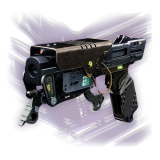
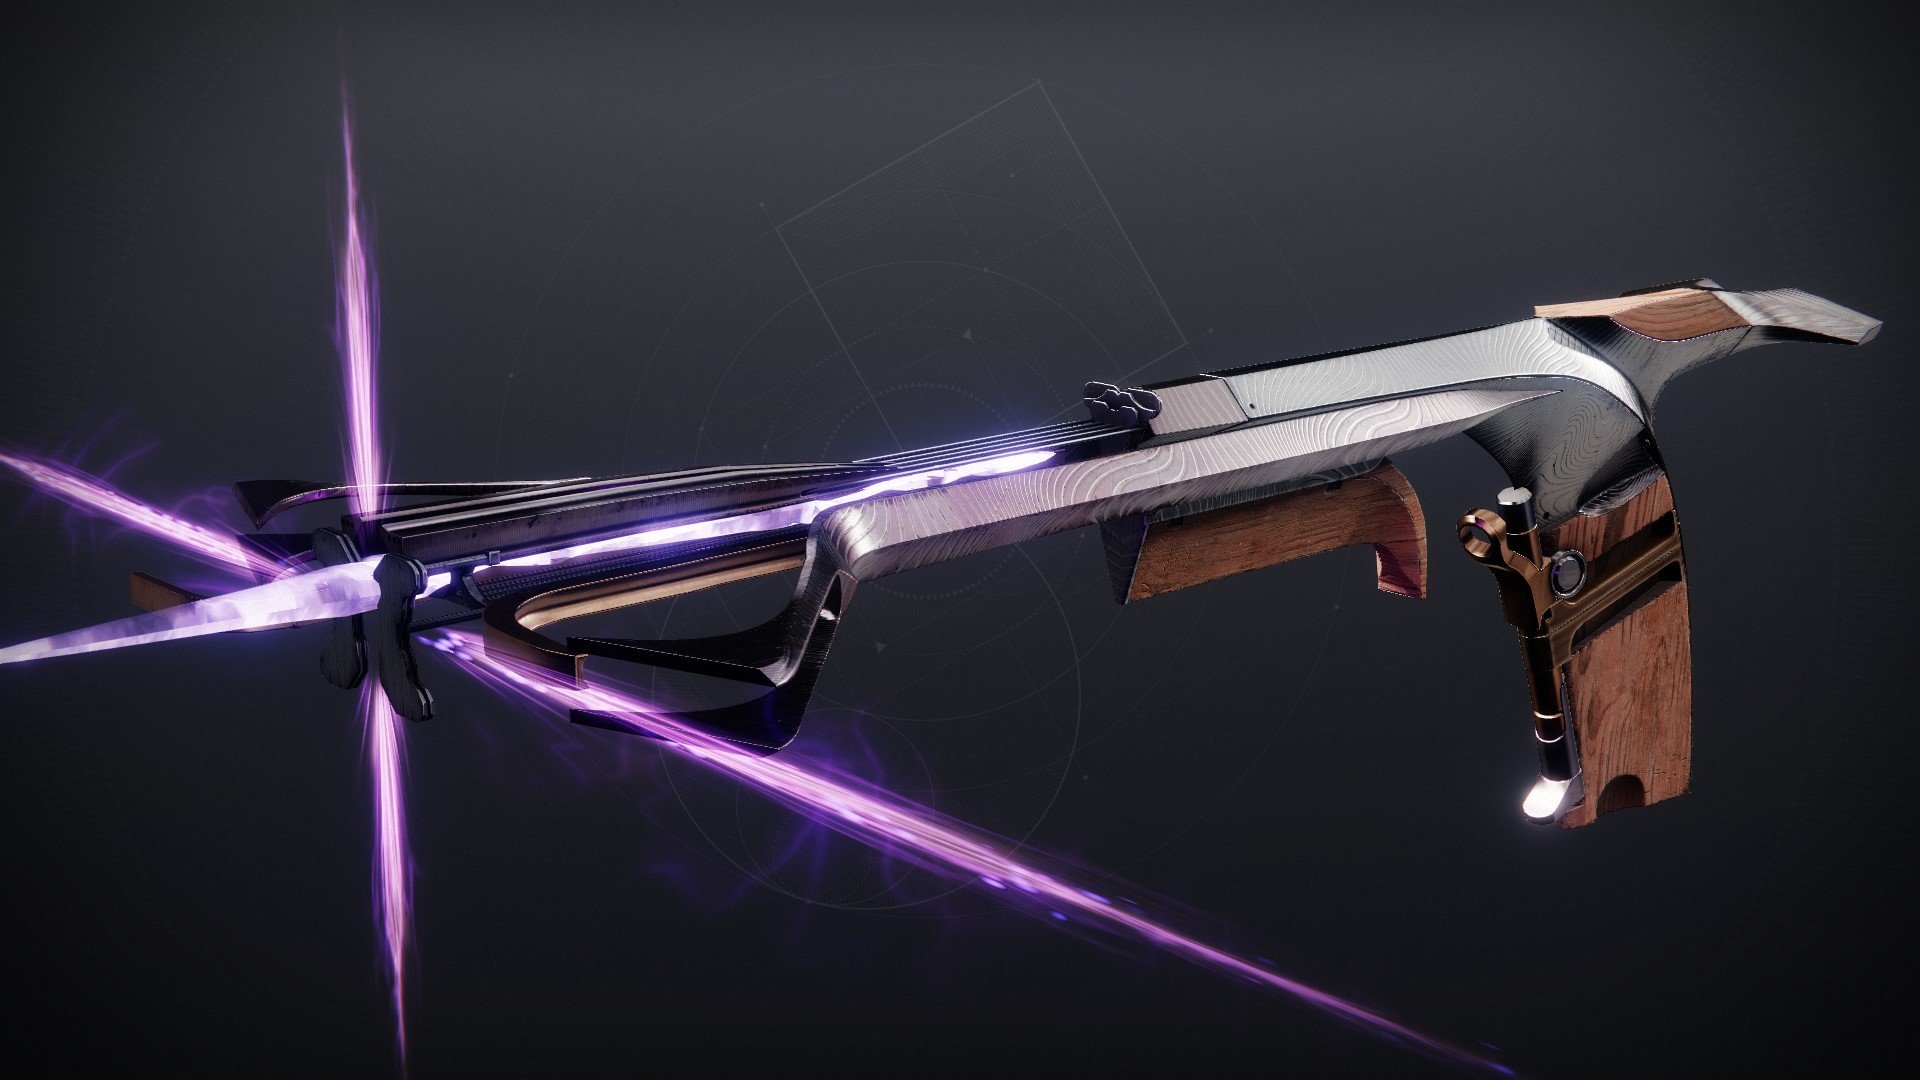
How to get the Buried Bloodline Exotic Weapon
The Buried Bloodline Exotic Sidearm can be acquired only from the final boss of the Warlord's Ruin Dungeon. You can also increase the chances of getting the Warlord's Ruin exotic by completing specific triumphs within the Dungeon:
- She Stood Alone, O Vengeance Mine – Complete all encounters in the "Warlord's Ruin" dungeon solo without leaving the activity.
- Their Blood, Not Yours, O Vengeance Mine – Complete all encounters in the "Warlord's Ruin" dungeon without dying.
- Withstand the Siege, O Vengeance Mine – Complete the "Warlord's Ruin" dungeon on Master Difficulty.
- Heed the Whispers, O Vengeance Mine – Find Ahamkara bones strews throughout the "Warlord's Ruin" dungeon, and hear their accompanying story.
- She Stood Alone, O Vengeance Mine – Complete all encounters in the "Warlord's Ruin" dungeon solo without dying or leaving the activity.
Warlord's Ruin Exotic Sidearm – Perks and Catalyst
The Buried Bloodline Exotic Sidearm has unique perks, which make it one of the most sought-after Dungeon exotics in Destiny 2:
- Hard Launch: This weapon's launch barrel is optimized for projectile speed.
- Flared Magwell: Optimized for fast reloading.
- Violent Reanimation: Multiple final blows with this weapon grant Devour to the wielder.
- Hand-Laid Stock: This weapon is optimized for recoil control.
- Catalyst: While Devour is active, the weapon weakens on hit.
In the next part of our guide, we present the differences between the two difficulties available for the WR Dungeon.
Differences Between Normal & Master Difficulties
The Warlord's Ruin Dungeon features two difficulties with different modifiers. By completing the Master version of the activity, you can mark the final triumph needed for the Seal and get the Artifice version of the armor sets. There are a couple of notable differences that are making the dungeon more challenging:
- Shielded Foes – You will face combatants with Arc, Solar, and Void shields.
- Master Modifier – Extra Champions, Shields, and your maximum effective level is capped at 2020.
- Champion Foes – You will face Overload and Unstoppable Champions.
- Overcharged Weapons – Weapon overcharges from the Seasonal Artifact are active in this activity.
- Surges – 25% Bonus to outgoing [Element] damage.
Warlord's Ruin Dungeon Triumphs & Seal
- Collect the Debts of Kings – Complete the "Warlord's Ruin" dungeon.
- Their Blood, Not Yours – Complete all encounters in the "Warlord's Ruin" dungeon without dying.
- She Stood Alone – Complete all encounters in the "Warlord's Ruin" dungeon solo without leaving the activity.
- Become Naeem's Avatar – Complete all encounters in the "Warlord's Ruin" dungeon solo without dying or leaving the activity.
- Before Your Clans, Mine Thrived – Complete all encounters in the "Warlord's Ruin" dungeon with a full fireteam of clanmates.
- Carry my Roar Like Thunder – Complete all encounters in the "Warlord's Ruin" dungeon with a full fireteam of Arc Subclasses.
- Our Fates Are Woven – Complete all encounters in the "Warlord's Ruin" dungeon with a full fireteam of Strand Subclasses.
- Your Fury Burns Bright – Complete all encounters in the "Warlord's Ruin" dungeon with a full fireteam of Solar Subclasses.
- Deliver the Chill of Grief – Complete all encounters in the "Warlord's Ruin" dungeon with a full fireteam of Stasis Subclasses.
- Feast upon The Gulf – Complete all encounters in the "Warlord's Ruin" dungeon with a full fireteam of Void Subclasses.
- Show me your Prowess – Complete all encounters in the "Warlord's Ruin" dungeon with a full fireteam of the same class.
- Withstand The Siege – Complete the "Warlord's Ruin" dungeon on Master Difficulty.
- Heed the Whispers – Find Ahamkara Bones strews throughout the "Warlord's Ruin" dungeon and hear their accompanying story.
- Do You Desire This Trinket – Earn the Buried Bloodline Exotic Weapon from the "Warlord's Ruin" dungeon.
- Cut with Dark Age Steel – Complete the "Warlord's Ruin" dungeon with a fireteam using only Swords, Bows, and Glaives.
Let's check the specific rewards you can unlock by completing triumphs in Warlord's Ruin Dungeon!
Warlord's Ruin Triumph Rewards
Triumphs in the Warlord's Ruin Dungeon offer more than an increased chance at obtaining the exclusive exotic, the Burried Bloodline. They also provide the following valuable rewards:
- Normal Completion – Shattered Fortress Emblem
- Master Completion – Exotic Zira's Shell
- Solo & Flawless Completion – Tattered Regalia Emblem
If you complete every dungeon-exclusive triumph, you will also be awarded the Wrathbearer Title!
Warlord’s Ruin Title – Wrathbearer
There are 10 triumphs you need to complete in order to obtain the Destiny 2 Warlord's Ruin Wrathbearer Title:
- Collect the Debts of Kings – Complete the "Warlord's Ruin" dungeon.
- She Stood Alone – Complete all encounters in the "Warlord's Ruin" dungeon solo without leaving the activity.
- Before Your Clans, Mine Thrived – Complete all encounters in the "Warlord's Ruin" dungeon with a full fireteam of clanmates.
- Carry my Roar Like Thunder – Complete all encounters in the "Warlord's Ruin" dungeon with a full fireteam of Arc Subclasses.
- Your Fury Burns Bright – Complete all encounters in the "Warlord's Ruin" dungeon with a full fireteam of Solar Subclasses.
- Feast upon The Gulf – Complete all encounters in the "Warlord's Ruin" dungeon with a full fireteam of Void Subclasses.
- Show me your Prowess – Complete all encounters in the "Warlord's Ruin" dungeon with a full fireteam of the same class.
- Withstand The Siege – Complete the "Warlord's Ruin" dungeon on Master Difficulty.
- Heed the Whispers – Find Ahamkara Bones strews throughout the "Warlord's Ruin" dungeon and hear their accompanying story.
- Warlord's Ruin – Uncover buried histories and lingering grudges within a ruined Dark Age castle.
Warlord's Ruin Dungeon Solo & Flawless
The Warlord's Ruin dungeon is one of the most challenging activities in Destiny 2 as a solo player. Here are some essential tips and tricks you must consider when delving into the dungeon by yourself:
- Prepare and Equip your Guardian with your best loadout.
- Understand the mechanics & familiarize yourself with the encounters, layouts & enemy behavior.
- Take note of platforming & puzzles along the way.
- Adapt & strategize.
- Make use of your Guardian abilities and Super to control the situation.
- Practice!
The Solo & Flawless attempt is the most incredible way to test your skills and enjoy a different aspect of Destiny 2's gameplay. A lot of practice and patience is the key to success!
How to solo Warlord's Ruin Dungeon
The solo challenge within the Dungeon requires optimal strategies and experience from you and a lot of knowledge about your Guardian's capabilities. We strongly recommend having the latest information on the meta weapons & mods or any other way that could help you, such as:
- Adapt your strategy based on encounters and enemy types.
- Optimize your movement and positioning to avoid Overwhelming situations.
- Expect a learning curve and keep going despite wrong attempts.
- Refine your approach, learn from mistakes & improve!
- Gain insights from Guides, Video Resources & experienced players.
Warlord's Ruin Dungeon – Frequently Asked Questions
1. Where is Warlord's Ruin Dungeon in Destiny 2?
The Warlord's Ruin dungeon is located in the European Dead Zone (EDZ); follow quest markers or guides for specific directions.
2. Is Warlord's Ruin Dungeon Farmable in Destiny 2?
No, the Warlord's Ruin Dungeon in Destiny 2 is not farmable, requiring you to wait until it comes on rotation; however, you'll have one opportunity per character each week if you are hunting the Buried Bloodline Exotic Sidearm.
3. Is Warlord's Ruin Dungeon Free?
Access to the dungeon might require owning the associated expansion or content, depending on the game's edition or season.
4. Can You Solo Warlord's Ruin Dungeon?
Yes, it's possible to attempt a solo run, though it can be challenging due to encounter mechanics and difficulty.
5. Can You Farm Warlord's Ruin Dungeon for Buried Bloodline Exotic?
Dungeons can yield exclusive rewards, including exotics, upon completion. The drop rate for exotics might require multiple runs, but you have only one opportunity per character when the weekly reset occurs, unless the dungeon is on rotation, then its farmable.
6. How to do Warlord's Ruin Dungeon?
To complete the dungeon, form a fireteam and progress through encounters, defeating bosses and completing the objectives. Our guide gives you the best walkthrough of each encounter and how to complete them as fast as possible.
7. How to Unlock Warlord's Ruin Dungeon?
Access to the dungeon might require specific quest completions or owning the associated expansion.
8. How to Start Warlord's Ruin Dungeon?
Initiating the Warlord's Ruin dungeon involves interacting with Ikora Rey and accepting her starting quest.
9. How Long Does Warlord's Ruin Dungeon Take?
Completion time varies based on team coordination and skill level, typically taking 30 minutes to an hour.
10. Can you matchmake the Warlord's Ruin Dungeon in Destiny 2?
Yes, you can use the in-game matchmaking system or through official LFG Discord server.
Conclusion
Assemble your fireteam, understand the mechanics, and adapt your strategies to triumph over each challenge within the Warlord's Ruin Dungeon. Whether you're a seasoned Guardian or a novice, this dungeon showcases the essence of Destiny 2's cooperative gameplay.
Remember that successful completion of any end-game activity like the Warlord's Ruin Dungeon requires teamwork, communication, and practice. Tailor your approach based on your team's strengths and weaknesses and synchronize your efforts to conquer this daunting task.
And, once you do, put a stop to it!
Final Thoughts
We crafted our Warlord's Ruin Dungeon Guide to help you optimize your fireteam's efficiency. However, if you're facing challenges assembling a team for the Warlord's Ruin Dungeon or lack the time to tackle it yourself, consider exploring our Destiny 2 Boosting Services at KBoosting.
Explore our Warlord's Ruin Dungeon Boosting & Carry Services and allow our professional players to handle the challenges for you. Join our skilled team for an unforgettable journey through this activity.
Exclusive Guides and Tips
