King's Fall Raid Guide


-
Hot
-
Bundle
- Powerful & pinnacle gear with 25% off
- Increase your power level easily


-
Sale 15%Ends in 14h 0m 19s
-
Bundle

- All rotating raids challenges with 10% off
- 8 rotating raids completion guaranteed
-
-
Sale 15%Ends in 14h 0m 19s
Welcome to our Destiny 2: King’s Fall raid guide, Guardian!
We designed this King's Fall guide to help you break through all raid encounters like a pro. You will find everything you need to know to complete the season 18 raid successfully.
Our team ran the raid from day one and structured the ultimate King’s Fall walkthrough so you can enjoy your journey without getting stuck in any boss phase. We also created a complete King’s Fall loot table, so you know precisely where to farm your desired weapon or armor piece.
We wrote our experiences and covered everything you need to know about the new raid mechanics, so if you follow our King’s Fall guide, you’ll know exactly how to handle every encounter step-by-step.
Table of Contents
Here is a little breakdown of our King's Fall Raid Guide:
- Loot Table
- Preparation
- Raid Entrance
- Totems Encounter(1st)
- Warpriest Encounter(2nd)
- Golgoroth Encounter(3rd)
- The Daughters Encounter(4th)
- Oryx Encounter(Final Boss)
- Touch of Malice
- Related Guides
- Conclusion
Along with our professional Destiny 2 team, we farmed each encounter, taking notice and doing the research so we could present a complete King’s Fall loot table. Below you can find all the weapons and armor set pieces that drop after each King's Fall raid encounter:
King's Fall Weapons Loot Table
| Opening Gate | Totems (1st Encounter) |
Warpriest (2nd Encounter) |
Golgoroth (3rd Encounter) |
Daughters of Oryx (4th Encounter) |
Oryx, The Taken King (Final Encounter) |
|
Doom of Chelchis 
|
Doom of Chelchis
|
Smite of Merain 
|
Qullim’s Terminus 
|
Smite of Merain
|
Touch of Malice 
|
|
Qullim’s Terminus
|
Defiance of Yasmin 
|
Midha’s Reckoning 
|
Defiance of Yasmin
|
||
|
Zaouli’s Bane 
|
Zaouli’s Bane
|
King's Fall Weapons God Rolls
The King's Fall raid drops fabulous weapon patterns you can craft using the Shape table. After you get the raid weapons, you can level them up and unlock all the perks using the Reshape table. Some perks combinations work insane, so you should consider crafting a god roll for each, depending on your preferences and loadout configuration. In the following list, you find the PvE & PvP god rolls for each King's Fall raid weapon:
• Zaouli's Bane
- PvE God Roll: Smallbore, Accurized Rounds, Explosive Payload, Incandescent.
- PvP God Roll: Hammer Forged Rifling, Accurized Rounds, Explosive Payload, Eye of the Storm.
• Smite of Merain
- PvE God Roll: Arrowhead Brake, Tactical Magazine, Focused Fury, One For All.
- PvP God Roll: Arrowhead Brake, Tactical Magazine, Demolitionist, Eye of the Storm.
• Doom of Chelchis
- PvE God Roll: Arrowhead Brake, Flared Magwell, Explosive Payload, Frenzy.
- PvP God Roll: Extended Barrel, Accurized Rounds, Explosive Payload, Eye of the Storm.
• Midha's Reckoning
- PvE God Roll: Chambered Compensator, Liquid Coils, Backup Plan, Reservoir Burst.
- PvP God Roll: Corkscrew Rifling, Accelerated Coils, Backup Plan, Reservoir Burst.
• Defiance of Yasmin
- PvE God Roll: Extended Barrel, Extended Mag, Firefly, Firing Line .
- PvP God Roll: Extended Barrel, Accurized Rounds, Snapshots Sights, Opening Shot.
• Qullim's Terminus
- PvE God Roll: Corkscrew Rifling, Flared Magwell, Unrelenting, Killing Tally.
- PvP God Roll: Arrowhead Brake, Accurized Rounds, Dynamic Sway Reduction, Eye of the Storm.
Note: Crafting the god rolls for these King's Fall weapons requires a lot of time and grind, but it is worth the effort.
SKIP THE GRIND BUY KING'S FALL WEAPONS!
King's Fall Armors Loot Table
| Opening Gate | Totems (1st Encounter) |
Warpriest (2nd Encounter) |
Golgoroth (3rd Encounter) |
Daughters of Oryx (4th Encounter) |
Oryx, The Taken King (Final Encounter) |
|
Class Item 
|
Class Item
|
Arms 
|
Helmet 
|
Arms
|
Arms
|
|
Chest 
|
Chest
|
Legs 
|
Chest
|
Helmet
|
|
|
Legs
|
Important: Each encounter of King’s Fall raid drops rewards only once per week for each character.
Note: The King's Fall loot table is just indicative. You can’t get all the weapons & armor during a single run. The loot drop is based on RNG, so if you want all armor pieces and specific weapons for your build, you must repeatedly farm the encounter that drops your desired item.
King's Fall Armor Mods
King's Fall armor mods are unique additions that, once equipped, will increase the potential of your build. You need these mods to get the best configuration for your loadout.
The King's Fall armor mods only drop from hidden chests, so you must complete the puzzles to acquire them during the raid. In the following list, you find all the King's Fall mods:
• Will of Light - Kinetic Mod
Your equipped Kinetic weapons deal increased damage to Taken combatants.
• Old God's Boon
Gain damage reduction while carrying the King's Fall relic.
• Run For Your Life
Gain increased mobility and resilience while you are Torn Between Dimensions.
• Mortal Medicine
Gain increased recovery and weapon reload speed while you have a Brand or are in a pool of Reclaimed Light.
• Will of Light - Arc Mod
Your equipped Arc weapons deal increased damage to Taken combatants.
• Will of Light - Solar Mod
Your equipped Solar weapons deal increased damage to Taken combatants.
• Will of Light - Void Mod
Your equipped Void weapons deal increased damage to Taken combatants.
• Will of Light - Stasis Mod
Your equipped Stasis weapons deal increased damage to Taken combatants.
Note: You must choose the proper armor mod to build the optimal loadout for your guardian.
King's Fall Raid Preparation
Below you can find the recommended loadouts for efficient clears and maximum survivability in the King's Fall raid:
| Power Level & Stats | ||
| Power Level | Stats | |
| The required power level for King's Fall raid is 1955 | Stats closer to 100 grants game-changing buffs | |
| Without the required power level the raid becomes extremely difficult | Having as many stats as possible to 100 is crucial in raids |
SKIP THE GRIND BUY KING'S FALL PREPARATION!
Hunter's Objective: Deal as much damage as possible, this being possible on Gunslinger or Prismatic subclasses which are incredible for King's Fall Raid, pairing Golden Gun with Celestial Nighthawk either on Solar or Prismatic subclass grants the highest damage possible in any raid .
Warlock's Objective: Keep everyone alive which is why we use Well of Radiance being the best sustain super in any situation. Pairing Well of Radiance with Healing Rift, Heal Greande and the exotic helmet Speaker's Sight makes the best sustain build possible. For damage Nova Bomb Vortex or Needle Storm. The vortex version of Nova Bomb will let everyone shoot through it, while the cataclysm one will block shots until it explodes.
Titans's Objective: Deal burst damage and clear the room. Both Hammer of Sol and Prismatic are amazing choices, they grant access to the Consecration melee ability, which deals amazing damage and usually clears any yellow bar with ease.
| Weapons | ||
| Kinetic | Energy | Power |
| Izanagi's Burden / Outbreak Perfected | Still Hunt / Divinity | Whisper of the Worm / Sleeper Simulant |
| Add-Clear Weapons / Grenade Launcher / Sniper Rifles | Add-Clear Weapons / Sniper Rifles / Trace Rfiles | Add-Clear Weapons / Grenade Lauchners / Linear Fusion Rifles |
We have a few tips for weapons to boost your damage output in encounters where you have to damage an actual boss.
The most balanced loadout would be four persons to have Still Hunt / Izanagi's Burden equipped with Linear Fusion Rifles(preferably Bait and Switch on it) for damage, one member with Divinity for debuff, and one with a legendary / exotic Machine Gun for add-clear. This loadout achieves a balanced and safe run.
The speed loadout would be all six guardians with any machine guns for the opening encounter and first encounter, for the third encounter 6 guardians with grenade launchers and add clear weapons, for the fourth encounter the gaze guardians run machine guns and for damage x4 guardians with whisper of the worm exotic sniper rifle,
for the 5th encounter, 6 guardians with grenade launchers again, and for the last encounter 6 guardians with whisper of the worm. This loadout achieves a fast and risky run.
Secret Deepsight Resonance Chest
Like the previous Destiny 2 raids, King's Fall has a hidden chest that you have to seek for a Deepsight Resonance weapon for each run. You must activate three out of nine runes dispersed along raid encounters to open the chests.
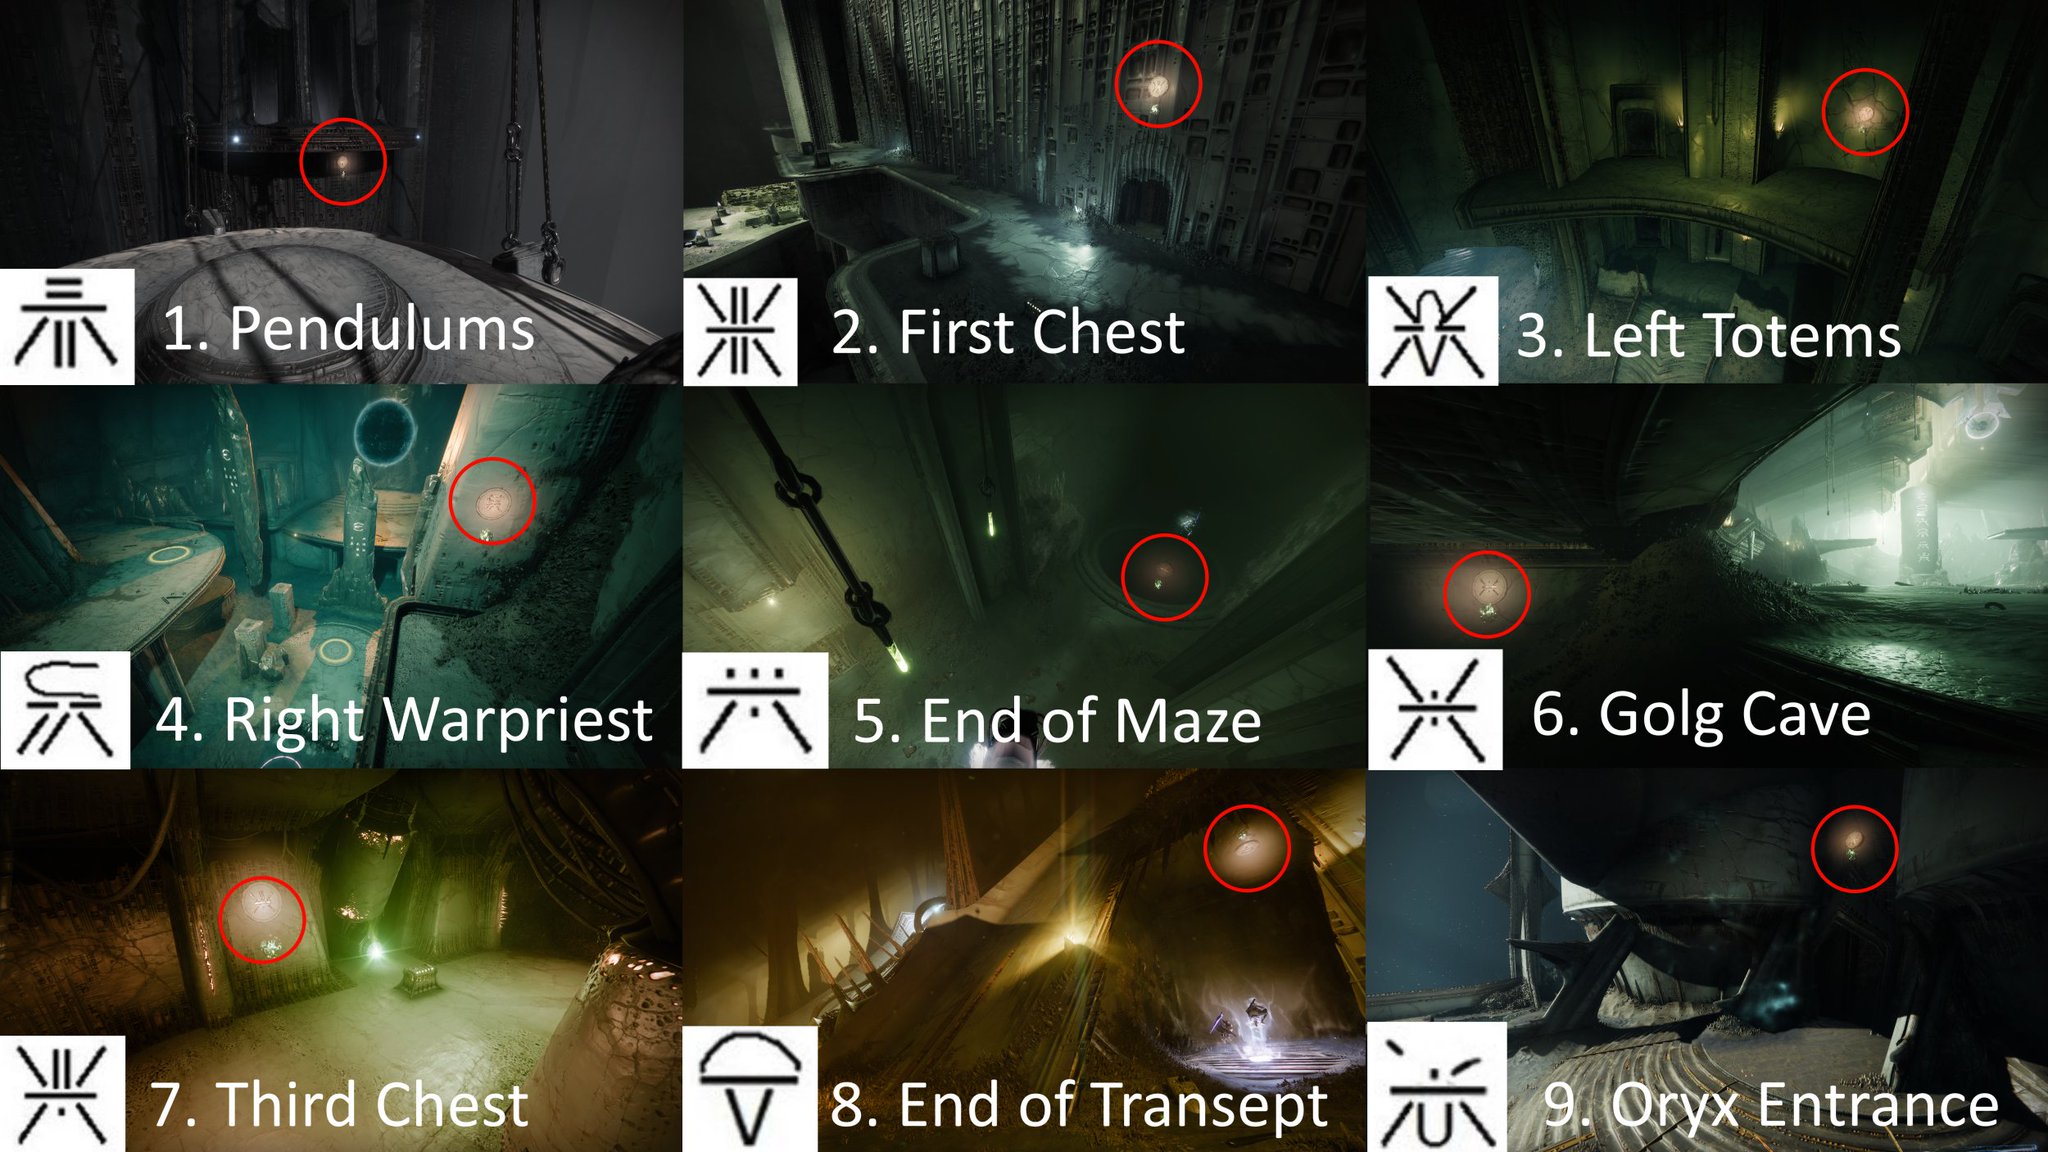
Hive Symbols Locations
It will help if you discover which runes to activate at the beginning of the King's Fall raid before entering the portal. You have to go under the platform that holds the portal, where you'll see the runes that need to be activated.
First Symbol: After finishing the Opening Encounter, you reach the swinging pendulums. Jump on top of the first one and turn around. The Symbol will be glowing under the platform you jumped from.
Second Symbol:: Reach the first hidden chest and turn around. The Symbol is above the doorframe.
Third Symbol: In the Totems Encounter, head to the left side of the room. Climb on top of a nearby wall and look to your left. The Symbol is beside the wall on the second floor.
Fourth Symbol: In the Warpriest Encounter, climb up to the left plate and look to your right to find it on the wall.
Fifth Symbol: At the end of Golgoroth's Maze, turn around at the exit pit to find the Symbol.
Sixth Symbol: In the Golgoroth Encounter, drop down from the rally banner and turn to your left. The Symbol is on the wall.
Seventh Symbol: The Symbol is located to the left of Hidden Chest #3.
Eighth Symbol: At the end of the final jumping puzzle, look up from the doorway leading to the Daughters' Encounter. The Symbol is floating on the ceiling.
Ninth Symbol: When you enter the Daughters/Oryx arena, turn around, and above the entrance doorway, you will find the last Symbol.
SKIP THE GRIND! BUY KING'S FALL RAID NOW!
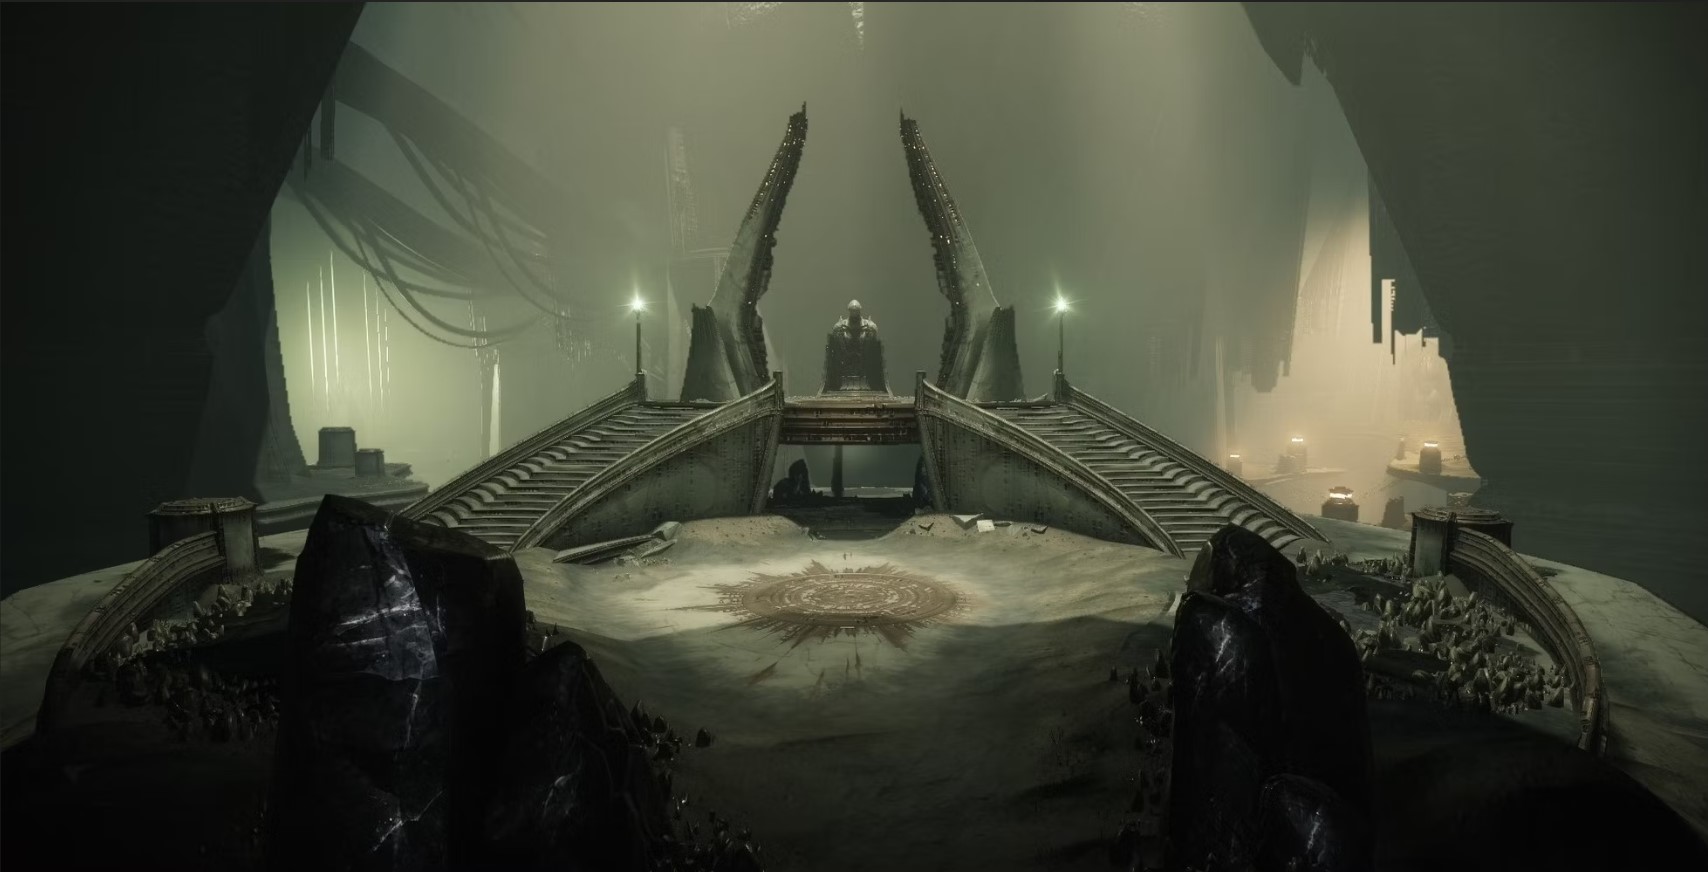
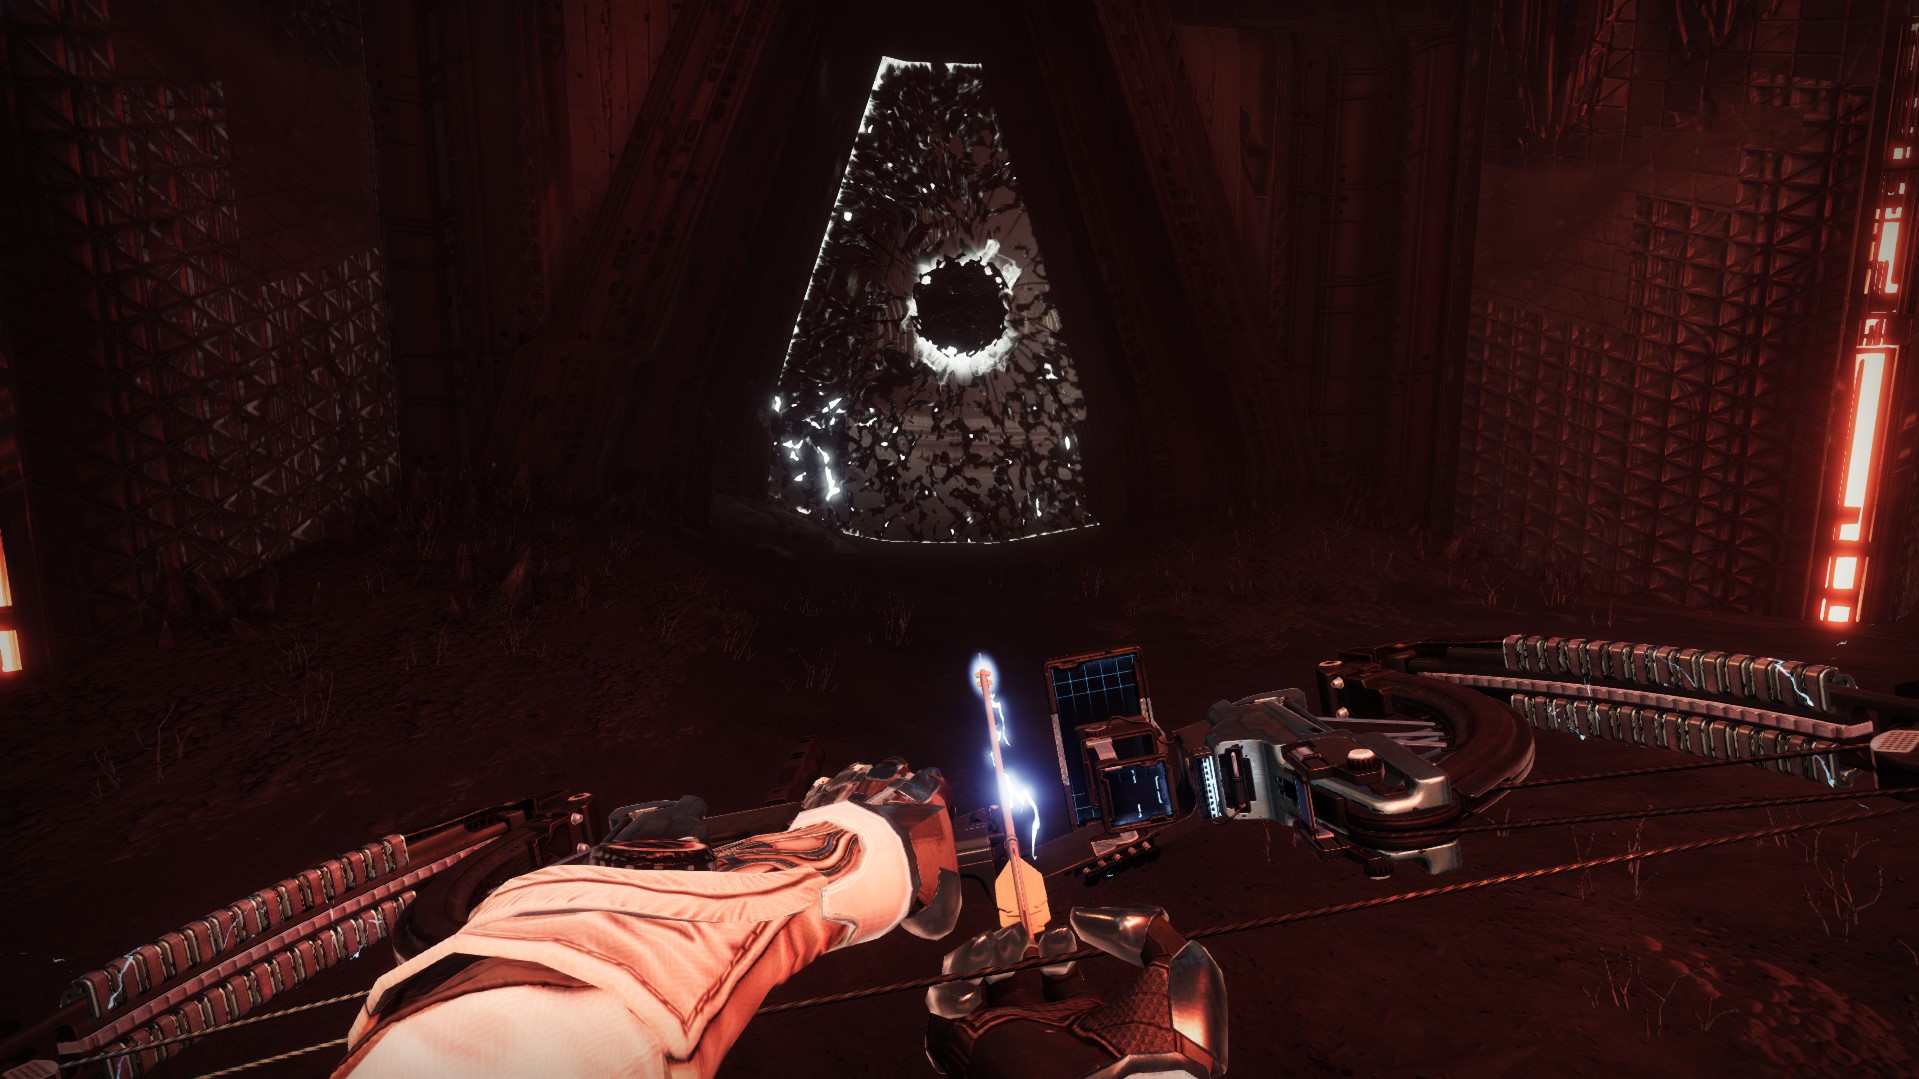
How to complete the Opening Gate Pre-Encounter?
To access the King's Fall raid, guardians must open a Hive portal. Your fireteam must dunk all relics to the statue at the Court of Oryx’s Portal entrance and open the raid gate.
The first step is splitting your fireteam into two groups. One group has to go to the right side, and the other has to take the left side.
The second step requires each group to organize: One player must collect and carry the orb, while the other two guardians must kill the enemies and clear the way by breaking the barriers from each door that leads to the statue.
The last step is destroying all the barriers, unlocking the doors, and heading back to the center and deposit the 2 orbs at the same time before the timer runs out.
Your team has to repeat these steps until you manage to deposit all orbs. After all orbs are immersed, the team must go into the Court of Oryx near the portal and defeat all the enemies. Clearing the area will get the portal unlocked.
Note: Some tricks could ease your portal unlocking quest. One player can remain in the center and kills all the enemies that spawn. Another strategy you can use is quickly changing positions by destroying the doorway and getting near the next orb while the first carrier brings the previous one to the center.
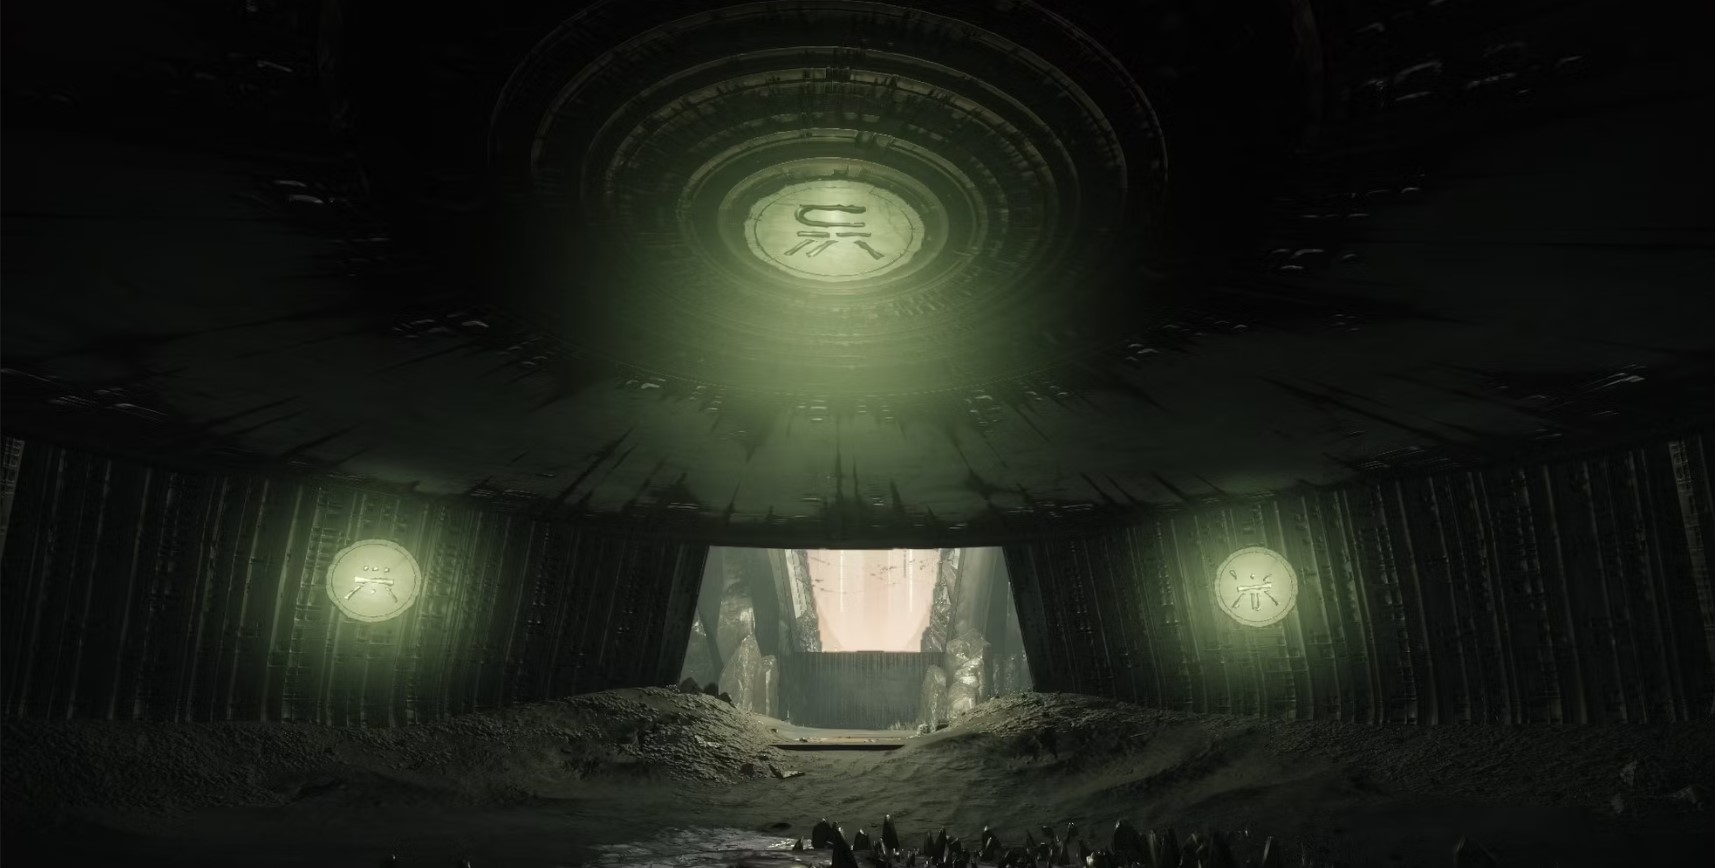
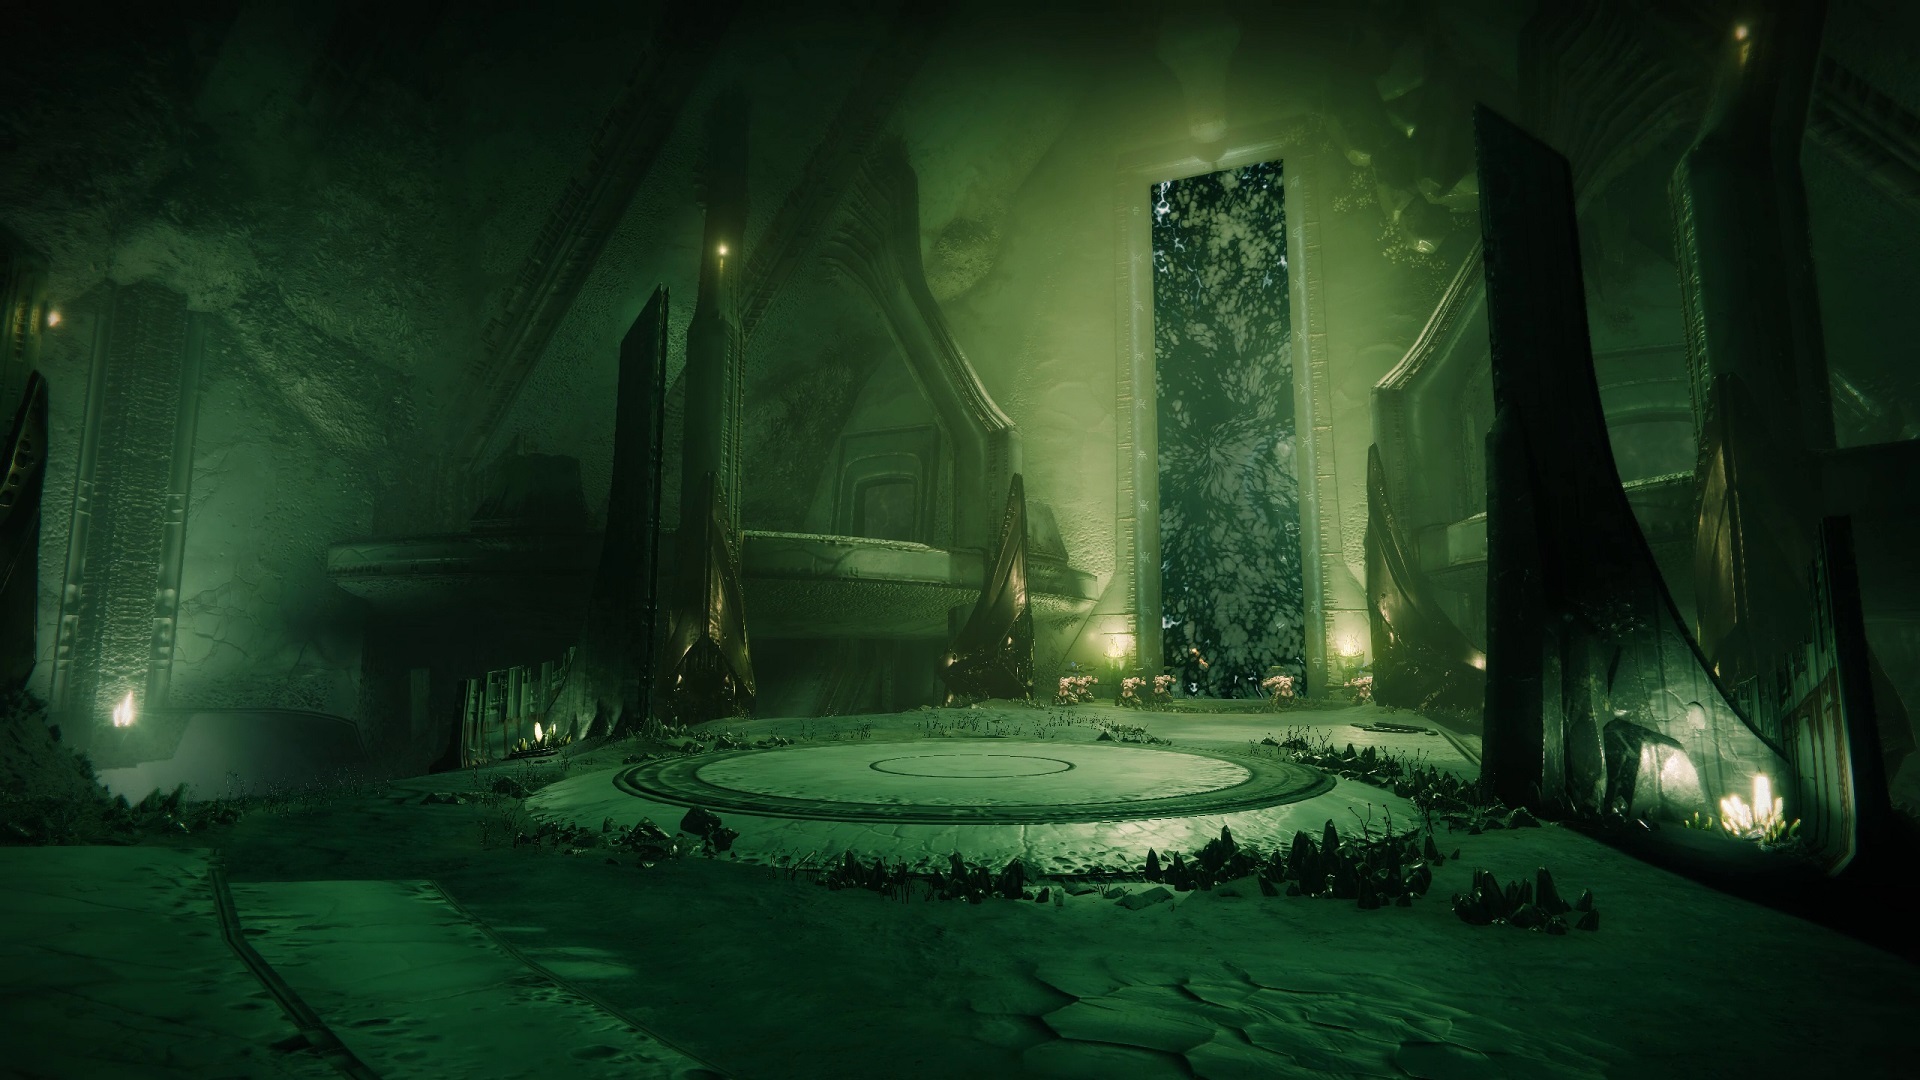
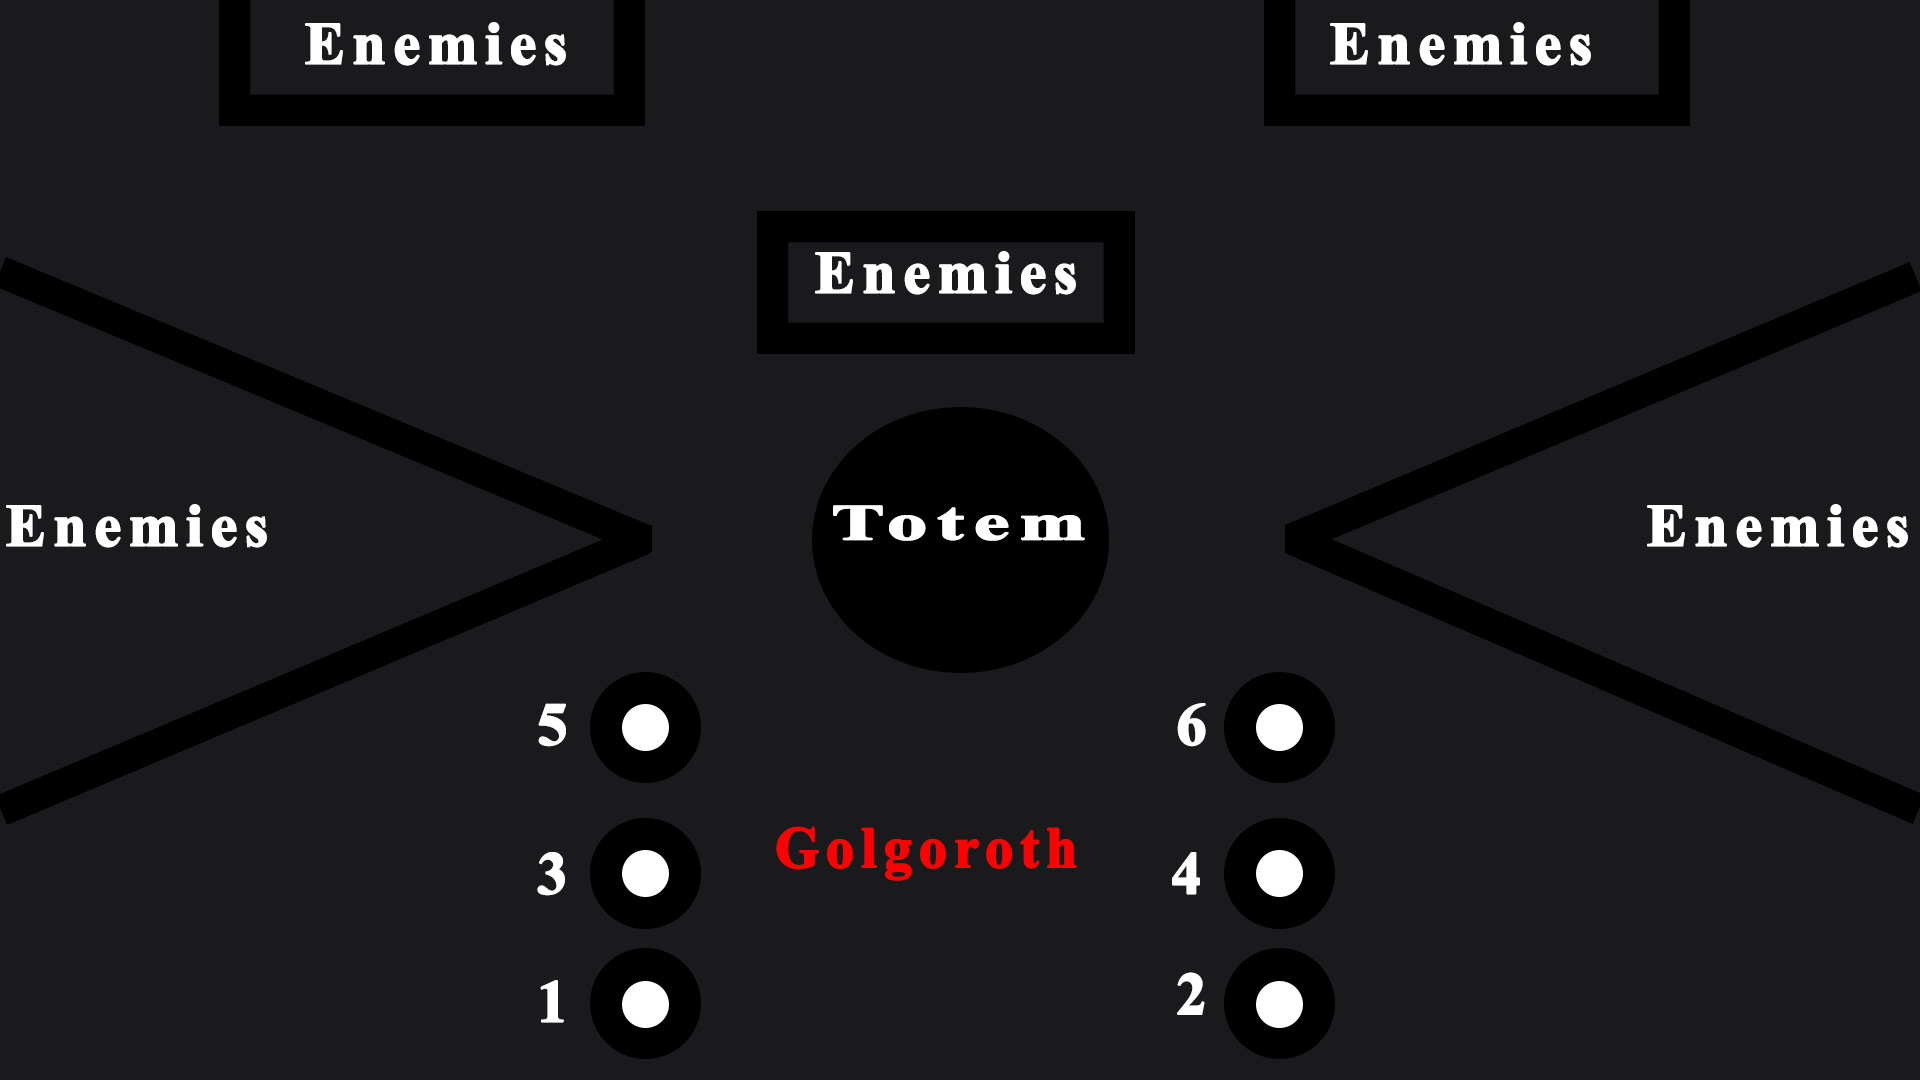
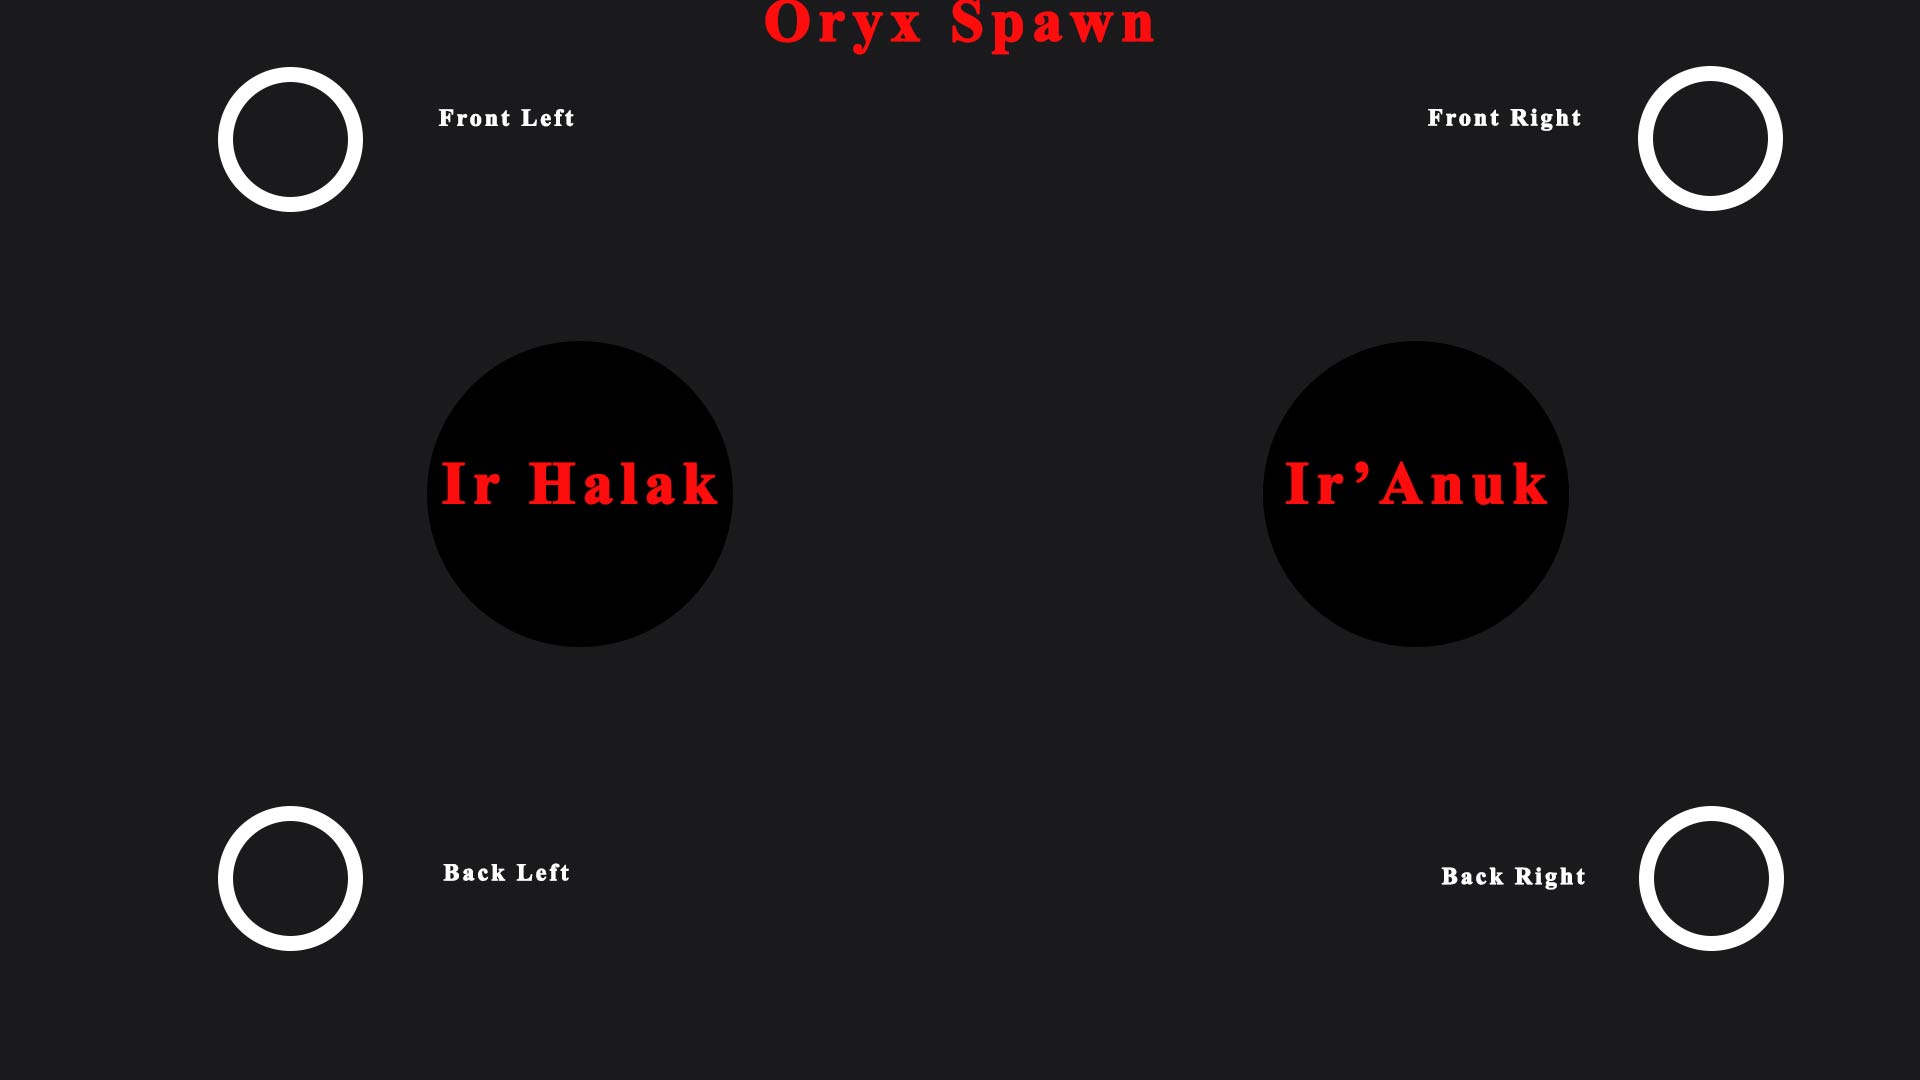
Totems Encounter Guide (First Encounter)
The first encounter of the raid doesn’t have a boss, but it requires a lot of communication with your teammates to succeed. You must collect approximately 200x Deathsinger's Stacks from the two explosive totems and bank them at the central platform in front of the closed portal.
How to complete the Totems Encounter
You will split your team into two groups of three - one group left, one group right, and the roles in each group are: add-clearer, stealer and giver. These 3 roles will be swapped constantly between the guardians.
The Add-Clearer job is to take the Aura buff then go and stand on the Totem Plate while clearing ads to gain Deathsinger's Power stacks.
The Stealer will jump up on the platforms in front of the room, kill the wizard, then kill the knight and get the buff that drops from him. After this the Stealer will run and steal the Aura Buff from the Add-Clearer on the Totem Plate, turning the Stealer into Add-Clearer.
The Giver is the one who has his Aura buff stolen. After getting the buff stolen by another guardian, the Giver goes to the plate in the middle of the Main Room and stands on it until the Deathsinger's Power buff is drained. After the buff is drained, the Giver will become a Stealer.
Keep in mind that this encounter has to be done fast otherwise the Aura buff will run out and the holder will die.

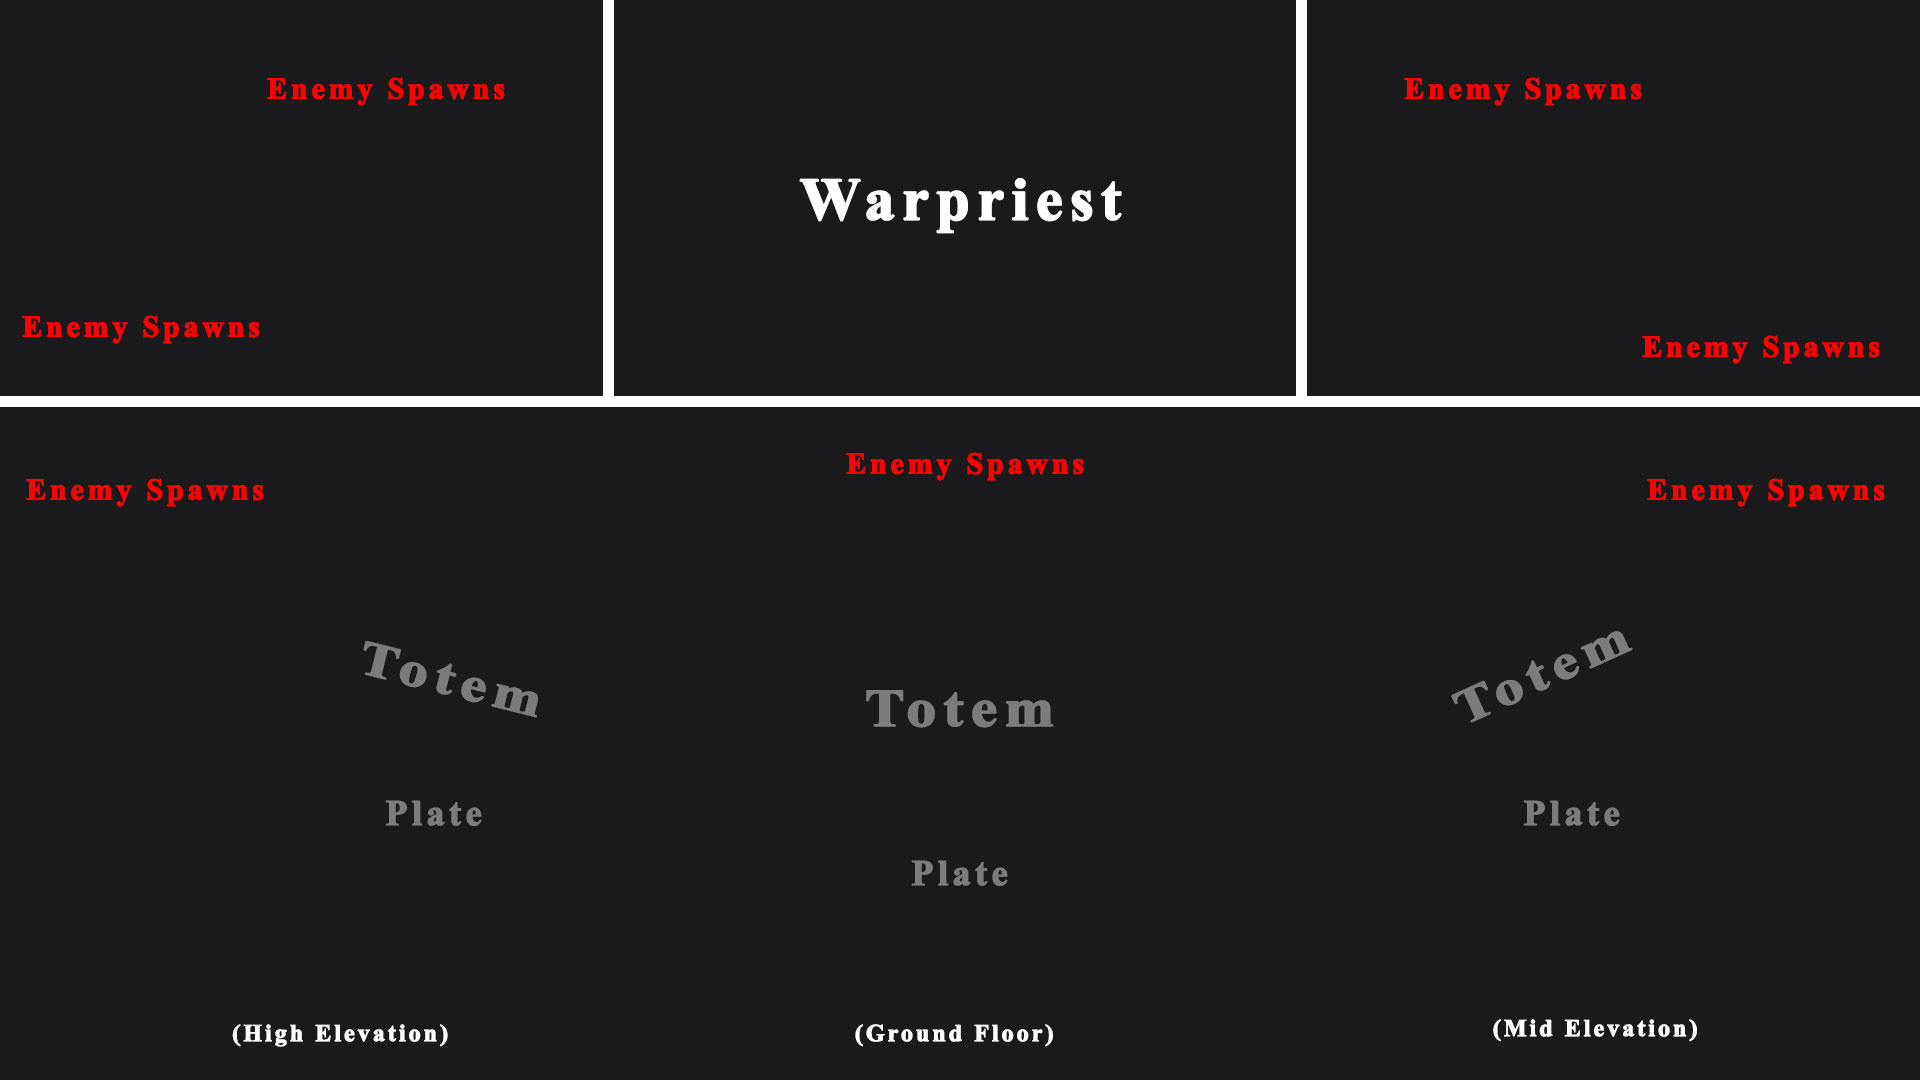
Warpriest Encounter Guide (Second Encounter)
How to complete the Warpriest Encounter
You will split your team into 3 groups, left middle and right. Each group will have 1 Add-clear guardian and 1 Plate guardian.
A Revenant Knight will spawn on each side, killing them starts the mechanic of this encounter.
When the message appears on your screen: "Glyph reading sequence started." it is time for the Plate guardians to do the mechanic of this encounter.
The Center plate will begin to glow, the Plate guardian will step on it and look at the pillars on each side, and call out which one glows. The glow will always be on the backside of the pillars, so if the middle plate does not see any glow, that means that the plate that starts the sequence is the middle one.
The Plate guardian will step off the middle plate, and the guardian whose side has been called out will step on his plate, then he will call out the next plate by looking at the glow on the pillars.
Once 2 guardians have stepped on their plate, when the third Plate guardian will step on his plate he will receive the Brand of the Initiate buff which starts the dps phase for 20 seconds.
The 3 Add-clearers and the guardian with the Brand of the Initiate will go on the right side of the room and start dealing damage to the boss. Meanwhile the other 2 Plate guardians will have to hunt a Knight which spawns on the sides of the room.
After killing the knight and grabbing the buff he dropped, the guardian will be able to steal the Brand of the Initate from the first guardian, thus extending the damage phase. This can be repeated one more time by the last Plate guardian that has to hunt another knight, get the buff and steal from the second guardian.
After the damage, the room will light up and kill everyone who is not behind a rock pillar, indicated by it's shadow on the ground. The boss has a maximum of 4 damage phase.

Golgoroth Encounter Guide (Third Encounter)
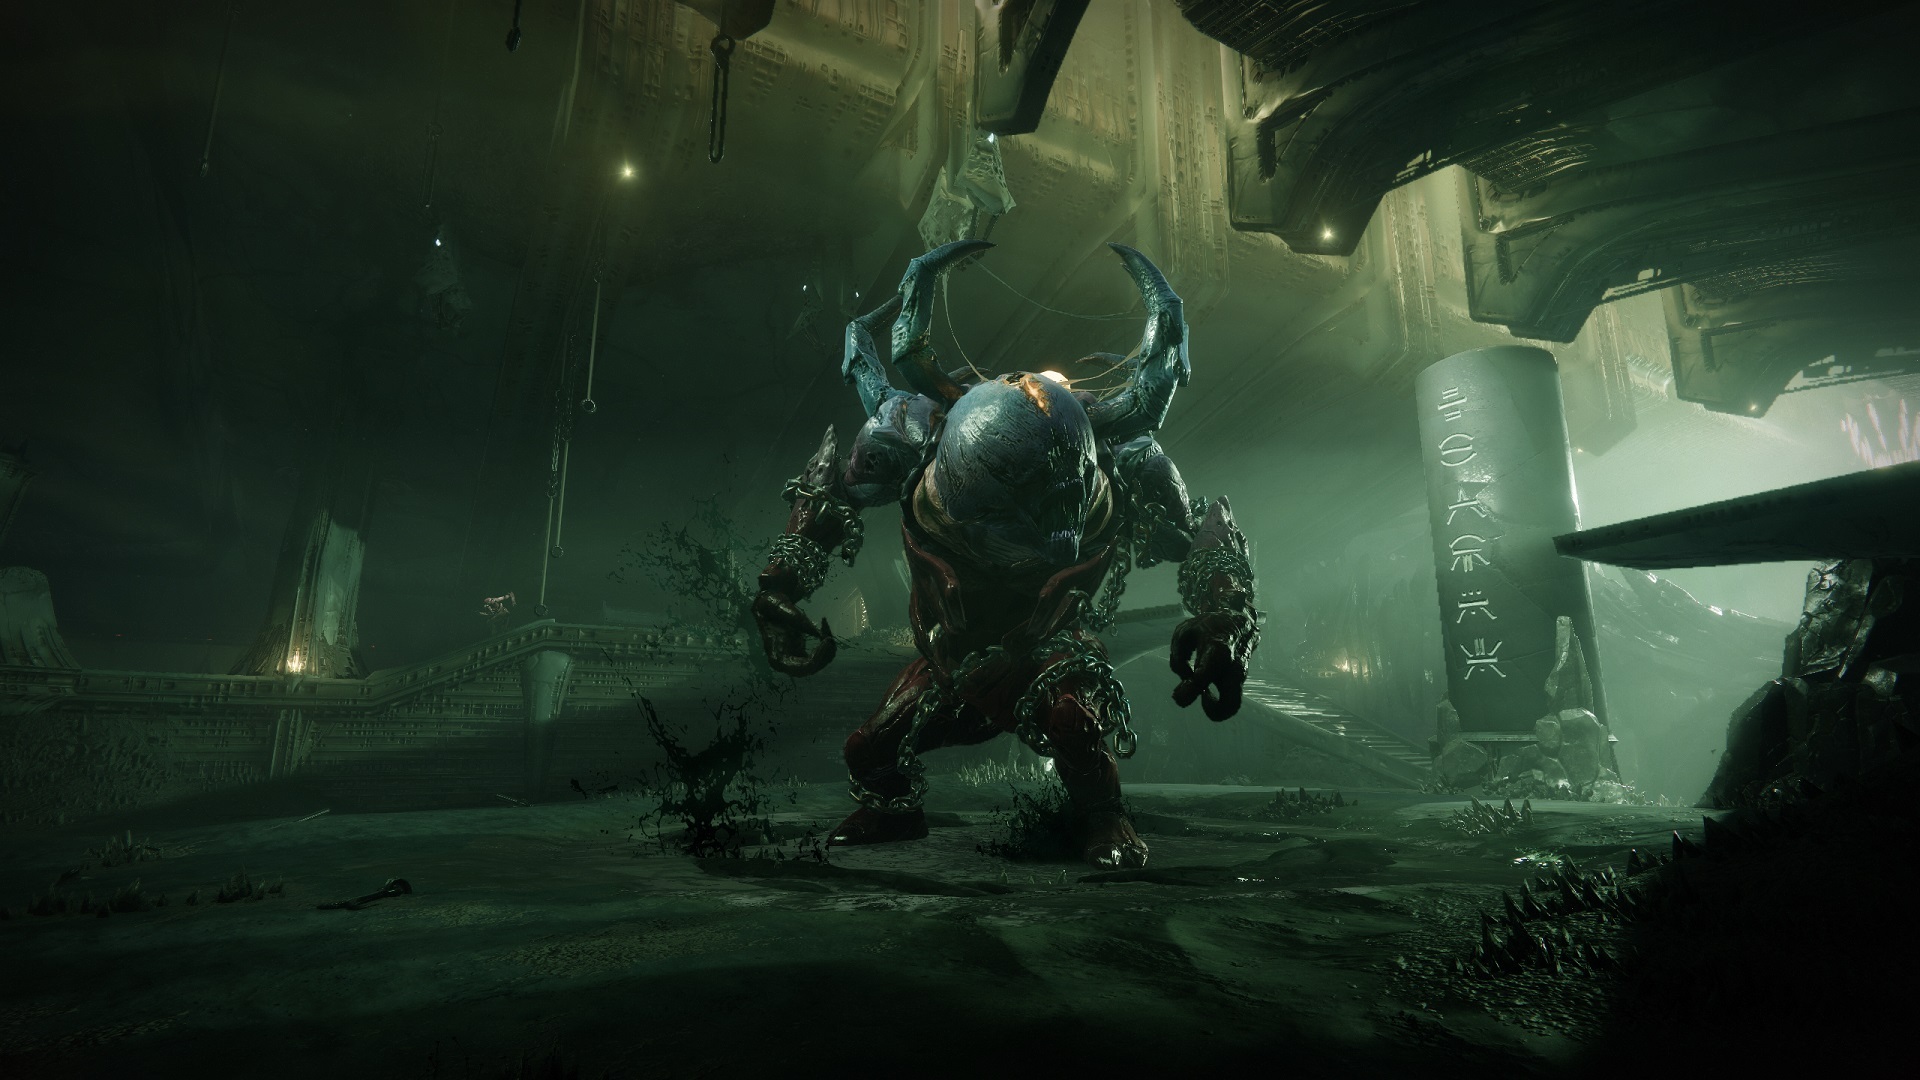
How to complete the Golgoroth Encounter
Have your group split up in 2 teams - 2 guardians will get the Gaze of Golgoroth and 4 guardians will DPS the boss.
At the start of the encounter everyone will add-clear until there are no more adds left.
The DPS team will shoot the droplets hanged up in the ceiling to start the damage phase. There are 6 droplets in total.
Once the first droplet falls, 1 guardian from the Gaze team will shoot Golgoroth's back to get the buff Gaze of Golgoroth which will make the boss target the guardian, when the buff is almost up the other guardian will shoot the his back again to get the gaze and repeat the sequence until the damage phase is over.
While the Gaze team juggle the buff and are focused on staying alive and redirecting the boss towards the DPS team, the DPS team has to shoot Golgoroth in the stomach with high precision damage weapons.
During the damage phase guardians will receive a buff called Unstable Light which makes the guardian explode and deal a large amount of damage around him, this explosion will kill your allies. The guardians that have this buff will have to go next to Golgoroth to explode and deal damage to the boss.
The Daughters of Oryx Encounter Guide (Fourth Encounter)
How to complete The Daughters of Oryx Encounter
Have your group form 2 teams, 4 guardians will be Platers and 2 guardians will be Floaters.
Platers Team: each guardian will be assigned to a plate and will stand on the plate if called out.
Floaters Team: will be ready to swap out a Plater in case the plater becomes Torn.
The encounter begins by killing the knight on the plate.
Once dead, the guardian assigned to the plate will jump on it and look for an orb above the other plates high up in the sky, and call it out. The guardian assigned to the other plate will have to jump on it and stay there untill the Torn guardian completes the climb. These 2 guardians will jump off after the call out from the Torn guardian.
Once the 2 guardians are up on the plates a random guardian will be Torn between dimensions. The Torn guardian will have to climb up the platforms and touch the Orb. After 3 times, the guardian will be able to pick up the orb that will grant the Brand Claimer buff and a Knight with the Aura of Immortality will spawn.
If the guardian that stands on a plate becomes Torn, then a floater will replace him.
The guardian with the Brand Claimer will steal the Aura of Immortality from the knight and the entire group will get together in the bubble and start the DPS phase. Best DPS spot is under the Daughters in the middle of the room.
If the group kills one of the Daughters of Oryx, then in the next damage phase the other Daughter has to be killed or it will wipe the team.
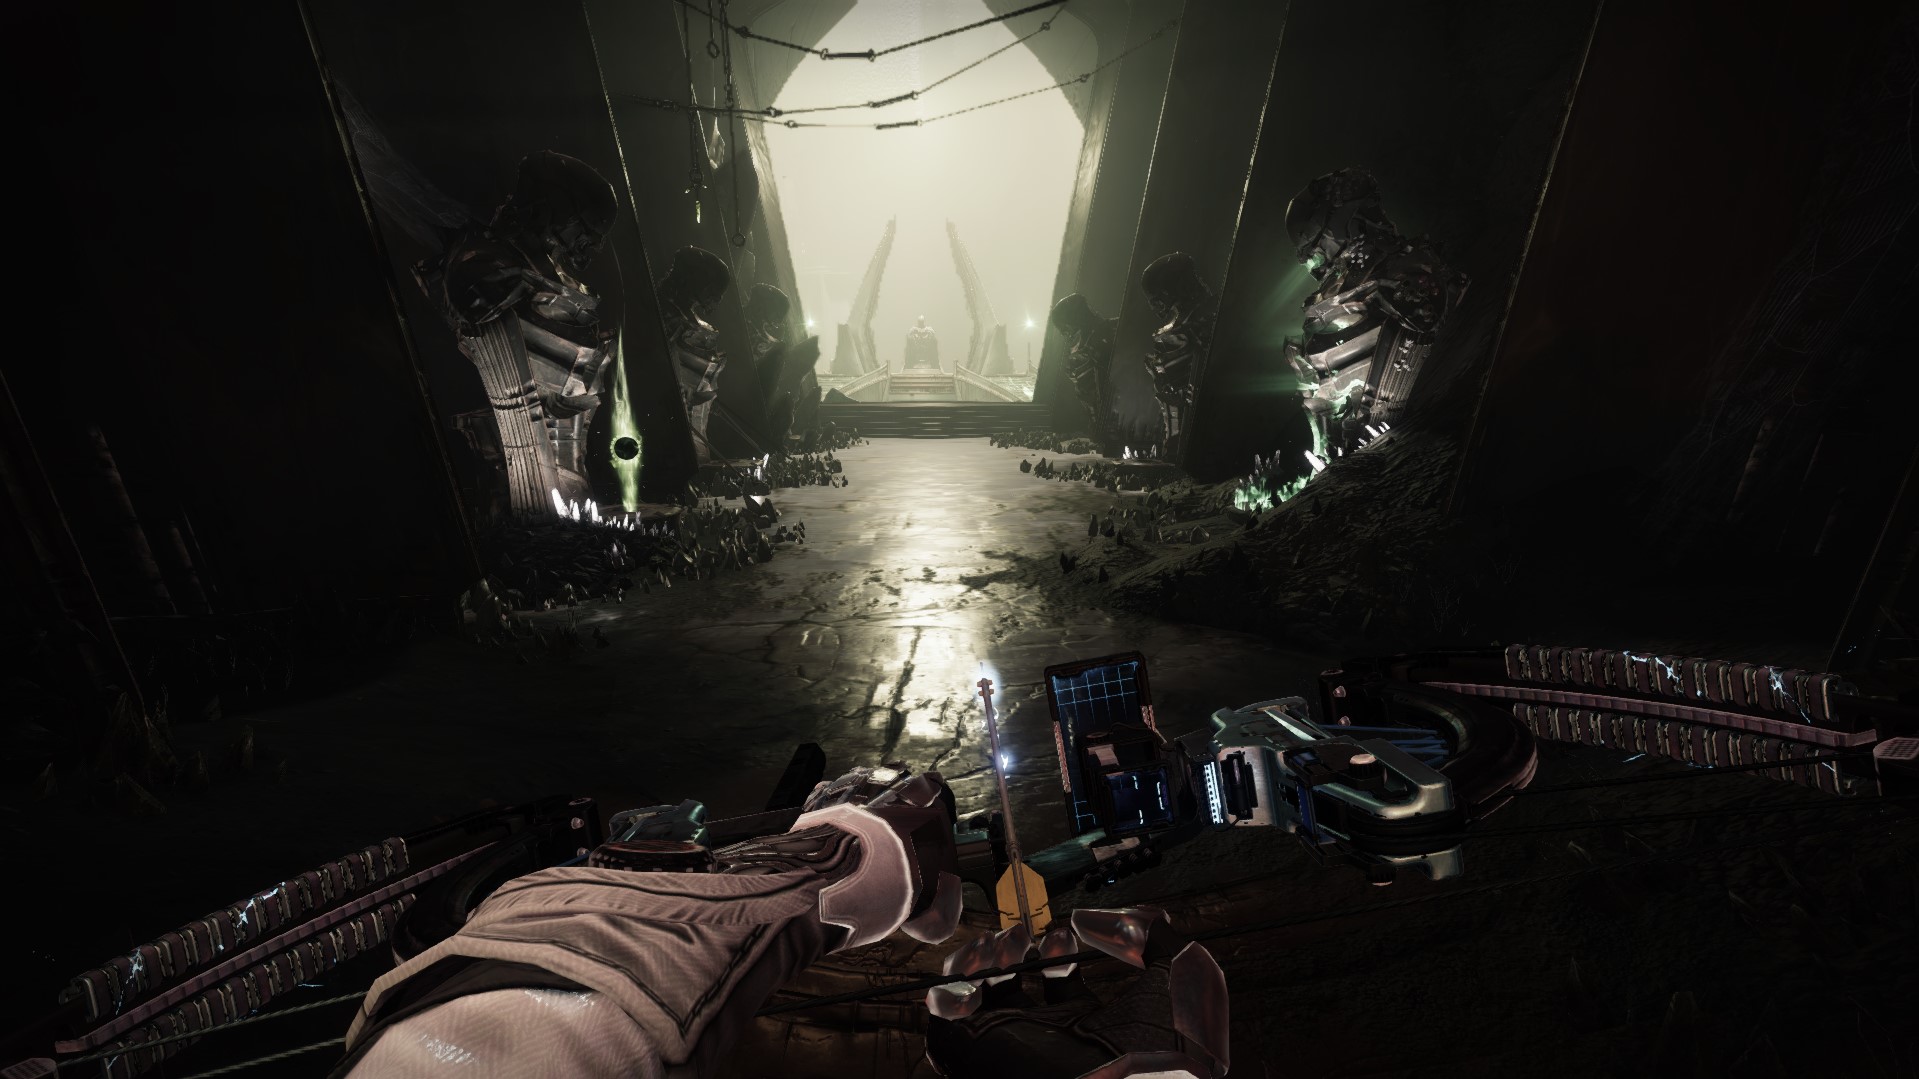
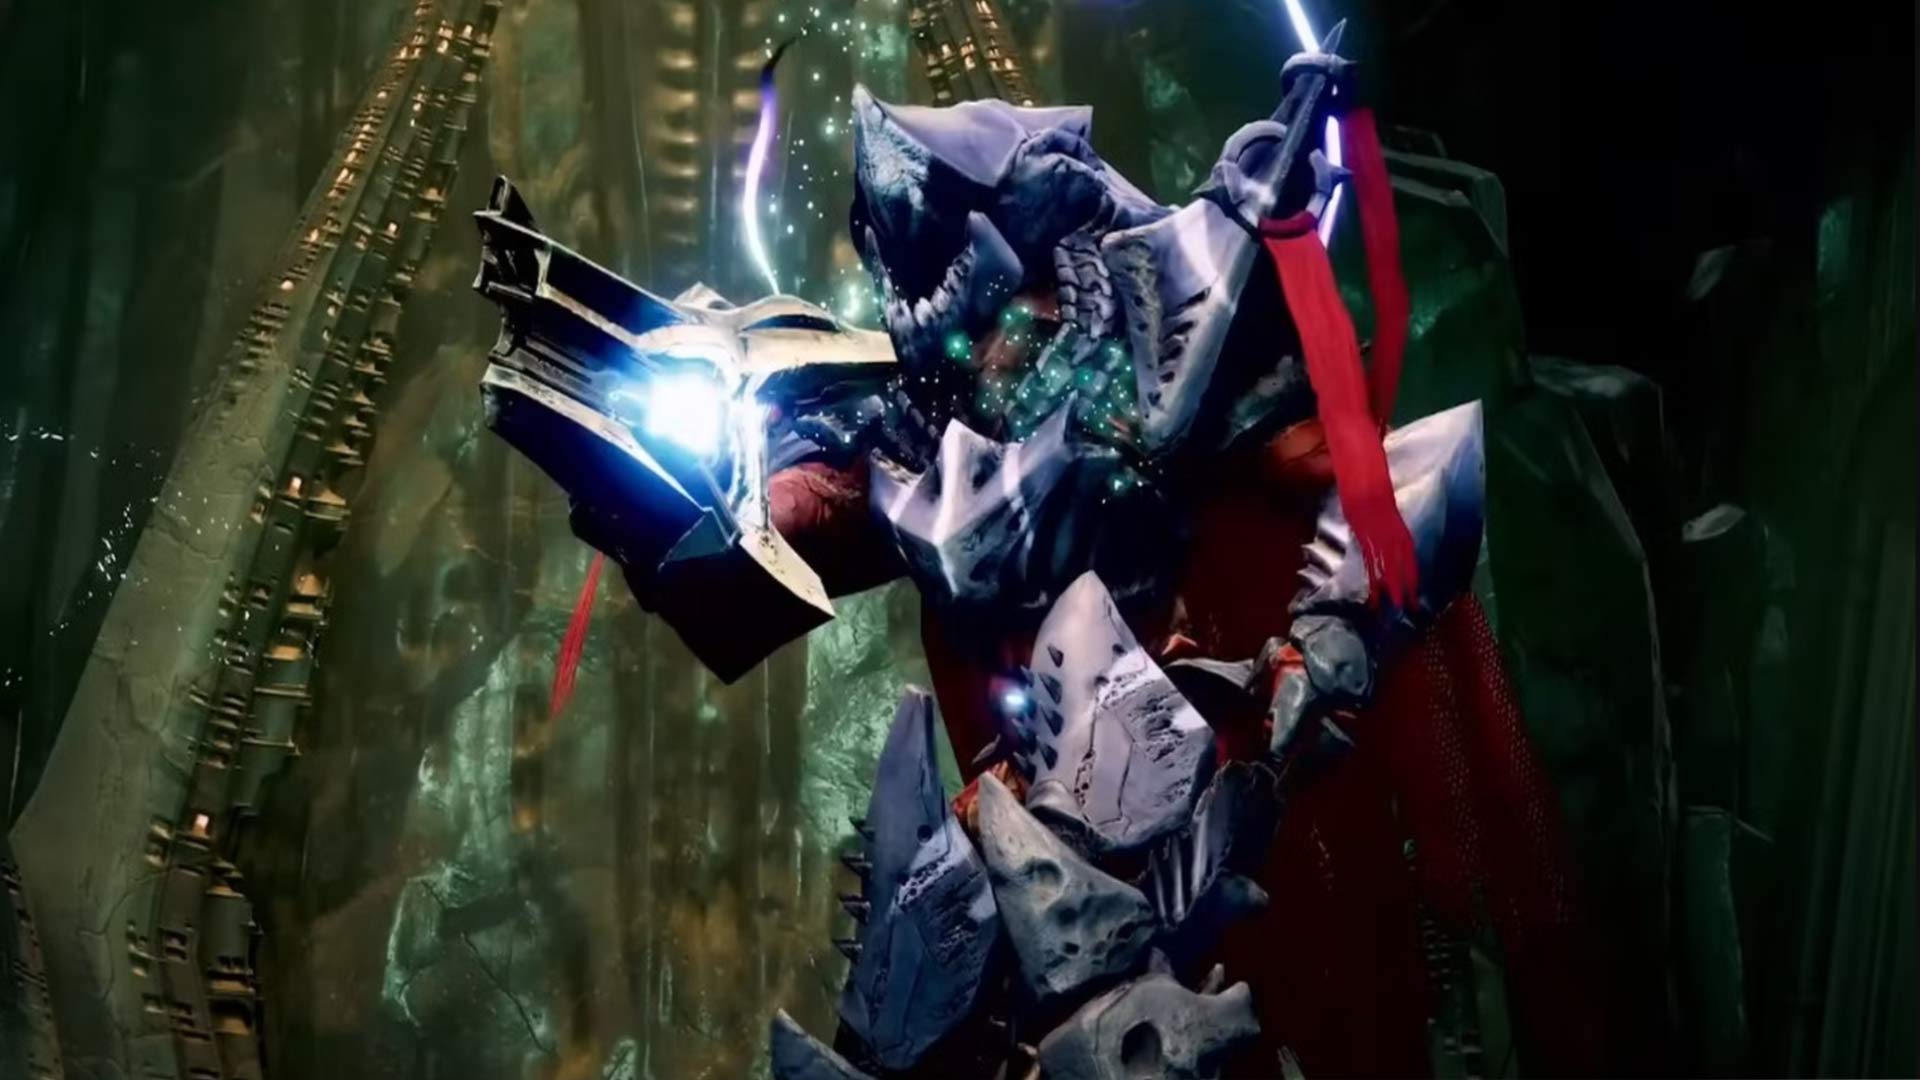
Oryx, the Taken King Encounter Guide (Final Encounter)
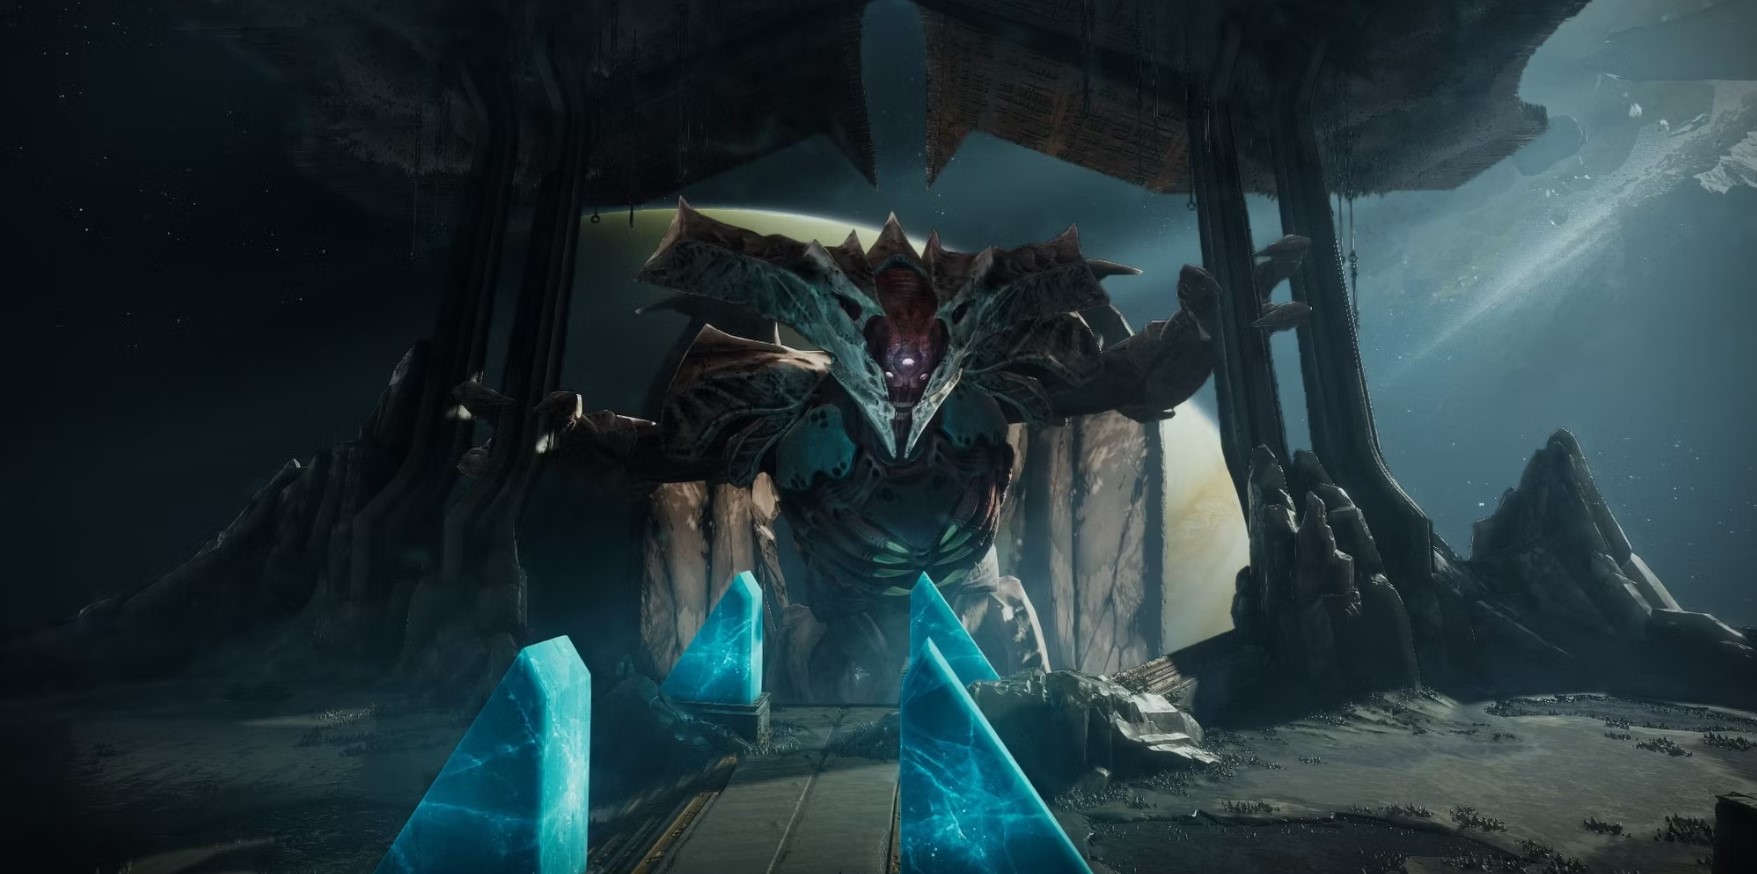
How to Complete Oryx, the Taken King Encounter
The final encounter is very similar to the 4th encounter, having place in the same room, but with additional mechanics.
Have the same 2 teams of platers and floaters.
The mechanic of the encounter will start on the plate where Oryx will slam his fist down.
Once he slams his fist on the plate, the player assigned there will jump up on the plate and look for the Orb above the other plate and call it out. The other player will jump up on the called out plate and this will create the platforms for the Orb.
During this time, a random guardian will be Torn between dimensions. In case the plater that has to stand on the plate is the one Torn between dimensions, the floater will replace him.
The Torn guardian will climb the platforms and touch the Orb. This mechanic will be repetead 3 more times, 1 more time than in the previous encounter.
While the mechanic keeps progressing, players will encounter Light-Eater Ogres. These Ogres must die very quickly, because at the spot of their death, they will leave a Corrupted Bomb.
The Corrupted Bombs must be protected from the Light-Eater Knights, this is very important because the Corrupted Bombs determine how long the DPS phase will last. If a Light-Eater Knight reaches the Corrupted Bomb he will destroy it.
Once the mechanic has been done 4 times and the final Torn guardian picks up the Brand Claimer buff, a knight with the Aura of Immortality will spawn in the center of the room. The guardian with the Brand Claimer buff must steal the Aura of Immortality from the knight just like in the previous encounter.
When the message: "Oryx Calls upon darkness" shows up on the left side of the screen the platers will have to go inside the Corrupted Bombs and stay there untill the message: "[Guardian Name] has defused a Corrupted Bomb" shows up on the left side of the screen, after defusing the Corrupted Bombs the platers will have to run and quickly get into the Aura of Immortality or else the platers will die.
Once inside the Aura of Immortality the DPS phase will begin.
After the DPS phase, Oryx will launch one of two attacks.
1. Corrupted Bombardment: where he will bombard the places beneath the guardians with bombs, running in circles or jumping around will help you dodge this attack with ease.
2. Corrupted Arena: where guardians will be randomly teleported into an dimensions made by Oryx where you will have to kill a clone of Oryx, this attack is very easy, just dps the clone and it will be over very fast.
Last Stand: After getting oryx to his last stand, he will become immune for a few seconds and the DPS will start again during this time, 2 Light-Eater Ogres will spawn, assign 2 players to kill the ogres and detonate the Corrupted Bombs hat they drop to extend the last-stand. If the last stand ends without oryx's death, the team will be wiped

How to complete King's Fall Raid Challenges
King's Fall encounters come with a weekly challenge that rewards you with an additional reward upon completion. A challenge makes the encounter more difficult, so great team coordination and communication are the keys to success.
How to complete the Totems Encounter Challenge
To complete the first encounter challenge, you must not have the same buff twice a row. If you start on the left side and get the Brand of the Unraveler, you cannot use the Brand Claimer to take the same brand, and you have to go to the right side and get the Brand of the Weaver. The same rule applies on the right side.
Note: You should swap sides after depositing your Deathsinger's Power Stacks.
How to complete the Warpriest Encounter Challenge
The challenge for the Warpriest encounter it's pretty straightforward; On the damage phase, after you kill the Blighted Knight for the Brand Claimer buff, you must pick up the brand of the Initiate out of your teammate almost immediately. You'll need to move to the Blighted Knight as a team while DPS'ing the Warpriest.
Note: After grabbing the Blighted Knight's Buff, you have approximately five seconds to swap the buff.
How to complete the Golgoroth Encounter Challenge
Golgoroth's challenge aims to have the player with Golgoroth's Gaze stand in the Pool of Reclaimed Light with the other teammates while the other runner recaptures the gaze. The same rule applies to the following party members that steal the gaze from Golgoroth.
How to complete the Daughters of Oryx Encounter Challenge
For the Daughters Encounter challenge, you need to jump on the platforms in a specific way; you cannot stand on the same plate twice in a single damage phase. For easy completion, you can rotate your plates when the Torn Between Dimensions player finishes his platforming section and claims the buff.
How to complete the Oryx, The Taken King Encounter Challenge
This encounter's challenge is similar to the Daughters' one. You cannot kill the same Light-Eating Ogres and Knights twice throughout the encounter. Delay the runner, and rotate the plate standers after each DPS phase.
TOUCH OF MALICE EXOTIC & CATALYST
After defeating Oryx, the final King's Fall raid boss, you may get the Touch of Malice exotic, a returning scout rifle from Destiny 1 that drains enemies' life force, turning it into a dark energy ball blinding the combatants. All weapon's stats are balanced, so it's a must-have for all guardians.
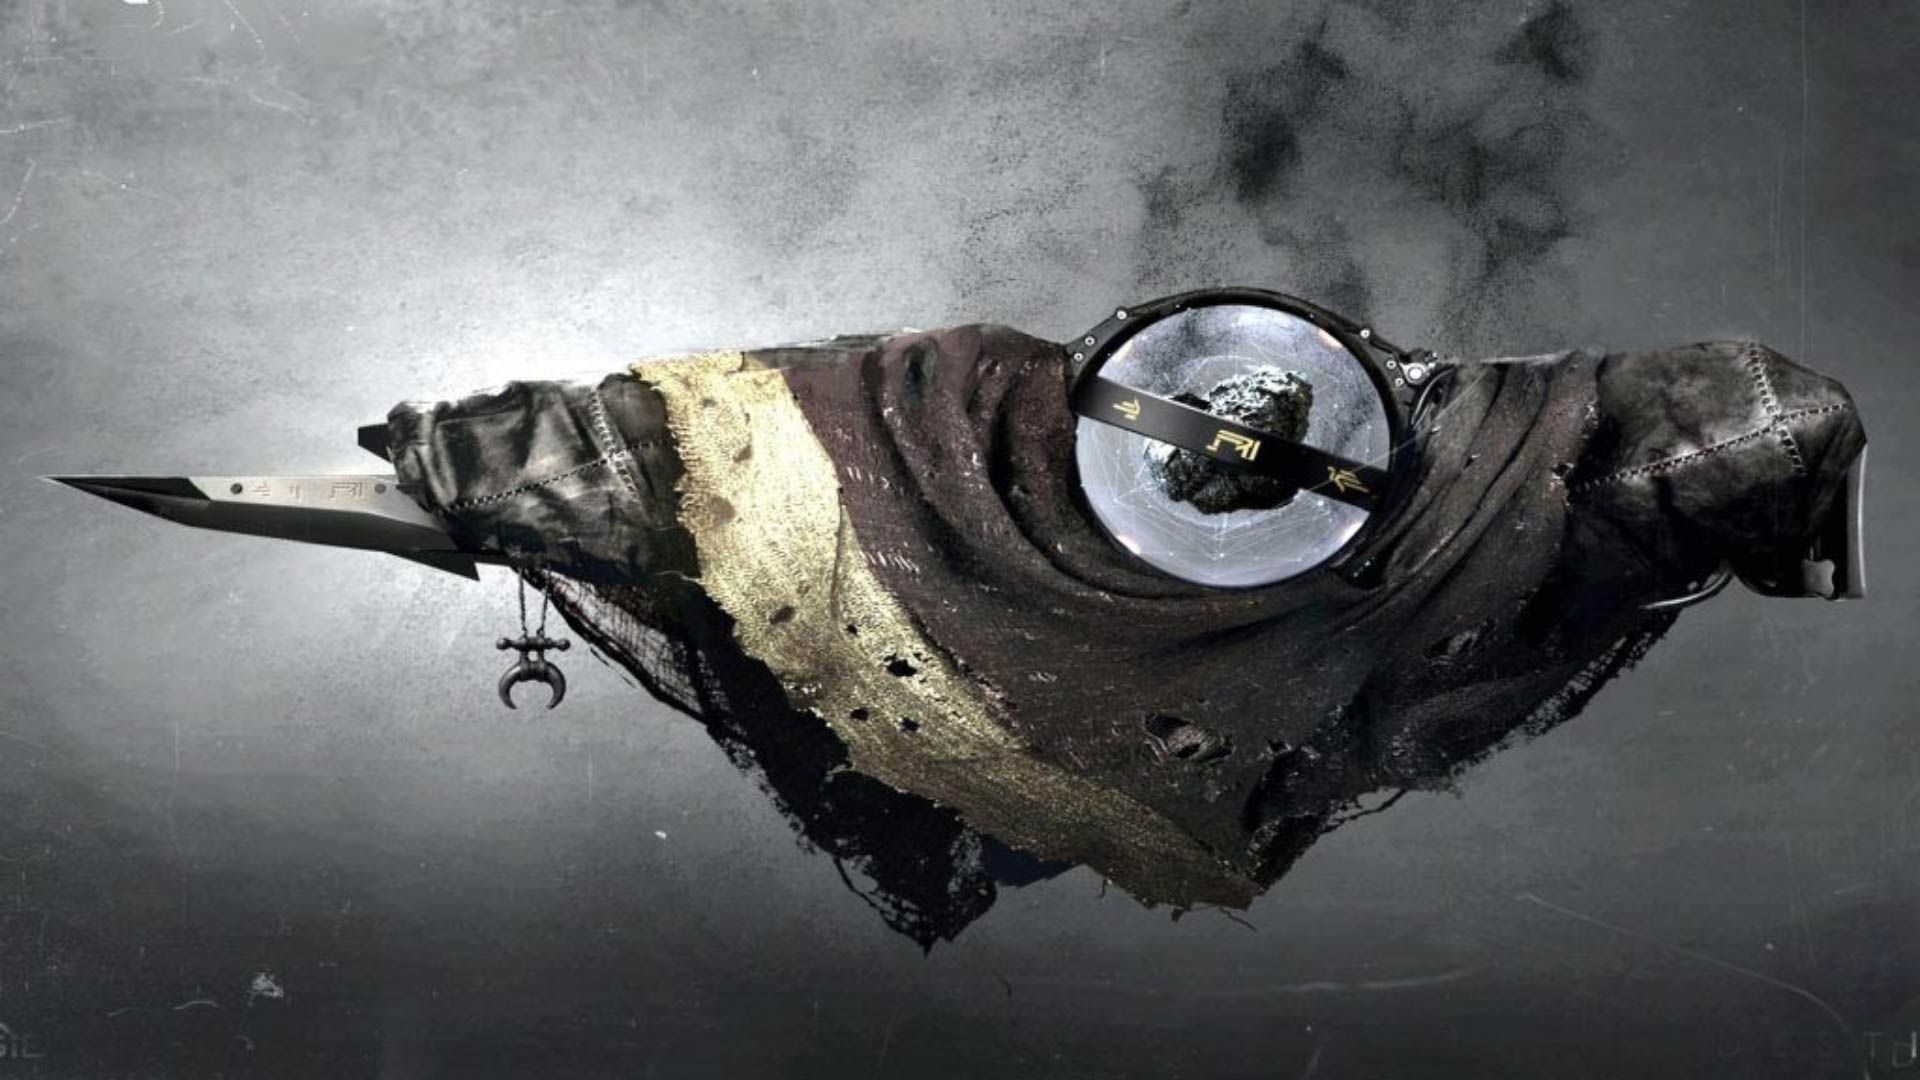
The raid exotic also has a catalyst that adds the Rapid Hit perk, temporarily increasing the stability and reload speed. You can obtain the Touch of Malice catalyst by completing a specific quest during King's Fall raid if you have the exotic on your account.
The Touch of Malice catalyst quest requires another completion of King's Fall raid with extra puzzles and teamwork. In the following list, we explained all the steps for quest completion:
Spread your team out around the opening area of the Dreadnaught until you’ve found four Relics not including the two that spawn on the lanterns at the entrance of the raid.
They have multiple spawn locations, so you’ll just need to wander around until you’ve found some. Count down from three and then have four players grab the four Relics. This will begin a countdown timer.
You’ll have about a minute and a half to get from where you picked up the Relics back to the Thrall statue behind where the portal spawns in the Court of Oryx.
Run back there as fast as you can, and have your allies not carrying Relics destroy the Shriekers that will attempt to shoot you down.
When all four players are at the Thrall statue, dunk them in and the statue will catch fire.
You’ll get a notification that it hums with energy, which means you did it right. Now, proceed through the King’s Fall raid normally until you reach Golgoroth’s maze.
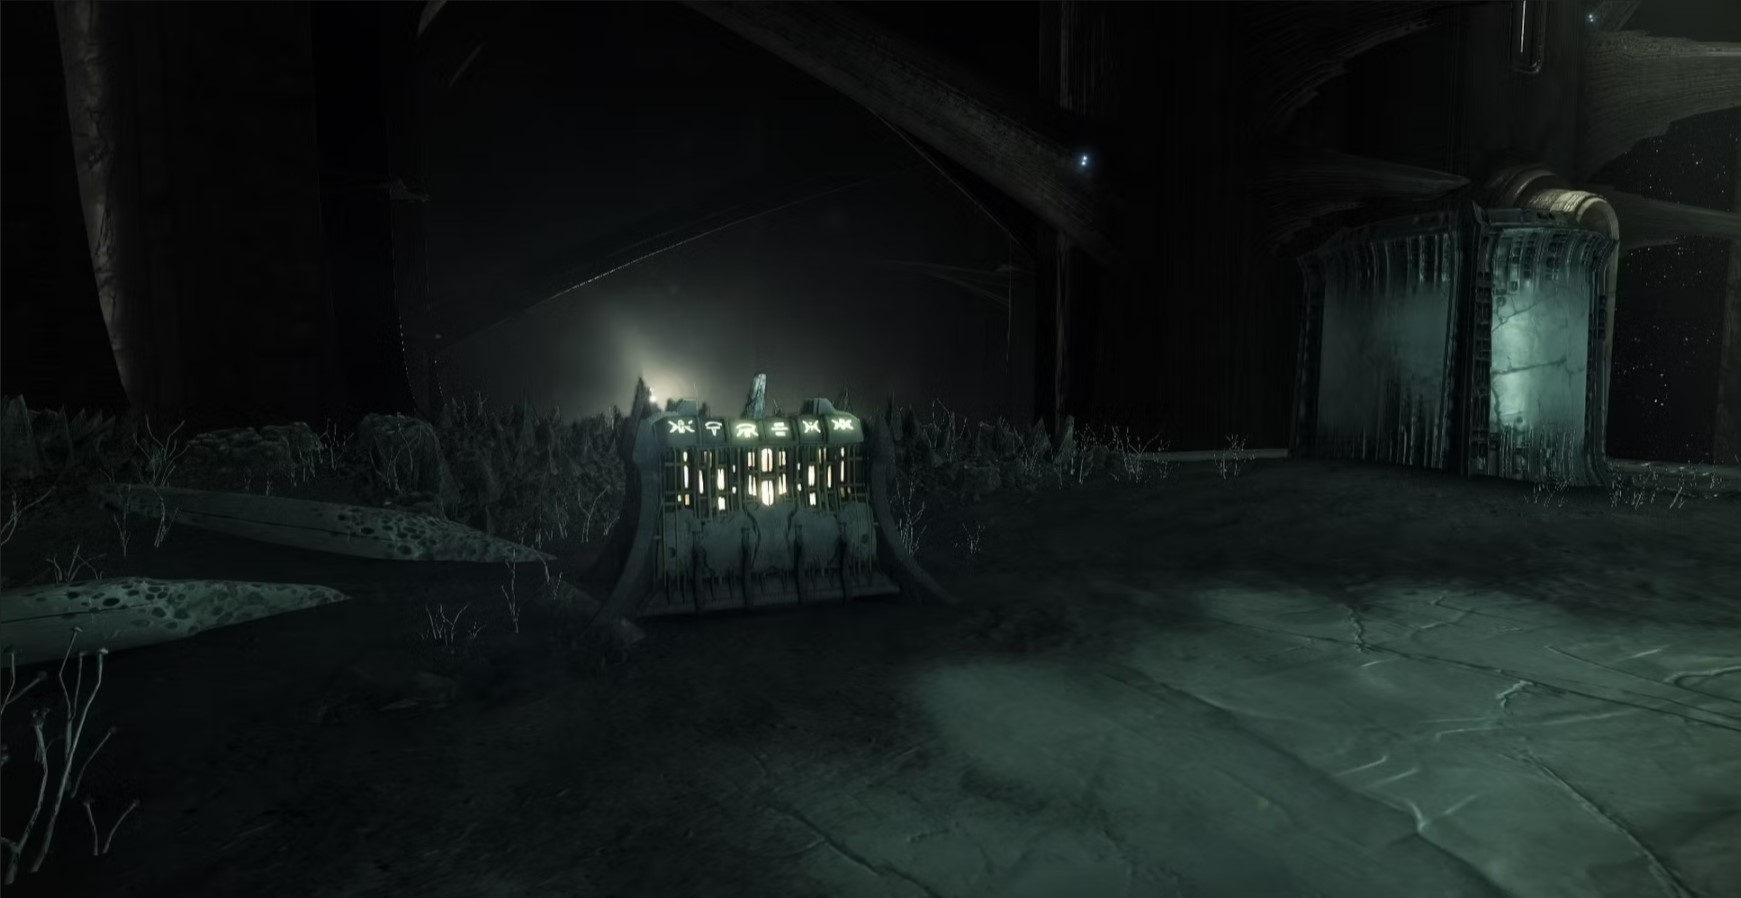
Once in Golgoroth’s maze, you’ll first need to open the second secret chest.
Once the door is open and you’ve grabbed your loot, look around the crystals near the chest. You’ll see another small plate, like the one in the Court of Oryx. Send your Touch of Malice player to stand on it, which will once again spawn Relics.
Just like before, send out four of your players to hunt down Relics. They can be anywhere in the maze, so just run around until you’ve found them. Once everyone is ready, countdown and pick the Relics up simultaneously.
Carry the Relics toward the exit of the maze, near the door to Golgoroth. However, before you walk down the final long hallway, look for a small hole just off to the left of the main path much smaller than the usual death pits.
Jump down it. Instead of your death, you’ll find another Thrall statue.
When everyone is in position, dunk the four Relics to activate this statue.
You’ll get a notification that it hums with energy, which means you did it right. Now, proceed through the King’s Fall raid normally until you reach the wall.
After defeating Golgoroth, you’ll find yourself in the beloved and infamous Wall room. Proceed normally and activate the plates by sending one player in front of the other leapfrog style.
Once you’ve locked all the platforms in place, the final plate will glow green. Have your Touch of Malice wielder step on it to spawn a bunch of Relics.
Once you’ve located all four, do another countdown and grab them.
This time you’ll need to make your way all the way back to where you entered the Wall room. Thankfully, starting this puzzle spawns a ton of platforms that will help you get back up. Just make sure to watch out for the phallic pistons, as getting killed while carrying a relic will make completing the puzzle in time difficult. (If you fail any of these puzzles, you can reset them by having the Touch of Malice player return to the plate).
Send the non-Relic holders ahead to clear out the Shriekers and then make your way back to the entrance. Once you’ve arrived, climb the new platforms that have appeared by the entrance, which lead up to a mysterious door on the right side of the room. When everyone is ready, dunk your Relics in the Thrall statue to open the door to Oryx’s basketball court.
Inside the basketball court, you’ll see a bunch of jump pads and a big Thrall statue positioned like a basketball hoop.
When you walk in, a bunch of Relics will spawn and a timer will start ticking down. For this puzzle, you just need your entire team to grab and dunk as many Relics as possible into the hoop. It’s chaotic, but not too tough.
Once you’ve earned enough points (denoted by the glowing pillars on the left and right of the room) any Guardians who have the Touch of Malice in your group with get the Catalyst.
After getting the Touch of Malice catalyst, you need to unlock it by masterworking your weapon. The process is straightforward; you must kill 500 enemies using Touch of Malice.
SKIP THE GRIND! BUY KING'S FALL EXOTIC & CATALYST!
Conclusion
We did our best to structure our Destiny 2 King’s Fall raid guide efficiently. We completed all encounters repeatedly to ensure it wraps up all the information you need in detail. You are now ready to be a key player, helping your team defeat all bosses and get all the stunning rewards that drop during the King's Fall raid.
We engage to keep this guide updated with the upcoming strategies, challenges, and Master difficulty as soon as they are available in the game, so you should revisit our King's Fall guide from time to time to be up to date with all the new additions launched by Bungie in the near future.
Final Thoughts
I hope this guide will ease your journey toward all King’s Fall raid phases and help you get one step further to success. We did all the research, and now it’s your turn to show your skill. Give it a try, Guardian!
Update Log
15.01.2025 - Guide fully revamped.
About KBoosting
If you are struggling to find a King's Fall raiding team or don't have enough time to play yourself, at KBoosting, besides articles & guides, we also provide Destiny 2 boosting services. All you need to do is check our King's Fall Boosting & Carry Services and let our professional boosters handle everything. You can join our proficient raiding team in an unforgettable journey through all encounters.
You can order King's Fall raid runs as recoveries or carries or buy guaranteed weapons, and we'll farm the raid for you. Go to our store and choose the service that fits your needs. You deserve the best gaming experience, and we're here to make it happen!
Exclusive Guides and Tips
