Crota's End Raid Guide

-
Bundle
- Powerful & pinnacle gear with 25% off
- Increase your power level easily
-
Hot


-
-
- Necrochasm exotic catalyst guaranteed
- Masterwork & Oversoul amount available
Are you still looking for the perfect guide for Crota's End Raid in Destiny 2? Then you've come to the right place, Guardian! Here you can find an up-to-date explanation of the best tips and tricks for any raid encounter. Choosing the right strategy significantly impacts your gameplay experience, so you must make the best decisions regarding your weapons, gear, playstyle, and activity knowledge.
First, we will cover the basics and clarify the different types of rewards you can acquire by completing the raid. Then, we will go through all encounters on both Normal & Master difficulties alongside the secret chests, and showcase the exclusive exotic that can be found within the Crota's End Raid!
By the end of this guide, you will become a prestiged Guardian that has all the knowledge the activity can offer. Sounds good, right? Let's get started!
Table of Contents
Here is a little breakdown of our Crota's End Raid Guide:
- Loot Table (Normal & Master)
- Raid Preparation
- Raid Entrance
- First Secret Chest Location
- First Encounter
- Second Encounter
- Second Secret Chest Location (Thrallway)
- Third Encounter
- Fourth Encounter
- Differences between Normal & Master Difficulties
- Crota's End Walkthrough
- Crota's End Challenges
- Necrochasm Exotic
- FAQs
- Related Guides
- Conclusion
Crota's End Loot Table (Normal & Master)
Along with our professional Destiny 2 team, we'll farm each encounter, taking notice and doing the research to present a complete Crota's End loot table. Below you will find all the weapons and armor set pieces that drop after each raid phase & encounter.
Crota's End Weapons Loot Table
| Weapon | Perks |
|
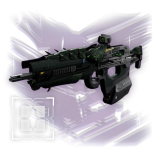
Oversoul Edict 
|
Pulse Rifle Ammo: Primary Column 1 Perks – Enlightened Action, Eye of the Storm, Eddy Current, Perpetual Motion, Demolitionist, Encore, Keep Away. Column 2 Perks – Moving Target, Swashbuckler, High Ground, Adrenaline Junkie, Sword Logic, Voltshot, Headseeker. PvP God Roll – Eye of the Storm, Moving Target. PvE God Roll – Enlightened Action, Voltshot. |
|
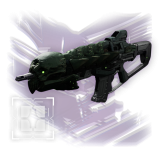
Abyss Defiant 
|
Auto Rifle Ammo: Primary Column 1 Perks – Pugilist, Enlightened Action, Heal Clip, Zen Moment, Subsistance, Outlaw, Reconstruction. Column 2 Perks – Collective Action, Eye of the Storm, Swashbuckler, Incandescent, Kill Clip, Sword Logic, Target Lock. PvP God Roll – Zen Moment, Target Lock. PvE God Roll – Reconstruction, Incandescent. |
|
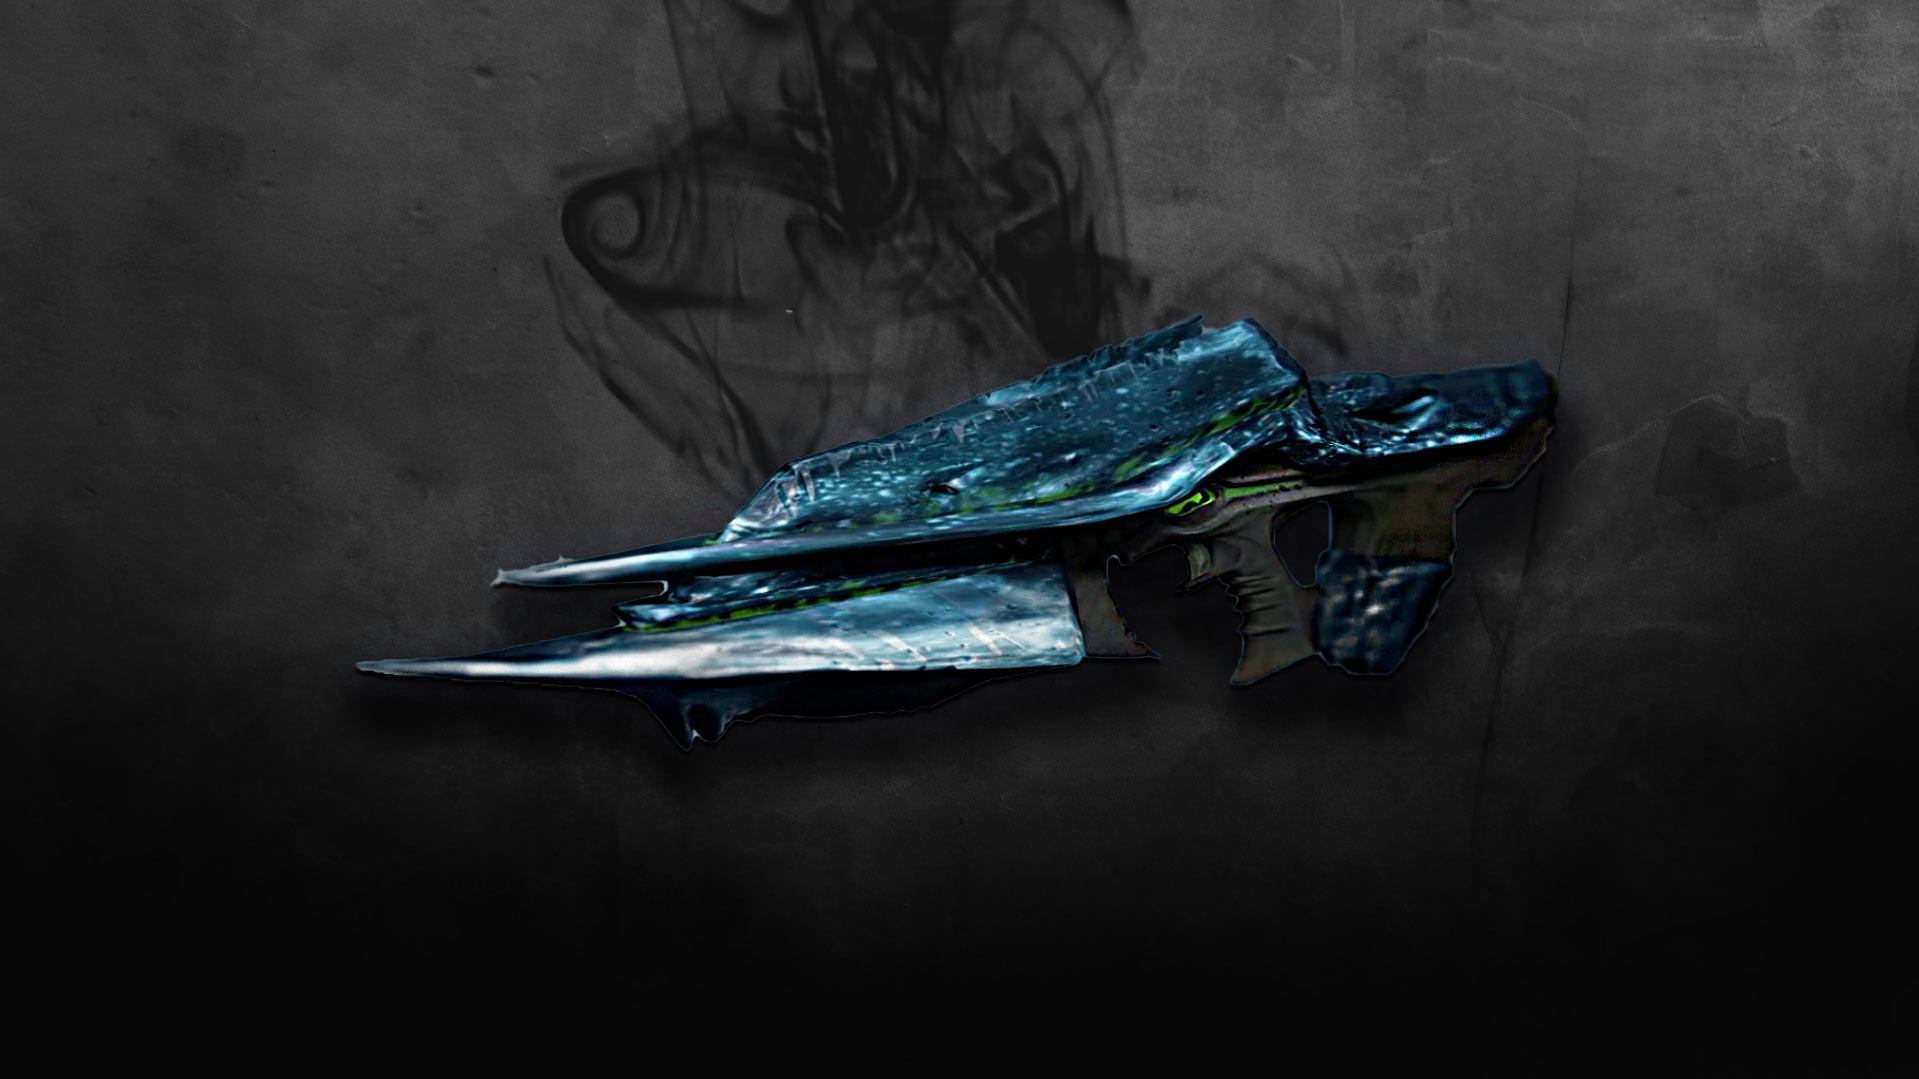
Fang of Ir Yût 
|
Scout Rifle Ammo: Primary Column 1 Perks – Shoot to Loot, Tunnel Vision, Killing Wind, Rewind Rounds, Rapid Hit, Keep Away. Column 2 Perks – Opening Shot, High Ground, Precision Instrument, Golden Tricorn, Sword Logic, Hatchling, Kill Clip. PvP God Roll – Rapid Hit, Sword Logic. PvE God Roll – Rewind Rounds, Precision Instrument. |
|
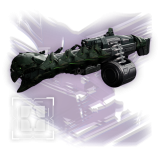
Song of Ir Yût 
|
Machine Gun Ammo: Heavy Column 1 Perks – Unrelenting, Feeding Frenzy, Demolitionist, Zen Moment, Keep Away, Rewind Rounds, Reconstruction. Column 2 Perks – Elemental Capacitor, Voltshot, High Ground, Cascade Point, Sword Logic, Bait and Switch, Target Lock. PvP God Roll – Demolitionist, Target Lock. PvE God Roll – Reconstruction, Bait and Switch. |
|
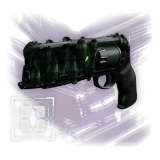
Swordbreaker 
|
Shotgun Ammo: Special Column 1 Perks – Pugilist, Subsistence, Elemental Capacitor, Fragile Focus, Threat Detector, Slideshot, Demolitionist. Column 2 Perks – Surrounded, Golden Tricorn, Sword Logic, One-Two Punch, Opening Shot, Barrel Constructor, Hatchling. PvP God Roll – Slideshot, Opening Shot. PvE God Roll – Pugilist, One-Two Punch. |
|
Word of Crota 
|
Hand Cannon Ammo: Primary Column 1 Perks – Subsistence, Rangefinder, Killing Wind, Dragonfly, Repulsor Brace, Enlightened Action, Demolitionist. Column 2 Perks – Focus Fury, Precision Instrument, Frenzy, Sword Logic, Rampage, Destabilizing Rounds, Adrenaline Junkie. PvP God Roll – Killing Wind, Rampage. PvE God Roll – Dragonfly, Destabilizing Rounds. |
SKIP THE GRIND BUY CROTA'S END WEAPONS!
Crota's End Armor Loot Table
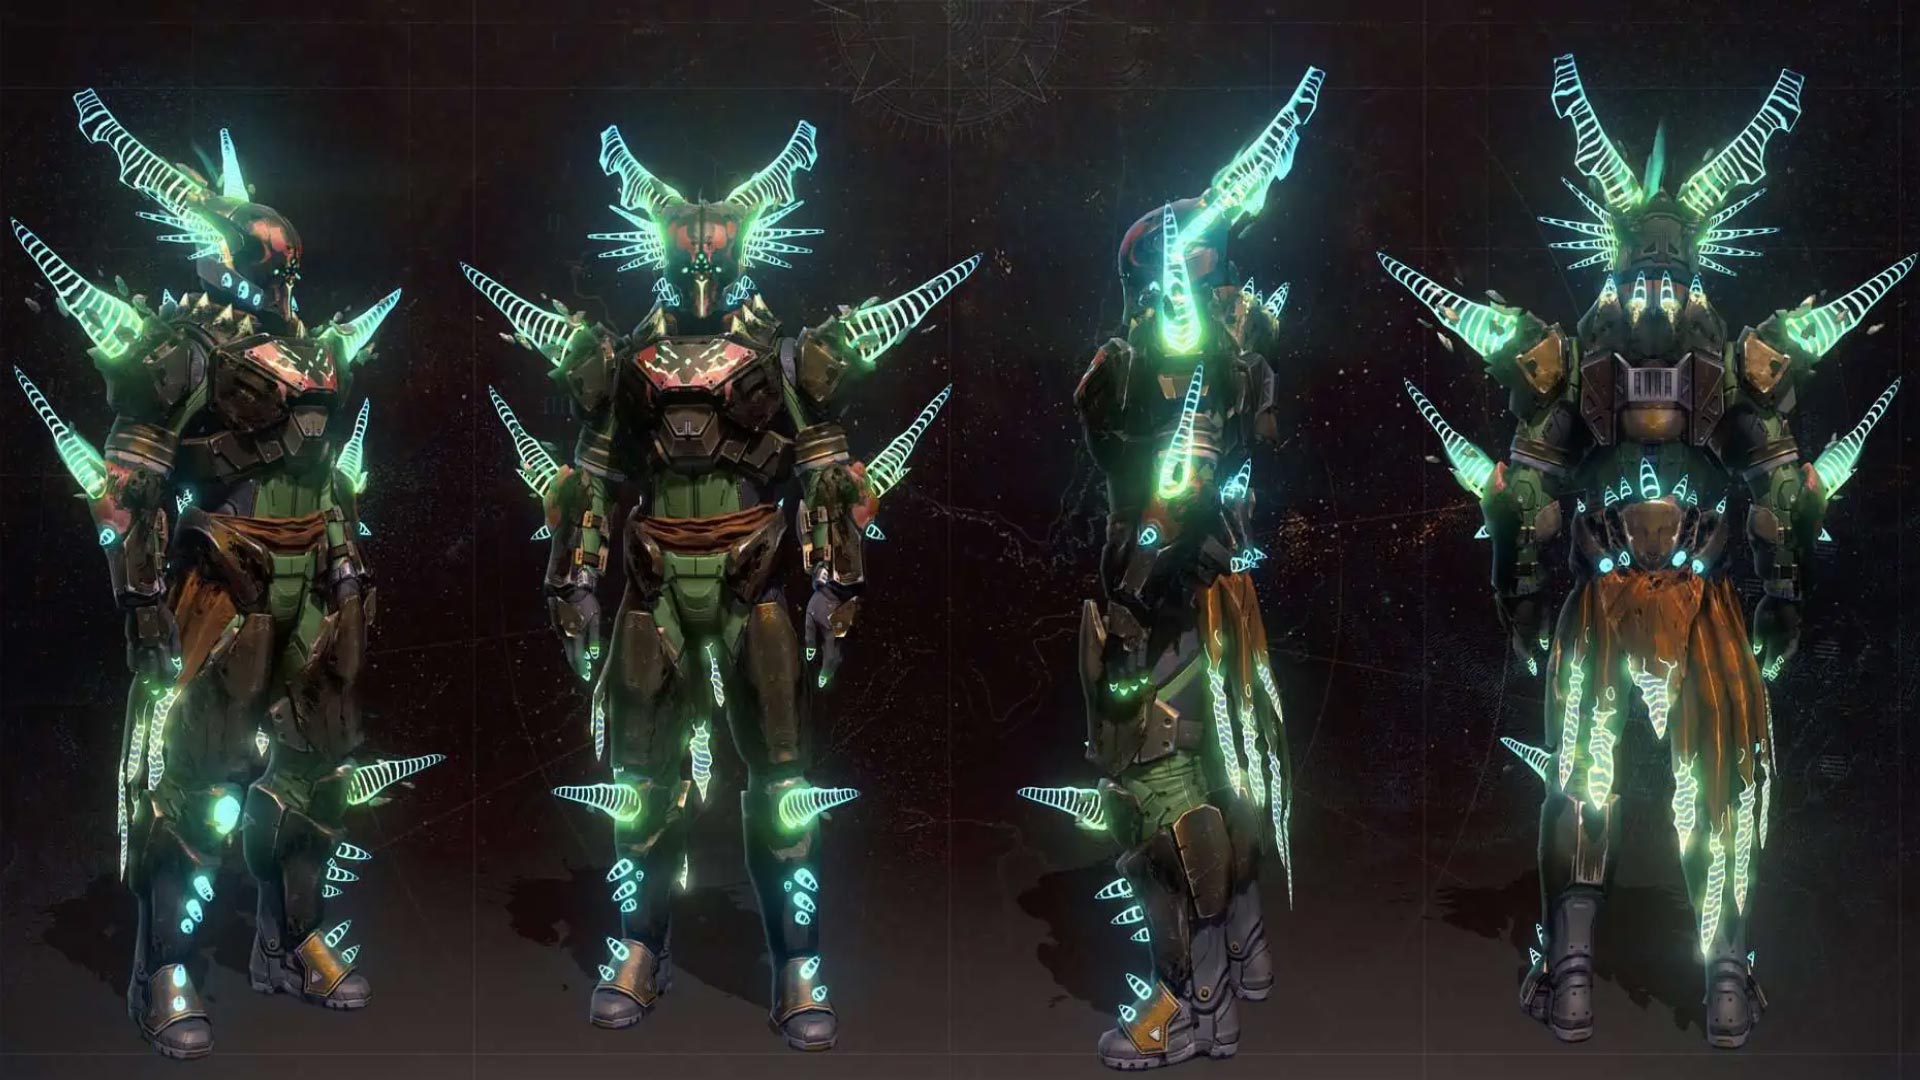
As with every other raid in Destiny 2, Crota's End features one armor set for each class. This raid armor is a fan-favorite armor reprised from Destiny 1.
WARLOCK ARMOR SET:
- Deathsinger’s Gaze – Helmet
- Deathsinger’s Grip – Gauntlets
- Deathsinger’s Mantle – Chest Armor
- Deathsinger’s Herald – Leg Armor
- Bone Circlet – Warlock Bond
HUNTER ARMOR SET:
- Unyielding Casque – Helmet
- Dogged Gage – Gauntlets
- Relentless Harness – Chest Armor
- Tireless Striders – Leg Armor
- Shroud of Flies – Hunter Cloak
TITAN ARMOR SET:
- Willbreaker’s Watch – Helmet
- Willbreaker’s Fists – Gauntlets
- Willbreaker’s Resolve – Chest Armor
- Willbreaker’s Greaves – Leg Armor
- Mark of the Pit – Titan Mark
SKIP THE GRIND! BOOST YOUR GUARDIAN NOW!
As for the weapons, we have a few tips to boost your damage output and ad-clearing:
| Weapons | ||
| Kinetic | Energy | Power |
| Izanagi's Burden | Divinity | Half-Truths |
| Outbreak Perfected | Abberant Action | VS Chill Inhibitor |
Following up in our Crota's End Raid Guide we'll cover all the encounters and how to complete them in the most efficient way!
How to complete the Entrance (Pre-Encounter)
To access the Crota's End Raid, all guardians must build a bridge that goes down into the Moon's Hellmouth. As soon as you spawn in, you will see a white glowing ball of light in front of you named the Chalice of Light; which is your primary mechanic throughout the raid.
It will charge up automatically over time and when the charge meter is full you're going to have a brief window of time where one of your teammates will have to take the Chalice from you or else you will die. Once someone takes the ball from you at full charge you will be granted the Enlightened Buff.
Note: If a teammate takes the Chalice before you reach the full charge, you will not get the Enlightened buff!
When you have the Enlightened Buff, dunk it into the Large Plate in front of the chasm and wait for the bridge to form while clearing some enemies. As soon as the bridge is fully formed, jump down and you will be met by the first encounter of the Crota's End Raid.
Crota's End Raid First Secret Chest Location
Where can you find the first Secret Chest of the Crota's End Raid in Destiny 2?
The first secret chest in Crota's End is located in the Abyss (First Encounter). As seen on the map below, there are Seven Large Doorways and the chest moves behind one of them, randomly. You have to check each individual door until you find the correct one, featured by a small white light above the door frame.
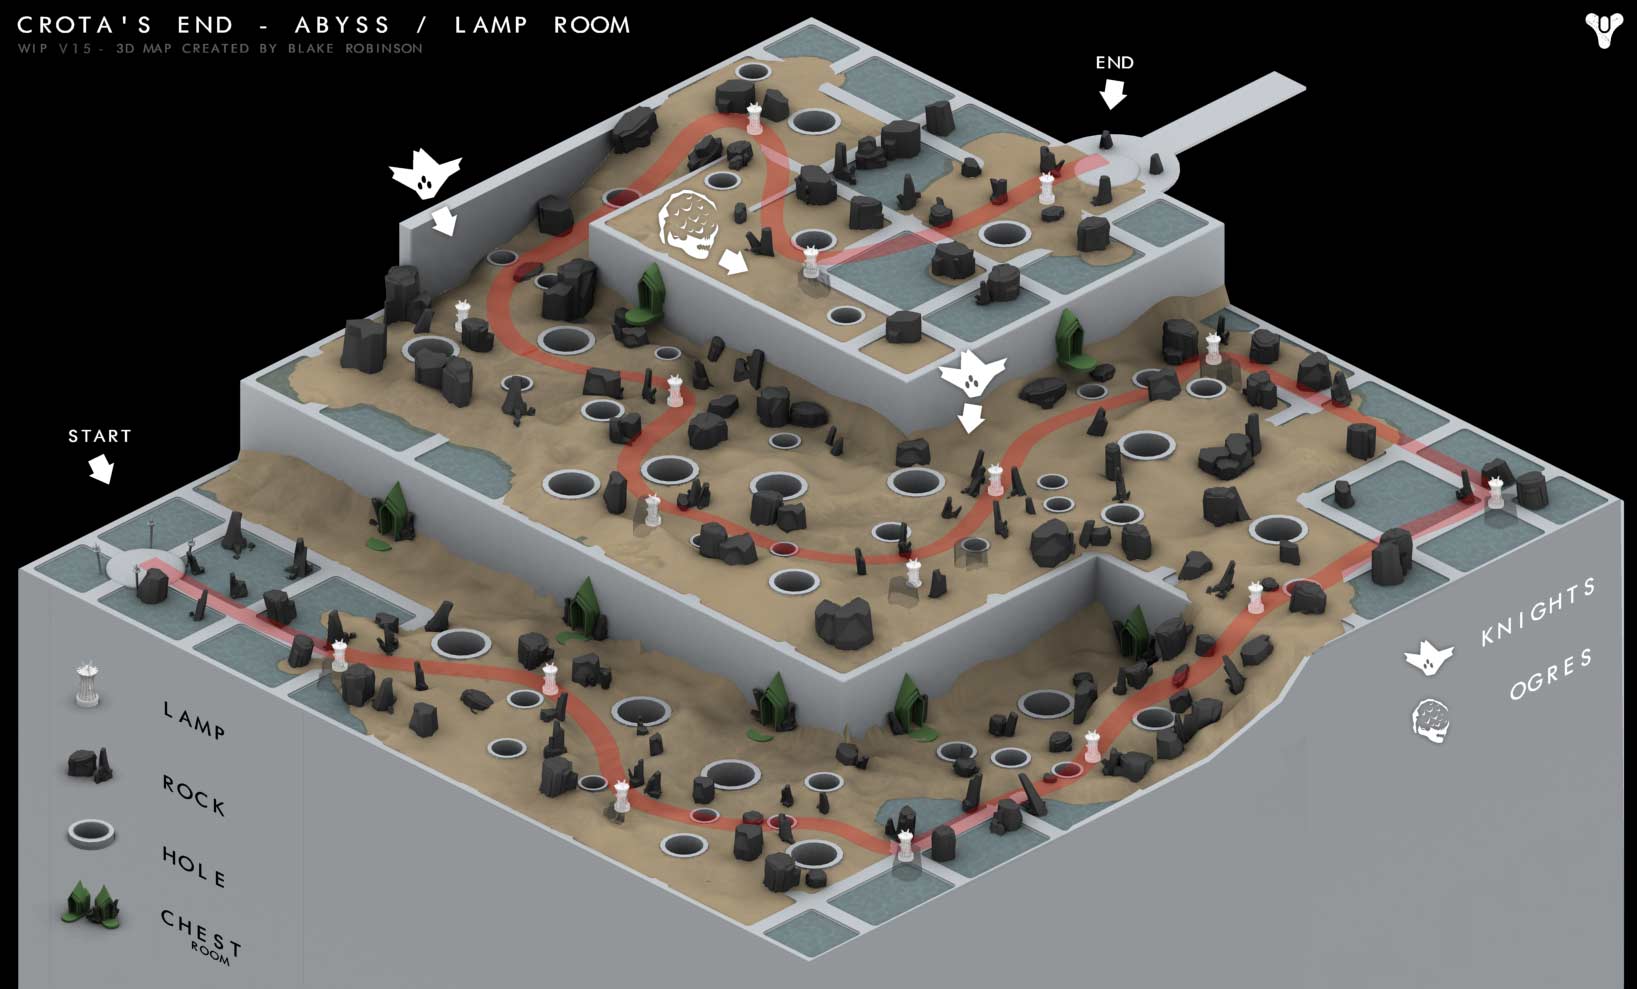
The location of the chest will not change everytime your fireteam wipes the encounter, unlike Destiny 1!
Enter the Abyss Guide (First Encounter)
The Crota's End first encounter takes place in a dark and foggy area swamed by enemies with only one objective: Survive!
How to complete the Abyss Encounter
Navigate through the Abyss while avoiding the debuff called "Weight of Darkness" that gradually increases your movement penalty which can only be cleansed if you stay by the lamps which also guides your way through the labyrinth.
Note: Watch out for the Mini Bosses that appear along the way, you must consider focusing them to clear the path before pushing forward.
Weight of Darkness is a debuff that gradually slows down your guardian's movement as you move further away from the lamp's light. The Lamps scattered along the way emit light and helps you cleanse the Weight of darkness from affecting you and your fireteam. It is essential to have at least one player that's standing close to the lamp to provide light for the team.
Claim the Chalice of Light to start the encounter and fill up the buff to get Enlightened. You can now dunk it into the lamps to activate them and get rid of your Weight of Darkness debuf, but also, there is another interesting mechanic you should consider: there is a timer named "Engulfed in Darkness" that can be refreshed by activating a lamp.
A few lamps on your road will be deactivated and you can't deposit your Enlightened buff to light them up. To activate them you must search a little platform where you can deposit your Chalice of Light on each lamp. By doing that, you will extend your timer and awoke the next lamp so you can progress safely. The location of the plates won't be the same everytime, so keep your eyes open on the way!
Note: Once a teammate takes away the Chalice from you, you will get debuffed for 45 seconds. During that time, you are unable to claim the Chalice again!
At the end of the road, there will be a big plate in front of another bridge similar to the one already seen in the Opening Encounter. Everyone must focus on clearing the Hive enemies and Unstoppable champions, while forming the bridge by dunking the Enlightened Buff into the platform. When you finish, deposit the Chalice on the podium near the Bridge and cross it.
How to complete the Abyss Encounter on Master Difficulty
The first encounter, the Abyss, has a challenge called "Conservation of Energy" where players must light only one lantern between every Chalice of Light deposit. You can speed up the encounter by using Swords with “Eager Edge” perks or the Strand subclass with the access of the Grapple Grenade and tangles.
Let's head into the second encounter of the raid, where you're getting the first ideas of how the Swordbearer mechanics work!
The Bridge Guide (Second Encounter)

As the encounter begins, there will be waves of Hive Enemies spawning from everywhere, including Thralls, Acolytes and Barrier Knights. Prioritize clearing the enemies on your starting side before focusing on the enemies across the bridge.
How to complete the Bridge Encounter
The Knights will spawn as yellow-bar enemies during this encounter, and they will be called "Swordbearer" Knights. Claim the Chalice from the middle and get the Enlightened Buff immediately. Designate a player to defeat one of the fresh spawned Knights and immediately pick up the sword to cross the bridge. You can only pick up the sword if you have the Enlightened Buff on you.
Why do you need the sword to cross the bridge? - you may be asking. Let's find out!
On the first side of the chasm, you will see a Bridge Plate in the centre of the arena, where you must stand on. The platforms are acting as Annihilation Totems already seen in the Pit of Heresy Dungeon and King's Fall Raid in Destiny 2.
Note: The Annihilation Totems are active only when you are standing on the middle platform to build the bridge.
One guardian must build the bridge while another fireteam member takes the sword and crosses the chasm to fight the Gatekeeper already spawned on the opposite side. This special enemy can only be damaged & killed by using the unique relic. But watch out, there will be plenty of enemies on the other side waiting for you.
Note: You have to bank five Swords on the other side of the chasm to complete the encounter.
After killing the Gatekeeper, each fireteam member must do the same thing. For every teammate that makes it over the bridge, a new Gatekeeper will spawn; make sure to take it down as soon as possible. Once enough of you made it across the bridge, the team on the Gatekeepers' side must take over the Annihilation Totems roles, so the remaining people can do the sword-bridge-Gatekeeper circle.
Note: Once everyone has made it across, five more Gatekeepers will spawn. As soon as they are eliminated from the arena, the next encounter is at your fingers!
How to complete The Bridge Encounter on Master Difficulty
There are no major changes in the second encounter. The mechanic & strategies are the same while the only addition are two extra Unstoppable Champions at the end. Anti-barrier weapons are necessary for knights, and blinding grenades can be useful for the Gatekeepers. A Well-Lock with Phoenix Protocol Exotic is recommended for safety.
Following up, we'll cover the second secret chest found in the Crota's End Raid and how to manage to get there on time!
The Thrallway Guide (Pre-Encounter)
The Thrallway Pre-Encounter is a deadly dark, winding tunnel, with countless waves of Thralls and two Shriekers firing from afar.
Crota's End Raid Second Secret Chest Location
If you complete this encounter fast enough you will discover the door to a secret chest that sits on the far side of the hole in the ground that leads to Crota. We recommend using our tips and tricks to maximize your efficiency while running this encounter to guarantee the Secret Chest, because you can fail it if you're doing it too slow:
- Stick together as a team and use AoE abilities or heavy weapons to clear all enemies.
- Pay attention to the Chalice of Light buff, because only the Enlightened Fireteam member can pass through the green barrier.
- Kill the Shriekers to deactivate the Barrier and move forward
- Use Supers Wisely: Reserve your supers for moments when you're facing large groups of enemies or if you're in a tough spot. Supers that can clear multiple enemies at once are particularly useful.
In the next section of our Crota's End Guide we present you the first boss encounter along with its mechanics, arena layout, and how to kill Ir Yut, the Deathsinger!
Ir Yût, the Deathsinger Guide (Third Encounter)
The Third encounter in Crota's End Raid takes place in the Crystal Room and involves defeating powerful enemies while dealing damage to Ir Yût and eliminating the boss before finishing her Liturgy of Ruin song.
How to complete the Ir Yut, the Deathsinger Encounter
This area is where the rest of the Raid will take place, divided into three levels or platforms. You will start at the bottom of the pit reached by dropping down the hole at the end of the Thrallway.
On the first floor, there is an altar guarded by lots of Thralls, Acolytes, and Knights. By climbing the stairways on the left and right-hand sides of the arena you will get to the second section which loops around the edge of the arena. In the far back corners of the battleground there are two more elevated platforms which sums all three levels of the encounter.
The encounter is pretty straight-forward, you can split your fireteam into two teams of three to deal with the challenges on both sides of the arena. Eliminate the Shriekers located on each side of the Chalice's podium. Each eye is defended by a lot of powerful orange-bar Knights. Once the Shriekers are down, the forcefields will dissapear, and the Central Chamber is now accessible.
The Liturgy of Ruin is the Wipe-Mechanic introduced in the encounter, where you have a set time to damage the boss and stop the song.
Like in the Thrallway Encounter, there will be green barriers blocking 7 rooms around the arena. Get the enlightened buff to pass through them. In the first phase, you have to find 3 Witches that are hidden behind the blocked doors, while the other 4 rooms are just baits.
Use your radar (or Wish-Ender Exotic Bow) to scout the arena and call out where the Wizards are so you can all kill them at the same time for more time on your damage phase.
Note: If you get really close to a shielded room and look on your radar, Shriekers appear as large red circles, and a tiny black triangle either pointing up or down, depnding on their elevation.
On your first damage phase you are looking to find three Wizards out of a possible seven; on second damage phase there are four Wizards, and if you need a third damage phase, be ready to scout five wizards around the arena.
After killing Yût, the Deathsinger you need to regroup and clear the remaining enemies in the arena to finish the encounter.
How to complete the Ir Yut, The Deathsinger Encounter on Master Difficulty
The third encounter, Ir Yut, has Arc Shielded knights and consistent spawning of anti-barrier knights. Standing off to the side can provide safety. We recommend creating a Chalice rotation before you start the encounter by assigning a number to each member of your fireteam and strictly follow the order.
You are now ready for the Fourth encounter of the raid, the final battle against Crota, Son of Oryx.
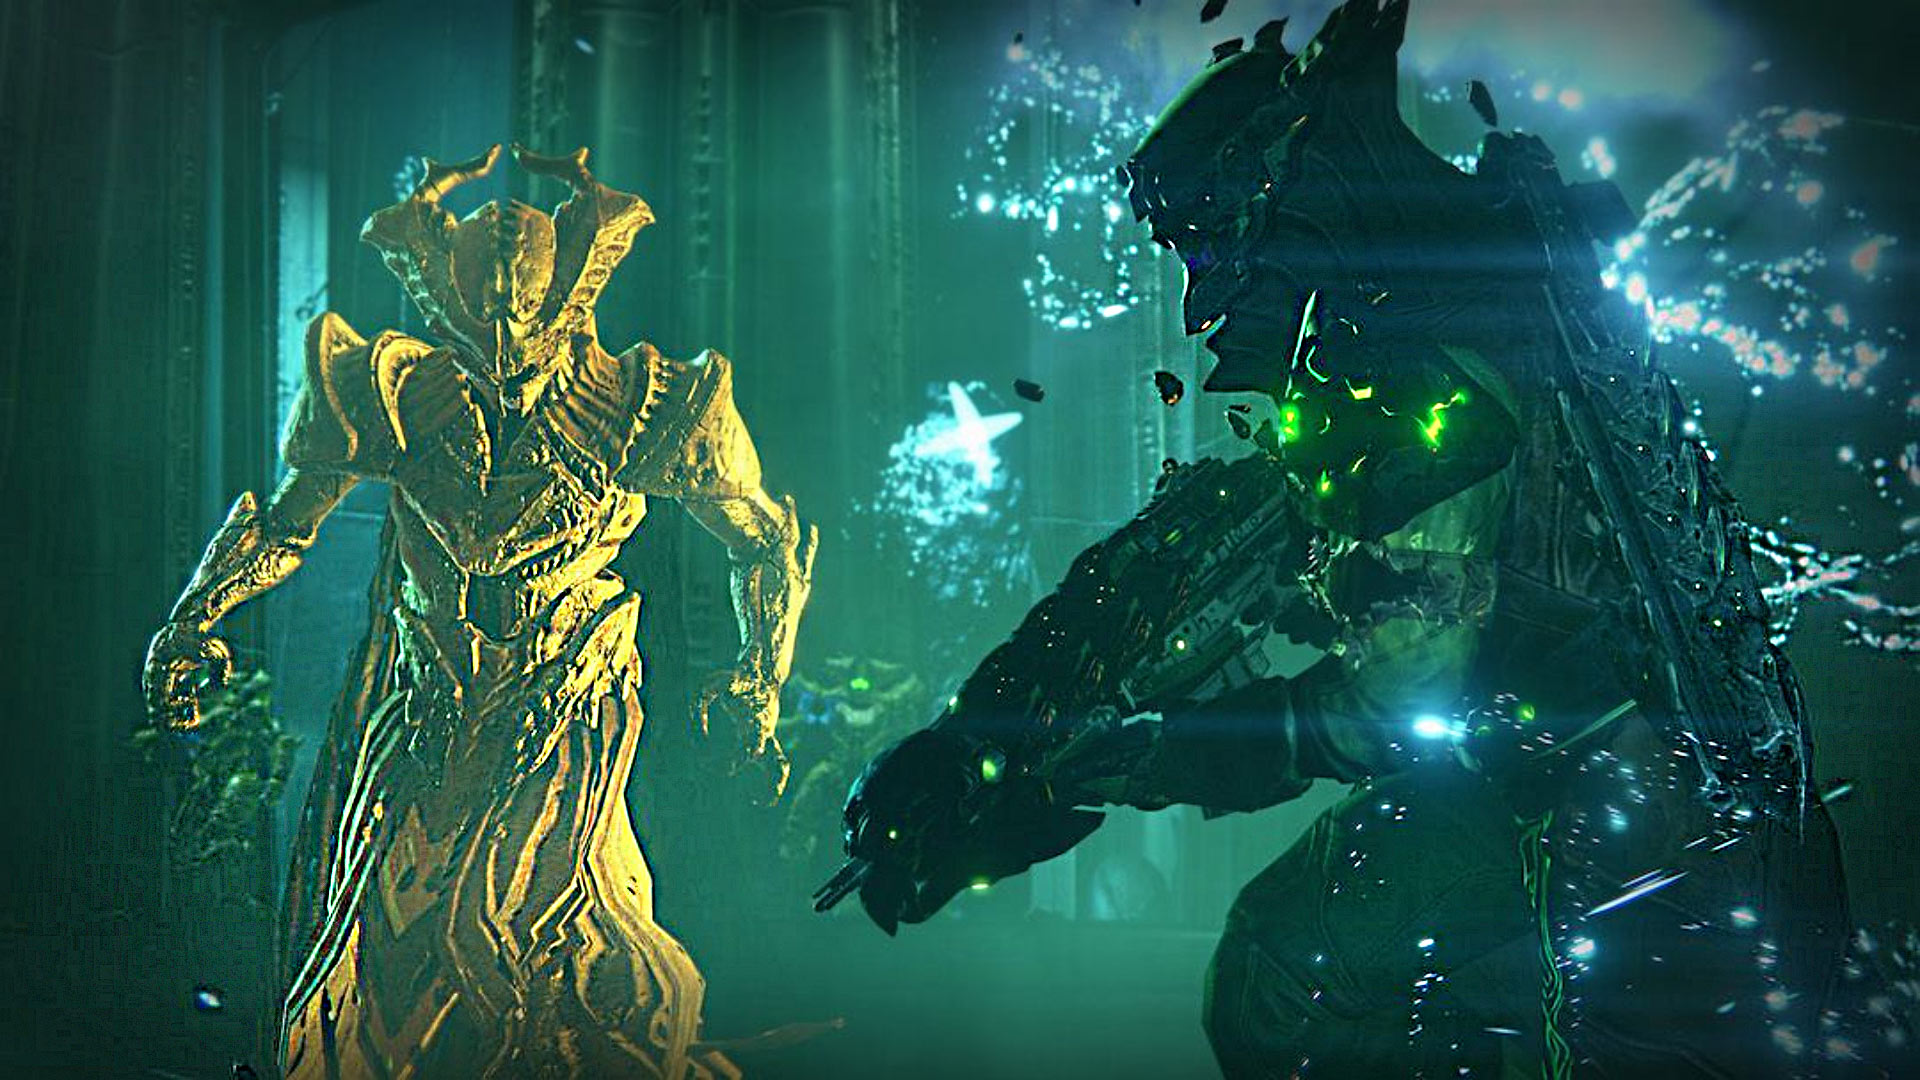
Crota, Son of Oryx Guide (Fourth Encounter)
The Fourth and Final encounter of Crota's End Raid is the ultimate boss fight against the Son of Oryx. The battle is the culmination of the activity and requires precise coordination, timing, and teamwork to defeat Crota.
How to complete Crota, Son of Oryx Encounter
The encounter starts similar to Atheon in the Vault of Glass raid. You initially need to summon Crota by crowding around in the Chalice of Light's chamber. Out on the far side of the arena, you will see pieces of spikes forming. The forcefields that enclosed the last boss will form up again around your fireteam, while Knights and Acolytes spawn in the rooms, waiting for you to start the final fight.
The most important aspect of the encounter is that the Chalice of Light (that can be found at the ground floor near the central altar) can only be exchanged in certain areas around the arena. You will see a white glowing Aura where two members have to stay for the buff exchange. The aura will move around and it can spawn in one of six places.
As soon as you pickup the Chalice, be ready to scout the arena for the next Aura platform and callout the next member to assist you.
There will be a Swordbearer Knight which spawns at the same floor. Take him down and claim his sword helped by the Enlightened Buff, while the rest of the team focuses on add-clearing and swaping the Enlightened Buff around. You can only take Crota's shield down by using the sword.
When Crota's Shields are downed by the swordbearers, you can deal damage with any weapon in your arsenal. And be quick, because the Oversoul is waiting!
Note: The Hive Sword has unlimited use when killing ads or until you drop it, which will make it despawn. But, as soon as you start damaging Crota, it starts an internal time before the sword dissapears from your hands, meaning that you can't hit & run Crota and un-shield him by yourself. You will need at least two swordbearers to take the shield down completely.
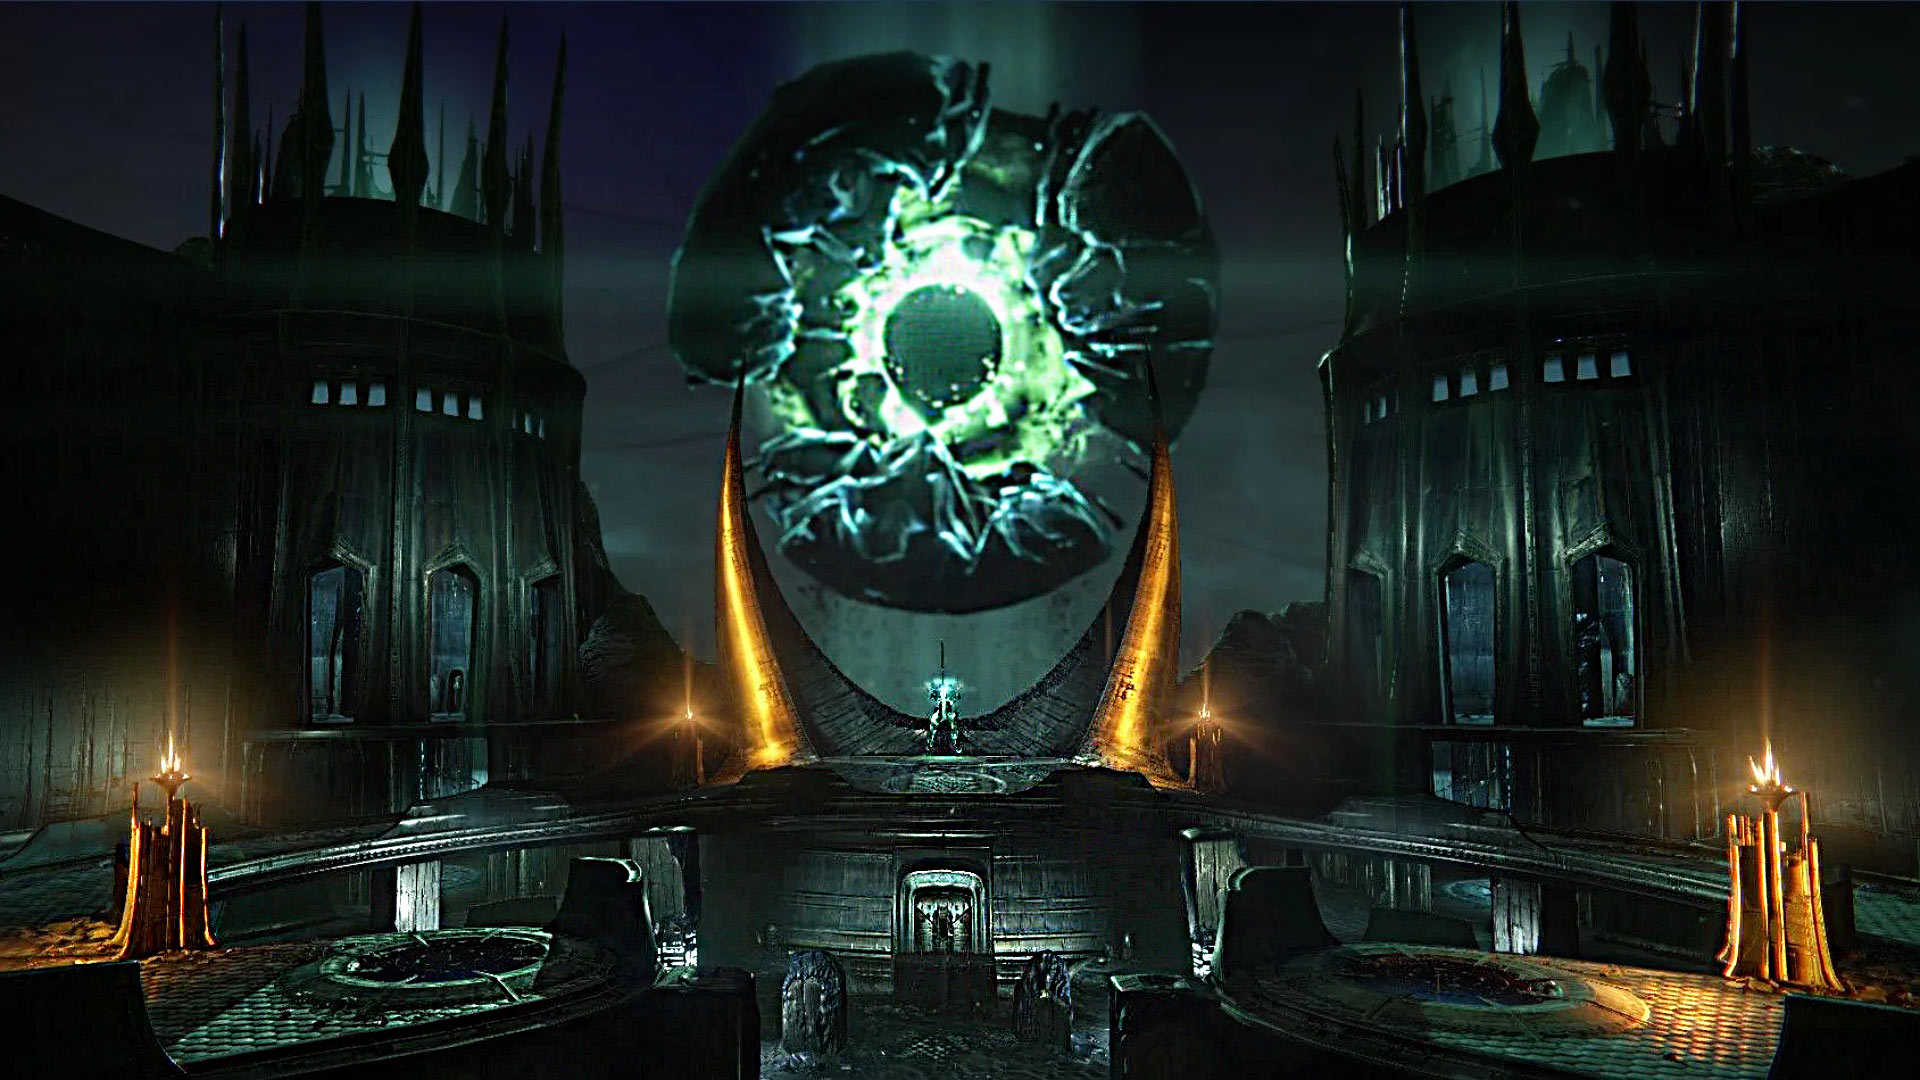
The Wipe-Mechanic of this encounter features the following: Crota Summons her Oversoul when the damage phase starts, along with a timer. The Oversoul is a giant green ball of energy that appears in the background.
Keep your eyes on your HUD for the "Oversoul" Timer, which will immediately wipe you if you do not succeed to kill Crota, or the Oversoul. Eventually, one Guardian has to break away from the damage phase and shoot the Oversoul to break it, ending the damage phase.
The Oversoul is pretty easy to break, but make sure to have enough time!
Note: If you are using a Well of Radiance... Well, Crota can destroy it!
The main aspect of the fight is simply the timing. Communicate every aspect with your fireteam members so they can attack Crota at the same time. Use Tractor Cannon for 30% more damage dealt to Crota, and Wells of Radiance for survivability because Crota can deal massive damage.
Cleanse, and repeat the same phase until Crota is killed and the loot is yours!
How to complete Crota, Son of Oryx Encounter on Master Difficulty
The encounter plays out like normal, but our recommendation is to use at least three swords. You can debuff Crota with Tractor Cannon to increase the damage output. Also, buff the Hive Sword bearers with Radiant or Weapons of Light for the DPS check phase. Arc resist is important due to the significant Arc damage & multiple Wells of Radiance are recommended for damage. Communication and timing are crucial in this encounter!
Differences Between Normal & Master Difficulties
As previously stated, the Crota’s End raid features two difficulties with different modifiers and also, rewards. Completing the Master version of the raid also unlocks the final triumphs required for the Swordbearer Raid Seal and Title. There are some notable differences that are making the raid more challenging:
- Power Level Required – 1955
- Master Modifiers – Extra Champions & Shields
- Maximum Effective Level – 2020
- Weekly Challenge – One encounter will have an optional challenge that rotates weekly.
SKIP THE GRIND BUY CROTA'S END CLEARS!
Crota's End Raid Walkthrough
The Abyss Encounter
- Your main objective is to survive and navigate through the Abyss while avoiding the Weight of Darkness debuff that gradually increases your movement penalty.
- Stay close together as a team to cleanse the Weight of Darkness debuff.
- Watch out for Mini-Bosses that appear along the way; focus them to clear the path.
- Follow the lamps that light up to guide your way. Activate the lamps while others provide cover fire.
- Keep moving forward and working together to reach the end of the Abyss.
The Bridge Encounter
- Defeat the initial waves of enemies, including Acolytes, Cursed Thralls, and Barrier Knights.
- To build the bridge, a designated player needs to kill the Swordbearer and then pick up the sword by having the Enlightened Buff.
- The swordbearer will use the sword to kill Gatekeepers on the other side of the chasm. Clearing Gatekeepers will create a bridge for your fireteam to cross.
- Once everyone has crossed, kill the five Gatekeepers, and the encounter is complete.
The Thrallway Pre-Encounter
- There will be countless waves of Thralls in this tunnel.
- Stick together as a team and use AoE abilities or heavy weapons to clear the Thralls.
- Pay attention to your Chalice of Light buff, move forward to kill the Shrieker and re-group at the next barrier.
- At the end of the tunnel, there's a chance for a hidden chest to appear if you completed the Thrallway fast enough. It's worth doing it for extra loot.
Ir Yut, the Deathsinger Encounter
- DefeatShriekers that guard the entrance to the Chalice of Light's Chamber.
- Clear the adds (enemies) in the middle Chamber before engaging Ir Yût.
- The Deathsinger will start chanting and summoning powerful Knights. Clear the Witches, then focus on dealing damage to Ir Yût.
- Coordinate your fireteam's DPS to take down Ir Yût's health as quickly as possible.
- Be prepared for more adds to spawn as you deal damage.
- Once Ir Yût is defeated, the encounter is complete.
Crota, Son of Oryx Encounter
- Defeat waves of adds and Crota's Swordbearers until you get the Enlightened Buff.
- Coordinate to take down Crota's shield using the unique Swords.
- Once the shield is down, deal as much damage as possible with your arsenal.
- Communicate and coordinate to ensure the team is ready to attack Crota at the same time to take down his Shield.
- Destroy the Oversoul if you are 100% sure you can't kill Crota in your current DPS phase.
- Repeat the process until Crota is defeated.
Let's head over the summary of the Master Crota's End Raid where we briefly explain the changes of the encounters and how to complete the more efficiently!
Crota's End Raid Challenges
Conquering the Crota's End challenges is essential if you want to achieve the apex of this activity. Here’s a brief overview of the challenges you will encounter:
- Conservation of Energy Challenge
- Precarious Balance Challenge
- Equal Vessels Challenge
- All for One Challenge
How to complete the "Abyss" Encounter Challenge?
Conservation of Energy: During the Abyss Encounter, you may only light one lantern between every Chalice of Light deposit.
The First Encounter’s Challenge in Crota’s has a challenge called "Conservation of Energy" where players must move quickly between chalice preservation locations. After depositing the Chalice of Light on a pedestal, you may only light one lantern. You can speed up the encounter by using Swords with “Eager Edge” perks or the Strand subclass with the access of the Grapple Grenade and tangles.
How to complete the "Bridge" Encounter Challenge?
Precarious Balance: During the Bridge Encounter, players may only cross while no one is standing on a construction plate.
The Second Encounter’s Challenge in Crota’s End depends on teamwork and challenges the fireteam’s communication. Guardians must only cross the bridge while it is decaying, which can be done if no one is standing on the middle plate.
Note: We recommend passing the Chalice and the Enlightened Buff to every player before starting crossing the bridge. When one member has the Sword and is ready to cross the chasm, have the middle plate’s defender step off their plate.
How to complete the "Ir Yût, the Deathsinger" Encounter Challenge?
Equal Vessels: During the Ir Yut Encounter, every player must receive the Chalice of Light before it can be claimed by the same person again.
The Third Encounter’s Challenge in Crota’s End requires the entire fireteam to receive the Chalice at least once before the same person can grab it again. We recommend creating a Chalice rotation before you start the encounter by assigning a number to each member of your fireteam and strictly follow the order.
How to complete the "Crota, Son of Oryx" Encounter Challenge?
All For One: Crota’s Shield must be fully destroyed shortly after he receives damage.
The Fourth Encounter’s Challenge in Crota’s End is the easiest triumph to achieve by coordinating your Hive Sword attacks during the Crota’s DPS phase. Once Crota’s Shield receives damage, it must be broken within a few seconds.
The encounter plays out like normal, but our recommendation is to use at least three swords. You can debuff Crota with Tractor Cannon to increase the damage output. Also, buff the Hive Sword bearers with Radiant or Weapons of Light for the DPS check phase.
Necrochasm Exotic & Catalyst
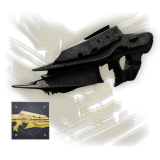
How to get the Crota's End raid-exclusive Necrochasm Exotic Auto Rifle?
After defeating Crota, Son of Oryx, you may get the returning Exotic Auto Rifle from Destiny 1. The Necrochasm has the Unique Perk "Cursebringer" which causes precision final blows to create cursed Thrall explosions. All weapon's stats are balanced, and it's a must-have exotic for all Guardians!
The raid exotic also has a catalyst that adds the Outlaw perk, temporarily increasing the reload speed. You can obtain the Necrochasm catalyst by completing a specific quest during Crota's End raid if you have the exotic on your account.
SKIP THE GRIND BUY CROTA'S END EXOTIC!
How to get the Necrochasm Catalyst?
To get the Necrochasm Catalyst you have to complete two certain events within the raid. Be aware that the catalyst quest requires teamwork. In the following list, we explained all the steps for quest completion:
- Complete the second encounter and go to the right side of the arena. You will find a small plate that emits a green light. Equip your Necrochasm and stand on it.
- Eliminate all the Gatekeepers within the time limit. (You can attempt this mini-event as many times as you need, so don't be afraid to fail)
- Complete the third Encounter and go to the very back right of the arena. Stand on the plate with the Necrochasm equiped and you will have another minute and a half to kill all the Gatekeepers.
- Clear the event, and the Catalyst is yours.
- To Masterwork the Catalyst, you will need 35x Essence of Oversoul which can be acquired by completing the raid or triumphs.
Frequently Asked Questions - Crota's End Raid
1. What is the recommended Light Level for Crota's End Raid in Destiny 2?
The recommended Light Level for Crota's End Raid is 1955.
2. What's the best strategy for the Bridge Encounter?
Designate a swordbearer that has the Enlightened Buff while the fireteam build the bridge. The Swordbearer must cross the bridge and defeat the Gatekeeper on the other side of the chasm. Everyone must stand on one Annihilation totem while the bridge is building. Communicate with your team when the bridge forms, so they can safely tranzit at your location.
3. How do I access the secret chest in the Thrallway?
To access the hidden chest in the Thrallway, look for a hidden passage on the right side as you progress. Follow this path to find the chest. It may contain extra loot for your fireteam.
4. How do I interrupt Ir Yût's song during the Deathsinger encounter?
Deal damage to Ir Yût while clearing adds to interrupt her song. Prioritize Wizards and other enemies that spawn. Utilize high-damage weapons and abilities to quickly reduce her health.
5. What's the role of the swordbearer in the Crota encounter?
The swordbearer is responsible for picking up the Sword of Crota relic and using it to deal damage to Crota. Coordinate sword attacks, shield-breaking, and timing with your fireteam to maximize damage.
6. How do I defeat Crota's shield in the final encounter?
Use ranged weapons like rockets or sniper rifles to shoot Crota in the head and bring down his shield. This exposes him to sword attacks.
7. What's the best way to deal with Crota's Oversoul mechanic?
When Crota Summons the Oversoul, designate one or two players to destroy it when needed. Failure to do so can wipe the fireteam.
8. What is the release date of Crota's End in Destiny 2?
The Crota's End raid's release date is Friday, September 1st, 2023.
9. Who is the last boss of Crota's End Raid?
The final boss of the activity is Crota, Son of Oryx.
10. Is it possible to complete Crota's End Solo?
No, it is impossible to solo the sections of the Crota's End Raid as the encounters usually require a full fireteam to complete, due to their mechanics.
11. How to get the Crota's End Raid exotic?
You can receive the exotic weapon by completing the "Botomless Pit" quest received after defeating Crota on any difficulty.
Update Log
15.01.2025 - Guide fully revamped.
26.09.2023 - Added Challenges section.
26.09.2023 - Encounters updated for the Master Destiny 2 Version of the Crota's End Raid.
05.09.2023 - Encounters updated for the Destiny 2 Version of the Crota's End Raid.
28.08.2023 - Added Weapons & Armor in the Loot Table sections
Conclusion
Assemble your fireteam, learn the mechanics, and adapt your strategies to overcome each obstacle in your path. Whether you're a seasoned Guardian or a blueberry, Crota's End offers a thrilling raid experience that showcases the heart of Destiny's cooperative gameplay.
Remember that any end-game activity requires teamwork, communication, and practice. Find the best approach for your group based on your fireteam's strengths and weaknesses and synchronize your actions for any epic challenges such as Crota encounters.
May the Light guide you through the Abyss!
Final Thoughts
We designed our Crota's End Raid Guide to help you become as efficient as possible in your raid fireteam. But, if you are struggling to find a Crota's End Raiding team or just simply you don't have enough time to play yourself, at KBoosting, besides articles & guides, we also provide Destiny 2 Boosting Services.
If you want to check our Crota's End Boosting & Carry Services and let our professional players handle everything for you, we are at your disposition. You can also join our proficient raiding team for a memorable journey through the activity.
